
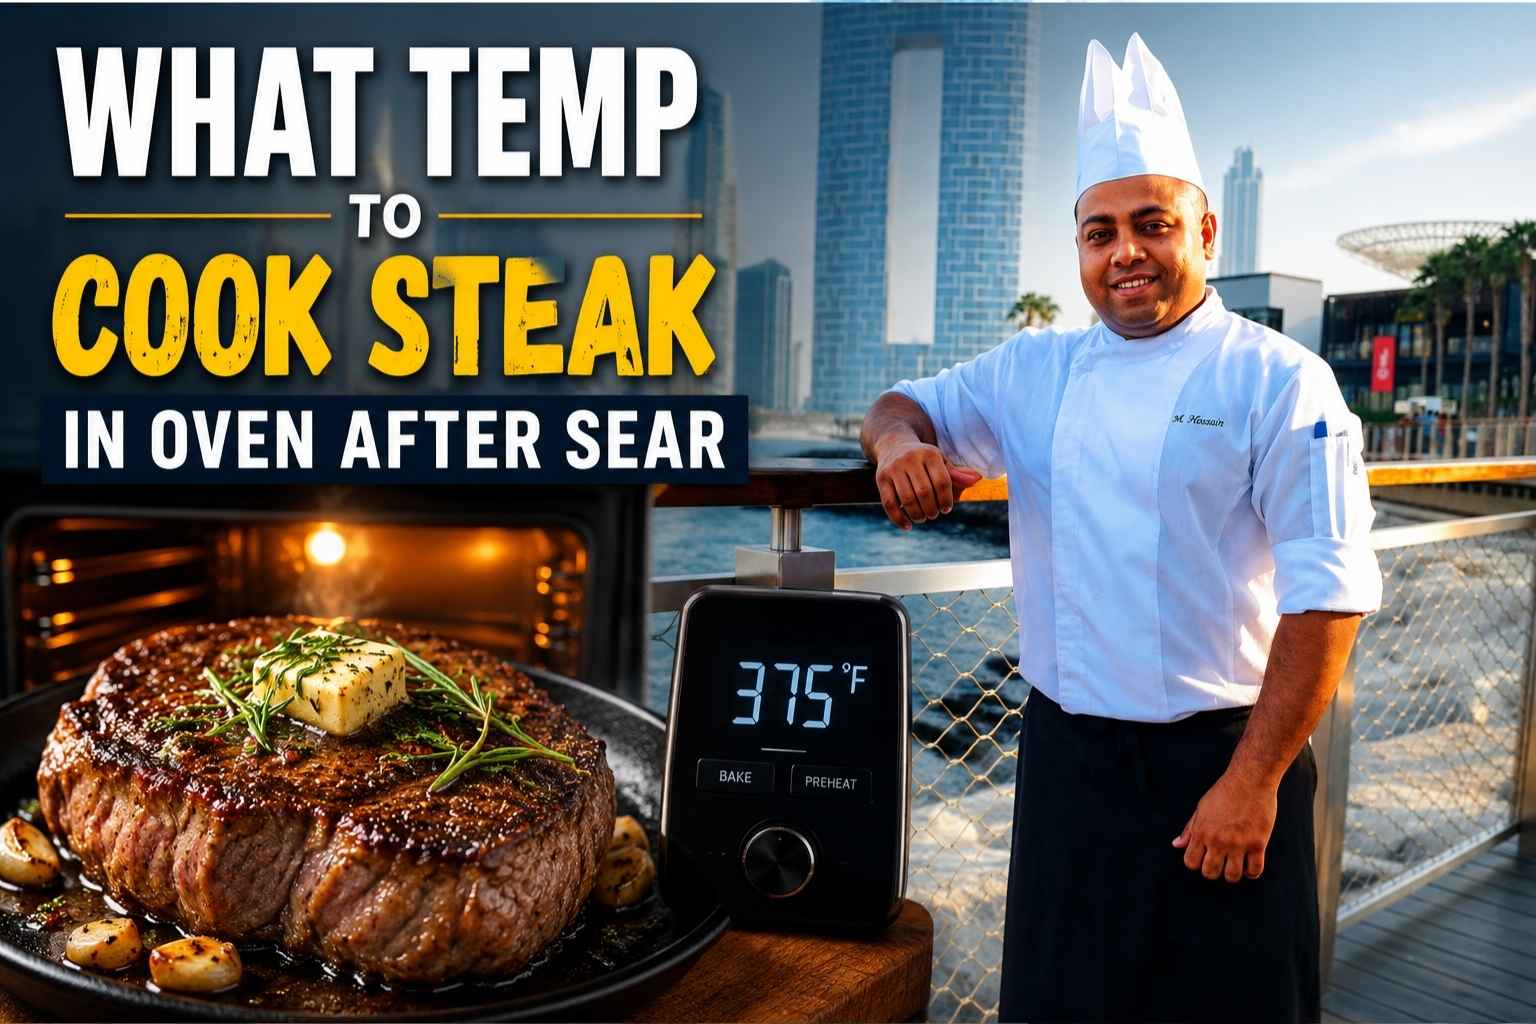
I burned a $30 ribeye once. Just torched it, all because I didn’t know what temp to cook steak in oven after sear. The sear looked perfect. Then the inside turned gray and sad.
That mistake taught me the oven step matters just as much as the sear. Get it right, and you get a juicy, restaurant-quality steak every time. Get it wrong, and you ruin good meat fast.
I’ve cooked hundreds of steaks since that day. I tested temps, timed everything, and learned from real kitchen flops. Below, I’ll show you the exact oven temp and timing that works, plus a few tricks chefs use.
Let’s fix that gray-steak problem for good.
At A Glance
- Sear your steak first over high heat to build a crust, then finish it in a 325°F-425°F oven depending on thickness and your target doneness.
- Pull the steak 10-15°F before your target internal temp – carryover cooking does the rest while it rests.
- A 1-inch steak needs roughly 4-6 minutes in a 400°F oven after searing; a 2-inch steak needs 10-14 minutes at 325°F.
- Always use a digital instant-read thermometer – guessing by time alone causes more ruined steaks than any other mistake.
- Rest the steak for at least 5 minutes (and up to 10 for thick cuts) before cutting – skipping this wastes everything you just did.
Why You Sear First, Then Finish in the Oven
The sear-then-oven method works because crust formation and even internal cooking are two different jobs. A screaming-hot pan does one thing well: it drives moisture off the surface fast enough to hit the Maillard reaction – the chemical process that creates a brown, savory crust somewhere above 285°F (America’s Test Kitchen, 2023). That same high heat, if left long enough to cook the center, would overcook a 1-inch band around the outside of your steak before the middle reaches 130°F.
The oven solves that. Dry, indirect heat surrounds the steak from all sides. The temperature is controlled. The steak cooks evenly from edge to center instead of outside-in.
Here is what that means in practice. When I finish a ribeye in a 375°F oven, the outer half-inch is already set from the sear. The oven brings the center up slowly and evenly. I pull it at 120°F. By the time it rests five minutes on the board, the center reads 130°F. That is a perfect medium-rare from edge to edge – not gray on the outside and pink only in the dead center.
This is not a new idea. Professional kitchens have used the sear-and-roast method for decades. What has changed is that home cooks now have access to cheap, accurate thermometers – and that one tool makes the whole method reliable.
Oven Temperature and Time Reference Table
Use this as your starting point. Times assume the steak was seared 2-3 minutes per side and goes directly from pan to oven. Adjust by 1-2 minutes if your steak was cold from the fridge rather than tempered at room temperature for 30 minutes.
| Doneness | Target Pull Temp | Final Rested Temp | Oven Temp | 1″ Steak | 1.5″ Steak | 2″ Steak |
|---|---|---|---|---|---|---|
| Rare | 115°F | 125°F | 325°F | 3-4 min | 6-8 min | 10-12 min |
| Medium-Rare | 120-125°F | 130-135°F | 375°F | 4-6 min | 7-9 min | 11-14 min |
| Medium | 130°F | 140-145°F | 400°F | 5-7 min | 8-10 min | 13-16 min |
| Medium-Well | 140°F | 150-155°F | 400°F | 7-9 min | 10-13 min | 16-19 min |
| Well-Done | 155°F | 165°F | 425°F | 9-12 min | 14-17 min | 20-24 min |
Note: Times are approximate. A thermometer is non-negotiable. Cut, bone structure, and starting temperature all shift these numbers.
Best Oven Temperatures for Finishing Steak – and Why They Differ
The right oven temperature depends on what you are trying to protect. Lower temps protect even cooking. Higher temps add speed and help with surface browning.
325°F – The Low-and-Slow Finish
I use 325°F for thick cuts – anything over 1.5 inches. The lower heat gives you a wider margin of error. The steak climbs slowly, which means you have more time between “perfect” and “overcooked.” This is the setting I use in the restaurant for 40-oz tomahawk ribeyes. You are not adding more browning at 325°F. The crust is done from the sear. You are just bringing the center up carefully.
The downside: it takes longer. A 2-inch bone-in ribeye can need 12-15 minutes at 325°F. If you are cooking for a table of four, that is fine. If you are hungry and impatient, you may be tempted to push the temp up too early.
375°F – The Everyday Workhorse
This is where I land for most 1- to 1.5-inch steaks – ribeyes, New York strips, sirloin. It is fast enough to be practical and gentle enough to keep an even cook. Serious Eats tested oven finishing temps extensively in 2022 and found that 375°F produced the most consistent edge-to-center doneness for steaks in the 1- to 1.5-inch range. I have cooked this way for years and agree.
400°F – Fast Finish for Thinner Steaks
For a 1-inch strip or sirloin, 400°F gets the job done in 5-7 minutes. The risk is that thinner steaks have less thermal mass – they swing from perfect to overcooked in under a minute. At 400°F, you need to check the temperature early and often.
I pull at 400°F when someone orders a steak mid-service and I need to turn tables fast. In a home kitchen, it is good for weeknight steaks when you have seared the steak properly and just need a quick finish.
425°F – Only for Well-Done or Thick Cuts Needing More Crust
I rarely use 425°F for finishing. It pushes too much heat into the outer layers. The one case where it makes sense: a thick steak (1.5+ inches) for a guest who wants it well-done, where the crust from the sear has softened slightly and you want to firm it up again. Even then, watch it closely.
How Steak Thickness and Cut Change Your Oven Strategy
Not all steaks cook the same. Cut and thickness both change the math.
Ribeye (Bone-In and Boneless)
Ribeye has fat running through the muscle. That fat slows heat transfer slightly – fatty meat takes a little longer to reach temp than lean meat. A 1.5-inch boneless ribeye at 375°F needs about 8-10 minutes. A 1.5-inch bone-in ribeye needs 10-13 minutes at the same temp. The bone acts as insulation near the meat that touches it.
Filet Mignon
Filet is lean and dense. It heats fast and dries out fast if you push past medium. I almost always finish filet at 325°F regardless of thickness. The lower temp buys time. Certified Angus Beef recommends pulling filet at 120-125°F for medium-rare, which puts you right at the edge of the 325°F window (Certified Angus Beef, 2024).
New York Strip
Strip is my personal favorite to cook because it is forgiving. The fat cap on the edge renders at high heat and bastes the side of the steak. At 375°F, a 1.25-inch strip needs about 7-8 minutes after a proper sear. I always orient it fat-cap-down in the pan during the sear, then lay it flat in the oven.
Sirloin
Sirloin is lean and less expensive, which means less forgiveness if you overcook it. Use 375°F maximum. Pull at 120°F for medium-rare. Anything above medium and sirloin gets dry fast.
Carryover Cooking – Why You Pull Before the Target Temp
Carryover cooking is the rise in internal temperature that happens after you pull a steak from the oven. The outer layers of the meat are hotter than the center. When you remove the heat source, that stored energy keeps moving inward.
The amount of carryover depends on how thick the steak is and how high your oven temp was. ThermoWorks measured carryover in a series of steak tests in 2023 and found that a 1.5-inch ribeye pulled at 125°F from a 375°F oven reached 133-135°F after a 5-minute rest. A 2-inch tomahawk pulled at the same temp reached 131-138°F depending on where the probe was placed (ThermoWorks, 2023).
The practical rule: pull 10-15°F below your target final temp. For medium-rare (130-135°F final), pull at 120-125°F. For medium (140-145°F final), pull at 130°F.
If you pull at your target temp, the steak will overshoot during rest. I see this mistake constantly at cooking classes. The cook hits 135°F on the thermometer, feels good, puts it on the board, and cuts into a medium-well steak ten minutes later.
How to Use a Meat Thermometer Correctly
The tool itself is simple. How you use it changes the reading.
Probe placement: Insert the probe into the thickest part of the steak, at a slight angle, avoiding fat pockets and bone. Bone conducts heat differently than muscle – probing near bone gives a false high reading. Fat pockets read lower than muscle. Aim for the geometric center of the thickest lean section.
Probe angle: Insert at a low angle (roughly 30-45 degrees from horizontal) so the tip sits in the center of the steak’s thickness. A straight vertical insert can miss the center entirely on a steak under 1.5 inches thick.
Wait for the reading: A good instant-read thermometer like a ThermoWorks Thermapen reads in 2-3 seconds. Wait for it to stop climbing before you note the number. If it is still moving, wait.
Check two spots: On anything over 1.5 inches, I check two spots to confirm. Thicker cuts can have hot spots.
During rest: Take a second reading 5 minutes after you pull the steak to confirm carryover. The first time you do this, you will never skip it again. Watching the temperature climb 10-12 degrees on a resting steak makes the pull-early rule completely obvious.
Bone-In vs. Boneless – The Finishing Time Difference
Bone slows cooking near the attachment point. The meat right against the bone will be cooler than the meat on the open side of the steak. This is not a minor difference – it can be 5-10°F on a thick bone-in ribeye.
For bone-in cuts, I add 15-20% to my estimated oven time compared to a boneless cut of the same thickness. And when I probe for temperature, I check both the bone-adjacent area and the open side. The steak is done when the coolest spot – usually right against the bone – hits my pull temp.
For a tomahawk ribeye (which can be 2.5+ inches at the eye), I lower the oven to 275°F and use a remote leave-in probe for the whole finish. I am not standing there guessing – I watch the number on the thermometer and pull when it hits 120°F.
Cast Iron vs. Sheet Pan vs. Wire Rack – Which Vessel to Use
The vessel you finish the steak in changes how heat reaches the bottom of the steak.
Cast iron: You seared in it, and you can finish in it. Cast iron holds a lot of heat. That retained heat continues to cook the bottom of the steak even in the oven, which can push the underside past your target before the center is there. If you use cast iron for the oven finish, factor this in. I transfer to a sheet pan or wire rack about half the time for thicker steaks because cast iron can overcook the underside during a 12-minute finish.
Sheet pan: A light aluminum sheet pan transfers much less heat to the bottom of the steak than cast iron. The steak cooks more evenly top-to-bottom in the oven. This is my default for thick steaks. One downside: you lose the fond and any drippings from the sear if you transfer. Not a big deal unless you are making a pan sauce.
Wire rack over a sheet pan: This is the best setup for thick steaks. Elevating the steak allows hot air to circulate underneath. The bottom of the steak cooks at the same rate as the top. No hot spot from the pan itself. This is what I use at home and what I recommend if you are serious about an even cook. Serious Eats has consistently recommended the wire rack method for oven-finishing since at least 2021, and the results back it up (Serious Eats, 2021).
Resting the Steak – How Long, Why, and What You Lose If You Skip It
Rest your steak after the oven. This is not optional advice.
When the steak is in the oven, the muscle fibers contract from the heat. The juices get pushed toward the center. If you cut the steak right out of the oven, those juices run out onto your cutting board. You lose flavor, moisture, and the whole point of cooking it carefully.
During rest, the fibers relax. The juices redistribute back through the muscle. When you cut it after 5-10 minutes, the juices stay in the meat.
How long to rest:
- 1-inch steak: 5 minutes minimum.
- 1.5-inch steak: 7-8 minutes.
- 2-inch or thicker: 10 minutes.
Rest on a warm plate or cutting board, loosely tented with foil. Do not wrap the steak tightly – that traps steam and softens the crust you worked to build.
The one thing people worry about is the steak going cold. A properly seared, oven-finished steak will still be hot at the center after a 10-minute rest. Trust the process.
Common Mistakes and How to Fix Them
Not preheating the oven before finishing The oven needs to be at your target temp before the steak goes in. If you put a steak in a 250°F oven that is climbing toward 375°F, the first few minutes of finishing are uncontrolled. Preheat fully – 15-20 minutes before the steak is ready to go in. I preheat the oven before I even season the steak.
Pulling the steak at the target temp instead of 10-15°F below Already covered above, but it is the single most common mistake I see. Set a mental rule: “My target is 130°F, so I pull at 120°F.” Write it on a sticky note if you need to.
Using a dull or cold pan for the sear The pan needs to be very hot before the steak touches it. A pan that is not hot enough creates steam instead of a crust. The steak sticks, the surface gets pale and wet, and you have already lost the point of the method. Cast iron or carbon steel, over high heat, 2-3 minutes minimum before the steak goes in.
Skipping the thermometer and cooking by time alone Stovetop BTU output varies. Oven calibration varies. Steak starting temperature varies. Time is a rough guide. Temperature is the actual answer. A $30 instant-read thermometer removes all guesswork.
Not letting the steak come up to room temperature before cooking A steak pulled straight from the fridge (38°F) takes significantly longer to reach target temp than one that has sat out for 30 minutes (around 55-60°F). Cold steaks also chill the pan at the start of the sear, reducing crust quality. 30 minutes on the counter is enough. You do not need hours.
Altitude adjustments At elevations above 5,000 feet, water boils at lower temps and moisture leaves food faster. Steak is less affected than baked goods, but you will notice the surface drying out faster in the oven. At high altitude, reduce oven temp by 25°F and check temperature earlier. The science does not change – the pull temp targets above still apply.
My Personal Sear-to-Oven Routine
I have cooked thousands of steaks in 15 years of professional kitchen work, and my personal routine has not changed much in the last five years.
I pull the steak from the fridge 30 minutes before cooking. I pat it completely dry with paper towels – dry surface equals better crust. I season generously with kosher salt and black pepper, pressing the seasoning into the meat. No oil on the steak itself. I oil the pan.
I heat a cast iron skillet over high heat until a drop of water skitters and evaporates immediately. I add a high-smoke-point oil – refined avocado or grapeseed. The steak goes in and I do not touch it for 90 seconds. I flip once, sear another 90 seconds. Then I sear the fat cap edge if there is one, holding the steak upright with tongs for 45 seconds.
The steak goes onto a wire rack over a sheet pan. Straight into a preheated 375°F oven. I start checking temp at 5 minutes for a 1.25-inch strip. I pull at 120-122°F.
The steak rests on a warm plate, loosely tented, for 7 minutes. I check temp again at 5 minutes into the rest. It reads 128-130°F. I cut. I eat.
That is it. No butter basting in this method – I am not searing and basting simultaneously. If I want butter, I add it during the rest: a knob of herb butter on top of the steak while it sits. It melts into the meat and adds flavor without burning in the pan.
Frequently Asked Questions About Cooking Steak in the Oven After Searing
What temperature should I finish steak in the oven after searing?
The right temperature depends on your steak’s thickness. For steaks under 1 inch, use 400°F for a 5-7 minute finish. For 1- to 1.5-inch steaks, 375°F for 7-10 minutes works well. For anything over 1.5 inches, drop to 325-350°F and give it 11-16 minutes. These are starting points – always verify with a thermometer.
What internal temperature should I pull my steak at?
Pull your steak 10-15°F below your target final temperature. For medium-rare (final temp 130-135°F), pull at 120-125°F. For medium (final temp 140-145°F), pull at 130°F. Carryover cooking during the rest brings it the rest of the way.
Do I need to preheat the oven before finishing the steak?
Yes. Always preheat fully before the steak goes in. An oven that is still climbing in temperature gives you an unpredictable cook for the first few minutes. Preheat 15-20 minutes before you plan to finish the steak.
Should I use cast iron or a sheet pan for oven finishing?
Both work. Cast iron retains a lot of heat and continues cooking the underside of the steak aggressively. For thick steaks, this can overcook the bottom. A wire rack over a sheet pan gives the most even finish because hot air circulates all around the steak. For thin steaks (under 1 inch), finishing in the cast iron you seared in is fine.
How long should steak rest after the oven?
Rest a 1-inch steak for 5 minutes minimum. A 1.5-inch steak needs 7-8 minutes. A 2-inch or thicker steak needs 10 minutes. Rest on a warm surface, loosely tented with foil. The internal temperature will continue rising 10-15°F during this time.
Does a bone-in steak take longer to finish in the oven?
Yes. Bone insulates the meat around it. The meat touching the bone cooks slower than the open side of the steak. Add 15-20% to your estimated oven time for bone-in cuts and probe near the bone to confirm doneness – that is your coldest point.
Can I use this method for all steak cuts?
Yes, with small adjustments. Fatty cuts like ribeye can handle slightly higher oven temps. Lean cuts like filet and sirloin are better at 325-375°F maximum to avoid drying out. The internal temperature targets and pull-early rule apply to all cuts regardless of the oven temp you choose.
What if my steak is overcooked when I cut into it?
You cannot reverse an overcooked steak, but you can prevent it next time. The two most common causes are pulling at the target temp instead of 10-15°F below, and not accounting for a hot cast iron pan continuing to cook the steak after it leaves the stovetop. Use a wire rack for the oven finish and pull earlier than feels comfortable the first few times until you learn your specific oven’s behavior.
Key Takeaways
- The sear builds crust; the oven builds even doneness. They are separate jobs.
- Match oven temp to thickness: 325°F for thick cuts, 375-400°F for 1-inch steaks.
- Pull 10-15°F below your final target temperature – carryover cooking is real and predictable.
- A wire rack over a sheet pan gives the most even oven finish, especially for thick cuts.
- Bone-in steaks take 15-20% longer and need probing near the bone to confirm doneness.
- Rest every steak after the oven – 5 minutes minimum, 10 for thick cuts.
- A digital instant-read thermometer is the one tool that makes all of this repeatable.

I’m Mossaraof, a trained chef and the founder of OvenInsights.com. I spent years cooking at Larrupin’ Cafe and in kitchens across Chicago and Seattle. Now I test kitchen gear for a living. I moved to North Acton, London, and I test every tool I write about. I use real meals and real heat. No brand deals. No shortcuts. I cover 12 kitchen types and hundreds of recipes. I believe this: the right tools matter as much as the recipe.




