
At A Glance
- The best bake range for most home ovens is 325°F to 350°F for 25 to 35 minutes, with stirring every 10 minutes.
- Low-and-slow at 275°F to 300°F gives you the most even color and the fewest burnt bits, but takes 45 to 55 minutes.
- Always preheat fully. A cold oven causes oats to steam first and toast second, which leads to soggy granola.
- Granola is not done in the oven. It crisps as it cools on the pan for 20 to 30 minutes.
- Add soft mix-ins like dried fruit and chocolate after baking, not before. They burn fast and turn bitter.
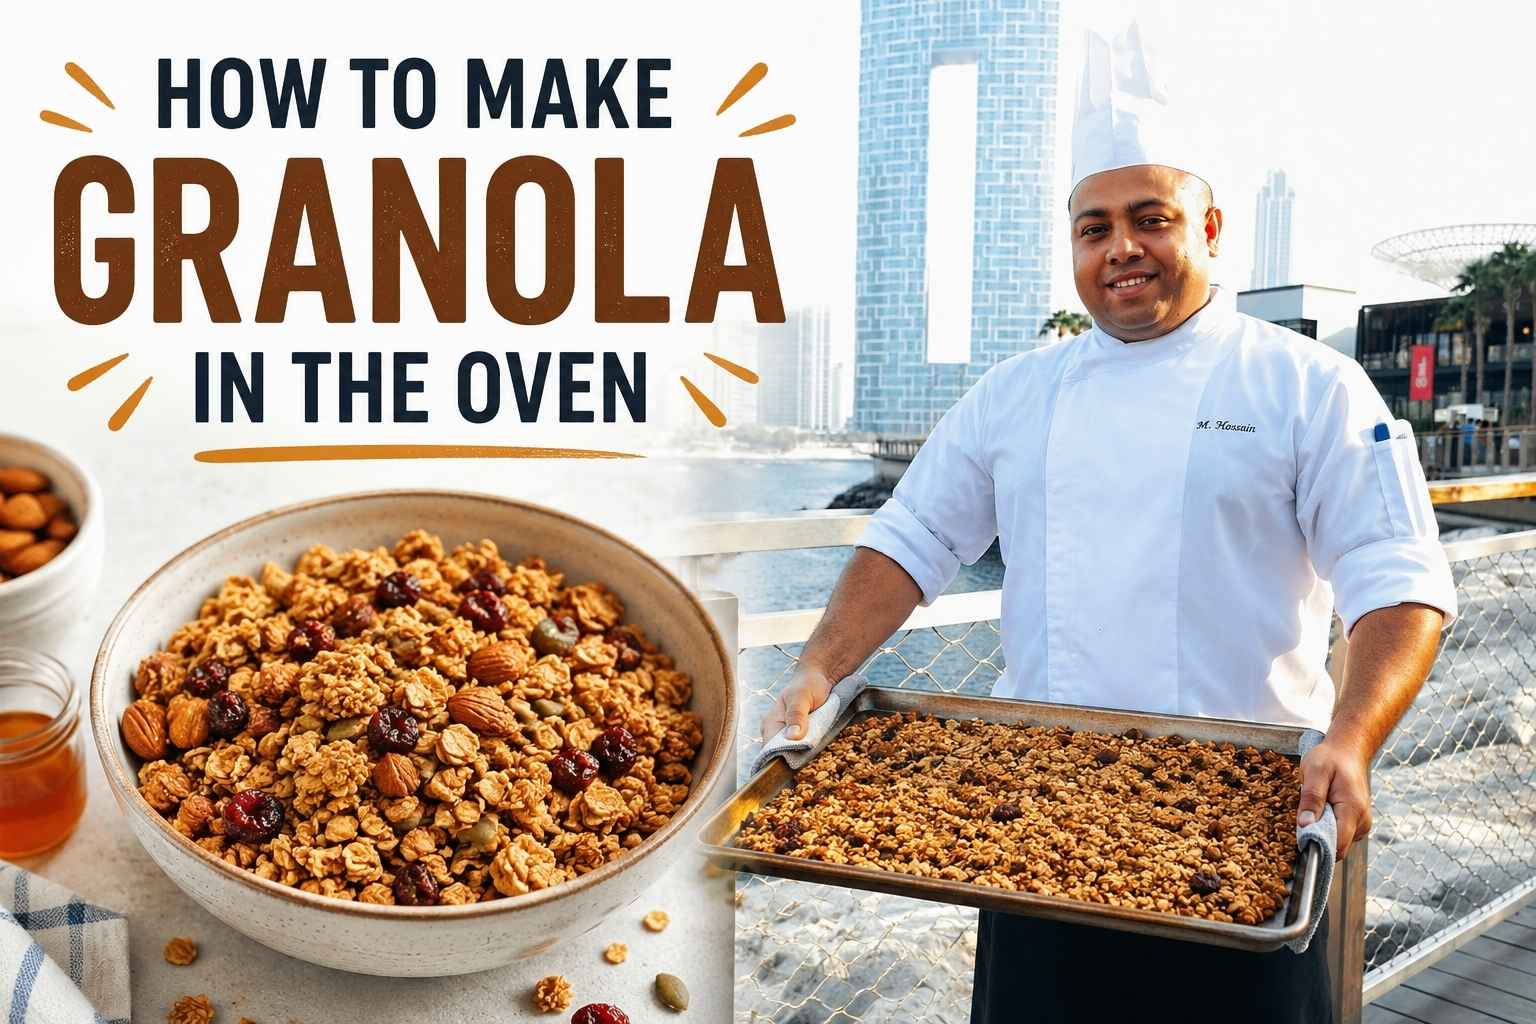
Have you ever wanted a warm, crunchy breakfast that fills your home with a sweet smell? How to Make Granola in the Oven is one of my favorite kitchen skills because it is easy, low cost, and fun. After making many batches over the years, I have found simple steps that give crisp granola every time.
In this guide, I will show you how to make homemade granola with the best bake time, oven temperature, and easy tips for great texture. You will also learn how to avoid common mistakes and make each batch fit your own taste. Let’s get started and bake a fresh batch you will want to make again and again.
What Is the Best Oven Temperature for Granola?
The best oven temperature for granola is 325°F for most home bakers. This gives oats time to dry out and brown without scorching the edges before the center cooks through.
I’ve made granola in three professional kitchens and at home more times than I can count. The pan that came out best, every single time, was the one baked at 325°F with a stir at the 10 and 20 minute marks.
Lower temperatures, like 275°F, work well too. They just take longer. Higher heat, like 375°F, works for small batches but punishes you fast if you walk away.
Why Oven Temperature and Timing Matter for Granola
Temperature controls three things at once: how fast sugar caramelizes, how the oil moves through the oats, and how quickly moisture leaves the pan. Get any of these out of sync and you get soggy, pale, or burnt granola.
Sugar Caramelization
Sugar starts to caramelize around 320°F. This is the magic behind that deep golden color and toasty smell. Honey and maple syrup caramelize a bit earlier than white sugar because they already contain some breakdown products from processing (King Arthur Baking, 2023).
If your oven runs hot, caramelization happens before the oats inside the cluster have dried out. You get a dark, almost burnt shell over a chewy, undercooked center. I’ve pulled trays like this more times than I’d like to admit, usually when I got distracted prepping something else.
Oil Distribution
Oil is your heat carrier. It coats each oat flake and helps transfer heat evenly across the surface. Without enough oil, oats toast unevenly. Some spots turn dark while others stay raw and floury.
A good rule from my kitchen: for every 4 cups of oats, use at least 3 tablespoons of oil or melted butter. Less than that, and you’ll see patchy, uneven color no matter what temperature you choose.
Moisture Evaporation
Oats hold a surprising amount of water, even dry ones straight from the bag. As the oven heats them, that water needs somewhere to go. Lower temperatures give moisture more time to escape slowly. Higher temperatures can seal the outside of a cluster before the inside has dried, trapping steam.
This trapped steam is the number one reason granola comes out of the oven crisp, then turns soft and chewy an hour later. The moisture had nowhere to go, so it redistributed once the pan cooled.
Why Preheating Your Oven Matters for Granola
A fully preheated oven is non-negotiable for granola. If you slide your tray into a cold or half-heated oven, the oats sit in a slowly rising temperature zone. They steam before they toast, and the result is soft, pale granola with no crunch.
I learned this the hard way during my first month running a brunch station. We were slammed, and I tossed a tray into an oven that had just been switched back on after a deep clean. Forty minutes later, I had warm oatmeal with raisins, not granola.
What Preheating Actually Does
When the oven hits temperature before the tray goes in, the surface of the granola starts drying immediately. This sets up a dry exterior fast, which then toasts as the interior catches up. Skip this step, and the whole process runs backward.
Give your oven at least 15 to 20 minutes to fully preheat, even if the display says it’s ready sooner. Most home ovens read “preheated” before the walls and racks have actually caught up to that temperature (Cook’s Illustrated, 2022).
Base Granola Ratios: Oats, Fat, Sweetener, and Add-Ins
A solid base granola ratio is 5 parts oats to 1 part fat to 1 part sweetener, with up to 1.5 parts nuts and seeds. This ratio gives you enough fat to coat every oat and enough sweetener to support good caramelization without burning.
The Core Ratio Table
| Ingredient | Amount (for 5 cups oats) | Purpose |
|---|---|---|
| Rolled oats | 5 cups | The base. Always use old-fashioned, not quick or instant. |
| Oil or melted butter | 0.75 to 1 cup | Coats oats for even browning |
| Honey or maple syrup | 0.75 to 1 cup | Sweetens and drives caramelization |
| Nuts and seeds | Up to 1.5 cups | Adds crunch and richness |
| Salt | 0.75 to 1 teaspoon | Balances sweetness, sharpens flavor |
How Ratios Affect Bake Time
More fat and sugar means faster browning, so you’ll want a slightly lower temperature or shorter bake time. Less fat means drier granola that needs more time to develop color, since there’s less sugar available to caramelize quickly.
If you’re cutting sugar for a lower-sugar version, expect to add 5 to 10 minutes to your bake time. The granola will still get crunchy. It just won’t get as dark.
Low-and-Slow vs. Medium vs. Fast-Bake: Which Method Should You Use?
Low-and-slow (275°F to 300°F) gives the most even color and texture, medium (325°F to 350°F) is the best all-around choice for most recipes, and fast-bake (375°F) works only for small, thin batches you can watch closely.
Low-and-Slow: 275°F to 300°F
This range is best for large batches, clusters with a lot of dried fruit mixed in early, or anyone who tends to forget about the oven. The slower pace gives moisture more time to leave the pan before sugars start to caramelize hard.
I use this method when I’m making granola for a catering order, where the batch size is double or triple a normal home recipe. More volume means more moisture, and that moisture needs time to escape.
Bake time: 45 to 55 minutes
Best for: Large batches, thick layers, hands-off baking
Medium: 325°F to 350°F
This is my default for home batches. It balances speed and control. You get good color in about half an hour, and the stir intervals are short enough that you won’t forget about the tray.
Bake time: 25 to 35 minutes
Best for: Standard 4 to 6 cup batches, most recipes as written
Fast-Bake: 375°F
This works only if your layer is thin (under half an inch) and you plan to stir every 5 to 7 minutes without fail. At this temperature, the gap between “perfectly toasted” and “burnt” can be under 3 minutes.
Bake time: 15 to 20 minutes
Best for: Small batches, thin layers, experienced bakers who won’t walk away
Granola Bake Time and Temperature Reference Table
This table covers the full range from 275°F to 375°F, including stirring intervals and what texture to expect at each setting.
| Oven Temp | Total Bake Time | Stir Every | Texture Outcome |
|---|---|---|---|
| 275°F | 50 to 60 min | 15 min | Very even color, light and airy, fewest burnt edges |
| 300°F | 45 to 50 min | 12 to 15 min | Even toasting, slightly more crunch than 275°F |
| 325°F | 30 to 35 min | 10 min | Balanced color and crunch, my default setting |
| 350°F | 22 to 28 min | 8 to 10 min | Faster caramelization, watch edges closely |
| 375°F | 15 to 20 min | 5 to 7 min | Fast, deep color, high risk of burning if unwatched |
Times assume a standard half sheet pan with a layer about half an inch thick. Thicker layers need more time at any temperature.
Stirring Frequency and Why It Matters
Stirring redistributes oats from the edges of the pan, where they brown fastest, to the center, where they brown slowest. Skipping this step gives you a tray with burnt corners and a pale, undercooked middle.
How to Stir Correctly
Use a wide metal spatula and fold the granola from the outside edges toward the center. Don’t just stir in circles, since that doesn’t move the hottest oats away from the hot zones.
At 325°F, I stir at the 10 minute mark, then again at 20 minutes, then check every 5 minutes after that until done. The closer you get to your target time, the more often you should check.
What Happens If You Skip Stirring
The corners of a sheet pan run 10 to 15 degrees hotter than the center in most home ovens, due to how heat circulates near the oven walls (Serious Eats, 2021). Without stirring, those corner oats burn well before the center oats finish toasting.
Convection vs. Conventional Ovens for Granola
Convection ovens cook granola 20 to 25 percent faster than conventional ovens because the fan moves hot air across the tray, removing moisture more efficiently. If you’re using convection, drop your temperature by 25°F and start checking 5 minutes earlier than the times in the table above.
Why Convection Changes the Result
That moving air dries the surface of the granola faster, which can lead to a crunchier finish but also a higher risk of drying out add-ins like coconut or thin-sliced almonds before the oats are done.
If your convection oven has a “convection bake” setting that’s separate from regular “bake,” use it for granola. It runs the fan at a lower speed than full convection roast, which is gentler on delicate add-ins.
Adjustments for Convection
- Drop temperature by 25°F from the conventional setting
- Reduce total bake time by about 20 percent
- Stir slightly more often, since hot spots shift with the moving air
How to Know When Granola Is Actually Done
Granola is done when it’s a deep golden brown (not pale tan), smells toasty and nutty rather than sweet and raw, and feels dry to the touch even while warm. Color and smell matter more than the clock, since oven variations of 15 to 25 degrees are common even when the dial says the same number (America’s Test Kitchen, 2020).
The Color Test
Pull a few oat flakes from the center of the tray, not just the edges. They should be golden brown, similar to the color of light brown sugar. If they’re still pale yellow, the granola needs more time.
The Smell Test
Raw oats and honey smell sweet and a little flat. Toasted granola smells nutty, warm, and slightly caramel-like. If your kitchen smells like cookies are baking, you’re close to done.
The Touch Test
This is the one most people skip. Carefully touch a cluster from the center of the pan. It should feel dry, not tacky or sticky. Granola that’s still tacky when warm will be chewy, not crisp, once it cools.
Cooling Time: Why Granola Crisps as It Cools, Not in the Oven
Granola needs 20 to 30 minutes of cooling time on the pan, undisturbed, to reach its final crisp texture. The crunch you’re after comes from the sugars hardening as they cool, not from anything that happens inside the oven.
Don’t Touch the Pan Right Away
I know it’s tempting to start breaking up clusters the second the tray comes out. Don’t. The granola is still soft and a bit bendy at this point, even if it looks done. Give it the full cooling window on the pan, on a rack if you have one, before you touch it.
Breaking It Up
Once cooled, break the granola into clusters using your hands or a spatula. If you want smaller pieces, break it up while it’s still slightly warm. For big clusters, wait until it’s fully cool, since cold granola breaks more cleanly along natural seams.
Common Granola Mistakes and How to Fix Them
Mistake 1: Burnt Edges
The fix: Lower your oven temperature by 25°F and stir more frequently. Edge pieces are closest to the pan’s hot zones, so they need the most attention. Using a light-colored pan instead of a dark one also helps, since dark pans absorb more heat and run hotter (Bob’s Red Mill, 2022).
Mistake 2: Soggy Centers
The fix: Spread the granola in a thinner layer, no more than half an inch deep. A thick pile traps steam in the middle, which keeps those oats soft no matter how long you bake.
Mistake 3: Clumping Issues (Too Loose or Too Solid)
The fix: For granola that won’t hold together at all, add 1 to 2 more tablespoons of honey or maple syrup next time, and press the mixture down firmly before baking. For granola that bakes into one giant slab, use less syrup and stir more often to break up the mass as it bakes.
Mistake 4: Burnt Add-Ins
The fix: Hold back delicate add-ins like coconut flakes, sliced almonds, dried fruit, and chocolate until the last 5 to 10 minutes of baking, or stir them in after the granola comes out of the oven entirely.
Mistake 5: Altitude Adjustments
The fix: At elevations above 5,000 feet, lower your oven temperature by 25°F and add 5 to 10 minutes to the bake time. Thinner air at altitude means moisture evaporates faster, so granola can dry out and burn on the outside before the inside catches up.
Add-In Timing: When to Add Nuts, Seeds, Coconut, Dried Fruit, and Chocolate
Hardy raw nuts and seeds can go in from the start, but coconut, dried fruit, and chocolate should be added in the last 5 to 10 minutes or after baking entirely. This timing prevents the most fragile ingredients from burning while letting sturdier ones toast properly.
Add From the Start
Raw almonds, walnuts, pecans, pumpkin seeds, and sunflower seeds can handle the full bake time. They toast right alongside the oats and develop a deep, nutty flavor.
Add in the Last 5 to 10 Minutes
Unsweetened shredded coconut and pre-toasted nuts go in toward the end. Coconut especially can go from golden to burnt in under 2 minutes at 350°F, so keep a close eye once it’s in the oven.
Add After Baking, Once Cooled
Dried fruit, chocolate chips, and chocolate chunks go in only after the granola has fully cooled. Baking dried fruit makes it hard and leathery. Baking chocolate means it melts, scorches, and sticks to the pan.
My Personal Granola Routine
I make granola in 6 cup batches, which spreads across one half sheet pan at the right thickness without crowding. Anything more than that on one pan, and I end up with soggy centers no matter what I do.
My Go-To Setup
- Pan: A light aluminum half sheet pan, lined with parchment. Dark pans run hotter and brown the bottom layer too fast.
- Temperature: 325°F, no convection, middle rack.
- Ratio: 6 cups old-fashioned oats, 1 cup melted coconut oil, 1 cup maple syrup, 1.5 cups mixed pecans and pumpkin seeds, 1 teaspoon salt, 1 teaspoon cinnamon.
- Bake time: 30 minutes total, stirred at 10 and 20 minutes.
- Add-ins: Dried cherries and dark chocolate chunks, stirred in after the granola has cooled for 25 minutes.
This batch lasts my household about a week and a half, stored in a glass jar with a tight lid at room temperature.
Frequently Asked Questions About Making Granola in the Oven
What temperature is best for granola?
325°F is the best all-around temperature for granola. It gives a good balance of color, crunch, and bake time (around 30 minutes) without the high risk of burning that comes with 375°F.
How long does granola take to bake?
Granola takes 15 to 60 minutes depending on temperature. At 325°F, expect 30 to 35 minutes. At 275°F, expect 50 to 60 minutes. Always check by color and smell, not just the clock.
Why is my granola not crispy?
Your granola likely needs more cooling time. Granola crisps as it cools on the pan, not in the oven. Give it 20 to 30 minutes undisturbed before breaking it up.
Can I make granola without oil?
Yes, but it will be less evenly browned and slightly drier in texture. Replace oil with an equal amount of unsweetened applesauce or extra honey, and expect the granola to take 5 to 10 minutes longer to develop color.
Should I stir granola while it bakes?
Yes. Stir every 8 to 15 minutes depending on your temperature, folding the edges toward the center. This prevents burnt corners and pale centers.
Why did my granola turn out soggy?
The most common causes are too thick a layer, not enough cooling time, or an oven that wasn’t fully preheated. Spread granola no thicker than half an inch, and always cool it on the pan for at least 20 minutes.
Can I double a granola recipe?
You can, but split it across two pans rather than piling it onto one. A doubled batch on a single pan creates a layer too thick to bake evenly, leading to soggy centers and burnt edges.
How do I store homemade granola?
Store cooled granola in an airtight container at room temperature for up to 2 weeks. If you added dried fruit, check that the granola is completely cool first, since residual warmth creates condensation inside the container.
Key Takeaways
- 325°F for 25 to 35 minutes is the best starting point for most home granola recipes.
- Preheat fully before baking. A cold oven leads to steamed, soggy oats instead of toasted ones.
- Stir every 8 to 15 minutes to prevent burnt edges and pale centers.
- Granola crisps during cooling, not in the oven. Give it 20 to 30 minutes on the pan before breaking it up.
- Add delicate ingredients like coconut, dried fruit, and chocolate near the end or after baking to avoid burning them.
- Keep layers under half an inch thick, and split large batches across multiple pans.

I’m Mossaraof, a trained chef and the founder of OvenInsights.com. I spent years cooking at Larrupin’ Cafe and in kitchens across Chicago and Seattle. Now I test kitchen gear for a living. I moved to North Acton, London, and I test every tool I write about. I use real meals and real heat. No brand deals. No shortcuts. I cover 12 kitchen types and hundreds of recipes. I believe this: the right tools matter as much as the recipe.




