
At A Glance
- Build your dinner party schedule by working backward from serve time, not forward from prep start.
- Choose one anchor dish – usually the protein – and schedule every other dish around it.
- Group dishes by temperature compatibility using oven zones: most roasts, sides, and bakes fall within a 50°F range that convection can bridge.
- Resting time is not dead time. A 20-minute rest on a roast beef is 20 minutes to finish your sides and plate.
- Cook starches and braises ahead; finish fresh dishes (green vegetables, soufflés, anything crispy) in the final 15 minutes.
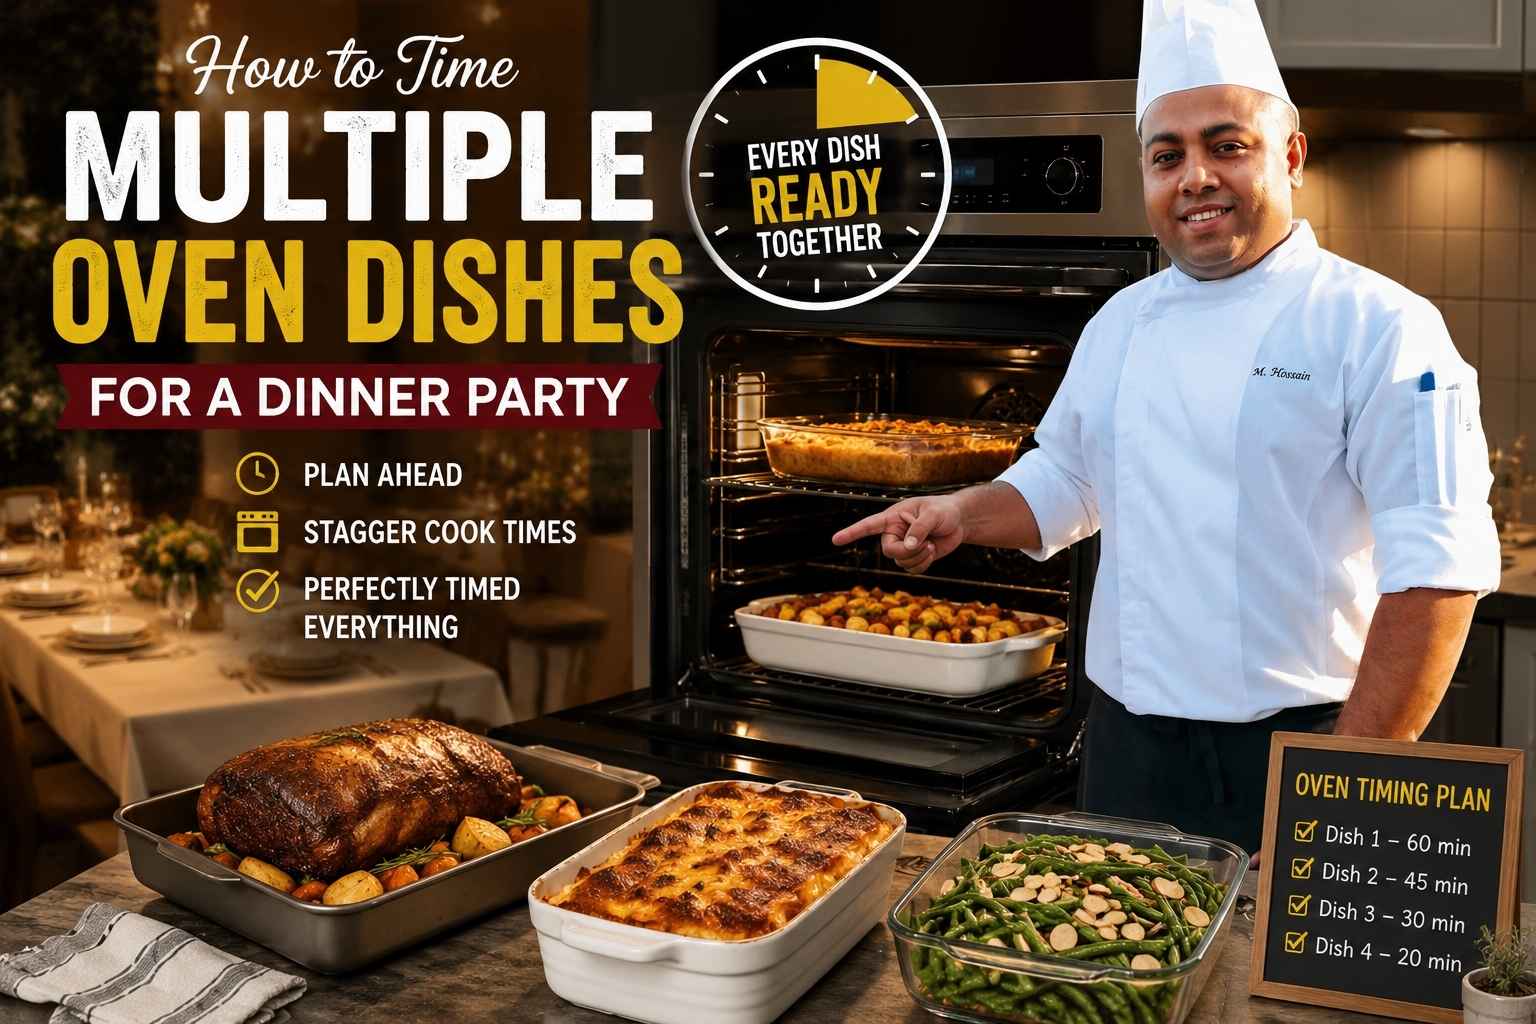
I still remember the night I nearly served cold turkey and burnt rolls at the same dinner party. Panic hit me hard as I stood in front of a packed oven with no plan. That night taught me one big lesson: you need to know how to time multiple oven dishes for a dinner party, or chaos takes over your kitchen. After years of testing this in my own kitchen as a chef, I’ve built a system that actually works. Stick with me, and I’ll show you exactly how to get every dish hot and ready at once, so you can enjoy your own party instead of hiding in the kitchen.
Why Oven Timing Is the One Skill That Separates Home Cooks from Pros
Most dinner parties don’t fall apart because the food tastes bad. They fall apart because three dishes are ready at 6:45 and the main course isn’t done until 7:30. By then, the sides are cold, someone has eaten two bread rolls out of desperation, and the host is sweating through their apron.
I’ve cooked in restaurant kitchens for 15 years. The skill the culinary school doesn’t teach you – the one that actually separates the line cooks from the chefs – is sequencing. Knowing what goes in, when, at what temperature, and exactly how long it needs. Everything else is just technique.
At home, the problem is almost always the same: people plan what to cook but not when to cook it. They get excited about the menu, prep everything, then stuff it all in the oven and hope for the best. That’s not cooking. That’s gambling.
Here’s what goes wrong at dinner parties specifically:
- Everything finishes at once, so nothing can be plated properly and the host misses the first course.
- The oven runs out of real estate, so dishes on the bottom rack burn while the top stays raw.
- Temperature conflicts mean the delicate fish is getting blasted at the same temp as the root vegetables.
- No buffer time exists between “done” and “on the table,” so a 5-minute delay cascades into 25.
The fix is a real timeline – and the discipline to stick to it.
How to Build a Reverse Timeline: Start at the Table, Work Backward
The biggest mindset shift I ever made was stopping forward planning and starting backward planning.
Decide your serve time first. Let’s say dinner is at 7:00 PM. Everything you do between now and that moment is in service of that deadline. Not the other way around.
Here’s how to reverse-engineer a dinner party timeline:
Step 1: List every dish and its “ready time.” Ready time is not when it comes out of the oven. It’s when it’s plated and table-ready, including any resting, garnishing, or saucing.
Step 2: Work backward from serve time. If your roast needs 20 minutes to rest before carving, it needs to come out at 6:40. If it cooks for 90 minutes, it goes in at 5:10.
Step 3: Slot in every other dish around that anchor. Your roasted potatoes need 45 minutes at 400°F? They go in at 6:15. Your green beans take 8 minutes? Those go in at 6:52.
Step 4: Add 10-15% buffer time to every cook estimate. Ovens run differently. Dishes run cold if your mise en place was refrigerator-cold. Give yourself room.
Step 5: Write the timeline on paper. Not a phone note. Paper, on the counter, visible while you cook. I’ve been doing this for 15 years and I still write it down.
The Dinner Party Oven Timing Master Table
Use this as a reference template. Fill in your own dishes with actual timing from recipe testing or trusted sources like America’s Test Kitchen or Serious Eats.
| Dish | Oven Temp | Cook Time | Rest/Hold Time | Notes |
|---|---|---|---|---|
| Whole roast chicken (4 lb) | 425°F | 60-75 min | 15-20 min tented | Anchor dish candidate |
| Beef tenderloin (3 lb) | 425°F sear, 275°F roast | 25-30 min at 275°F | 20-25 min | Pull at 125°F for medium-rare |
| Leg of lamb (5 lb, bone-in) | 325°F | 2-2.5 hrs | 20-30 min | Can hold 30 min in warm oven |
| Salmon fillet (whole side) | 275°F | 25-30 min | None – serve immediately | Temperature-sensitive; do last |
| Roasted root vegetables | 400°F | 40-50 min | 5-10 min | Flexible; hold at 200°F easily |
| Potato gratin | 375°F | 60-75 min | 10 min | Can be made ahead, reheated |
| Dinner rolls | 375°F | 15-18 min | 5 min | Bake while meat rests |
| Soufflé | 375°F | 25-30 min | Zero – serve immediately | Requires dedicated oven window |
| Fruit crisp / crumble | 375°F | 35-40 min | 10 min | Make ahead; warm before serving |
Times adapted from America’s Test Kitchen (2024) and The Food Lab by J. Kenji López-Alt (2015).
The Anchor Dish Method: Build Your Entire Schedule Around One Hero
Pick one dish that the meal lives or dies by. Usually this is the protein – the roast, the bird, the fish. Everything else orbits around it.
The anchor dish has three characteristics: it takes the longest, it’s the hardest to hold, and it’s what people remember. Your leg of lamb is the anchor. Your dinner rolls are not.
Once you’ve identified your anchor, you do three things:
- Confirm its temperature and cook time from a tested source. Not guessing – Serious Eats, America’s Test Kitchen, or your own previous experience with that specific cut and weight.
- Lock in its oven window first, before scheduling anything else.
- Schedule everything else around the rest window. The 20-25 minutes your roast is resting is prime oven real estate – that’s when rolls go in, that’s when you fire the broiler on the gratin.
I learned this method the hard way in a restaurant context. You can’t plan around six competing “hero” dishes. One thing is the star. The rest support it.
Grouping Dishes by Temperature: The Oven Zones Concept
Not every dish needs its exact temperature to succeed. Most dishes have a range of about 25-50°F where they’ll cook acceptably. That range is your negotiating room.
Zone 1: High heat (400-450°F). Roasts, root vegetables, anything you want color and caramelization on. This zone is your production zone.
Zone 2: Moderate heat (325-375°F). Gratins, casseroles, braises, most bakes. Gentle and forgiving.
Zone 3: Low and slow (225-300°F). Holding zone. Cooked dishes waiting for serve time. Delicate proteins like salmon or halibut that you don’t want to overcook.
The practical strategy: most dinner parties can run the whole show at 375°F with convection on. Your roasted chicken cooks slightly slower than at 425°F – budget an extra 10-15 minutes – but your potato gratin cooks perfectly, your rolls come out golden, and you’re not managing two conflicting oven temperatures simultaneously.
If you must cook at two temperatures, use time gaps, not simultaneous cooking. Blast the chicken at 425°F first, then drop to 375°F when the sides go in.
How Oven Crowding Affects Heat and What to Do About It
A packed oven is a different oven. Air needs to circulate to transfer heat. When you fill every rack with sheet pans and casserole dishes, you’ve essentially created a sealed box, and cook times will increase by 15-25% (America’s Test Kitchen, 2023).
Three rules for a crowded oven:
- Leave at least 2 inches of clearance between dishes and oven walls for any air movement at all.
- Rotate everything 180° at the halfway point. Hot spots exist in every domestic oven. Front-to-back, left-to-right – your dishes will thank you.
- Add 15% to your estimated cook times and verify doneness with a thermometer, not a timer.
Sheet pans are your enemy in a crowded oven. Swap them for wire racks set inside the pan – this restores airflow underneath the food. For root vegetables especially, this makes a measurable difference in how well they caramelize.
Convection vs. Conventional: When to Switch in a Full Oven
Convection moves air with a fan. That circulation means more even heat distribution and typically 25°F faster cooking – or about 10-15% shorter cook times at the same temperature (King Arthur Baking, 2022).
In a full oven, convection is almost always the right call. Here’s why:
The fan does the work that air gaps normally do. When you’ve got four dishes competing for space, convection partially compensates for the reduced airflow. It doesn’t fully replace it – you still need clearance – but it narrows the gap.
One exception: Soufflés, custards, and anything with a delicate set. The moving air can cause uneven rising or skin formation before the inside is cooked. Leave those on conventional mode.
Practical adjustment: If your recipe calls for 400°F conventional, run convection at 375°F. If it calls for 375°F conventional, run convection at 350°F and check 10 minutes early.
Gas vs. Electric Oven Considerations for Multi-Dish Cooking
If you cook in both types of ovens, you already know they behave differently. If you’ve only ever used one, here’s what matters when you’re cooking multiple dishes.
Gas ovens have a moist heat environment because combustion produces water vapor. This is great for keeping roasts juicy but works against you when you want crispiness – skin on chicken, crust on potatoes. Gas ovens also have more uneven temperature distribution from the bottom burner cycling on and off.
Electric ovens run drier and more evenly. They hold set temperature more consistently, which makes timing more predictable. The downside is slower recovery after you open the door – budget 5-7 minutes for temperature to come back up after you’ve been checking things.
Practical adjustments for a full oven by type:
For gas: If you want crispy skin or caramelization, don’t crowd the top rack. Keep the crisping items up high, away from the steaming roast below.
For electric: Set your oven 10-15°F higher than the recipe states when fully loaded. The thermal mass of a full oven drags the effective temperature down, especially in older appliances.
Resting Time, Foil Tenting, and Warming Drawers as Your Buffer System
Resting time is not something that happens to you while you wait. Resting time is a tool you control.
A 4-pound chicken resting for 20 minutes under a loose foil tent is not losing. It’s holding temperature at around 150-155°F internally while carry-over cooking finishes the process (The Food Lab, J. Kenji López-Alt, 2015). More importantly, it’s giving you 20 free minutes to finish every other dish, plate the salad course, and pour the wine.
Foil tenting rules:
- Loose tent only. Tight foil wrapping traps steam and softens any crispy skin you worked for.
- The tent slows heat loss by roughly 50% compared to uncovered rest (America’s Test Kitchen, 2022).
- Add a folded kitchen towel on top of the foil for longer holds – up to 30 minutes for larger cuts.
Warming drawers sit at around 140-165°F depending on the setting. They’re ideal for holding cooked vegetables, dinner rolls, and plates. They are not ideal for proteins – the low, dry heat continues to cook them slowly, and a 30-minute hold can push a medium-rare roast to medium.
The 200°F oven trick: If you don’t have a warming drawer, set your oven to its lowest setting (usually 170-200°F) and put a serving dish inside. It’s not as precise, but it works for sides that can tolerate 15-20 minutes of gentle hold.
What to Cook Ahead vs. What Must Come Out Fresh
This is where most home cooks leave the most performance on the table. Not everything needs to be made the day of. In fact, making the wrong things fresh – and the right things ahead – is one of the most common timing mistakes I see.
Make ahead (day before or morning of):
- Potato or vegetable gratin – reheats perfectly at 350°F for 20 minutes
- Any braise: short ribs, lamb shanks, beef stew – flavors improve overnight
- Soup or sauce – just reheat on the stove
- Desserts: fruit crisps, tarts, anything room temperature
- Compound butters, herb oils, vinaigrettes
Make the day of, but early:
- Salads (dressing separate until serve)
- Marinated vegetables
- Cookie dough or batter (bake while main course rests)
Must come out fresh:
- Any leafy green cooked in the oven (kale chips, chard) – loses texture in minutes
- Soufflés – no negotiation here
- Anything fried or crisped – reheating destroys it
- Fish fillets under 1 inch thick – they’re too thin to hold
The guiding principle: anything that improves with time, make ahead. Anything that dies with time, make last.
Common Dinner Party Timing Disasters – and How to Fix Them
Everything Finishes at the Same Time
This is the classic trap. You planned meticulously, everything coordinated beautifully – and now you have five hot dishes and one pair of hands.
Fix: Stagger intentionally by 10-minute windows. The roast comes out at 6:40 and rests. Vegetables come out at 6:45. Rolls go in at 6:40, out at 6:55. You have a 15-minute service window to plate everything without a single item sitting under the lights going cold.
The Anchor Dish Runs Long
Your roast is at 5:00 PM and dinner is at 7:00. The roast isn’t done by 6:30.
Fix: Don’t panic-crank the heat. Increase temperature by 25°F and use a meat thermometer, not a timer. Hold your sides – they can wait at 200°F. Push dinner by 15 minutes rather than dry out a $60 piece of meat.
Altitude
If you’re cooking above 3,500 feet, water boils at a lower temperature, and ovens can behave differently due to lower air density affecting convection and heat transfer. King Arthur Baking (2024) recommends increasing bake temperatures by 15-25°F at altitude and reducing cook times slightly for baked goods. For roasting meats, the effect is minimal – use a thermometer regardless.
The “One Cold Dish” Problem
One dish cooled while you were focused on the others.
Fix: Warm your serving dishes. A 2-minute run in the oven at 200°F or a rinse with hot water turns a room-temperature plate into a heat-holding surface. It’s a restaurant move that takes zero extra time.
My Personal Dinner Party Prep Routine
I’ll be specific here, because generalities are useless when you’re the one standing in the kitchen at 5:45 with guests arriving at 6:30.
Three days before: Finalize the menu. No experimenting – pick things I’ve made before. Confirm my anchor dish and write the reverse timeline.
Day before: Make anything that benefits from a night in the fridge. Braise goes on the stove. Gratin goes in the oven. Sauces and compound butters are done. I clean and organize the refrigerator so I’m not rearranging sheet pans at the last minute.
Day of, morning: All prep that doesn’t need to happen fresh. Vegetables peeled, cut, seasoned, on trays in the fridge. Protein out of the fridge 45-60 minutes before cook time (room-temperature meat cooks more evenly and predictably). Mise en place for everything that cooks on the stove.
2 hours before guests: Anchor dish goes in. Timeline on the counter.
1 hour before: Second-tier items go in. Oven check – everything rotating, temperatures accurate, nothing touching.
30 minutes before: Hold phase. Sides going in. Rolls ready to bake. Table set, wine open, ice in the bucket.
15 minutes before: Anchor dish out. Resting under the tent. Finishing touches on everything else.
Serve time: I’ve been doing this for years and I still feel the same brief moment of satisfaction when the first course goes to the table on time and hot. That’s the whole game.
Frequently Asked Questions About Oven Timing for Dinner Parties
How far in advance can I prep dishes for a dinner party?
Most prep can happen 24-48 hours ahead. Braises, gratins, soups, sauces, and roasted vegetables all hold well refrigerated and often taste better the next day. Anything raw and perishable – fish, delicate salads, fresh herbs – prep the morning of. See “What to Cook Ahead vs. What Must Come Out Fresh” above for a full breakdown.
Can I cook two proteins at the same time in the same oven?
Yes, but with conditions. Both proteins should have compatible temperature requirements (within 25-50°F of each other). Account for the increased mass in the oven – a second roast means the oven works harder to maintain temperature. Add 10-15% to both cook times and verify with a thermometer on each piece independently. Never rely on one reading to judge both.
What’s the safest way to hold cooked food hot before serving?
For most dishes, a 200°F oven with a loose cover is the safest hold. Proteins hold best under foil tenting at room temperature for short periods (under 30 minutes) – the carryover heat keeps them above 140°F, which is the USDA safe hold temperature (USDA Food Safety, 2024). For anything that needs longer holding, a chafing dish or warming tray is more reliable than the oven.
Should I use convection when the oven is packed?
Almost always yes. Convection compensates for the reduced air circulation that happens when dishes crowd the oven. Reduce your target temperature by 25°F from what the recipe states and check items 10-15 minutes before the stated time. The exception is delicate items like soufflés or custards, which should stay on conventional mode.
How do I prevent my roasted vegetables from getting soggy while waiting?
Three things: don’t cover them, hold them in a 200-225°F oven on a wire rack (not a solid pan), and don’t stack them. Steam is the enemy of crisp vegetables. A wire rack keeps air moving underneath. If they do lose some crispiness, a 3-minute blast under the broiler right before service fixes it.
How long can a rested roast sit before it gets too cold?
With a foil tent and a kitchen towel over the top, most roasts maintain serving temperature for 30-45 minutes (America’s Test Kitchen, 2022). Larger cuts like a leg of lamb or a prime rib hold longer than smaller cuts because of their thermal mass. Beyond 45 minutes, internal temperature drops below 130°F for medium-rare cuts – still safe, but no longer as warm as you’d want.
What’s the easiest way to check if my oven temperature is accurate?
Buy an oven thermometer – a good one costs around $12 and will tell you immediately if your oven runs hot or cold. Most domestic ovens are off by 25-50°F (America’s Test Kitchen, 2023). Once you know your oven’s actual temperature, adjust accordingly. If your oven reads 375°F but actually runs at 400°F, you’ve been overcooking things by that margin for years.
What’s the best dinner party menu strategy for a first-time host?
Pick one impressive anchor dish you’ve made at least twice before. Make everything else ahead or simple. A braised short rib made the day before, reheated gently, alongside a potato gratin (also made the day before) and a simple green salad is a better dinner party than an ambitious menu you’ve never attempted. Confidence in execution shows. Stress in the kitchen shows more.
Key Takeaways
- Work backward from your serve time, not forward from your prep start. Reverse planning is the single biggest upgrade you can make to your dinner party process.
- Choose an anchor dish – the protein – and schedule everything else around its rest window.
- Most dinner party menus can run at a single temperature (375°F with convection) if you’re willing to add 10-15 minutes to individual cook times.
- A packed oven increases cook times by 15-25%. Adjust, rotate halfway through, and verify with a thermometer.
- Resting time is your planning buffer. Use it – it’s 20 free minutes while the oven resets for finishing touches.
- Make ahead anything that holds or improves with time. Make fresh only what dies with time.
- Write your timeline on paper. Leave it on the counter. Stick to it.

I’m Mossaraof, a trained chef and the founder of OvenInsights.com. I spent years cooking at Larrupin’ Cafe and in kitchens across Chicago and Seattle. Now I test kitchen gear for a living. I moved to North Acton, London, and I test every tool I write about. I use real meals and real heat. No brand deals. No shortcuts. I cover 12 kitchen types and hundreds of recipes. I believe this: the right tools matter as much as the recipe.




