
At A Glance
- Dry brining beats wet brining for most home cooks. It is less mess, less risk, and gives crispier skin.
- Pull the turkey at 160°F in the breast and 170°F in the thigh. Carryover cooking finishes the job during the rest.
- Rest the turkey for 30 to 40 minutes before carving. Skipping this step is the single biggest cause of a dry-looking bird.
- Cook stuffing separately. The USDA notes that a stuffed bird takes longer to cook and raises safety risk (USDA FSIS, 2024).
- A reliable meat thermometer matters more than oven temperature, timing charts, or brand of turkey.
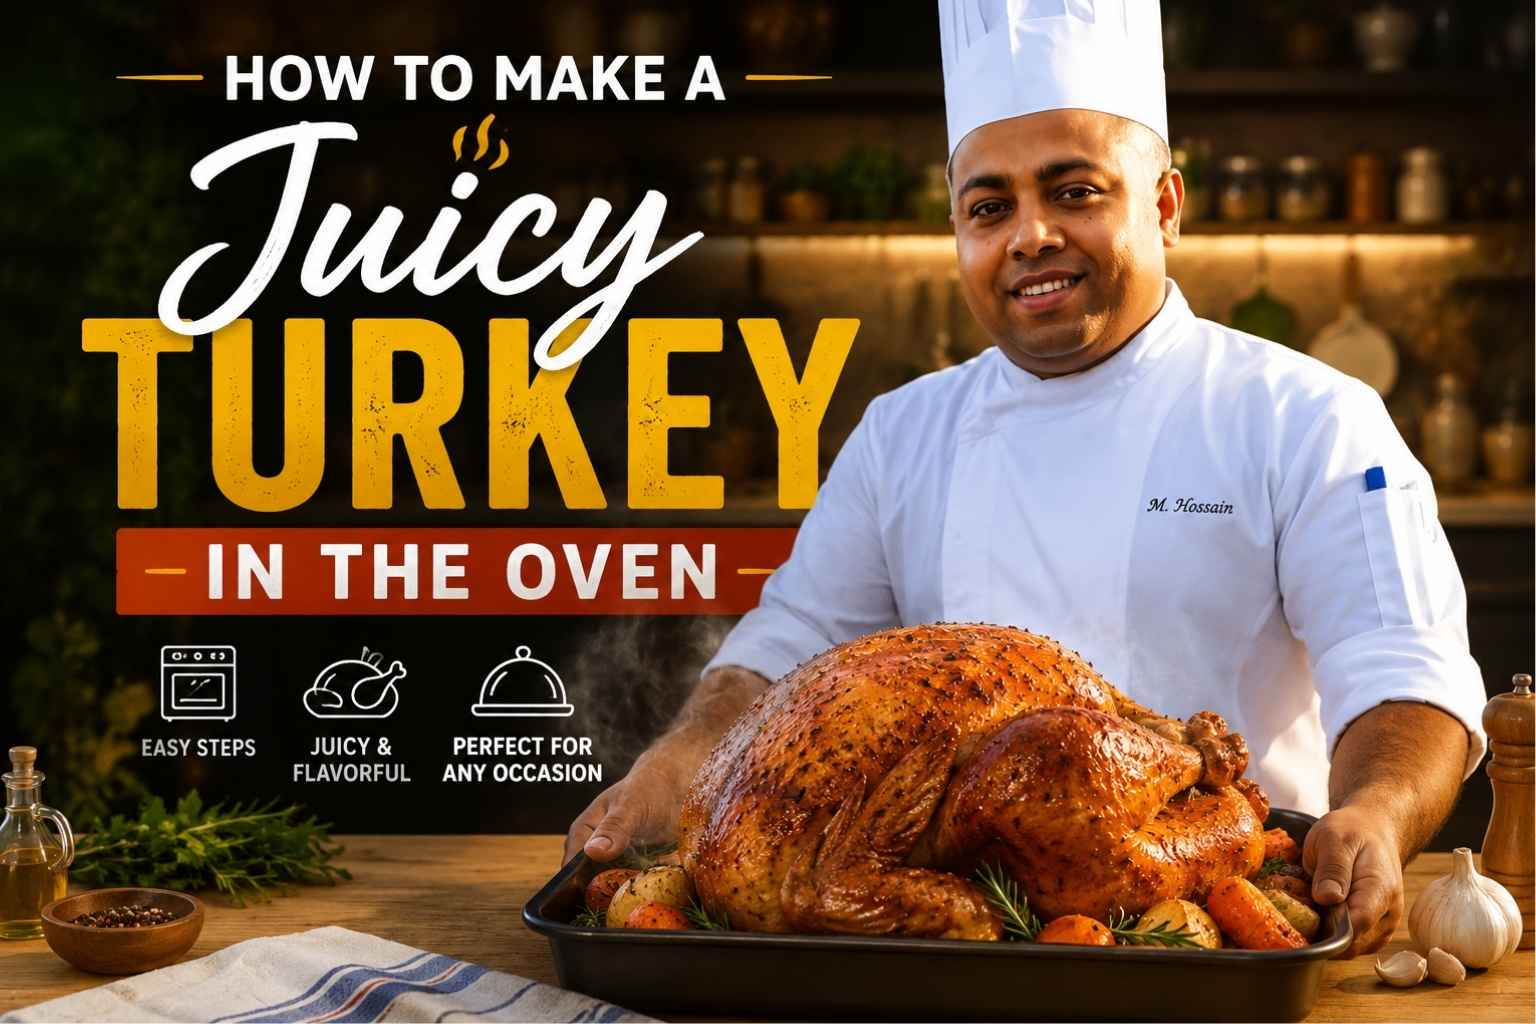
My first turkey came out dry as cardboard. I served it anyway, smiled through dinner, and cried a little after everyone left. That’s why I dug deep to learn how to make a juicy turkey in the oven, and now I make it every year without fail.
This guide shares everything I wish I knew back then: the tricks, the timing, and the small steps that make a big difference. No fancy skills needed. Just follow along, and your turkey will turn out moist, golden, and ready to impress.
Why Turkey Dries Out (And What’s Actually Happening Inside the Meat)
Turkey breast dries out because muscle protein tightens as it heats, and that squeezes water out of the meat. This starts around 140°F and speeds up fast past 160°F. Thigh meat has more fat and connective tissue, so it stays juicy at higher temperatures than breast meat does.
Here is the core problem: breast and thigh finish safely at different temperatures, but they sit on the same bird in the same oven. The breast is done at 160°F. The thigh needs to hit 170°F or higher to break down its tougher fibers and taste good. If you cook the whole turkey until the thigh is right, the breast has already overshot and lost its moisture.
Carryover cooking is the part most home cooks skip. After you pull meat from the oven, the outer layers are hotter than the center. Heat keeps moving inward for several minutes after the bird leaves the oven. A large turkey breast can climb 5 to 10 degrees during a 30-minute rest. That is why chefs pull meat before it hits the final target number, not after.
Brining vs. Dry-Brining vs. No Brine: My Honest Take
Wet Brining
A wet brine is a saltwater soak, usually for 12 to 24 hours. Salt moves into the meat and the meat holds more water through cooking. It works. It also requires a cooler or a spare fridge shelf big enough for a bucket and a 15-pound bird swimming in liquid. I have knocked over a full brine bucket on a restaurant floor. I do not recommend it for a home kitchen with limited space.
Dry-Brining
You rub the turkey with salt (about 1 tablespoon of kosher salt per 5 pounds) and let it sit uncovered in the fridge for 24 to 48 hours. The salt draws out moisture first, then that moisture dissolves the salt and gets reabsorbed with it. You get the seasoning benefit of a wet brine, plus the uncovered fridge time dries the skin, which means better crisping in the oven (Serious Eats, 2024).
No Brine
Skipping brine entirely is fine if you are short on time, but you are relying entirely on technique — correct temperature, correct thermometer placement, correct rest — to keep the bird juicy. It can be done well. It leaves less room for error.
My preference: dry brine, every time. It is simpler, safer, and gives better skin than a wet brine, and it beats skipping the step altogether. I dry brine 48 hours out whenever my schedule allows it.
Prepping the Turkey: Thawing, Drying, and the Room-Temperature Rest
Thawing Timeline
A frozen turkey needs about 24 hours of refrigerator thawing for every 4 to 5 pounds. A 16-pound bird needs roughly 4 days in the fridge. Do not rush this with hot water or counter thawing — that lets the outer layer sit in the danger zone (40°F to 140°F) too long. If you’re behind schedule, USDA guidance confirms cold water thawing works too: submerge the wrapped bird and change the water every 30 minutes, using about 30 minutes per pound (USDA FSIS, 2024).
Pat It Dry
Before seasoning, pat the entire surface dry with paper towels — skin, cavity, everywhere. Wet skin steams instead of browning. This is a small step that makes a real difference in the final crisp.
Room-Temperature Rest
Pull the turkey out of the fridge 1 to 2 hours before it goes in the oven. A cold bird straight from the fridge cooks unevenly — the outside finishes while the center lags behind. Letting it lose its chill means more even cooking start to finish.
Oven Temperature Strategy: Low and Slow, High Heat Sear, or Reverse?
Low and Slow (275°F to 300°F)
Gentle heat cooks the turkey evenly and reduces the risk of a dry breast. The tradeoff is skin that rarely gets truly crisp, and a longer cook time that ties up your oven for hours you may need for side dishes.
High Heat Sear (425°F to 450°F throughout, or for the first 30 minutes)
This browns skin fast and cuts total cook time. The risk: the outside can overcook before the thigh reaches a safe temperature, especially on a larger bird.
Reverse Method (Start Low, Finish High)
Roast at 325°F until the turkey is close to done, then bump the oven to 450°F for the final 20 to 30 minutes to crisp the skin. This is what I use for holiday service and at home. You get even cooking through the bulk of the roast, then a fast blast of heat for color and crunch at the end, without the drying effect of high heat the whole way through.
Turkey Roasting Time Chart (325°F Oven)
These times are approximate. Always confirm doneness with a meat thermometer — pan shape, oven accuracy, and whether the bird is fully thawed all shift these numbers (USDA FSIS, 2024).
| Turkey Weight | Unstuffed (hours) | Stuffed (hours) | Notes |
|---|---|---|---|
| 8–12 lbs | 2¾ – 3 | 3 – 3½ | Smaller birds cook faster; check breast early |
| 12–14 lbs | 3 – 3¾ | 3½ – 4 | Most common Thanksgiving size |
| 14–18 lbs | 3¾ – 4¼ | 4 – 4¼ | Tent breast with foil once golden |
| 18–20 lbs | 4¼ – 4½ | 4¼ – 4¾ | Consider the reverse method to avoid overcooked skin |
| 20–24 lbs | 4½ – 5 | 4¾ – 5¼ | Large birds benefit most from a thermometer with a probe alarm |
Source: cook time ranges adapted from USDA Food Safety and Inspection Service roasting guidance (USDA FSIS, “Let’s Talk Turkey,” 2024).
Stuffed vs. Unstuffed: The Safety Math
Stuffing inside the cavity has to reach 165°F, same as the meat. The problem is that the center of the stuffing heats slower than the surrounding meat, so by the time the stuffing is safe, the breast is often well past done. The USDA does not recommend stuffing the bird for this reason and suggests cooking stuffing separately in a casserole dish instead (USDA FSIS, 2024).
I side with the USDA here. A separate pan of stuffing (or dressing, if you want to call it that) cooks evenly, picks up its own crust on top, and takes the guesswork out of your turkey’s cook time. If tradition means you want it cooked inside the bird, use a thermometer in the center of the stuffing, not just the meat, and expect a longer total cook time.
The Truth About Basting
Basting does very little to keep meat juicy. Basting liquid mostly sits on the surface and doesn’t penetrate deep enough to change internal moisture. Worse, every time you open the oven door to baste, the temperature drops, and the oven has to work to recover it — which extends your total cook time (America’s Test Kitchen, 2023).
What basting does help with is skin color and a light flavor boost on the surface. If you like the ritual, baste once or twice near the end of cooking, not every 30 minutes. Your oven door is not free to open.
How to Use a Meat Thermometer Correctly
Where to Place It
Insert the probe into the thickest part of the breast, avoiding bone, and separately check the innermost part of the thigh near the joint. Bone reads hotter than meat and will throw off your number.
Target Internal Temps
- Breast: pull at 160°F
- Thigh: pull at 170°F
- Stuffing (if cooked inside the bird): must reach 165°F (USDA FSIS, 2024)
Carryover Cooking Math
Expect the breast to climb another 5 degrees after you pull it, landing around 165°F once rested — right at the USDA’s safe minimum internal temperature of 165°F (USDA FSIS, 2024). Thigh meat carries over less dramatically but still gains a few degrees.
A leave-in probe thermometer with an alarm removes the guesswork entirely. This is the single best $20 to $40 you can spend on Thanksgiving.
Tenting With Foil: When and Why
If the skin browns too fast while the interior is still climbing to temperature, loosely tent foil over the breast. This slows browning without stopping the cook. Remove the tent for the final 15 to 20 minutes if you’re using the reverse method, so the skin can finish crisping.
Avoid tenting the entire bird tightly for the whole cook. A tight, full-coverage tent traps steam against the skin, and steamed skin turns rubbery instead of crisp. Tent loosely, and only over the areas browning too fast.
Resting the Turkey: Don’t Skip This
Rest the turkey for 30 to 40 minutes before carving, tented loosely with foil. During the rest, muscle fibers relax and reabsorb some of the moisture pushed out during cooking. Carve immediately and that juice runs onto the cutting board instead of staying in the meat.
I have watched a line cook slice a turkey the second it left the oven because a dining room was waiting. The plates looked fine. The meat was noticeably drier than the same bird rested properly. Thirty minutes feels long when people are hungry, but it is the cheapest fix in this entire guide.
Gas vs. Electric Ovens for Roasting
Electric ovens tend to hold a steadier, more even temperature, which suits a long, slow roast like turkey. Gas ovens run slightly more humid inside because combustion produces water vapor, which can help skin stay from drying out too fast, but gas ovens also cycle temperature more than electric ones as the burner cuts on and off.
In practice, the type of oven matters less than knowing your specific oven. Every oven runs a little hot or a little cool compared to its dial. Keep an oven thermometer inside and check it against your set temperature once a year.
Convection vs. Conventional Roasting
Convection ovens use a fan to circulate hot air, which cooks turkey roughly 25% faster and browns skin more evenly on all sides, including the back and legs (Cook’s Illustrated, 2023). If your oven has a convection setting, drop the temperature by 25°F from the recipe’s target and start checking for doneness earlier than the standard chart suggests.
Conventional (non-fan) ovens cook more slowly and can leave the side facing the back wall paler than the front. Rotate the pan halfway through cooking if you’re using a conventional oven, to even out the browning.
Common Turkey-Roasting Mistakes (And How to Fix Them)
Mistake: Cooking straight from the fridge. Fix: Let the turkey sit at room temperature for 1 to 2 hours before it goes in the oven.
Mistake: Trusting the pop-up timer. Fix: Pop-up timers are set to a single generic temperature and are often wrong. Use an actual meat thermometer in both the breast and thigh.
Mistake: Opening the oven door repeatedly. Fix: Every open door drops oven temperature and adds cook time. Check through the oven window and trust your thermometer probe instead.
Mistake: Carving immediately. Fix: Rest for 30 to 40 minutes, tented loosely, before the first cut.
Mistake: Not adjusting for altitude. Fix: At elevations above 3,000 feet, water boils at a lower temperature and ovens need more time to fully cook food. Add roughly 5% more cook time for every 1,000 feet above 3,000, and rely on your thermometer rather than the clock to confirm doneness (USDA FSIS, 2024).
Mistake: Guessing the size of pan and rack setup. Fix: Use a shallow roasting pan with a rack so the bird sits above its own drippings. A turkey sitting in liquid steams instead of roasts on the bottom.
My Personal Turkey-Roasting Routine
Here is exactly what I do, start to finish, for a 14-pound bird.
Two days out: Pat the turkey fully dry. Mix a dry brine of 3 tablespoons kosher salt, 1 teaspoon baking powder (this helps the skin crisp), 1 tablespoon black pepper, and 2 teaspoons dried thyme. Rub it over the whole bird, including under the breast skin. Set it uncovered on a rack in the fridge.
Morning of: Make an herb butter — 1 stick softened butter, 2 tablespoons chopped fresh sage, 1 tablespoon chopped rosemary, 2 cloves grated garlic, and the zest of one lemon. Loosen the breast skin gently with your fingers and push half the butter underneath, spreading it evenly. Rub the rest over the outside skin.
90 minutes before roasting: Pull the turkey from the fridge to come to room temperature. Preheat the oven to 325°F.
Roasting: Place the turkey breast-side up on a rack in a shallow pan. Roast at 325°F. Around the 2-hour mark, tent the breast loosely with foil if it’s browning faster than the thighs. Check temperature starting around the 3-hour mark.
Final crisp: Once the breast hits 155°F, remove the foil tent, bump the oven to 450°F, and roast another 10 to 15 minutes to finish the skin, watching closely so it doesn’t burn.
Pull and rest: Pull the turkey once the breast reads 160°F and the thigh reads 170°F. Tent loosely and rest for 35 minutes before carving.
This routine has held up through professional holiday service and a dozen home Thanksgivings. The year I skipped the rest to plate faster is the year my aunt still mentions. Lesson learned, permanently.
Frequently Asked Questions
What temperature should a turkey be cooked to in the oven?
The USDA’s safe minimum internal temperature for turkey is 165°F, checked in the thickest part of the breast and the innermost part of the thigh and wing (USDA FSIS, 2024). Because of carryover cooking, pulling the breast at 160°F and letting it rest usually lands right at that safe mark.
How long does it take to cook a 14-pound turkey?
At 325°F, an unstuffed 14-pound turkey takes about 3 to 3¾ hours. A stuffed 14-pound turkey takes about 3½ to 4 hours. Always confirm with a thermometer rather than the clock alone.
Should I cover my turkey with foil while it roasts?
Tent loosely over the breast only if it’s browning faster than the rest of the bird. Avoid a full, tight foil cover for the entire roast, since it traps steam and softens the skin.
Is it safe to cook a turkey from frozen?
Yes, it is safe, but it takes at least 50% longer than a fully thawed bird, and you cannot stuff a frozen turkey (USDA FSIS, 2024). Thawing in the fridge ahead of time gives more predictable results.
Do I need to baste my turkey?
No. Basting adds minor surface color and flavor but does little for internal juiciness, and opening the oven repeatedly extends your cook time. Baste once or twice near the end if you like, not throughout.
What’s the difference between dry brining and wet brining?
A wet brine submerges the turkey in a salt solution; a dry brine rubs salt directly on the surface and lets it sit uncovered in the fridge. Dry brining takes up less space, carries less mess risk, and produces crispier skin because the surface dries out during the process.
Why is my turkey breast always dry even when the thigh is perfect?
Breast meat finishes safely at a lower temperature than thigh meat but is often cooked until the thigh catches up, which overshoots the breast. Pull the turkey based on the breast temperature (160°F) and confirm the thigh has separately reached 170°F, rather than roasting until the thigh alone hits target.
Does altitude affect turkey roasting time?
Yes. Above 3,000 feet, add roughly 5% more time for every additional 1,000 feet of elevation, and confirm doneness with a thermometer rather than relying on standard time charts (USDA FSIS, 2024).
Key Takeaways
- Dry brine 24 to 48 hours ahead for the best combination of flavor, moisture, and crisp skin.
- Pull the breast at 160°F and the thigh at 170°F, then let carryover cooking finish the job.
- Rest for 30 to 40 minutes before carving. This step matters more than almost any other in this guide.
- Cook stuffing separately for both safety and even cooking.
- Use the reverse method — low heat through most of the cook, high heat at the end — for the best balance of juicy meat and crisp skin.
- Trust a meat thermometer over pop-up timers, oven dials, and standard time charts.
Sources: USDA Food Safety and Inspection Service — Let’s Talk Turkey, USDA Food Safety and Inspection Service — Turkey: Alternate Routes to the Table, Serious Eats, America’s Test Kitchen, Cook’s Illustrated





