
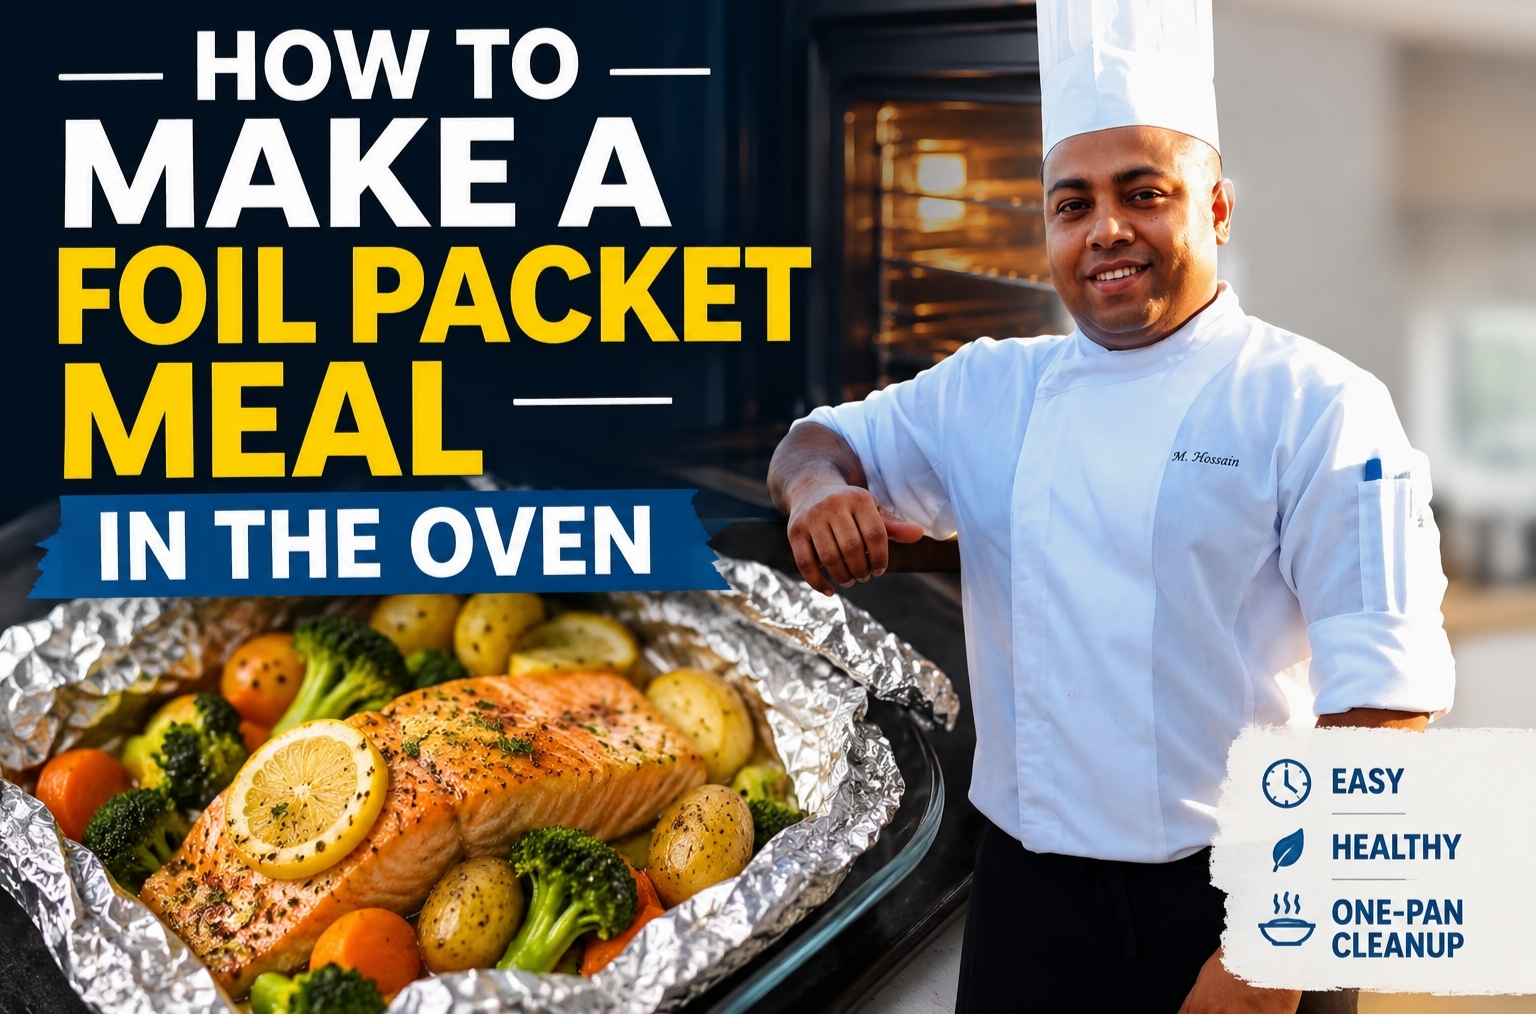
At A Glance
- A foil packet traps steam inside a sealed pouch, which cooks food faster and keeps it moist — even lean proteins like chicken breast.
- Use heavy-duty aluminum foil (or double-wrap standard foil) for oven use; thin foil tears, leaks steam, and ruins the cook.
- Oven temperature sweet spot: 400°F (204°C) for most proteins and mixed vegetables; drop to 350°F for delicate fish.
- Layer order matters — dense vegetables go on the bottom, protein in the middle, quick-cooking vegetables on top.
- Always check internal temperatures with a thermometer before serving: 165°F for poultry, 145°F for fish and pork, 160°F for ground beef (USDA, 2024).
I used to dread weeknight dinners. Too many pans, too much mess, and way too little time. Then I found foil packets — and everything changed.
Learning how to make a foil packet meal in the oven was a total game changer for me. You just wrap your food, seal it up, and let the oven do all the work. It locks in flavor like magic.
I’ve made hundreds of these meals over the years. From chicken and veggies to fish and potatoes — they always come out juicy and full of taste. It’s one of those tricks every home cook needs to know.
In this guide, I’ll walk you through every step. You’ll learn the best foods to use, how to seal your packets right, and how to get perfect results every time. Let’s get cooking!
What a Foil Packet Meal Is — and Why It Actually Works
A foil packet meal is food sealed inside a folded piece of aluminum foil and cooked in its own steam. That’s the whole idea. The sealed pouch traps moisture that would otherwise evaporate, creating a pressurized micro-environment where the food steams and braises at the same time.
I’ve used this method in professional banquet kitchens where we needed to cook 200 portions of salmon to order, and I’ve used it at backyard cookouts when I didn’t want to babysit a grill. Both times, the physics are identical.
Here’s why it works. When you seal food in foil and apply heat, any liquid inside — whether that’s a splash of broth, the natural juices of a tomato, or just water released from zucchini — turns to steam. That steam can’t escape. It circulates around the food, cooking it from all sides at once. The foil also acts as a conductor, pulling heat from the oven and distributing it more evenly than open-pan roasting. The result is food that’s cooked through without drying out.
This method is especially useful for lean proteins. Chicken breast, cod, shrimp — proteins that go rubbery fast in a dry oven — stay tender in a packet because they never lose their surface moisture.
How to Choose the Right Foil for Oven Cooking
Heavy-duty aluminum foil is the only foil I use in the oven. Standard 0.63 mil foil tears when you crimp the edges, punctures when you add bone-in chicken, and loosens its seal when the steam pressure builds. Heavy-duty foil runs around 0.94 mil thick, and it holds a tight seal through a full 45-minute cook at 425°F.
If you only have standard foil, use two sheets. Lay one sheet on top of the other, treat them as a single sheet, and fold and crimp normally. The double layer compensates for the thinner gauge.
A few specifics:
- Reynolds Wrap Heavy Duty is the standard I recommend to home cooks (Reynolds Kitchens, 2025). It’s widely available and reliably thick.
- Cut sheets at least 18 inches long so you have enough material to fold a proper seal.
- For bone-in proteins (drumsticks, skin-on thighs), add a third layer on top to protect against puncture from protruding bones.
Do not use non-stick foil for high-heat oven cooking above 400°F. The coating can break down at high temperatures. Plain heavy-duty foil is safer and does the job.
How to Build a Foil Packet Step by Step
Building a packet correctly is 80% of the result. A loose seal leaks steam. A packet that’s too small crowds the food and causes uneven cooking. Here’s exactly how I do it.
Step 1 — Size Your Foil Sheet
Cut an 18-by-14-inch sheet of heavy-duty foil per serving. That gives you enough surface area to lay ingredients flat without stacking, and enough material on the edges to fold a proper seal.
Step 2 — Layer in Order
Place ingredients in the center of the foil in this exact order, from bottom to top:
- Fat — a thin smear of butter, a drizzle of olive oil, or a few slices of lemon. This prevents sticking and adds flavor from the first minute.
- Dense vegetables — potatoes, carrots, beets, sliced onions. These take the longest to cook and need direct contact with the heat conducted through the foil.
- Protein — chicken, fish, shrimp, sausage. It sits in the middle where steam circulation is highest.
- Quick-cook vegetables — asparagus, zucchini, cherry tomatoes, corn kernels. These go on top so they steam gently without overcooking.
- Aromatics and liquid — minced garlic, fresh herbs, a tablespoon of white wine or broth, salt, and pepper. Scatter these over the top layer just before sealing.
Step 3 — Seal the Packet
Bring the two long edges of the foil together over the food. Fold them down together in half-inch folds — three folds minimum — until you’re about an inch above the food. Then fold in the two short sides the same way. The goal is an airtight pouch with at least one inch of headroom above the food for steam to circulate.
A loose crimp means a leaking packet. Press every fold firmly with your fingers before it goes in the oven.
Oven Temperature Guide for Foil Packets
Not all foil packets cook at the same temperature. Here’s how I think about it.
350°F (177°C) is for delicate proteins — thin white fish like sole or tilapia, large shrimp, and pre-cooked sausages that just need warming through. At this temperature, the steam inside the packet is gentler, and you get less risk of overcooking before the center is done.
400°F (204°C) is my default for most foil packet meals. Chicken thighs, salmon, mixed vegetable packets, and combinations of protein and starchy vegetables all cook well here. This temperature generates enough steam pressure to cook through a 6-ounce chicken thigh in about 25 minutes.
425°F (218°C) is for when I want a shorter cook time or when the protein is thin — flattened chicken breasts, shrimp, or fish fillets under an inch thick. At 425°F, packets cook fast, so check them at the 15-minute mark rather than waiting for the full estimated time.
Foil Packet Cooking Times and Temperatures by Protein and Vegetable
| Food | Oven Temp | Cook Time | Doneness Check | Notes |
|---|---|---|---|---|
| Chicken breast (boneless, 6 oz) | 400°F | 25-30 min | 165°F internal | Pound to even thickness first |
| Chicken thighs (bone-in) | 400°F | 35-40 min | 165°F internal | Add extra foil layer over bone |
| Salmon fillet (1 inch thick) | 375°F | 15-18 min | 145°F internal or flaking | Don’t overcook — 145°F is the limit |
| Cod or tilapia (thin) | 350°F | 12-15 min | Flesh turns opaque | Very forgiving; check at 12 min |
| Large shrimp (16-20 count) | 400°F | 10-12 min | Pink and curled | They overcook fast; check early |
| Italian sausage (raw links) | 400°F | 25-30 min | 160°F internal | Pierce before sealing to prevent bursting |
| Ground beef patty (1 inch) | 400°F | 20-25 min | 160°F internal | Press into even disc for even cooking |
| Pork tenderloin (1 lb) | 400°F | 30-35 min | 145°F internal | Rest 3 min before opening |
| Potatoes (1/4-inch slices) | 400°F | 25-30 min | Fork-tender | Layer at the bottom, closest to heat |
| Carrots (1/4-inch coins) | 400°F | 25-28 min | Fork-tender | Same layer as potatoes |
| Zucchini (1/2-inch rounds) | 400°F | 15-18 min | Tender, not mushy | Add on top of protein |
| Asparagus (medium spears) | 400°F | 12-15 min | Tender-crisp | Goes on top of everything |
| Cherry tomatoes (whole) | 400°F | 15-18 min | Burst and jammy | They release a lot of liquid — good |
| Corn (cut off cob) | 400°F | 15-18 min | Tender | Mix with butter and seasoning first |
Times based on standard oven accuracy. Always verify with a thermometer (USDA, 2024).
Proteins: What You Need to Know for Each One
Chicken
Chicken is the most common foil packet protein, and it’s also the easiest to get wrong. The problem is uneven thickness. A raw chicken breast that’s 1.5 inches at the thickest point and half an inch at the thin end will overcook on one side before the other side is done.
My fix: pound chicken breasts to an even 3/4-inch thickness before sealing. This takes 60 seconds and makes a real difference in the final texture. For thighs, bone-in skin-on thighs are more forgiving — the bone slows heat penetration and the fat under the skin self-bastes the meat. I pull them at exactly 165°F, not a degree higher.
Fish and Seafood
Fish wants lower heat and a shorter cook time than most people expect. At 375°F, a 1-inch salmon fillet is done in 15-18 minutes. Pull it at exactly 145°F internal temperature. At 146°F it’s already starting to dry out (America’s Test Kitchen, 2023).
For shrimp, the window between “cooked” and “rubbery” is about 90 seconds. I set a timer for 10 minutes at 400°F and check immediately. As soon as the shrimp are pink and the tails have curled into a C shape, they’re done. An O shape means overcooked.
Beef and Sausage
Ground beef patties work well in foil packets when you press them into an even, flat disc about an inch thick. Sausage links need to be pierced in 4-5 spots before sealing — raw sausage builds internal steam as it cooks and will burst without a pressure release.
For cuts like pork tenderloin, add 2 tablespoons of liquid (apple cider, chicken broth, or beer) to the packet. Pork is lean and benefits from extra steam.
Vegetables: Layering by Cook Time
The single biggest mistake I see with foil packet vegetables is treating them all the same. A zucchini round and a carrot coin do not cook at the same rate. Put them in the same position in the packet and one will be mushy while the other is still crunchy.
The rule is simple: density determines position.
Vegetables that take the longest — potatoes, carrots, parsnips, beets — go on the bottom of the packet, in direct contact with the foil. They pick up conducted heat from the oven rack below. Cut them thin: 1/4-inch slices, not chunks.
Medium-cook vegetables — bell peppers, broccoli florets, green beans — go around or beside the protein in the middle zone.
Fast-cook vegetables — asparagus, zucchini, cherry tomatoes, spinach — go on top. They only need the steam from below to cook through.
If you want to combine very slow-cooking vegetables (beets, russet potato chunks) with quick-cook proteins (shrimp, fish), par-cook the vegetables first: 10 minutes in boiling water or 5 minutes in the microwave before they go into the packet.
Building Flavor Inside the Packet
Steam cooking can taste flat if you don’t season aggressively. Inside a sealed packet, the liquid never reduces — it just circulates. That means the flavors you add stay diluted unless you put in enough of them.
Here’s how I build flavor every time:
Fat first. One tablespoon of butter or two teaspoons of olive oil per serving. Fat carries fat-soluble flavor compounds from garlic, herbs, and spices. Without it, those flavors sit on the surface and don’t penetrate.
Salt more than you think. Season the protein and each layer of vegetables separately. A packet for one serving needs about 1/2 teaspoon of kosher salt total. That sounds like a lot but the steam dilutes it.
Aromatics. Two cloves of minced garlic, a few sprigs of fresh thyme or rosemary, half a shallot sliced thin. These go directly on top of the protein.
Liquid. One to two tablespoons per packet. My go-to options: dry white wine for fish, chicken broth for poultry, beef broth for sausage. The liquid flash-steams when the packet first hits the oven and sets the steam environment for the rest of the cook.
Acid at the end. Open the packet carefully after cooking and squeeze fresh lemon juice or add a splash of good red wine vinegar. Acid brightness gets cooked off during the oven time, so add it after, not before.
Serious Eats recommends a finishing acid for foil packet dishes specifically because the sealed environment dulls acidity during cooking (Serious Eats, 2024). I’ve found this to be true every time.
Gas vs. Electric Oven: What Changes for Foil Packets
Gas and electric ovens behave differently, and that affects foil packet cooking more than you’d expect.
Gas ovens run hotter at the bottom and cooler at the top due to how the burner positions work. They also have more moisture in the air from combustion. For foil packets, place them on the middle rack, not the bottom. Bottom rack placement in a gas oven can scorch the underside of the packet before the interior is done.
Electric ovens heat more evenly from top and bottom elements but run drier. They’re more predictable for foil packet cooking, and the cook times in this guide are calibrated for a standard electric oven.
One thing that applies to both: oven thermometers are not optional. Most residential ovens run 25-50°F off from the dial setting (Cook’s Illustrated, 2022). A $12 oven thermometer tells you exactly what temperature your oven is running. If your packets are consistently underdone or overdone, the oven temperature is the first thing to check.
Common Foil Packet Mistakes and How to Fix Them
Overcrowding the packet. This is the most common problem I see. When food is piled too high or stacked too deep, the steam can’t circulate. The result is uneven cooking — done on the outside, raw in the middle. Fix it by keeping the total height of food inside the packet under 2 inches, and make two packets instead of one if you need more food.
Underseasoning. The steam environment dilutes salt and aromatics. If you season a foil packet the same way you’d season food going into an open pan, it will taste flat. Season each layer separately and err on the generous side.
Sealing too loosely. A loose crimp means steam escapes early. By the time the food is cooked, the packet is dry and the food has basically roasted instead of steamed. Fold the edges three times minimum and press every fold firm.
Opening the packet wrong. Hot steam is the hazard here. When you cut or tear open a foil packet fresh from the oven, the steam inside is 212°F or higher. Open the far edge away from you, hold it at arm’s length, and let the steam escape before you bring it close to your face. I’ve seen burns from this more than once.
Mixing proteins with different cook times. Shrimp and chicken thighs in the same packet don’t work — the shrimp will be rubber by the time the chicken hits 165°F. Match your proteins by cook time or cook them in separate packets.
Skipping the resting period. After the packet comes out of the oven, let it rest for 3 minutes before opening. This lets the internal temperature even out and the juices redistribute, just like resting a steak.
My Go-To Foil Packet Meal: Lemon-Garlic Salmon with Asparagus
I make this recipe at least once a week during summer. It takes 10 minutes to assemble and 18 minutes in the oven.
For one serving:
- 1 salmon fillet, 6 oz, about 1 inch thick
- 8 asparagus spears, tough ends snapped off
- 2 tablespoons unsalted butter, cut into small pieces
- 3 cloves garlic, minced
- 4 lemon slices, seeds removed
- 1 tablespoon dry white wine
- 1/2 teaspoon kosher salt
- Black pepper to taste
- Fresh dill, a small handful
Preheat the oven to 375°F. Cut an 18-inch sheet of heavy-duty foil. Lay two lemon slices in the center. Place the salmon on top. Season the salmon with salt and pepper. Scatter the garlic over the salmon. Lay the asparagus alongside the salmon. Place the remaining lemon slices on top of the salmon. Distribute the butter pieces across everything. Add the white wine. Scatter the dill on top.
Seal the packet using three folds on each side. Place on a rimmed baking sheet (important — packets can leak occasionally, and this catches the drips). Bake at 375°F for 17-18 minutes.
Pull the packet out, rest 3 minutes, then open carefully away from your face. Squeeze fresh lemon juice from an extra half lemon over everything before eating.
The result: salmon at exactly 145°F, asparagus tender-crisp, and a buttery garlic-lemon pan sauce pooled in the bottom of the packet that you pour over everything.
J. Kenji López-Alt notes that salmon benefits specifically from the lower-and-slower approach (145°F, pulled immediately) because the protein structure stays intact rather than squeezing out albumin — that white stuff that appears on overcooked salmon (The Food Lab, J. Kenji López-Alt, 2015). He’s right.
Food Safety for Foil Packet Cooking
Three things matter here: internal temperature, steam burns, and resting.
Internal temperatures are non-negotiable. The USDA minimum safe temperatures are:
- Poultry (chicken, turkey): 165°F (74°C)
- Fish and shellfish: 145°F (63°C)
- Pork: 145°F (63°C), rest 3 minutes
- Ground beef: 160°F (71°C)
- Whole beef cuts: 145°F (63°C)
(USDA Food Safety and Inspection Service, 2024)
A probe thermometer is the only way to know. Visual cues like color and texture are unreliable inside a sealed packet where you can’t see the food change as it cooks.
Steam burns happen when people open foil packets toward themselves. The steam that escapes when you first cut open a packet is superheated. Always open away from your body, use tongs or a knife to pierce the foil from the top first to let the initial burst escape, then open fully.
Resting time. Let packets sit on the baking sheet for 3 minutes after pulling from the oven. The food inside continues cooking at a lower rate during this time (carryover cooking), and the juices redistribute through the protein. Opening immediately after pulling from the oven means the first cut sends all those juices running onto the foil instead of staying in the food.
Frequently Asked Questions About Foil Packet Meals in the Oven
What is a foil packet meal?
A foil packet meal is food sealed inside a folded piece of aluminum foil and cooked in an oven (or on a grill). The sealed environment traps steam from the food and any added liquids, cooking the food from all sides simultaneously while keeping it moist.
Can I make foil packet meals ahead of time?
Yes, with one caveat. Assemble the packets up to 24 hours in advance and refrigerate them sealed. Add an extra 5-7 minutes to the cook time if you’re cooking them cold from the refrigerator, and always verify doneness with a thermometer.
Can I use parchment paper instead of foil?
Parchment paper works as a substitute up to about 400°F — it’s called en papillote in French cooking. Above 400°F, parchment can scorch or catch. For oven temperatures above 400°F, stick with heavy-duty foil.
Why does my foil packet come out watery?
High-water vegetables like zucchini, tomatoes, and spinach release a lot of liquid when they cook. This is normal. If you want less liquid in the packet, salt watery vegetables (zucchini, mushrooms) 15 minutes before assembling, then pat them dry. They’ll release most of their water before going into the packet.
Can I cook foil packets directly on the oven rack?
Technically yes, but I always place them on a rimmed baking sheet. Packets occasionally develop small leaks — from a bone puncture or a loose crimp — and a baking sheet catches the drip. It also makes it easier to move multiple packets in and out of the oven at once without touching a 400°F rack.
How do I know when a foil packet is done without opening it?
You can’t, reliably. The only accurate method is to open the packet, insert an instant-read thermometer into the thickest part of the protein, and check the temperature. If it’s not done, reseal with a fresh piece of foil (the original crimp won’t re-seal well) and return to the oven for 5-minute increments.
Can I put frozen vegetables in a foil packet?
Yes. Frozen vegetables work well and are convenient. They add extra moisture as they thaw and cook, which adds to the steam inside the packet. Increase cook time by 5-7 minutes and check doneness as usual.
Can I make foil packets without any liquid?
You can, but the results depend on the ingredients. Proteins like chicken and salmon release enough natural juices to generate steam. Packets with all lean protein and low-moisture vegetables (like broccoli and green beans) benefit from at least one tablespoon of added liquid to start the steam process.
Key Takeaways
- Use heavy-duty aluminum foil or double-layer standard foil — the seal has to hold for the full cook time.
- Build your packet in layers: fat first, dense vegetables on the bottom, protein in the middle, quick-cook vegetables on top, aromatics and liquid last.
- Season each layer separately and use more salt than you think — the steam environment dilutes flavor.
- 400°F is the right temperature for most foil packet meals. Use 350-375°F for delicate fish.
- Always check internal temperature with a thermometer. Visual doneness cues don’t work inside a sealed packet.
- Open packets carefully — angle the steam away from your face and let the initial burst escape before fully opening.
- Rest packets for 3 minutes before opening for better texture and juice retention.
- Finish with fresh lemon juice or vinegar after opening — acid brightness cooks off during sealing.
Article written for OvenInsights.com based on 15+ years of professional kitchen experience and standard food safety guidelines.

I’m Mossaraof, a trained chef and the founder of OvenInsights.com. I spent years cooking at Larrupin’ Cafe and in kitchens across Chicago and Seattle. Now I test kitchen gear for a living. I moved to North Acton, London, and I test every tool I write about. I use real meals and real heat. No brand deals. No shortcuts. I cover 12 kitchen types and hundreds of recipes. I believe this: the right tools matter as much as the recipe.




