
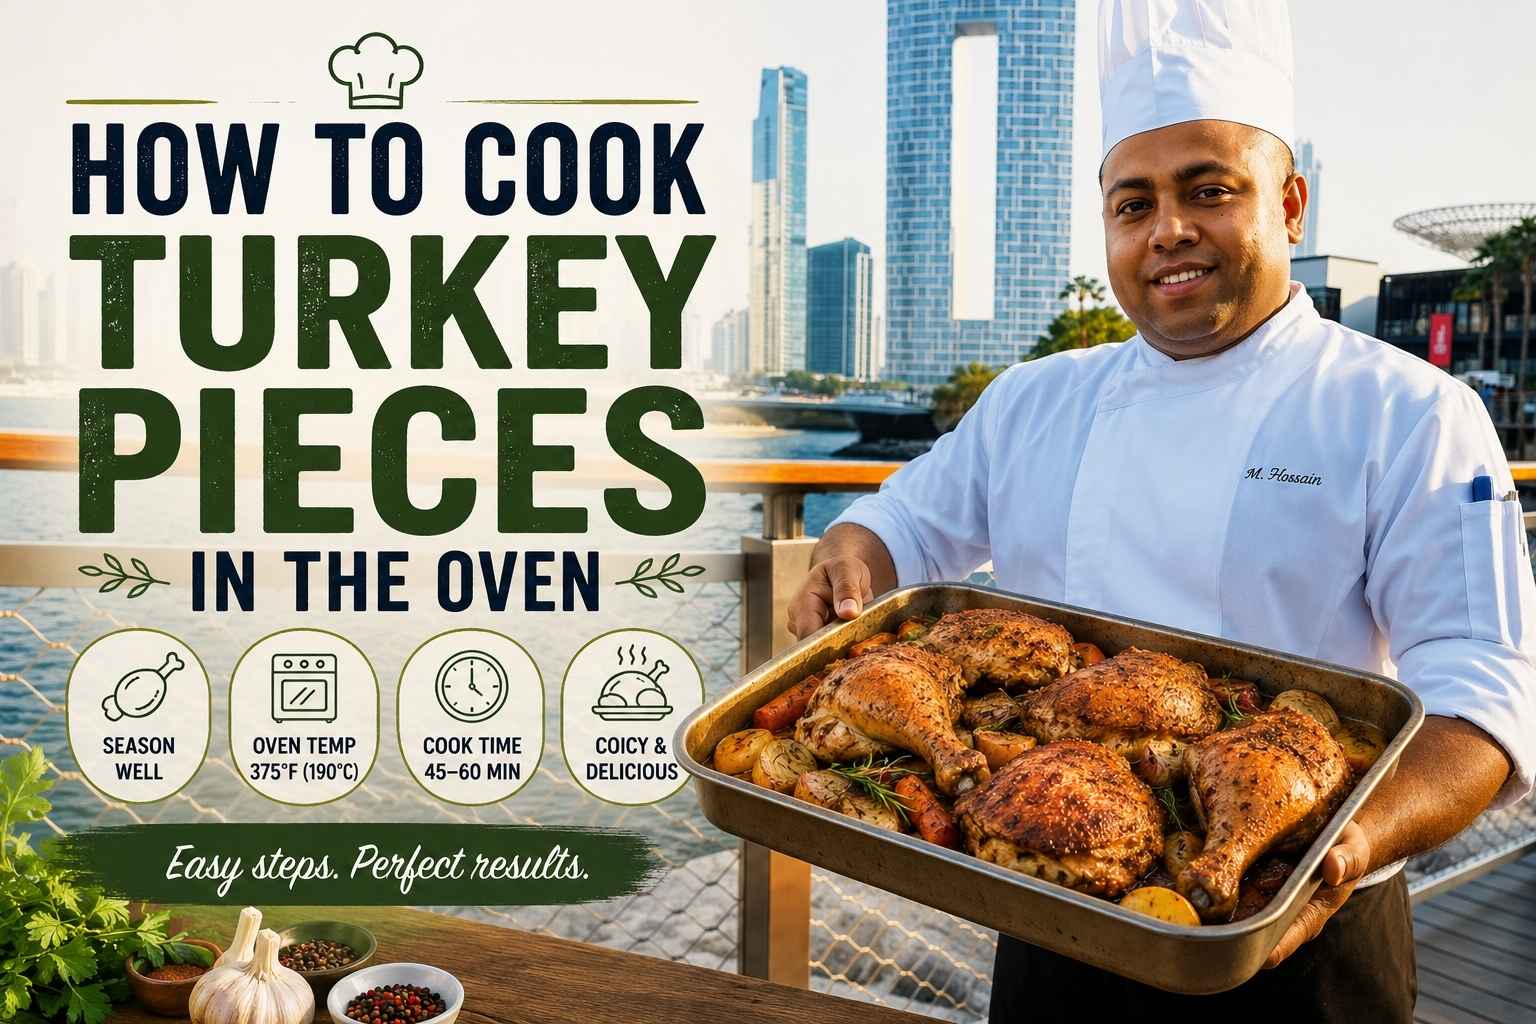
At A Glance
- Cutting turkey into pieces before roasting gives you even cooking, faster prep, and no guesswork – I stopped roasting whole birds years ago for this reason.
- Roast bone-in, skin-on pieces at 325°F for moist meat, or 425°F for the last 20 minutes if you want crisp skin.
- Pull white meat at 160°F and dark meat at 170-175°F. Both will coast up to a safe 165°F or higher while resting (USDA FSIS, 2024).
- Dry-brine your pieces for 12-24 hours in the fridge. It does more for flavor and moisture than a wet brine, with none of the mess.
- Pat the skin bone-dry before it goes in the oven. This one step fixes more “soggy turkey” complaints than anything else I’ve taught home cooks.
If you have ever wondered How to Cook Turkey Pieces in the Oven, you are in the right place. I still remember the first time I baked turkey pieces instead of a whole bird because it was faster, easier, and much more forgiving. Over the years, I have tested different temperatures, seasonings, and cooking times to find what keeps every piece juicy with crispy, golden skin. In this guide, I’ll show you the simple steps, helpful tips, and common mistakes to avoid so you can make oven-baked turkey pieces with confidence every time.
Why Cooking Turkey in Pieces Beats Roasting It Whole
Cutting a turkey into pieces before roasting solves the biggest problem with a whole bird: the breast and thighs finish at different times, but you’re stuck cooking them together. Split them apart, and each piece gets exactly the heat it needs.
I learned this the hard way in my first head chef job. We had a Thanksgiving dinner service for 140 guests, and roasting whole birds meant either dry breast meat or undercooked thighs. Every single time. Once we switched to breaking the turkeys down before cooking, the complaints stopped.
Even cooking is the main win. A whole turkey’s dense thigh meat needs to hit a higher internal temperature than the lean breast. Cooked together, you’re always trading one for the other. Cooked apart, each piece comes out of the oven exactly right.
Faster prep matters too. A whole 14-pound turkey can take 3.5 to 4.5 hours at 325°F (USDA FSIS, 2024). Split into pieces, most cuts finish in 45 minutes to 2 hours, depending on size. That’s a weeknight-friendly turkey dinner, not just a holiday project.
Less guesswork rounds it out. You can probe each piece directly, without digging past a carcass to find the thickest part of the thigh. You also skip the carving stress at the table, since the pieces are already portioned.
Choosing the Right Oven Temperature for Each Cut
Your target temperature depends on what you’re after: moist meat or crisp skin. I use two main settings in my kitchen, and I pick based on the cut and the result I want.
325°F: Low and Slow for Moisture
This is the standard USDA-recommended oven setting for poultry, and it’s my default for bone-in thighs and drumsticks (USDA FSIS, 2024). Lower heat gives collagen in dark meat time to break down without drying out the surface. It also gives you a wider window to pull the pieces at the right internal temperature, so a few extra minutes in the oven won’t ruin dinner.
400-425°F: High Heat for Crisp Skin
I switch to this range for turkey breast when I want restaurant-style skin, and for wings, which need higher heat to render their fat and crisp up. The tradeoff is a narrower cooking window. Check the internal temperature ten minutes earlier than you think you need to.
My Hybrid Method
For most dinners, I start bone-in pieces at 325°F to cook them through gently, then crank the oven to 425°F for the final 15-20 minutes. This gives you the moisture of low-and-slow cooking with the skin of a high-heat roast. It’s the same logic professional kitchens use for a reverse sear on steak, just applied to poultry.
Cook Time and Temperature Reference Table
Use this table as a starting point. Always confirm doneness with a meat thermometer, not the clock (USDA FSIS, 2024).
| Turkey Piece | Oven Temp | Time per Pound (Approx.) | Target Internal Temp |
|---|---|---|---|
| Bone-in breast | 325°F | 20-25 min/lb | 160-165°F |
| Boneless breast | 350°F | 15-20 min/lb | 160-165°F |
| Bone-in thighs | 325°F | 25-30 min/lb | 170-175°F |
| Drumsticks | 375°F | 30-35 min total (not per lb, they’re small) | 170-175°F |
| Wings | 400-425°F | 45-60 min total | 165-170°F |
| Tenderloin | 375°F | 20-25 min total | 160-165°F |
Pull temperatures listed here sit slightly below the USDA’s 165°F minimum because carryover cooking during rest will finish the job. I explain exactly how that works two sections down.
Bone-In vs. Boneless, Skin-On vs. Skinless
What you buy changes both your cook time and your final result. Here’s how I choose.
Bone-In Holds More Moisture
Bone conducts heat differently than muscle, which slows cooking near the bone and buys you a wider margin before the meat dries out. Bone-in pieces also carry more flavor, since the bone marrow and connective tissue baste the meat from the inside as it roasts. I buy bone-in whenever I have the time.
Boneless Cooks Faster, But Needs Attention
Boneless breast or thigh meat cooks 20-30% faster than the bone-in version, which is useful on a weeknight. The catch: without bone to slow the center, boneless cuts move from “perfect” to “dry” in a narrower window. If you’re using boneless, check the temperature early and often.
Skin-On Protects the Meat
Skin acts as a barrier that keeps moisture in during roasting. It also renders fat that bastes the meat as it cooks. Skinless turkey cooks faster, but I only recommend it if you’re actively trying to cut fat, since you lose both flavor and moisture protection.
Seasoning, Brining, and Dry-Brining Before You Roast
Seasoning happens before the oven, not after. Here’s my order of operations, and why I default to dry-brining almost every time.
Dry-Brining: My Go-To Method
A dry brine is just kosher salt (about 1 teaspoon per pound of turkey) rubbed directly onto the meat and under the skin, then left uncovered in the fridge for 12-24 hours. The salt draws out moisture, dissolves into it, and gets reabsorbed into the meat. That process seasons the turkey all the way through and helps the skin dry out for better crisping (Serious Eats, 2023).
I switched my restaurant kitchen to dry-brining turkey pieces about eight years ago and never looked back. It takes less space than a wet brine bucket, and the skin comes out noticeably crisper.
Wet Brining: When You Have the Fridge Space
A wet brine (saltwater, often with sugar and aromatics) works well too, but it takes up a lot of fridge real estate and can leave the skin soggier unless you dry it thoroughly afterward. If you go this route, brine for 8-12 hours for pieces, not the 24+ hours you’d use for a whole bird (Butterball, 2024).
Basic Seasoning Rub
Whether or not you brine, I coat pieces in a simple rub before roasting: softened butter or oil worked under the skin, plus kosher salt, black pepper, garlic powder, and fresh herbs like thyme or sage. Getting fat under the skin, not just on top, is what actually helps browning.
Step-by-Step Roasting Method
Here’s the exact process I use for bone-in, skin-on turkey pieces, whether I’m cooking two thighs or a full set for eight people.
Step 1: Bring the Turkey to Room Temperature
Pull the pieces from the fridge 30-45 minutes before roasting. Cold meat straight from the fridge cooks unevenly, since the outside starts cooking well before the center warms up.
Step 2: Set Up Your Pan and Rack
Use a shallow roasting pan with a flat wire rack. The rack lifts the turkey out of its own drippings, so hot air can circulate underneath and crisp the skin evenly. Roasting directly in the pan juices steams the bottom of the meat instead of roasting it.
Step 3: Space the Pieces Out
Leave at least an inch of space between pieces. Crowding the pan traps steam around the meat, which softens the skin and slows cooking. If your pieces don’t fit with space between them, use two pans instead of one crowded one.
Step 4: Pat the Skin Completely Dry
Use paper towels and press firmly. Any surface moisture turns to steam in the oven, and steam is the enemy of crisp skin. I do this step twice: once after brining, and once right before the pieces go in the oven.
Step 5: Roast Without Constant Basting
Basting every 20 minutes feels productive, but it drops the oven temperature every time you open the door and adds cook time. I baste once, halfway through, if at all. The skin crisps better when the oven door stays shut.
Step 6: Rotate the Pan Once
Ovens rarely heat perfectly evenly. Rotate the pan 180 degrees about halfway through cooking so every piece gets equal exposure to the hot spots.
Using a Meat Thermometer the Right Way
A thermometer is the only reliable way to know your turkey is done. Guessing by color or texture leads to either dry meat or a safety risk.
Where to Probe Each Cut
For breast pieces, insert the probe into the thickest part, avoiding bone. For thighs and drumsticks, probe near the bone but not touching it, since bone reads hotter than the surrounding meat. For wings, probe the thickest section near the joint.
Target Temperatures by Cut
The USDA lists 165°F as the safe minimum internal temperature for all turkey, checked in the innermost part of the thigh, the innermost part of the wing, and the thickest part of the breast (USDA FSIS, 2024). I pull white meat at 160°F and dark meat at 170-175°F, because both will rise further during rest, a process called carryover cooking.
Carryover Cooking Explained
Once you remove meat from the oven, the outer layers are hotter than the center. Heat keeps moving inward for several minutes after cooking stops, raising the internal temperature by 5-10 degrees. Pulling meat a few degrees early and letting carryover finish the job is standard technique in professional kitchens, and it prevents overcooking.
A Note on Thermometer Accuracy
Use an instant-read digital thermometer, not the pop-up timer that comes with some turkeys. Pop-up timers are built for whole birds and are notoriously imprecise (Taylor Precision Products, 2023). Calibrate your thermometer in ice water once a season: it should read 32°F.
Convection vs. Conventional Oven: What Changes
Convection ovens use a fan to circulate hot air, which changes both timing and technique for turkey pieces.
Faster, More Even Cooking
Convection typically cooks 25-30°F “hotter” for the same set temperature, and finishes 20-25% faster than a conventional oven. If a recipe calls for 375°F conventional, set a convection oven to about 350°F and start checking the temperature earlier (America’s Test Kitchen, 2023).
Better for Crisp Skin
The moving air in a convection oven strips away the layer of steam that forms around roasting meat, which is exactly what you want for crisp skin. I use convection by default for wings and skin-on breast for this reason alone.
When to Skip Convection
Skip the fan for delicate cuts like tenderloin, where the airflow can dry out the surface before the center finishes. A conventional setting gives you gentler, more forgiving heat for lean cuts.
How to Avoid Dry Breast Meat While Fully Cooking Dark Meat
This is the single biggest challenge in turkey cooking, and it’s the reason cooking pieces separately makes sense in the first place.
Staggered Cooking
Since dark meat needs a higher final temperature than breast meat, start the thighs and drumsticks in the oven first. Add the breast pieces later, timed so everything finishes within a few minutes of each other. On a busy dinner, I’ll put thighs in 20-30 minutes before the breast.
Tenting with Foil
If the breast skin browns before the meat is fully cooked, loosely tent that piece with foil. This slows further browning without slowing the internal cooking much, so you avoid burnt skin on a piece that still needs more time.
Separate Pans, Separate Timers
The most reliable fix is simply roasting breast and dark meat in separate pans, even in the same oven, with separate timers based on their individual target temperatures. This removes the guesswork entirely.
Resting Time and Why It Matters
Rest your turkey pieces for 15-20 minutes after pulling them from the oven, loosely tented with foil.
During roasting, muscle fibers tighten and push moisture toward the surface. If you cut into the meat right away, that moisture runs straight onto the cutting board instead of staying in the meat. Resting gives the fibers time to relax and reabsorb the juices, which is also when carryover cooking finishes raising the internal temperature to a safe level.
Smaller pieces like wings and tenderloin need less rest, around 10 minutes. Larger bone-in breasts and thighs benefit from the full 15-20 minutes.
Common Mistakes with Actionable Fixes
Overcrowding the pan. Steam builds up between pieces and softens the skin. Fix: use two pans, or roast in batches, so every piece has an inch of breathing room.
Wrong rack position. Placing the pan too close to the top or bottom heating element causes uneven browning. Fix: use the middle rack unless a recipe specifically calls for a different position.
Not patting skin dry. Wet skin steams instead of crisping. Fix: pat every piece dry with paper towels right before it goes in the oven, even if you dried it earlier during brining.
Opening the oven too often. Each time you open the door, the oven loses 25-50°F, and it takes several minutes to recover. Fix: use the oven light and window to check progress, and only open the door to rotate the pan or check temperature near the end.
Skipping the thermometer. Color and texture are unreliable indicators of doneness. Fix: probe every piece in its thickest part, and don’t rely on a single check. Confirm doneness in more than one spot on larger cuts.
My Personal Method, Step by Step
After years of testing this in both restaurant and home kitchens, here’s exactly what I do for a weeknight or holiday turkey pieces dinner:
- Dry-brine bone-in, skin-on pieces for 18 hours in the fridge, uncovered.
- Pat the skin bone-dry and rub softened butter with garlic and thyme under the skin.
- Start thighs and drumsticks at 325°F on a rack, skin side up.
- Add breast pieces to the oven 25 minutes later.
- At the 20-minute mark, raise the oven to 425°F for the final push on skin color.
- Pull white meat at 160°F, dark meat at 170°F, checking with an instant-read thermometer.
- Rest everything for 15 minutes under a loose foil tent before carving.
This method gives me crisp, dark gold skin and meat that’s fully cooked but never dry, on a schedule that fits a normal weeknight, not just a holiday.
Frequently Asked Questions About Cooking Turkey Pieces
Can I cook turkey pieces from frozen?
Yes, but it takes at least 50% longer than thawed turkey, and you lose the ability to season under the skin (USDA FSIS, 2024). I recommend thawing in the fridge for 24 hours per 4-5 pounds instead, since it gives you better control over seasoning and cook time.
How do I reheat leftover turkey pieces without drying them out?
Add a splash of broth to the pan, cover tightly with foil, and reheat at 325°F until the internal temperature hits 165°F. The added moisture and the cover both prevent the meat from drying out a second time.
Can I tell if turkey is done without a thermometer?
Not reliably. Clear juices and firm texture are rough signs, but they don’t guarantee a safe internal temperature. A thermometer is inexpensive and removes all the guesswork, so I don’t recommend skipping it.
Can I cook different turkey pieces together in one pan?
Yes, if you stagger their start times based on size and cut, so everything reaches its target temperature around the same time. Group similar pieces (all thighs, or all breast pieces) together rather than mixing types in one pan.
Why did my turkey skin turn out rubbery instead of crisp?
Usually it’s moisture: either the skin wasn’t patted dry, the pan was overcrowded, or the oven temperature was too low. Try a dry brine, dry the skin twice before roasting, and finish with 15-20 minutes at 425°F.
Is 325°F or 400°F better for turkey pieces?
It depends on your goal. 325°F is gentler and better for moisture, especially on dark meat. 400-425°F crisps skin faster but needs closer monitoring. My hybrid method uses both: low heat to cook through, then high heat to finish the skin.
How long should turkey pieces rest before carving?
15-20 minutes for larger bone-in pieces, 10 minutes for smaller cuts like wings and tenderloin. Resting lets juices redistribute and lets carryover cooking finish raising the internal temperature.
Do I need to brine turkey pieces, or can I skip it?
You can skip it, but you’ll lose some moisture and seasoning depth. If you’re short on time, even a 4-6 hour dry brine helps more than none at all. A full 12-24 hours gives the best result.
Key Takeaways
- Cooking turkey in pieces gives you even cooking, faster prep, and precise control that a whole bird can’t offer.
- Use 325°F for moist, gently cooked dark meat, and 400-425°F to crisp skin on breast and wings.
- Pull white meat at 160°F and dark meat at 170-175°F, and let carryover cooking finish the job during rest.
- Dry-brine for 12-24 hours for the best combination of flavor, moisture, and crisp skin.
- Pat the skin dry, space pieces apart, and skip constant basting for better results with less effort.





