
At A Glance
- Pull the roast 5-10°F below your target temperature — carryover cooking does the rest.
- A meat thermometer is non-negotiable; visual cues and timing charts alone will ruin expensive cuts.
- Resting the roast for at least 20-30 minutes is not optional — skip it and you lose up to 40% of the juices on the cutting board (America’s Test Kitchen, 2023).
- The reverse sear method (low heat first, sear last) gives you more control and better edge-to-edge doneness than any other technique.
- Convection ovens run 25°F hotter than conventional settings — adjust every recipe accordingly.
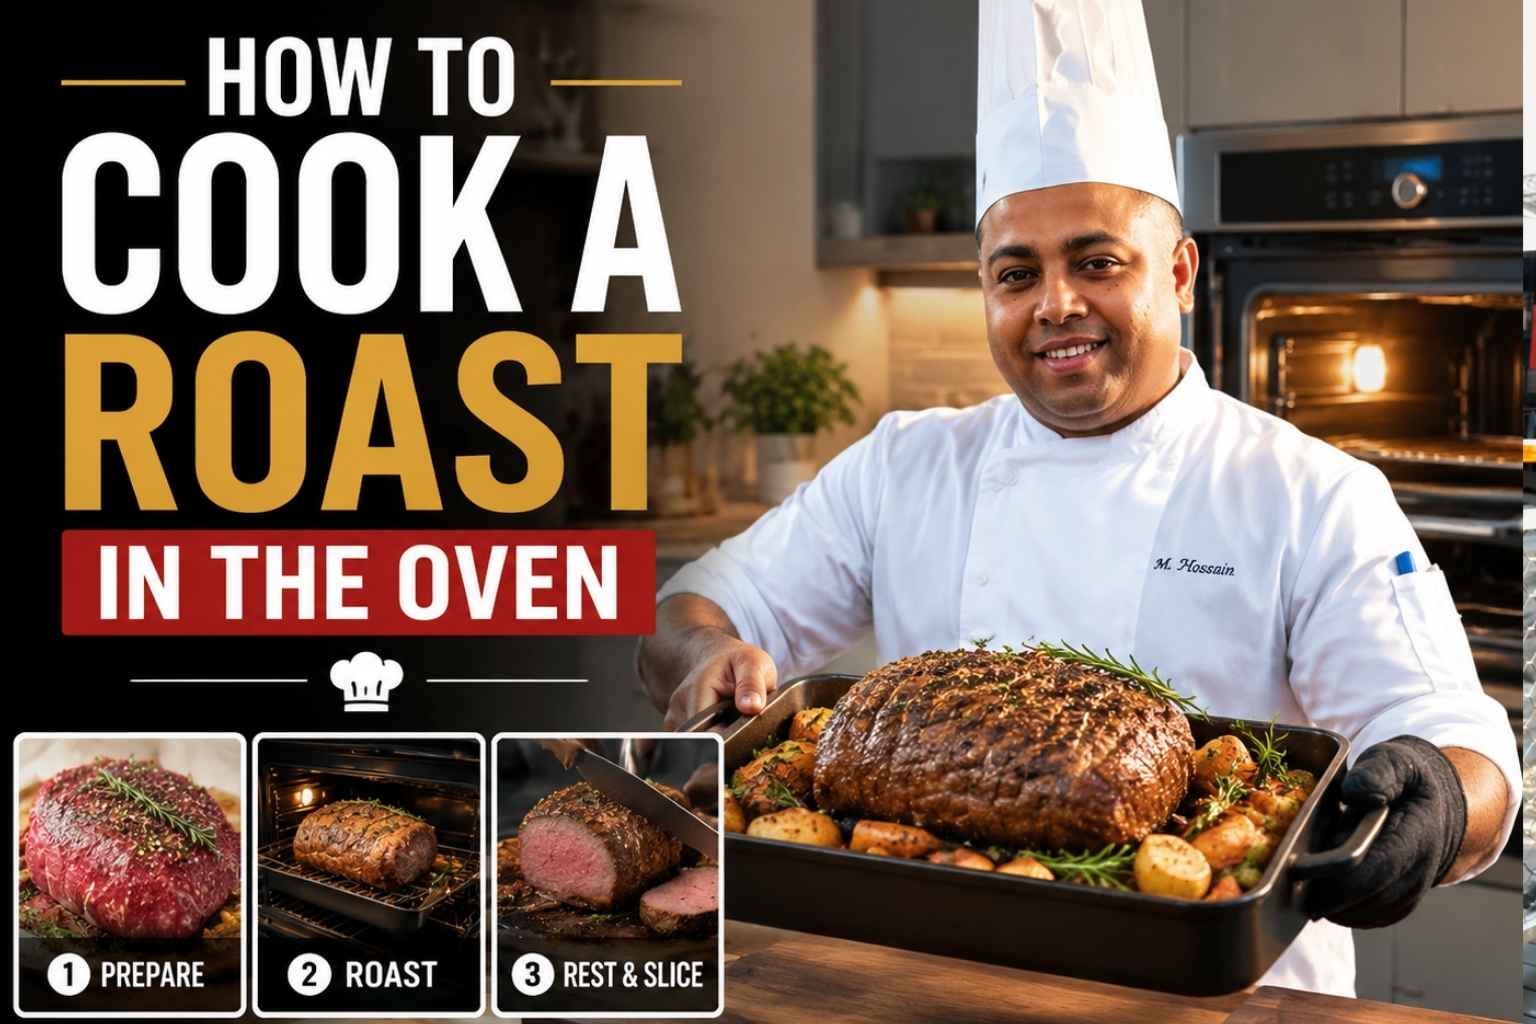
A great roast can turn a simple meal into something special. If you want to learn How to Cook a Roast in the Oven, you are in the right place. I have cooked many oven roasts over the years, and I have learned that a few simple steps make all the difference. In this guide, I will show you how to choose the right cut, season it well, cook it the right way, and serve a roast that is juicy, tender, and full of rich flavor. Let’s get started and make your next roast the best one yet.
Why Roasting Is Different From Every Other Cooking Method
Roasting uses dry, hot air — no water, no steam, no liquid barrier between the heat source and the meat. That distinction matters because it’s what triggers two things that make roasted meat taste the way it does.
The first is fat rendering. As the internal temperature of a roast climbs, intramuscular fat melts into the surrounding muscle fibers. It lubricates the meat from the inside. That’s why a well-marbled ribeye roast tastes nothing like a lean eye of round, even cooked the same way.
The second is the Maillard reaction — the chemical process that turns the surface of meat brown and creates hundreds of flavor compounds in the process. It kicks in around 280-330°F at the meat’s surface (Serious Eats, 2022). You cannot get it in a slow cooker or a braise. The dry heat of an oven is what makes it possible.
Braising adds liquid and creates steam. Baking is for items with structure — batters, doughs. Roasting is the only method that combines the Maillard reaction at the surface with full, even cooking throughout the interior. That’s the whole point.
Choosing the Right Cut: What Roasts Well and What Doesn’t
The best roasting cuts share two traits: enough fat and connective tissue to survive extended heat, and a shape that cooks evenly.
Cuts that roast well:
- Prime rib / standing rib roast — the gold standard for beef
- Beef tenderloin — lean but forgiving at high-heat, short cook times
- Top sirloin roast — affordable, reliable
- Bone-in pork shoulder / Boston butt — ideal for low-and-slow
- Pork loin (bone-in or boneless)
- Whole chicken and turkey — classic applications
- Leg of lamb — bone-in for better flavor
Cuts to avoid in the oven:
- Chuck roast — better braised; too much connective tissue for dry heat
- Brisket flat — same issue; oven roasting dries it out badly
- Skirt or flank steak — too thin and too fibrous; pan or grill only
I’ve watched cooks try to oven-roast a chuck at 325°F and wonder why it came out like a dry brick. Chuck needs braising liquid to convert its collagen to gelatin. Without it, the roast seizes up before the connective tissue breaks down. Pick the wrong cut and no technique saves you.
Bringing Meat to Room Temperature: What the Science Actually Says
Most recipes say “let the roast come to room temperature before cooking.” The reasoning is that cold meat cooks unevenly — the outside overcooks before the center reaches the right temperature.
That’s true. The disagreement is over how long it takes.
A 4-pound rib roast pulled from a 38°F refrigerator takes 1.5 to 2 hours to reach 50-55°F at its core — not 30 minutes, as most recipes suggest (Cook’s Illustrated, 2021). A 7-pound bone-in leg of lamb can take over 2.5 hours.
Here’s my actual rule: for anything under 3 pounds, 45 minutes on the counter is enough. For anything over 4 pounds, give it 2 full hours. Set a timer and use it.
One important safety note: the USDA recommends not leaving raw meat at room temperature for more than 2 hours total. In a warm kitchen (above 75°F), that window drops to 1 hour (USDA Food Safety, 2024). Work within those limits.
3 Roasting Methods: Sear First, Low-and-Slow, or Reverse Sear
Sear First, Then Roast
You brown the outside in a pan or under the broiler, then finish in a moderate oven. This is the traditional method and it works — but it has one real weakness. By the time the interior reaches your target temp, the outer layer has continued cooking from the residual heat of the sear. You get a gray band around the edge.
Use it for: chicken, pork loin, smaller beef roasts where you want fast total cook time.
Low-and-Slow (225-275°F Throughout)
You roast at a low temperature the whole time with no sear at all. The interior cooks gently and evenly, but the exterior stays pale and steamed-looking unless you blast it with high heat at the very end. The crust is never quite as good as a proper sear.
Use it for: large pork shoulders, lamb legs, anything you’re serving in pulled or shredded form where the crust doesn’t matter as much.
Reverse Sear
This is the method I use for almost every premium roast. You cook low (225-275°F) until the interior is 10-15°F below your target, then you pull the roast, crank the oven to 500°F or use a cast iron pan over high heat, and sear the outside hard for 8-10 minutes.
The result: edge-to-edge doneness with zero gray band, and a proper Maillard crust. ThermoWorks has documented that reverse-sear beef shows far more consistent internal temperature gradients than the traditional sear-first method (ThermoWorks Blog, 2023).
Use it for: prime rib, beef tenderloin, rack of lamb, any premium cut where edge-to-edge medium-rare matters.
Roasting Temperature Guide: Which Oven Setting to Use and When
Different temperatures produce different results. There is no single “right” oven temperature for all roasts.
| Oven Temp | Best For | What It Does |
|---|---|---|
| 225-250°F | Large pork shoulder, brisket (oven), lamb leg | Ultra-slow collagen breakdown; maximum tenderness |
| 275-300°F | Prime rib (reverse sear stage), larger beef roasts | Slow, even cook with less moisture loss |
| 325°F | Standard roasting for beef, pork, lamb | Reliable all-purpose setting; 20-25 min/lb |
| 375°F | Whole chicken, pork loin, smaller roasts | Faster cook, good browning with thinner cuts |
| 425-450°F | Beef tenderloin, chicken pieces, final blast | High-heat crust development; short cook time only |
| 500°F+ | Final reverse-sear stage only | Pure surface browning; never use for the full cook |
At 325°F, plan on roughly 15-20 minutes per pound for beef and lamb, and 20-25 minutes per pound for pork. These are starting points. Your thermometer gives you the actual answer.
Roast Doneness and Temperature Reference Table
| Doneness | Target Pull Temp | Final Rested Temp | USDA Minimum | Cook Time at 325°F (approx.) |
|---|---|---|---|---|
| Rare | 115-120°F | 120-125°F | Not recommended | ~13-15 min/lb |
| Medium-Rare | 125-130°F | 130-135°F | Not recommended for whole muscle* | ~15-17 min/lb |
| Medium | 135-140°F | 140-145°F | 145°F (USDA, 2024) | ~17-20 min/lb |
| Medium-Well | 145-150°F | 150-155°F | 145°F (USDA, 2024) | ~20-22 min/lb |
| Well-Done | 155°F+ | 160°F+ | 160°F for ground beef | ~23-25 min/lb |
| Pork (any) | 135-140°F | 145°F | 145°F (USDA, 2024) | ~20-25 min/lb |
| Poultry (any) | 155-160°F | 165°F | 165°F (USDA, 2024) | ~15-18 min/lb |
*The USDA 145°F minimum applies to whole muscle beef roasts. Many chefs and food scientists consider medium-rare whole muscle beef safe due to the structure of the cut, but this is a personal risk decision. For immunocompromised individuals, follow USDA guidelines strictly.
Using a Meat Thermometer: The One Tool You Cannot Skip
A $15 instant-read thermometer is more important than a $300 roasting pan. I’ve been saying this for 15 years and I’ll keep saying it.
Probe placement matters. Insert the thermometer into the thickest part of the roast, away from bone and fat. Bones conduct heat and will give a falsely high reading. Fat pockets read low. You want muscle tissue — specifically the geometric center of the densest part.
Carryover cooking is real. When you pull a roast from the oven, the exterior is much hotter than the interior. That heat keeps moving inward for 15-30 minutes depending on the roast’s size. A 5-pound prime rib will rise 8-12°F after you pull it (ThermoWorks, 2022). A 10-pound one can rise 15°F or more.
This is why the pull temperatures in the table above are 5-10°F below the final target. If you wait until the thermometer reads your target, the roast is already past it.
For large roasts, use a leave-in probe thermometer during cooking. Set an alert at your pull temperature. Walk away. The probe watches it for you.
Resting the Roast: Why It’s Non-Negotiable
When meat cooks, muscle fibers contract and push moisture toward the center. If you cut into a roast immediately after pulling it, those fibers are still contracted — and the juice runs out onto the board, not into your mouth.
Resting lets the fibers relax and reabsorb that liquid.
America’s Test Kitchen tested this directly: a roast cut immediately after cooking lost 40% more juice than one rested for 20 minutes (America’s Test Kitchen, 2023). That’s the difference between a dry, gray roast and a moist, pink one.
How long to rest:
- Roasts under 3 pounds: 15-20 minutes
- 3-6 pound roasts: 20-30 minutes
- 6+ pound roasts: 30-45 minutes
Tent loosely with foil. Do not wrap tight — you’ll trap steam and soften the crust you worked hard to build.
Basting, Foil Tenting, and Managing Oven Moisture
On basting: basting adds moisture to the surface, which actually slows browning. The oven cools every time you open the door. For most roasts, basting does more harm than good. The exception is poultry skin, where basting with butter or pan drippings every 30-45 minutes helps the skin color and crisp.
If you want a self-basting effect without opening the oven, use a roasting rack inside a pan. The meat sits above its own drippings, the fat renders down, and the hot air circulates all the way around the roast.
On foil tenting during cooking: don’t do it until resting. Foil during roasting traps steam and you end up braising, not roasting. Tent after pulling from the oven.
On adding water to the pan: a small amount of liquid (1/2 to 1 cup of stock or water) in the bottom of the roasting pan prevents drippings from scorching and gives you a base for pan sauce. Don’t add so much that steam builds up around the roast.
Convection vs. Conventional Oven: Which Is Better for Roasting?
Convection ovens use a fan to circulate hot air. That moving air transfers heat to the meat’s surface more efficiently, which means faster browning and a shorter cook time.
The offset rule: set a convection oven 25°F lower than any conventional recipe temperature. A recipe calling for 325°F conventional becomes 300°F convection. Cook time also drops by roughly 20-25% (Serious Eats, 2023).
For whole poultry and large roasts, convection wins: the circulating air crisps skin and evenly colors the exterior. For very large roasts where you want maximum control over internal temp, conventional is fine — the longer cook gives you more room to hit your pull temperature precisely.
If your oven has a convection roast setting (as opposed to convection bake), use it. It typically runs the fan at higher speed and concentrates heat from the top element — exactly what roasting needs.
Common Roasting Mistakes and How to Fix Them
Mistake 1: Not using a thermometer. Fix: Buy one. Use it every time. The ThermoWorks Thermapen One reads in under 1 second and costs around $99 — worth every cent for what it prevents (ThermoWorks, 2024).
Mistake 2: Pulling the roast at the target temp, not below it. Fix: Pull 8-12°F below target. Always. Use the carryover table above.
Mistake 3: Skipping the room temperature step. Fix: For roasts over 3 pounds, give yourself 1.5-2 hours of counter time before it goes in.
Mistake 4: Roasting in a pan that’s too small. Fix: The pan should be 2-3 inches larger than the roast on all sides. A tight pan traps steam and prevents browning on the sides.
Mistake 5: Roasting at altitude. At elevations above 3,500 feet, water boils at lower temperatures and the air is drier. Roasts cook faster on the outside and slower on the inside. Reduce oven temperature by 10-15°F and add 20-30 minutes to your total cook estimate. Still pull by internal temp, not by time (Colorado State University Extension, 2022).
Mistake 6: Opening the oven repeatedly to check. Fix: Use a leave-in probe thermometer. Every time the oven door opens, temperature drops 25-50°F and recovery takes 5-10 minutes.
Mistake 7: Cutting with the grain. Fix: Always slice against the grain — perpendicular to the direction the muscle fibers run. It shortens the fibers and makes every slice more tender.
My Actual Roast-Day Routine (Specific, Practical, Opinionated)
I’ve done this hundreds of times in restaurant kitchens and at home for Thanksgiving, Christmas, and every Sunday that called for something serious. Here’s exactly how I run it.
The night before: dry brine the roast. Season generously with kosher salt — about 1/2 teaspoon per pound — all over the surface. Set it on a rack over a sheet pan, uncovered, in the refrigerator. This draws moisture to the surface, then that moisture reabsorbs with the salt dissolved in it. The surface also dries out overnight, which gives you far better crust the next day.
Two hours before cooking: pull the roast from the refrigerator. Set it on the counter, still on the rack. Let it sit.
One hour before cooking: preheat the oven. If I’m using the reverse sear method, I set it to 250°F. Insert the leave-in probe into the thickest part of the roast. Set the alert to my pull temperature.
When the probe hits the pull temp: pull the roast. Tent loosely with foil. Crank the oven to 500°F (or heat a cast iron pan on the stove over the highest flame). While the oven or pan heats — about 15-20 minutes — the roast rests and rises toward its target.
The sear: 2-3 minutes per side in the screaming-hot cast iron, or 8-10 minutes under a 500°F broiler. I prefer the pan — it gives me more control and a harder, more even crust.
The rest: 25-30 minutes minimum for anything over 4 pounds. I use this time to make pan sauce from the drippings.
The cut: carving knife, sharp and long. Slice against the grain. Plate immediately.
Two tools I won’t cook without: a ThermoWorks Thermapen and a good 12-inch cast iron skillet. Everything else is optional.
Frequently Asked Questions About Oven Roasting
What internal temperature should a beef roast reach before pulling it from the oven?
For medium-rare, pull the roast at 125-130°F and let it rest to 130-135°F. The USDA minimum for whole muscle beef is 145°F (medium), with a 3-minute rest. For medium, pull at 135-140°F. Always use a thermometer — timing charts are estimates, not guarantees.
How long does it take to cook a 3-pound roast at 325°F?
At 325°F, a 3-pound beef roast takes roughly 50-70 minutes to reach medium-rare (130-135°F). Start checking with a thermometer at 45 minutes. Bone-in roasts take longer because bone slows heat transfer to the center.
Do I need to sear a roast before putting it in the oven?
No. The reverse sear method — low oven first, sear last — produces better results for most premium cuts. Searing first is faster and still works well, but the reverse method gives you more edge-to-edge control over doneness.
Can I cook a frozen roast in the oven without thawing it?
Technically yes — the USDA says you can cook frozen meat directly, though it takes 50% longer (USDA Food Safety, 2024). In practice, the exterior overcooks badly before the interior is done. Thaw the roast fully in the refrigerator (24 hours per 5 pounds), then cook it properly.
Why does my roast come out dry even when the temperature is right?
Three common causes: you pulled it at the right temperature but didn’t rest it (juice ran out on the board); you cooked it too fast at too high a temperature; or the cut itself is low-fat. Lean cuts like eye of round dry out quickly. Solve it with a lower oven temp, a longer rest, and a cut with more intramuscular fat.
Should I cover the roast with foil while it cooks?
No — not during roasting. Foil traps steam and turns roasting into braising. You lose the dry-heat crust. Tent loosely with foil only after you pull the roast, during the rest period.
How do I know when to pull the roast if I don’t have a thermometer?
You don’t — not reliably. A thermometer is the only accurate way to measure doneness in a roast. Time-per-pound charts have a 15-20% variance depending on the oven, the roast’s starting temperature, its shape, and whether it’s bone-in. If you cook expensive meat, buy a thermometer.
Does altitude affect how long a roast takes to cook?
Yes. Above 3,500 feet, the drier air and lower atmospheric pressure cause the exterior to dry out faster while the interior takes longer to reach temperature. Lower the oven temp by 10-15°F and add 20-30 minutes to your cook time estimate. Pull by temperature, not by time (Colorado State University Extension, 2022).
Key Takeaways
- Dry brine the night before — salt the surface, leave uncovered in the refrigerator, and the surface moisture reabsorbs with the salt for better flavor and crust.
- Room temperature matters — 1.5-2 hours for roasts over 4 pounds; don’t skip it.
- The reverse sear method gives you the most control and the best edge-to-edge doneness for premium cuts.
- Pull 8-12°F below your target temperature and let carryover cooking finish the job.
- Rest every roast — minimum 20 minutes for small roasts, 30-45 for large ones — tented loosely, not wrapped tight.
- Convection ovens cook 25°F hotter than conventional settings — adjust every time.
- A thermometer is not optional — it is the single most important tool in oven roasting.
- Altitude above 3,500 feet requires a lower oven temp and longer cook time — and always pull by temperature, not by the clock.

I’m Mossaraof, a trained chef and the founder of OvenInsights.com. I spent years cooking at Larrupin’ Cafe and in kitchens across Chicago and Seattle. Now I test kitchen gear for a living. I moved to North Acton, London, and I test every tool I write about. I use real meals and real heat. No brand deals. No shortcuts. I cover 12 kitchen types and hundreds of recipes. I believe this: the right tools matter as much as the recipe.




