
At A Glance
- Oven temperature controls three things at once: how fast moisture escapes, how fast the outside browns, and how fast the inside sets – get the balance wrong and your bake fails regardless of recipe quality.
- A 25°F difference changes cookie spread, bread crust color, and cake crumb structure in ways most bakers never realize until they start measuring.
- Most home ovens run 25°F-50°F off their dial setting (America’s Test Kitchen, 2023) – a thermometer is the single cheapest upgrade any baker can make.
- Convection ovens need a 25°F reduction or a shortened bake time, not both, unless your oven manual specifies otherwise.
- Gas and electric ovens produce different moisture environments, and that difference shows up directly in crust texture and crumb openness.
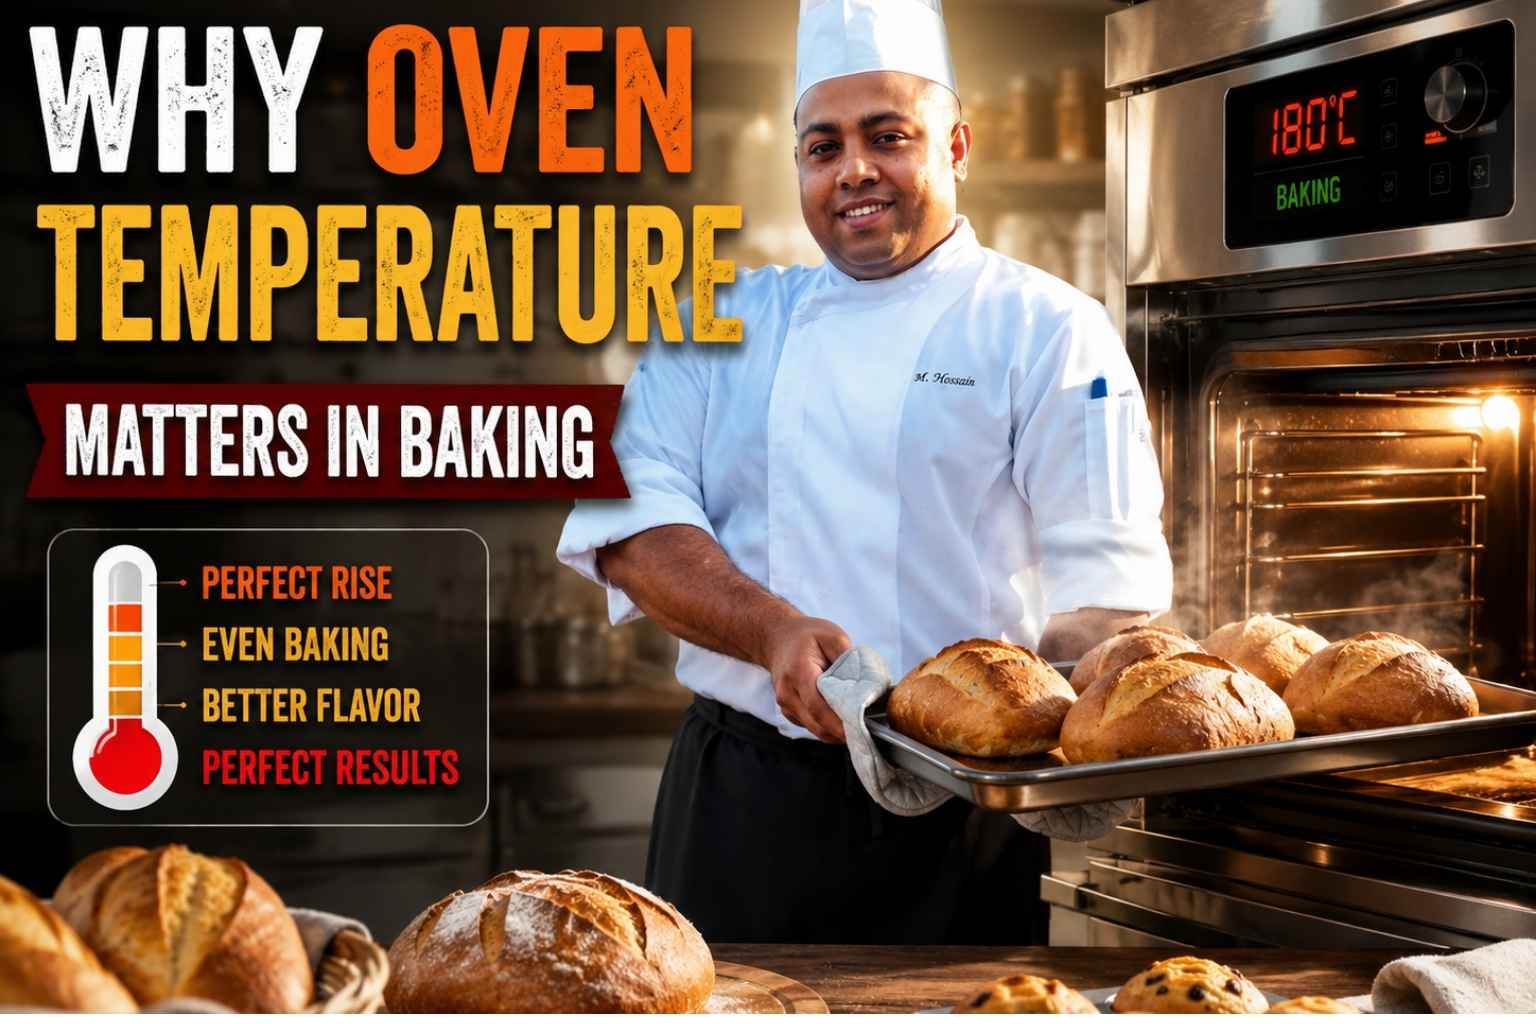
I still remember the first time I pulled a cake out of the oven, sad and flat as a pancake. That’s when I learned why oven temperature matters in baking. Even a few degrees off can turn a fluffy cake into a dense brick. As a chef, I’ve tested this in real kitchens, not just recipe books. Stick with me, and I’ll show you how the right heat changes everything you bake.
What Oven Temperature Actually Controls: The Science Behind Your Bake
Oven temperature controls the rate of three simultaneous processes: moisture evaporation, surface browning, and internal protein or starch setting. Those three processes need to happen in the right sequence, at the right speed, for a bake to work. If the oven is too hot, the outside browns and sets before the inside finishes cooking. If it’s too cool, moisture escapes slowly, the surface stays pale, and you end up with a dense, gummy interior.
Heat transfer inside an oven happens three ways: conduction (direct contact with the pan), convection (hot air moving around the food), and radiation (infrared heat from oven walls and elements). Every bake uses all three, but the proportions shift depending on pan type, rack position, and whether you’re using convection mode.
The Maillard Reaction: Your Browning Window
The Maillard reaction – the process that turns the surface of bread and cookies brown and produces flavor compounds – starts at around 280°F (138°C) at the food’s surface and accelerates sharply above 320°F (160°C) (Harold McGee, On Food and Cooking, 2004). That’s surface temperature, not oven temperature. The two are different, which is why a thick loaf can sit at 425°F for 45 minutes without over-browning while a thin cookie burns at 375°F in 14 minutes.
Caramelization: Sugar’s Separate Reaction
Caramelization is separate from the Maillard reaction and affects sugars specifically. Sucrose begins to caramelize at 320°F (160°C) (Serious Eats, 2022). This is why recipes with high sugar content – brioche, sticky buns, fruit tarts – need lower oven temperatures than lean doughs. The sugar hits its caramelization point well before the dough has fully set, which means you either tent with foil or drop the temperature to slow the browning.
Steam: The Variable Nobody Talks About Enough
Steam inside the oven keeps the surface of bread dough soft and extensible during the first 10-15 minutes of baking. Without it, the crust sets too fast and the loaf can’t expand properly, which gives you a dense loaf with a cracked side or a burst seam. Professional deck ovens inject steam automatically. At home, you replicate this with a Dutch oven, a pan of boiling water on the bottom rack, or ice cubes on a preheated cast iron skillet. The steam only matters during the first phase of baking – after that, you want dry heat to crisp the crust.
The Temperature Reference Table: What Changes at Each Range
| Temperature Range | Best For | Crust Color | Rise | Texture | Notes |
|---|---|---|---|---|---|
| 300°F – 325°F | Low-and-slow cakes, cheesecakes, custards | Pale to light gold | Slow and even | Dense, moist, tender crumb | Prevents cracking; extended bake time |
| 325°F – 350°F | Layer cakes, quick breads, muffins | Light to medium gold | Moderate | Soft, even crumb, slight dome | Most reliable range for beginners |
| 350°F – 375°F | Cookies, brownies, most sheet cakes | Medium to deep gold | Fast initial rise | Slightly crisp edges, soft center | Watch sugar content; browning accelerates |
| 375°F – 400°F | Sandwich bread, focaccia, pizza | Deep gold to dark brown | Strong oven spring | Open crumb, chewy crust | Needs steam for lean doughs |
| 400°F – 425°F | Artisan bread, baguettes, roasted vegetables | Dark brown to mahogany | Very strong oven spring | Thick crust, open crumb, char on veg | Dutch oven recommended for bread |
| 450°F – 500°F | Pizza, flatbreads, very high-heat bread | Dark mahogany to slight char | Explosive initial spring | Thin, blistered crust | Short window before burning; watch closely |
How a 25°F Difference Changes Your Bake – Real Examples
A 25°F shift sounds minor. It isn’t.
Cookies at 325°F vs. 350°F: At 325°F, a chocolate chip cookie spreads more before the edges set. You get a wider, flatter cookie with chewier texture throughout. At 350°F, the edges set faster, the center stays soft, and you get more lift. Same dough, same recipe, meaningfully different result (King Arthur Baking, 2024).
Cakes at 325°F vs. 350°F: A 9-inch round baked at 325°F takes about 10-12 minutes longer but produces a flatter, more even top because the rise happens slowly. At 350°F, the sides set faster than the center, which domes more – fine for most layer cakes, but a problem if you’re trying to avoid trimming.
Bread at 400°F vs. 425°F: Lean sourdough at 400°F gets good oven spring and a solid crust but stays lighter in color. At 425°F, you get a darker, thicker crust and a more open crumb because the steam evaporates faster and the exterior seals at higher tension. I’ve run this side-by-side in my own kitchen more times than I can count – the 25°F matters.
Roasted vegetables at 375°F vs. 425°F: At 375°F, vegetables steam in their own moisture before browning. They get soft and cooked through but rarely caramelize well. At 425°F, the surface moisture evaporates fast enough that the Maillard reaction takes over and you get actual browning and concentrated flavor. This is why restaurant-roasted vegetables look different from home versions – it’s almost always a temperature difference.
Why Most Home Ovens Run Hot or Cold – And How to Find Out
Most home ovens are inaccurate. America’s Test Kitchen tested 18 residential ovens in 2023 and found that 14 of them ran at least 25°F off from their dial setting, with several running 50°F or more off. Some ran hot; some ran cold. There is no reliable pattern.
The fix is a $10-$15 standalone oven thermometer hung from the center rack. Preheat your oven to 350°F, wait 20 minutes after it signals ready (the signal comes before the oven fully stabilizes), and read the thermometer. Do this three times on different days and average the readings. If your oven consistently runs 25°F hot, set it 25°F lower than any recipe specifies.
Hot spots are a separate problem from overall temperature. Most ovens are hotter near the back and on one side. You can map your oven’s hot spots by arranging slices of white sandwich bread across the rack and toasting them at 350°F for 10 minutes – the browning pattern shows exactly where the heat concentrates. Rotate pans halfway through baking to compensate.
The Role of Thermal Mass: Baking Stones, Dutch Ovens, and Pan Thickness
Thermal mass is the ability of an object to absorb, store, and release heat. A thick cast iron skillet has high thermal mass. A thin aluminum sheet pan has low thermal mass.
When you put cold dough on a thin pan, the pan temperature drops sharply and recovers slowly. That uneven heat transfer affects the bottom crust. A thicker pan – or a preheated stone or steel – delivers immediate, consistent heat to the bottom of the dough from the moment contact is made.
Baking stones and steels work by storing oven heat and releasing it rapidly when cold dough lands on them. A baking steel retains heat better than ceramic and recovers faster between bakes (Serious Eats, 2021). Preheat either for at least 45-60 minutes at full oven temperature before baking bread or pizza.
Dutch ovens solve two problems at once for bread: they trap steam during the first phase of baking (no need for a separate steam setup) and they provide thermal mass for the bottom crust. I switched my bread students to Dutch ovens about eight years ago and have not looked back. The difference in crust quality is immediate.
Sheet pan thickness matters more than most bakers realize. A heavy commercial half-sheet pan – 18-gauge aluminum – distributes heat more evenly and browns the bottom of cookies more consistently than a thin, dark non-stick pan, which absorbs heat faster and often over-browns before the top sets (King Arthur Baking, 2023).
How Sugar, Fat, and Moisture Interact With Oven Temperature
The ingredients in your recipe don’t just determine flavor – they change how your bake responds to heat.
Sugar lowers the temperature at which browning occurs. A recipe with more sugar browns faster at the same oven temperature. When I work with enriched doughs or high-sugar cake batters, I drop the oven temperature by 25°F compared to a comparable lean recipe to prevent the surface from browning before the interior sets.
Fat slows moisture evaporation from the crumb and extends the window before the outside dries out. A buttery brioche can handle a slightly higher temperature than a lean white bread because the fat acts as a buffer. This is also why cookies with more butter spread more – the fat melts and carries the dough outward before the structure sets.
Moisture content directly affects how long a bake takes. A wet batter like banana bread holds more water than a stiff bread dough, and that water has to evaporate before the interior can set fully. This is why banana bread and similar loaves need lower temperatures (325°F-350°F) for longer times – you’re managing the rate of moisture loss, not just browning.
Low-and-Slow vs. High-Heat Baking: When Each Wins
Low-and-slow baking (300°F-325°F) is right for:
- Cheesecakes and custards, where you want the proteins to set gently without cracking or curdling.
- Meringues and pavlovas, where you’re drying the structure rather than baking it – sometimes as low as 200°F for 2+ hours (America’s Test Kitchen, 2022).
- Dense, moist cakes where a flat, even crumb matters more than a thick crust.
- Anything with high sugar where early browning is a risk.
High-heat baking (400°F-500°F) is right for:
- Artisan bread and pizza, where you need rapid oven spring and thick crust development.
- Roasted vegetables, where the goal is caramelization and concentrated flavor rather than steaming.
- Puff pastry and croissants, where the butter between layers needs to produce steam fast – the rapid steam puff is what creates the layers.
- Par-baked or blind-baked pastry shells, where you want the crust to set and color before filling goes in.
The false choice is thinking one approach is generally “better.” They serve different goals.
Convection vs. Conventional: Temperature Offsets and When to Switch
Convection adds a fan that circulates hot air around the food. Circulating air transfers heat to food faster than still air, which means convection ovens bake faster and brown more evenly than conventional ovens at the same set temperature.
The standard adjustment is to reduce temperature by 25°F in convection mode and keep bake time the same, or keep temperature the same and reduce bake time by about 20-25% (The Food Lab, J. Kenji López-Alt, 2015). Do not do both at once unless your specific oven manual says to.
Use convection for:
- Roasting and browning, where air circulation improves surface color and crispness.
- Multiple pans at once – convection equalizes temperature across racks better than conventional mode.
- Cookies, where the even heat gives more consistent color across the sheet.
- Pies and tarts, where you want a crisper bottom crust.
Avoid convection for:
- Delicate cakes and soufflés, where the moving air can cause uneven rise or collapse.
- Bread in its early phase, where the fan dries the surface too fast before oven spring completes.
- Custards and cheesecakes, where airflow can dry the surface and cause cracking.
One clarification I give every cooking class: “convection mode” on a residential oven is not the same as a professional convection oven. Most home convection settings are weaker and less consistent than the term implies. Test your specific oven rather than assuming the standard offset applies exactly.
Gas vs. Electric: Moisture Differences and How They Affect Your Bake
Gas and electric ovens produce different baking environments because their heat sources are fundamentally different.
Gas ovens burn natural gas or propane, which produces water vapor as a byproduct of combustion. That moisture stays in the oven cavity during baking, which keeps the environment more humid. The result is bread with a softer crust and cakes with a more tender surface compared to the same recipe in a dry electric oven (Serious Eats, 2023). Gas ovens also tend to heat from the bottom, which can over-brown the undersides of baked goods if you’re not careful about rack position.
Electric ovens use dry resistance heating with no combustion byproduct. The environment is drier, which promotes better crust formation on bread and more even browning on cookies. Most professional pastry kitchens in the US use electric convection ovens for exactly this reason – the dry, even heat is more predictable for delicate work.
What this means in practice:
- If you bake bread in a gas oven and want a crisper crust, add a pan of water to increase steam early, then remove it halfway through to let the crust dry.
- If you bake cakes in a dry electric oven and find the surface dries before the center sets, a damp cloth over the pan for the first half of baking can help.
- Rack position matters more in gas ovens than electric ones. Keep pans in the middle third, away from the burner, unless a recipe specifies otherwise.
Common Temperature Mistakes Bakers Make – With Specific Fixes
Mistake 1: Trusting the oven dial. The dial tells you what you asked for, not what you’re getting. Buy a standalone thermometer and calibrate your offset before baking anything that matters.
Mistake 2: Opening the door too early. Every time the door opens, oven temperature drops by 25°F-50°F depending on how long it stays open (USDA Food Safety Guidelines, 2023). For bread and soufflés especially, wait until at least 75% of the bake time has passed before opening. For cakes, wait until the top looks set and a toothpick test makes sense.
Mistake 3: Skipping the preheat soak. When your oven signals it has reached temperature, the air is at that temperature – but the walls, racks, and stone are not. Allow 15-20 minutes after the ready signal before loading bread or pizza onto a stone. For standard baking, 10 minutes is enough.
Mistake 4: Dark pans at standard temperatures. Dark-colored pans absorb more radiant heat than light or reflective pans. If you switch from a light to a dark pan, drop temperature by 25°F or reduce bake time by 5-8 minutes and watch closely. This is the reason dark muffin tins produce over-browned bottoms so often.
Mistake 5: Same temperature for different altitudes. At high altitude (above 3,500 feet), water boils at a lower temperature, leavening gases expand faster, and moisture evaporates more quickly. Recipes generally need higher temperatures – about 15°F-25°F – and reduced leavening at altitude to compensate (King Arthur Baking, 2024). If you’re baking at elevation and following sea-level recipes without adjustment, your results will be inconsistent.
Mistake 6: Not accounting for carryover. Food continues to cook after it leaves the oven. Dense baked goods like pound cake and quick breads can rise 3-5°F in internal temperature after removal. Pull them 5°F before the target internal temperature if you’re using a thermometer, and always let them rest before cutting.
My Personal Temperature Strategy After 15 Years in Professional and Home Kitchens
I’ll tell you exactly what I do, because I think opinionated specifics are more useful than hedged generalities.
I own two oven thermometers and check them every time I use a new oven. My current home oven runs 18°F hot – I set it 20°F lower than any recipe calls for and have never looked back. The 15 minutes I spent figuring that out have paid off in every bake since.
For bread, I preheat my Dutch oven inside the oven at 500°F for 45 minutes, then drop to 475°F when I load the dough. Lid on for the first 20 minutes (steam phase), lid off for the remaining 20-25 minutes (crust development). This is not complicated – it’s just consistent.
For cookies, I default to 350°F on a light-colored, heavy-gauge aluminum pan on the middle rack. I rotate at the halfway point. If I want a crispier edge, I go to 375°F and shorten the time by 2 minutes. If I want a softer, chewier cookie, I go to 325°F and accept that the bake time extends by 3-4 minutes.
For cakes, I almost always use 325°F instead of the 350°F most recipes specify. I find the top domes less, the crumb is more even, and the crust doesn’t over-set before I can frost. The bake takes longer – usually 8-12 minutes more – but the result is more consistent.
For anything with high sugar content, I add aluminum foil tent protection from the start if I can see the surface is browning before the inside is set. I don’t wait for the problem to develop. I’d rather lift the foil to check than replace a scorched top with a glaze.
The single biggest upgrade most home bakers can make is not a new stand mixer or a better recipe – it’s a $12 thermometer and the willingness to use it every time.
Frequently Asked Questions About Oven Temperature and Baking
What temperature should I use for most baking?
For most home baking – cakes, muffins, quick breads, and cookies – the 325°F-375°F range covers the majority of recipes. Layer cakes and tender quick breads work well at 325°F-350°F. Cookies and brownies generally land in the 350°F-375°F range. Bread and pizza need 400°F and above to develop proper crust and oven spring.
How do I know if my oven temperature is accurate?
Use a standalone oven thermometer – not the built-in one, which measures air temperature at a single point near the sensor. Hang the thermometer in the center of the rack, preheat the oven to 350°F, wait 20 minutes after the ready signal, and read it. Repeat three times and average the readings. If your readings consistently differ from the dial, adjust your dial accordingly going forward.
Does opening the oven door really ruin a bake?
It depends on what you’re baking. For soufflés and some custard-based preparations, opening the door in the first half of baking can cause collapse because the temperature drop disrupts the rise before structure has set. For bread, opening the door during the steam phase (first 20 minutes in a Dutch oven) releases the steam and limits oven spring. For cookies and cakes, a brief door opening mid-bake is fine – the temperature recovers within a few minutes. The key is to open quickly, check what you need to check, and close it again.
What is the difference between baking at 350°F and 375°F?
At 350°F, surface browning starts later and the interior has more time to set before the outside is done. At 375°F, browning accelerates and the exterior firms faster. For cookies, 350°F gives a more even spread and softer center. At 375°F, edges crisp faster and the center stays fudgier. For bread and items where you want color and crust, the higher temperature is usually better. For delicate cakes where a flat, even top matters, 350°F or lower is safer.
Should I bake with convection or conventional?
Use convection for roasting, multiple-pan baking, cookies, and anything where you want browning and crispness. Use conventional for delicate cakes, soufflés, custards, and bread during the steam phase. If you switch to convection, drop temperature by 25°F and keep the same time, or keep temperature and reduce time by 20-25% – not both at once.
Why does my bread always come out pale even at the right temperature?
Three common causes: the oven is running cold (check with a thermometer), there is not enough steam during the first phase of baking (try a Dutch oven), or you are pulling the bread too early. Bread should reach an internal temperature of 200°F-210°F for lean doughs and around 190°F-195°F for enriched doughs (King Arthur Baking, 2024). A pale loaf that sounds hollow when tapped and reads 200°F internally is done, even if the color looks light. A loaf that’s 185°F internally is under-baked regardless of color.
Why do my cakes sink in the middle?
A sunken center usually means one of three things: the oven was too hot (exterior set before the center finished cooking), the cake was underbaked (check internal temperature at 200°F-205°F), or leavening was overdone (too much baking powder or soda causes rapid rise then collapse). Temperature is the most common culprit in my experience – many home ovens run hot, the edges set fast, and the center never gets the heat it needs before the structure collapses when the pan is moved.
Can I bake at a higher temperature to save time?
Yes, with caveats. For bread, higher temperatures are generally beneficial up to about 475°F-500°F before burning becomes a risk. For cakes, cookies, and delicate baked goods, increasing temperature to save time almost always degrades quality: you get over-browned exteriors, raw centers, and domed or cracked tops. A better strategy is to use convection mode at the same temperature, which cuts time by 20-25% without the quality trade-offs of running hotter.
Key Takeaways
- Oven temperature controls three simultaneous processes – moisture loss, browning, and structure setting – and getting their timing right is the difference between a good bake and a failed one.
- Most home ovens are inaccurate by 25°F-50°F; a standalone thermometer is the cheapest and highest-impact upgrade any baker can make.
- A 25°F temperature shift changes cookie spread, cake dome, bread crust color, and vegetable caramelization in ways that are visible and significant.
- Convection mode transfers heat faster; reduce temperature by 25°F or reduce bake time by 20-25%, not both simultaneously.
- Gas ovens are more humid than electric ovens; this affects crust texture and browning behavior, and the right technique differs between them.
- Thermal mass – preheated stones, Dutch ovens, heavy sheet pans – dramatically improves crust quality for bread and pizza.
- Sugar, fat, and moisture in a recipe all change the temperature at which browning, spreading, and setting occur; adjust oven temperature whenever you modify these ingredients significantly.

I’m Mossaraof, a trained chef and the founder of OvenInsights.com. I spent years cooking at Larrupin’ Cafe and in kitchens across Chicago and Seattle. Now I test kitchen gear for a living. I moved to North Acton, London, and I test every tool I write about. I use real meals and real heat. No brand deals. No shortcuts. I cover 12 kitchen types and hundreds of recipes. I believe this: the right tools matter as much as the recipe.




