
At A Glance
- Broiling uses direct radiant heat from the top element of your oven — the opposite of baking, which heats food from below and around it.
- High broil runs at roughly 500-550°F (260-288°C); low broil sits around 400-450°F (204-232°C). Your rack position controls how fast food cooks and how much char it picks up.
- The best foods for broiling are steaks, fish fillets, bone-in chicken pieces, vegetables, and cheese-topped dishes. Avoid anything delicate, batter-coated, or large enough to need slow, even heat.
- Gas broilers heat faster and run hotter than most electric ones, but they also cause more flare-ups from fat drippings. Electric broilers are slower to preheat but give more consistent, controllable results.
- The single most common broiling mistake is walking away from the oven. A steak goes from perfect to ruined in under 90 seconds under a hot broiler.
I still remember the day I almost set my kitchen on fire because I didn’t know what broil meant on an oven. Total chaos, smoke everywhere, and my cheese just… burned to a crisp in seconds. If you’ve ever stared at that oven dial and wondered what that broil setting really does, you’re not alone, my friend. As a chef, I’ve used broil thousands of times, and today I’ll break it down so simply, you’ll never feel confused again. Grab a cup of coffee, and let’s dive into this together!
What “Broil” Actually Means – and How It Differs from Baking
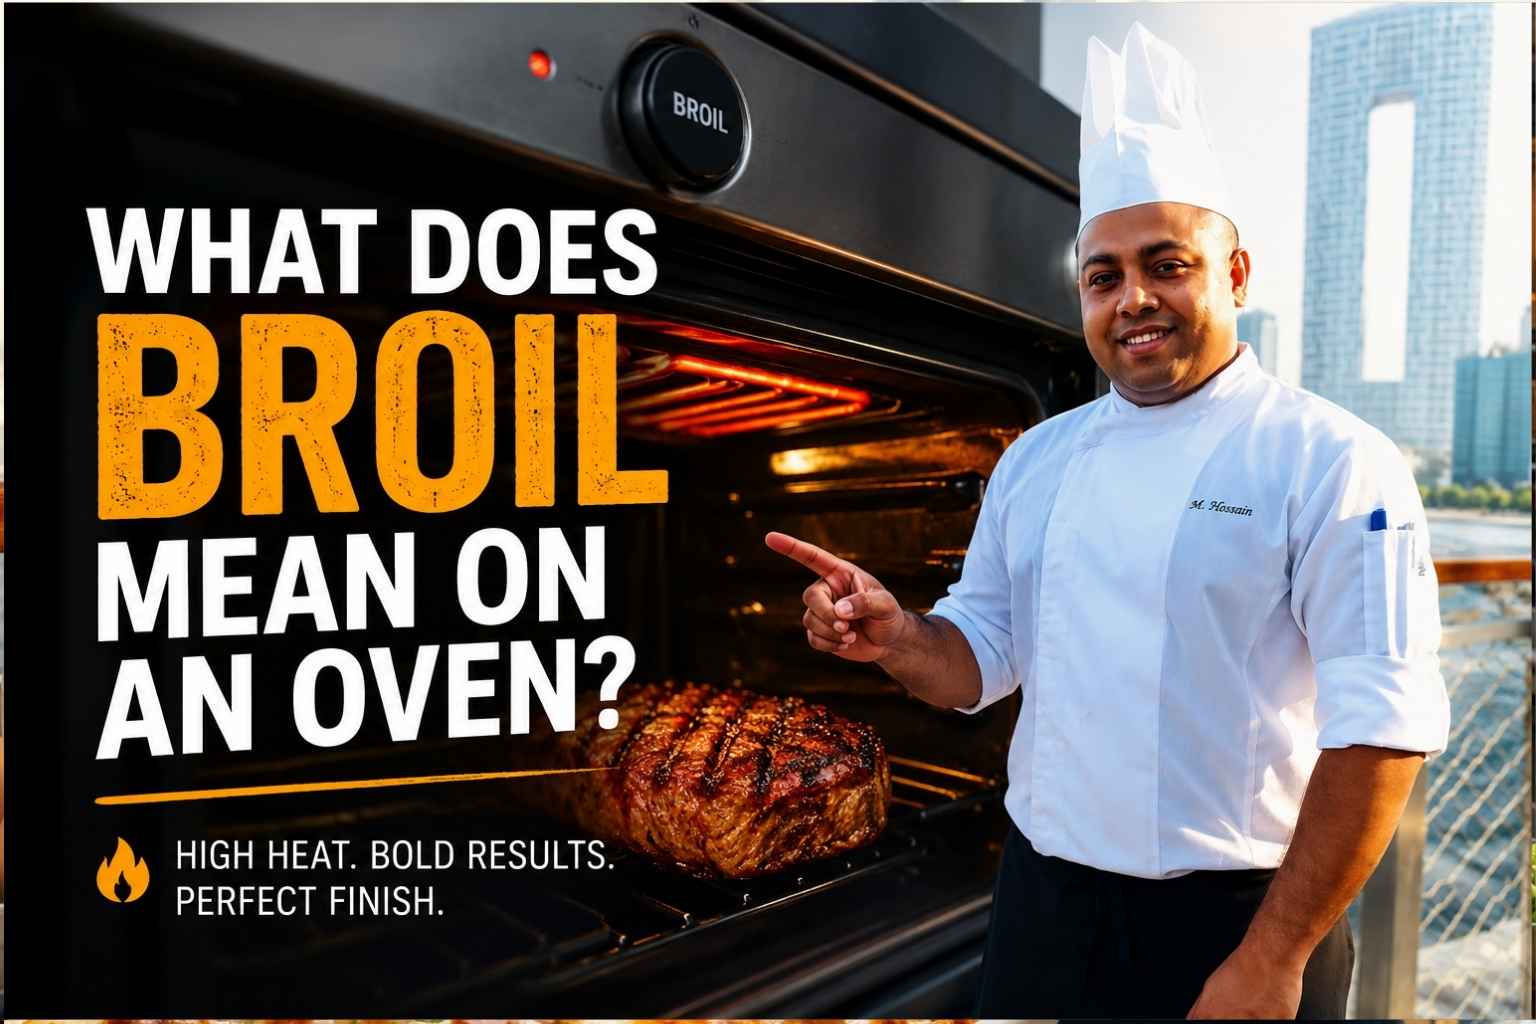
Broiling means cooking food with direct, high-intensity radiant heat from an element positioned above the food. The heat source never moves. The food sits still beneath it. That’s the whole mechanism.
Baking works the opposite way. In bake mode, heat comes from the bottom element and circulates through the oven cavity. The food cooks gradually, from the outside in, using a combination of radiant heat and convected hot air. Temperature is typically moderate — 325-425°F — and cook times are measured in minutes or hours, not seconds.
Broiling is closer to grilling than it is to baking. The surface of your food gets extremely hot very fast. You get browning, caramelization, and char. The inside stays relatively cool during that process, which is exactly what you want when you’re finishing a steak or melting cheese over French onion soup.
The practical difference matters: if you bake a steak, you get gray meat with a pale crust. If you broil it correctly, you get a deeply browned crust with a still-pink center. Same oven. Completely different result.
What’s Actually Happening Inside Your Oven When You Broil
When you set your oven to broil, the top heating element activates — either a coiled electric element or a gas igniter feeding a burner. That element gets extremely hot, typically in the 500-550°F range for high broil, and begins radiating heat downward (America’s Test Kitchen, 2024).
The oven door is the first thing people get wrong. Most manufacturers recommend cracking the door open 2-4 inches when broiling on electric ovens. Here’s why: a sealed oven traps steam and warm air, which raises the ambient temperature and activates the thermostat. When the thermostat kicks in, it shuts off the broiler element to prevent overheating. Cracking the door lets heat escape, keeps the thermostat from cycling off, and maintains that steady, intense radiant heat you need. On gas ovens, the door typically stays closed — check your manual, because gas ovens vent differently (GE Appliances, 2025).
Smoke and flare-ups are the other thing happening. Fat drips from food onto the pan or oven floor, hits high heat, and burns. That’s smoke. If fat pools and ignites, that’s a flare-up. Neither is a sign that something’s broken — it’s just physics. A good broiler pan (the kind with slots that let fat drip away from direct flame) handles most of this. More on pan choice below.
Low Broil vs. High Broil: A Complete Settings Reference
Most ovens today offer two broil settings. Some brands label them “Lo” and “Hi.” Others say “Broil” (high) and “Low Broil.” Whirlpool and KitchenAid models often just call them Broil 1 and Broil 2 (Whirlpool, 2025). Here’s how they actually differ:
| Setting | Typical Temp (°F) | Typical Temp (°C) | Rack Position | Best Uses | Approx. Cook Time |
|---|---|---|---|---|---|
| High Broil | 500-550°F | 260-288°C | Top rack (3-4 inches from element) | Thin steaks, fish fillets, cheese melts, toast | 2-6 minutes per side |
| High Broil | 500-550°F | 260-288°C | Second rack (5-7 inches) | Chicken breasts, thick fish, peppers | 6-10 minutes per side |
| Low Broil | 400-450°F | 204-232°C | Second or third rack | Bone-in chicken, thick pork chops, casseroles with cheese tops | 10-15 minutes per side |
| Low Broil | 400-450°F | 204-232°C | Third rack (8-10 inches) | Slow-finish dishes needing interior doneness | 15-25 minutes |
The rule of thumb: the closer to the element and the higher the setting, the faster and more aggressive the browning. Move the rack down or switch to low broil when you need the inside of the food to cook through before the outside burns.
I learned this the hard way about twelve years ago, trying to broil bone-in chicken thighs on the top rack at high broil. The skin went black in four minutes. The meat was raw at the bone. Two inches of rack distance and a switch to low broil fixed everything on the next attempt.
Rack Position Guide: Distance Controls Everything
Rack position is the most underused variable in home broiling. Most people put food on the top rack and hope for the best. Professional cooks treat rack position as a dial.
3-4 inches from the element gives you aggressive surface char with minimal internal cooking. This is where you finish a pre-seared steak, melt and blister cheese, or toast bread. The window from “perfect” to “burned” is about 60-90 seconds.
5-6 inches from the element gives you strong browning with more time for the interior to catch up. This is the sweet spot for fish fillets (1-inch thick), chicken breasts pounded flat, and halved vegetables.
7-9 inches from the element is a slower broil — more like aggressive top-heat baking. This works for casseroles you want bubbling and golden, bone-in chicken pieces that need 20+ minutes total cook time, or thick pork chops that must hit 145°F internally before the surface burns.
Move the rack before you preheat. Adjusting a hot oven rack is how people get burned.
Best Foods for Broiling (and What to Avoid)
Foods That Broil Well
Steaks and chops are the classic broiler use case. The high direct heat creates a crust that mimics a restaurant char-broiler. Cuts that work best: skirt steak, flank steak, ribeye under 1.5 inches thick, lamb chops, and thin pork chops. Thicker cuts — anything over 1.5 inches — should be reverse-seared: start in a 250°F oven until the center hits 115°F, then finish under the broiler for crust.
Fish fillets are where a broiler absolutely shines. Salmon, halibut, sea bass, and tilapia all cook in 6-10 minutes under high broil. The top gets golden and slightly crisp. The inside stays moist. No flipping required for fillets under 1-inch thick (Serious Eats, 2024).
Vegetables caramelize fast under a broiler. Asparagus, bell peppers, cherry tomatoes, zucchini, broccoli — cut them into even pieces, toss with oil and salt, and broil on high for 5-8 minutes until charred at the edges. The flavor is better than roasting because the high heat concentrates sugars before moisture has a chance to cook out.
Cheese and gratins are a broiler’s best party trick. French onion soup, mac and cheese, nachos, sheet-pan quesadillas — anything that needs a browned, bubbly top layer in under 3 minutes goes under the broiler at the end of cooking.
Toast and open-faced sandwiches work well too. Garlic bread, bruschetta, and tartines all benefit from the broiler’s speed. Keep them on the second rack and watch closely — bread goes from golden to black in about 30 seconds.
Foods to Avoid Under the Broiler
Thick roasts, whole chickens, and large cuts of meat are wrong for broiling — they need slow, even heat to cook through safely. The outside will char long before the inside is safe to eat.
Battered or breaded foods (fried chicken, tempura) don’t belong under a broiler. The coating burns before it cooks through, and oil can smoke heavily.
Anything in a nonstick pan is also a mistake. More on that next.
Gas vs. Electric Broilers: Real Differences That Affect Your Food
Gas broilers ignite a burner at the top of the oven (or in a separate broiler drawer at the bottom in older models). They heat faster than electric — typically ready in 5 minutes vs. 10-15 minutes for a standard electric broiler (GE Appliances, 2025). Gas also runs hotter, giving more aggressive browning. The downside: gas flames react to fat drips. Drippings hit the burner and can cause flare-ups that char food unevenly or fill the kitchen with smoke.
Electric broilers use a coiled or ribbon element at the top of the oven. They take longer to preheat and the heat can be less intense than gas, but they are more consistent and predictable. The element doesn’t react to fat drips the same way a gas flame does, so flare-ups are less common. If you’re new to broiling, an electric oven is more forgiving.
One practical note: some electric ovens cycle the broiler element on and off to maintain temperature, which creates hot and cool periods. If you’re getting uneven browning, this is likely why. Rotate the pan once, halfway through cooking, to compensate.
How to Preheat for Broiling (and Whether You Actually Need To)
Yes, you need to preheat. Skipping it is the most common reason food steams instead of sears under the broiler.
Set the oven to broil 10-15 minutes before the food goes in. For gas ovens, 5-8 minutes is enough. The element or burner needs to reach full temperature before food gets anywhere near it. A cold element starts by warming the air around the food rather than searing the surface — and that kills the Maillard reaction before it starts.
Also preheat the pan. I put an empty broiler pan or cast iron skillet in the oven during preheat. When food hits a hot pan, the bottom surface sears immediately instead of sitting in its own moisture. This matters most for steak and fish (America’s Test Kitchen, 2024).
The one exception: if you’re finishing a dish that’s already cooked — like melting cheese over a casserole — the oven doesn’t need a full preheat. Give it 2-3 minutes, then slide the dish in and watch it.
Common Broiling Mistakes and How to Fix Them
Mistake: Walking away from the oven. Broiling operates on a different timescale than every other cooking method. Two minutes can be the difference between perfect and inedible. Stand at the oven. Use the oven light. Look through the glass every 60-90 seconds.
Mistake: Wrong rack position. Putting thick food on the top rack burns the outside before the inside cooks. Move the rack down to 5-7 inches from the element for anything thicker than 3/4 inch.
Mistake: Using a nonstick pan. Nonstick coatings degrade above 500°F and can release fumes. Use a cast iron skillet, a stainless steel sheet pan, or a proper broiler pan with a slotted rack. Cast iron is ideal — it retains heat well and gives you a better crust on the bottom of the food simultaneously (Serious Eats, 2024).
Mistake: Not patting food dry. Surface moisture turns to steam under the broiler, which delays browning and can make food turn rubbery. Pat steaks, fish fillets, and chicken pieces dry with paper towels before they go in.
Mistake: Broiling straight from the fridge. Cold food takes longer to cook through, which means the surface gets overcooked before the inside reaches temperature. Let protein sit at room temperature for 20-30 minutes before broiling (America’s Test Kitchen, 2024).
Mistake: Overcrowding the pan. When pieces are packed together, steam builds up between them. Leave at least an inch of space around everything on the pan.
Broiling Safety: What You Need to Know
Smoke alarms. A broiler produces more smoke than almost any other oven function. If your kitchen smoke alarm is directly above the stove, expect it to trigger. Open a window, run the exhaust fan, and do not disable the alarm permanently. Smoke is a warning.
Pan choice matters for fire safety. Dark pans absorb more heat and can cause food to burn on the bottom. Avoid glass baking dishes entirely — extreme direct heat can crack them. Avoid nonstick at high broil temperatures. Use stainless steel, cast iron, or a dedicated broiler pan.
Fat management. Trim visible fat from meat before broiling to reduce dripping. If the oven does produce a grease fire, keep the door closed and use a fire extinguisher — never water. Closing the door starves the fire of oxygen. Most small flare-ups extinguish themselves in seconds once the door is shut.
Oven mitts. The broiler pan will be hot enough to cause a serious burn 30-60 seconds after food goes in. Use heavy oven mitts — not dish towels — every single time you adjust the pan or rotate food.
My Personal Broiling Routine (From a Professional Kitchen)
I’ve cooked in restaurant kitchens for over 15 years, and I broil something at home three or four times a week. Here’s exactly what I do:
- Move the rack to the right position before turning on the oven. Second shelf from the top for most things; top shelf only for cheese melts and finishing.
- Put an empty cast iron skillet in the oven. Turn the broiler to high.
- Wait 12 minutes. Not 5. Twelve.
- Pat the protein dry. Season generously. Oil the surface lightly — just enough to prevent sticking and promote browning.
- Pull the hot skillet out with two hands and heavy mitts. Place the food in the pan. It should sizzle immediately.
- Return to the oven. Crack the door open 2 inches if it’s electric.
- Stand there. Watch through the glass. Set a 2-minute timer as a minimum check-in, not a finish time.
- Flip once, about halfway through. Use tongs, not a fork — puncturing meat lets juice escape.
- Use a thermometer for anything thicker than an inch. Don’t guess.
My go-to broiled dish: skirt steak, marinated for 4 hours in soy sauce, lime juice, garlic, and a little fish sauce. Three minutes per side under high broil on the top rack. Rest for 5 minutes, slice against the grain. Better than most steakhouses and on the table in 20 minutes.
Frequently Asked Questions About Broiling
What does broil mean on an oven?
Broiling means using the top heating element of your oven — either electric or gas — to cook food with direct, high-intensity radiant heat. The element sits above the food and radiates heat downward, searing the surface quickly. It’s the opposite of baking, which cooks food from below with gentler, circulating heat.
Is broiling the same as grilling?
Broiling and grilling both use direct, high heat, but the heat direction is flipped. Grilling fires heat upward from below the food. Broiling fires heat downward from above. Both produce browning and char. Broiling is sometimes called “upside-down grilling” in professional kitchens. The flavor is similar, though grilling over charcoal or wood adds smoke that a broiler can’t replicate.
Should I leave the oven door open when broiling?
On electric ovens, yes — crack the door open 2-4 inches to prevent the thermostat from cycling off the element. On gas ovens, the door typically stays closed, but check your oven’s manual since gas ovens vent differently. Leaving the door open on gas can let heat escape too quickly and reduce performance.
How long should I preheat before broiling?
Preheat for 10-15 minutes on an electric oven, or 5-8 minutes on gas. The element or burner needs to be fully hot before food goes in — a cold broiler element will warm the air around your food instead of searing the surface, which prevents proper browning.
What’s the best pan to use for broiling?
A cast iron skillet or a dedicated broiler pan with a slotted rack are the best choices. Cast iron retains heat and gives you a good crust on the bottom of the food simultaneously. A broiler pan lets fat drip away from the heat source, reducing smoke. Avoid nonstick pans (the coating degrades above 500°F), glass baking dishes (they can crack under extreme heat), and dark-coated pans that absorb too much heat.
Why is my food not browning under the broiler?
The most common causes: the oven wasn’t preheated long enough, the food was too far from the element, or moisture on the surface is turning to steam instead of allowing browning. Pat food dry before broiling, move the rack up, and give the oven a full 12-minute preheat on electric or 6-8 minutes on gas.
Can I broil frozen food?
No. Frozen food has too much ice on the surface. The broiler will steam and char the outside while the inside stays frozen. Thaw food completely, pat it dry, and let it come close to room temperature before broiling. This applies to both meat and vegetables.
What’s the difference between low broil and high broil?
High broil runs the element at maximum — roughly 500-550°F — and is best for thin, fast-cooking foods like steaks, fish fillets, toast, and cheese. Low broil reduces element intensity to around 400-450°F, which gives you more time before the surface burns. Use low broil for thicker proteins like bone-in chicken pieces, thick pork chops, or any dish where the inside needs time to cook through.
Key Takeaways
- Broiling uses direct radiant heat from the top element. Baking uses circulating heat from the bottom. The two methods produce fundamentally different results on the same food.
- Rack position is your main control variable. Closer to the element means faster, more aggressive browning. Farther away gives the interior more time to cook through.
- High broil (500-550°F) is for thin, quick-cooking foods. Low broil (400-450°F) is for thicker proteins that need interior doneness before the surface burns.
- Preheat fully – 12 minutes on electric, 6-8 on gas. Preheat the pan too, not just the oven.
- Use cast iron or a broiler pan. Avoid nonstick, glass, and any pan with a dark coating.
- Pat food dry, trim excess fat, and don’t crowd the pan. These three steps alone will improve your broiling results immediately.
- Never walk away. A broiler is the fastest, most unforgiving cooking method in a home kitchen. Stay at the oven.

I’m Mossaraof, a trained chef and the founder of OvenInsights.com. I spent years cooking at Larrupin’ Cafe and in kitchens across Chicago and Seattle. Now I test kitchen gear for a living. I moved to North Acton, London, and I test every tool I write about. I use real meals and real heat. No brand deals. No shortcuts. I cover 12 kitchen types and hundreds of recipes. I believe this: the right tools matter as much as the recipe.




