
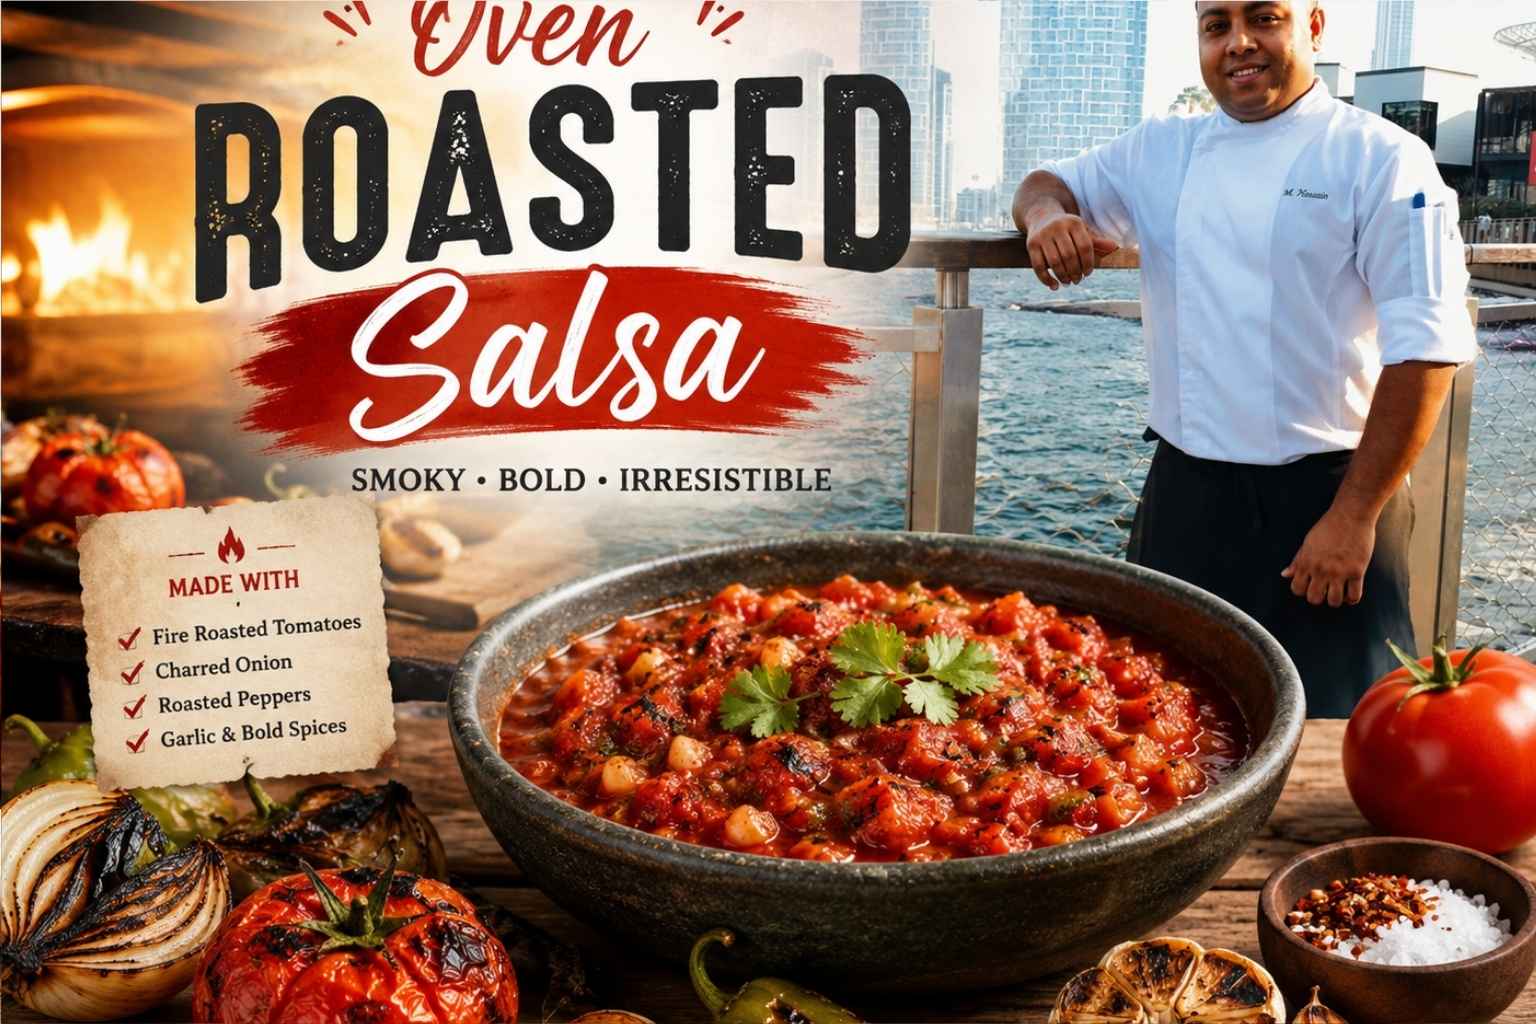
At A Glance
- Oven roasting tomatoes, chiles, onion, and garlic at 425°F (220°C) on the top rack produces more concentrated, smoky salsa than any stovetop method.
- Roma tomatoes are the best starting point for oven roasted salsa because they have lower water content than beefsteak and don’t turn the final product watery.
- The Maillard reaction and caramelization both kick in above 280°F (138°C), and these two processes are what give roasted salsa its depth – neither happens in a raw or blended-fresh preparation.
- Finish under the broiler for 3-4 minutes if you want charred edges without losing the moisture you built up during roasting.
- The most common mistake is over-blending: pulse 6-8 times maximum for a chunky salsa, or blend in two 5-second bursts for smooth.
I made oven roasted salsa by accident one night, and it changed everything. I had leftover tomatoes and tossed them in the oven. The smell alone was worth it. That first batch was smoky, rich, and bold — nothing like the jarred stuff.
Roasting veggies in the oven brings out a deep, sweet flavor you just can’t fake. The heat does all the hard work. You get that slow-cooked taste in under an hour. It feels like a cheat code for your kitchen.
I’ve made this dozens of times now, and it never fails to impress. Friends always ask for the recipe. It works on tacos, eggs, chips — you name it. Once you try it, store-bought salsa won’t cut it anymore.
This guide walks you through every step, from picking your tomatoes to blending the perfect batch. You’ll also get tips to tweak the heat and flavor your way. Ready to make the best salsa of your life? Let’s get into it.
Why Oven Roasted Salsa Beats Every Other Method
Oven roasted salsa is better than fresh or stovetop salsa because heat does three things that raw ingredients cannot: it concentrates sugars through caramelization, triggers Maillard browning on the cut surfaces, and drives off excess water before it ever hits your blender.
I’ve made salsa in every context you can imagine – restaurant prep kitchens in Chicago, catering events for 400 people, and my own home kitchen on a Tuesday night. The oven method wins every time. Not because it’s fast (it isn’t), but because the flavor it produces is genuinely different from what a blender and a bunch of raw tomatoes can do.
Here’s what’s actually happening inside the oven.
Caramelization starts when sugars reach about 320°F (160°C). At this temperature, the natural sugars in tomatoes and onions begin to break down and produce hundreds of new flavor compounds – nutty, sweet, slightly bitter notes that have no equivalent in a raw tomato (Harold McGee, On Food and Cooking, 2004).
The Maillard reaction is a separate process that happens between amino acids and reducing sugars, starting around 280°F (138°C). This is what produces browning on the cut faces of your onion and the skin of your chiles. It’s the same reaction responsible for the crust on a good steak. It adds depth that tastes like the food was “cooked” rather than just blended.
Moisture reduction is the third factor. Raw tomatoes are 94% water. Roasting at 425°F drives off a significant portion of that moisture before blending, which means your salsa isn’t starting at a disadvantage. You’re blending concentrated flavor, not diluted pulp.
Salsa Styles Compared: Fresh, Stovetop, Oven Roasted, and Broiled
| Style | Flavor Profile | Texture | Active Time | Difficulty |
|---|---|---|---|---|
| Fresh (pico de gallo) | Bright, acidic, grassy | Chunky, wet | 10 min | Easy |
| Stovetop (sautéed) | Mild, cooked, slightly sweet | Smooth to chunky | 20 min | Easy |
| Oven Roasted | Deep, smoky, concentrated, sweet | Chunky to smooth | 45-55 min | Medium |
| Broiled only | Charred, bitter-edged, intense | Chunky | 12-15 min | Medium |
Broiling alone gets you char fast, but without the internal softening that roasting provides, the texture stays firm and the bitterness can dominate. Oven roasting first, then finishing under the broiler, is the approach that gives you both depth and char without either extreme taking over.
The Best Oven Temperature and Rack Position for Roasting Salsa
Set your oven to 425°F (220°C) and place your rack in the upper-middle position – about 6-8 inches from the broiler element. This is not the same as using the broiler. You want convective oven heat, not direct radiant heat. The goal is an internal temperature in your tomatoes of around 180-190°F while the cut surfaces brown, not burn.
I spent years testing different temperatures. At 375°F, the roasting takes 70+ minutes and the char on the onion edges is minimal. At 450°F, the garlic burns before the tomatoes soften. 425°F is the sweet spot where everything finishes within a 10-minute window of each other.
Why rack position matters: Heat rises and concentrates at the top of the oven. The upper-middle position maximizes the Maillard browning on the top surfaces of your vegetables while still allowing even heat circulation underneath. The bottom rack produces soft, steamed vegetables with almost no browning – which defeats the purpose.
Gas vs. Electric Oven Differences
Gas ovens produce moisture as a byproduct of combustion, which means your roasting environment is slightly humid. This slows surface browning. If you’re working with a gas oven, add 5 minutes to the roasting time and don’t cover the pan.
Electric ovens run drier, which produces faster browning and better char on cut surfaces. If you have a convection setting on your electric oven, use it: the moving air accelerates moisture evaporation and produces more even browning across all vegetables (America’s Test Kitchen, The Science of Good Cooking, 2012).
Ingredient Selection: What to Buy and What to Skip
Tomatoes: Roma Wins, With Conditions
Roma tomatoes (also called plum tomatoes) are the best choice for oven roasted salsa. They have a lower water-to-flesh ratio than beefsteak or heirloom varieties, which means more tomato flavor per cup of blended output. Two pounds of Romas will reduce to roughly 1.5 cups of blended salsa after roasting.
Beefsteak tomatoes work but release more water during roasting. If you use them, pat cut surfaces dry with a paper towel before putting them on the pan.
Canned tomatoes (whole San Marzano, drained) are a legitimate substitution when fresh tomatoes are out of season. Kenji López-Alt at Serious Eats tested this in 2019 and found that canned San Marzanos out-performed out-of-season fresh tomatoes in cooked applications because they’re processed at peak ripeness. Drain them, dry them, and roast on a wire rack set inside your sheet pan so the underside doesn’t steam.
Avoid cherry tomatoes for this application. They’re too sweet and too small – they burst quickly in the oven and splatter before browning.
Chiles: Jalapeño, Serrano, and Chipotle
Jalapeños are the workhorse chile for roasted salsa. They have moderate heat (2,500-8,000 Scoville Heat Units) and enough flesh to hold up to oven heat without turning to mush. Two large jalapeños for two pounds of tomatoes is a medium-heat salsa.
Serranos are hotter (10,000-23,000 SHU) and thinner-walled. They char faster than jalapeños, so pull them from the oven 5 minutes before everything else or they’ll turn bitter. I use serranos when I want heat without the grassy jalapeño flavor.
Chipotles in adobo are a shortcut addition, not a roasted ingredient. Add one chipotle pepper (from a can) to the blender after roasting everything else. It adds smokiness without any additional oven time. This is what I do when I’m cooking for people who don’t eat much heat – one chipotle gives smoke with minimal burn.
Substitution note: If you can’t find fresh chiles, Anaheim peppers are very mild (500-2,500 SHU) and work well for a crowd-friendly version.
Onion, Garlic, and Lime
White onion is the traditional choice for salsa. It has a sharper, cleaner flavor than yellow onion after roasting. Yellow onion is fine but produces a slightly sweeter result. Red onion goes visually purple in the oven and adds a bit of astringency I don’t love in cooked salsa.
Cut your onion into quarters. Leave the root end partially intact so the layers hold together on the pan. If you dice the onion before roasting, it dries out and burns at the edges.
Garlic: Use whole, unpeeled cloves. The skin protects the garlic from burning and steams the interior as it roasts. Peel after roasting – the skin slips right off and the roasted clove squeezes out like a paste. I use 4-5 large cloves for two pounds of tomatoes.
Lime: Add lime juice after blending, never before. Acid breaks down the structure of roasted tomato during blending and can produce a thin, separated salsa if added too early. Two tablespoons of fresh lime juice, stirred in at the end, is enough for a bright finish without overwhelming the roasted flavor.
Step-by-Step Oven Roasted Salsa Method
Yield: About 2.5 cups Total time: 55 minutes (45 min roasting + 10 min prep and blending)
What You Need Before You Start
- 2 lbs Roma tomatoes, halved lengthwise
- 2 large jalapeños, halved and seeded (or leave seeds for more heat)
- 1 medium white onion, quartered
- 5 large garlic cloves, unpeeled
- 1 tsp neutral oil (avocado or vegetable)
- 1 tsp kosher salt, plus more to taste
- 2 tbsp fresh lime juice
- Small handful of fresh cilantro (optional)
- Sheet pan lined with foil or parchment
Step 1: Arrange Vegetables Cut-Side Up
Preheat oven to 425°F (220°C) with the rack in the upper-middle position. Place tomatoes cut-side up on the sheet pan. Add jalapeños cut-side down (skin-side up), onion quarters, and garlic cloves. Drizzle everything lightly with oil and season with salt.
Tomatoes go cut-side up because you want the moisture to evaporate from the exposed flesh, not pool in the cavity. This is the single most common setup mistake I see in home kitchens – flipping them cut-side down steams the inside instead of concentrating it.
Step 2: Roast for 35-40 Minutes
Roast until tomatoes are soft, collapsed, and showing brown spots on the top surface. The onion edges should be lightly charred. Garlic skins will be papery and dark.
Visual cues to look for: the liquid that pools on the sheet pan should be syrupy and slightly reduced, not watery and thin. If it still looks like tomato juice, give it another 5 minutes.
Pull garlic cloves at the 30-minute mark if they’re already soft when pressed. They burn faster than tomatoes.
Step 3: Optional Broil Finish (3-4 Minutes)
Switch your oven to broil and move the pan to the top rack (4-5 inches from the broiler element). Broil for 3-4 minutes until you see visible char marks on the tomato skin and jalapeño flesh. Watch continuously – it goes from charred to burned in under a minute.
I do this step about 70% of the time. Skip it if your tomatoes already show good browning from the roasting stage or if you’re making salsa for people who prefer a milder, cleaner flavor.
Step 4: Cool Slightly, Then Blend
Let the pan cool for 10 minutes before blending. Hot vegetables released steam trapped inside; blending immediately can cause a steam explosion in your blender lid.
Transfer everything to a blender or food processor, including all the juices on the pan. Squeeze roasted garlic out of skins directly into the blender.
For chunky salsa: Pulse 6-8 times. Stop, scrape down sides, taste.
For smooth salsa: Blend in two 5-second bursts on medium speed. Avoid blending on high for more than 10 seconds total, or you’ll aerate the salsa and it will turn pale and foamy.
Step 5: Season and Rest
Add lime juice and taste for salt. Add cilantro now if using – pulse once or twice to incorporate. Let the salsa rest at room temperature for 15 minutes before serving. The flavor changes significantly as it cools; what tastes over-salted hot often tastes perfect at room temperature.
Broiling vs. Roasting: When to Switch Methods
Roasting and broiling are different heat sources. Roasting uses the oven’s ambient heat from all directions. Broiling uses direct radiant heat from above only.
Use roasting as the primary method. It cooks vegetables through and produces even moisture reduction.
Switch to broiling as a finish when: you want more visible char on tomato skins, you’re short on time (broiling alone takes 12-15 minutes but produces less depth), or you’re making a small batch where a full sheet pan roast feels like overkill.
If you broil-only (no prior roasting), expect a salsa that’s charred on the outside but less concentrated inside. The texture will be firmer and the flavor will lean more acidic because the tomatoes haven’t had time to fully cook down.
Blending Technique: Chunky vs. Smooth and Avoiding Watery Salsa
The blender is where most roasted salsas go wrong.
Problem 1: Over-blending. More than 15 seconds of total blending time incorporates too much air and breaks the cellular structure of the tomatoes into a thin liquid. Pulse, don’t process.
Problem 2: Too much liquid. If your sheet pan has more than 3-4 tablespoons of liquid after roasting, drain off the excess before blending. This is usually excess tomato water from Romas that were larger than average. Add it back one tablespoon at a time if the blended salsa is too thick.
Problem 3: Blending while too hot. Let vegetables cool to the point where you can hold your hand 4 inches above them comfortably. Hot tomatoes in a blender lid create pressure that can pop the lid and burn you. I’ve seen this happen in professional kitchens more than once.
For a chunky salsa without a blender: chop everything by hand after roasting. Use a chef’s knife or a mezzaluna (a half-moon chopper) and fold the pan juices in at the end. This produces a rustic texture that works well with tortilla chips
How to Fix Common Mistakes
| Problem | Likely Cause | Fix |
|---|---|---|
| Salsa is too watery | Tomatoes not roasted long enough, or high-water variety used | Drain in a fine-mesh strainer for 10 min, or simmer in a saucepan for 5 min |
| Salsa is too bitter | Chile seeds included, or broiling too long | Add 1/2 tsp sugar and a squeeze of lime; blend in a roasted garlic clove for sweetness |
| No char flavor | Pan overcrowded, or oven temp too low | Spread vegetables in a single layer; never overlap tomatoes |
| Over-salted | Salt added before and after blending | Add half an avocado or a diced tomato to dilute; balance with lime juice |
| Garlic too raw/sharp | Garlic undercooked | Microwave 2 peeled cloves for 30 seconds and blend in separately |
| Salsa is too thick | Not enough liquid added | Stir in pan juices you set aside, or add 1-2 tbsp water |
Altitude Adjustments and How They Affect Roasting
At elevations above 3,500 feet (1,067 meters), water boils at a lower temperature (around 203°F/95°C instead of 212°F/100°C). This changes how moisture evaporates from your vegetables during roasting.
At high altitude, moisture leaves your tomatoes faster and at lower temperatures. This means two things: your tomatoes can dry out before they’re fully softened, and the roasting time may be shorter than expected.
If you’re cooking above 5,000 feet (Denver, Salt Lake City, Albuquerque), reduce oven temperature to 400°F (205°C) and check vegetables at the 30-minute mark rather than 40. You can also tent the pan loosely with foil for the first 20 minutes to retain steam, then remove the foil for the final browning stage.
The USDA altitude adjustment guidelines (USDA Complete Guide to Home Canning, 2015) primarily address canning safety, but the underlying physics of moisture loss at altitude applies equally to roasting.
Storage, Shelf Life, and Freezing
Refrigerator: Store in a sealed glass jar or container for up to 7 days. Salsa actually improves between days 2 and 4 as the flavors meld.
Freezer: Oven roasted salsa freezes better than fresh salsa because it’s already cooked. Freeze in 1-cup portions in zip-lock bags (lay flat to save space) for up to 4 months. Thaw overnight in the refrigerator. Stir well after thawing as some separation is normal.
Canning note: If you plan to water-bath can this salsa, add 2 tablespoons of bottled lemon juice per pint to ensure safe acidity. Bottled juice is used instead of fresh because its pH is standardized (Ball Complete Book of Home Preserving, 2006). Roasted salsas with low-acid additions like garlic and onion require the extra acid to be canning-safe.
Do not store salsa in reactive metal containers (aluminum, copper). The acid in tomatoes will react with the metal and produce off-flavors within hours.
My Personal Salsa Routine: Specific, Opinionated, Practical
I make this salsa in batches of 5-6 lbs of tomatoes every two or three weeks during summer. Here’s exactly what I do, with no hedging.
I buy Romas from the farmers market when they’re in season (July-September in the Midwest). Off-season, I use two 28-oz cans of whole San Marzanos, well-drained.
I use a mix of jalapeño and serrano: two jalapeños for base heat and one serrano for a sharper top note. Both halved, both seeded (seeds go in a small bowl in case I want more heat after blending). I roast the serrano for only 30 minutes; it goes back on the pan for the broil finish.
I always do the broil finish. I like char. My wife doesn’t. We compromise by pulling her portion before the broil and doing the full char on mine.
I add one chipotle in adobo to the blender every time. It’s not traditional in every regional style, but it adds smokiness that rounds out the roasted flavor without adding more heat than the jalapeños already provide. Rick Bayless has noted in Mexico: One Plate at a Time (2000) that chipotles work as a flavor amplifier in tomato-based sauces, and I agree.
After blending, I taste with a plain tortilla chip rather than from a spoon. Salt reads differently on its own versus with starch. This is a small thing that makes a real difference.
I rest the salsa for at least 30 minutes before serving. If you’re tasting it right out of the blender and thinking it needs work, wait. The acid mellows, the garlic softens, the char note integrates.
Frequently Asked Questions About Oven Roasted Salsa
What is oven roasted salsa?
Oven roasted salsa is a cooked salsa made by roasting raw vegetables (typically tomatoes, chiles, onion, and garlic) in an oven at high heat before blending. The roasting process caramelizes sugars and browns the cut surfaces through the Maillard reaction, producing a deeper, smokier flavor than fresh or stovetop salsa.
What temperature do you roast salsa at?
425°F (220°C) on the upper-middle oven rack is the right temperature for most home ovens. This is high enough to trigger browning on cut surfaces within 35-40 minutes without burning the garlic or drying the tomatoes out. Gas oven users should add 5 minutes to compensate for the moist combustion environment.
What type of tomatoes are best for roasted salsa?
Roma tomatoes are the best choice because they have a lower water content than beefsteak or heirloom varieties, which produces a more concentrated flavor after roasting. Out-of-season, canned whole San Marzano tomatoes (well-drained and dried before roasting) are a better option than out-of-season fresh tomatoes (Serious Eats, 2019).
How do you keep roasted salsa from being watery?
Roast tomatoes cut-side up at 425°F so moisture evaporates from the cut surface during cooking. Use Roma tomatoes rather than high-water varieties. If the blended salsa is still too thin, drain it through a fine-mesh strainer for 10 minutes, or simmer in a small saucepan over medium heat for 5 minutes. Never add lime juice before blending, as acid loosens tomato cell walls and releases additional moisture.
Can you freeze oven roasted salsa?
Yes. Oven roasted salsa freezes better than fresh salsa because it’s already fully cooked. Freeze in 1-cup portions in flat zip-lock bags for up to 4 months. Thaw overnight in the refrigerator and stir well before serving. If you plan to water-bath can the salsa instead of freezing, add 2 tablespoons of bottled lemon juice per pint to ensure safe pH (Ball Complete Book of Home Preserving, 2006).
How long does homemade roasted salsa last in the refrigerator?
Up to 7 days in a sealed glass jar. The flavor is best between days 2 and 4 after the ingredients have had time to integrate. If you see any mold or the salsa smells off, discard it rather than tasting.
What is the difference between roasted salsa and salsa verde?
They’re different salsas. Roasted salsa (this recipe) uses red tomatoes as the base. Salsa verde uses tomatillos (green husked fruits from the same plant family as tomatoes but with a more acidic, citrus-forward flavor). Both can be made with roasting or stovetop methods. Tomatillos have a papery husk that should be removed before roasting; the fruits themselves are smaller and firmer than tomatoes.
Why does my roasted salsa taste bitter?
Bitterness in roasted salsa usually comes from one of three sources: charred chile seeds, over-broiled tomato skins, or under-ripe tomatoes. Remove chile seeds before roasting if bitterness is a concern. Watch the broil finish carefully – 4 minutes maximum. If the salsa is already bitter after blending, add 1/2 teaspoon of sugar and a squeeze of lime juice and blend briefly. Both ingredients balance bitterness without adding obvious sweetness or acidity.
Key Takeaways
- Roast at 425°F on the upper-middle rack, tomatoes cut-side up, for 35-40 minutes. This gives you caramelization and Maillard browning without burning garlic.
- Roma tomatoes are the right tomato for this application. Beefsteak varieties add water. Canned San Marzanos are a better off-season substitute than poor fresh tomatoes.
- Add the broil finish (3-4 minutes) when you want visible char. Skip it when you want a cleaner, milder profile.
- Pulse the blender, don’t run it. Six to eight pulses for chunky, two 5-second bursts for smooth. More than 15 seconds of blending total and you’ll have foam, not salsa.
- Add lime juice after blending, let the salsa rest 15-30 minutes before serving, and taste with a chip rather than a spoon. These three habits will consistently improve the final result.

I’m Mossaraof, a trained chef and the founder of OvenInsights.com. I spent years cooking at Larrupin’ Cafe and in kitchens across Chicago and Seattle. Now I test kitchen gear for a living. I moved to North Acton, London, and I test every tool I write about. I use real meals and real heat. No brand deals. No shortcuts. I cover 12 kitchen types and hundreds of recipes. I believe this: the right tools matter as much as the recipe.




