
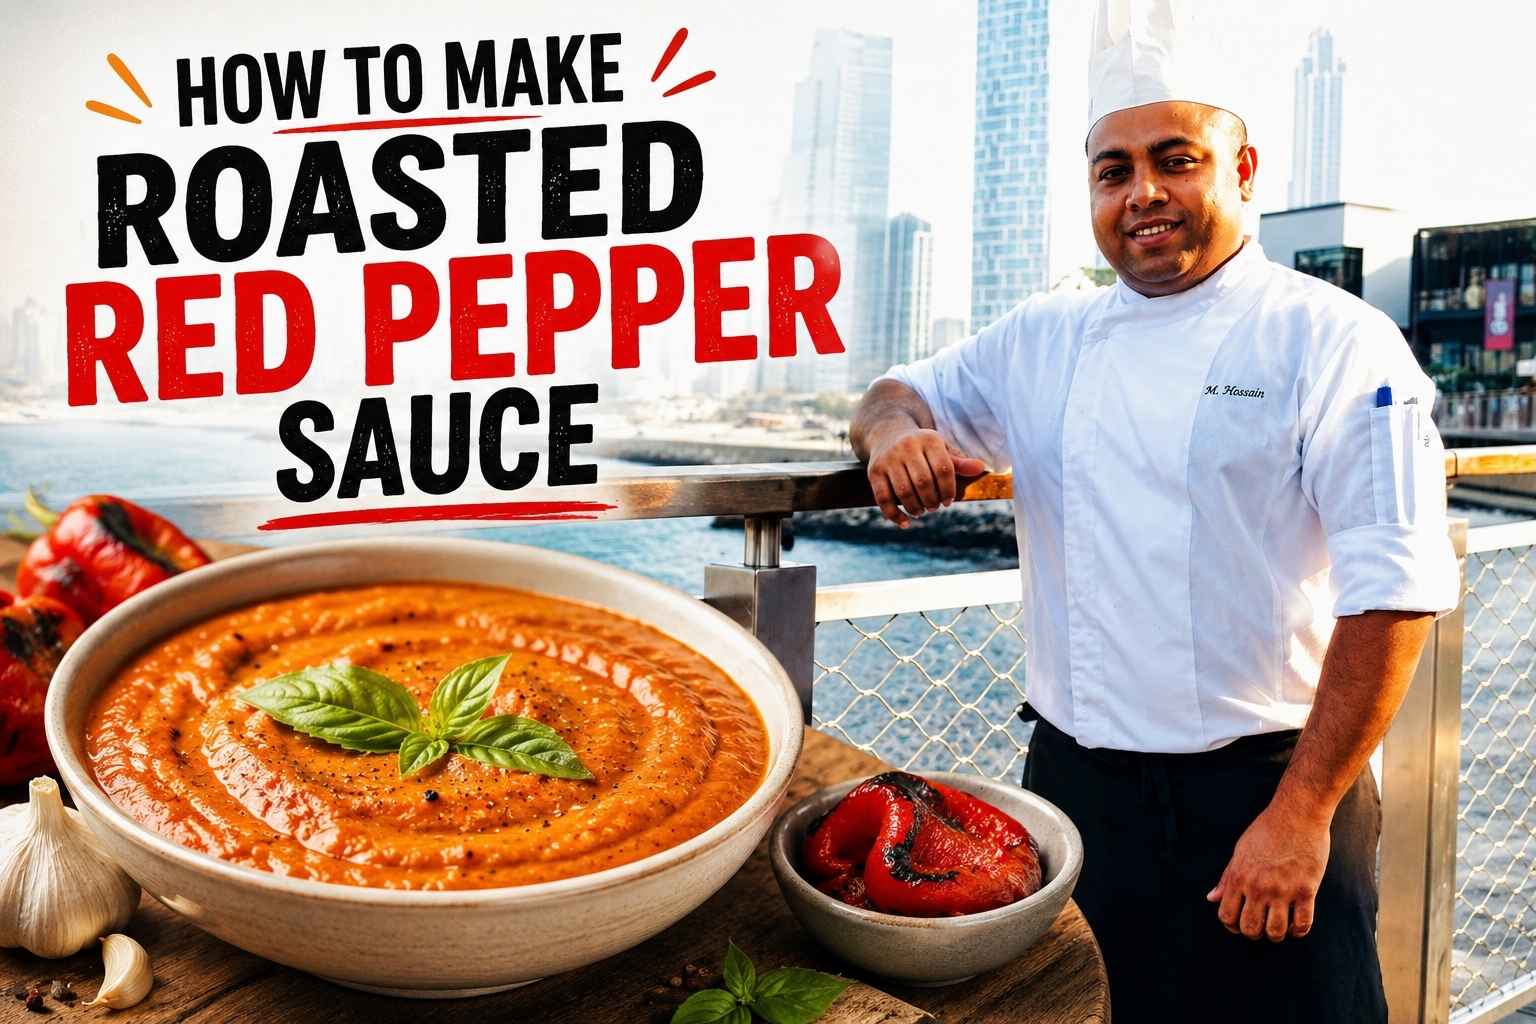
At A Glance
- Roast red peppers at 450°F for 25-30 minutes until fully charred, or hold them over an open gas flame for 8-10 minutes for deeper, smokier flavor.
- The steaming step – 10 to 15 minutes inside a sealed bag or covered bowl after roasting – is not optional. It loosens the skin and finishes the flesh.
- Red bell peppers, fully ripened to a deep red, give the sweetest, most consistent results. Avoid green or partially colored peppers.
- Oven temperature changes the final flavor: 275°F produces a sweeter, jammy sauce; 450°F gives you more char and a bolder, almost smoky result.
- The sauce keeps for 5 days in the fridge and up to 3 months in the freezer.
The first time I learned How to Make Roasted Red Pepper Sauce, I was amazed by how a few simple ingredients could create such rich flavor. It felt like turning sweet roasted peppers into a smooth, colorful blanket that made every meal better.
Over the years, I have tested this roasted red pepper sauce recipe with pasta, chicken, sandwiches, and even as a dip. In this guide, I will show you each step, share simple tips, and help you make a creamy, flavorful sauce that comes out great every time. Let’s get started and make a sauce you will want to use again and again.
Why Roasted Red Pepper Sauce Belongs in Every Kitchen
Roasted red pepper sauce is one of the most useful things you can make from a single vegetable. It works as a pasta sauce, a dip, a pizza base, a spread for sandwiches, and a finishing drizzle for grilled proteins – all from one batch made in under an hour.
I’ve been cooking professionally for 16 years, in restaurants from small bistros to high-volume hotel kitchens. This sauce has been on every menu I’ve ever touched in some form. That’s not because it’s trendy. It’s because it’s genuinely that useful, and it punches far above its cost.
The flavor comes from chemistry. When you expose a red pepper to high, direct heat, two things happen. The sugars in the flesh caramelize. And the proteins and sugars on the surface react through the Maillard reaction – a chemical process between amino acids and reducing sugars that produces hundreds of new flavor compounds (America’s Test Kitchen, 2019). The result is a flavor that is sweeter, deeper, and more layered than a raw pepper could ever be.
Raw red peppers taste bright and slightly grassy. Roasted red peppers taste almost like a different vegetable.
Choosing the Right Peppers: Varieties, Ripeness, and What to Skip
Buy fully red bell peppers. That’s the single most important purchasing decision you’ll make for this sauce. A pepper that’s still partially green or orange will taste sharper and less sweet once roasted. You want peppers that are deep, uniform red all the way around.
At the grocery store, look for peppers that feel heavy for their size and have smooth, taut skin. Wrinkled skin means the pepper has been sitting too long and has lost moisture. Moisture equals flavor here, so pass on those.
Which Pepper Variety Works Best?
Red bell peppers are the standard for this sauce. They have thick walls, high sugar content, and low heat. They produce a sauce that tastes sweet, rich, and approachable. Most people can eat it without any spice concern.
For more complexity, try these options:
- Piquillo peppers – a small Spanish variety with a slightly smoky, slightly sweet flavor. They’re typically sold pre-roasted in jars. You can use them as a shortcut or blend them in alongside fresh roasted bells.
- Cubanelle peppers – thinner-walled and lighter in flavor. They work when mixed with bells but don’t hold up as the sole base.
- Jimmy Nardello peppers – a sweet Italian heirloom variety with excellent roasted flavor. Harder to find but worth it when in season (Bon Appétit, 2022).
Avoid jarred red peppers as your only ingredient. They’re useful in a pinch, but the water-packing dulls the flavor. If you use them, drain well, pat dry, and reduce the oil in your recipe by half.
Four Roasting Methods: Speed, Char, and Flavor Compared
All four methods work. They produce different results. Here’s a direct comparison so you can choose based on your setup and your goal.
| Method | Temp / Setting | Time | Char Level | Best For |
|---|---|---|---|---|
| Oven roast | 450°F (230°C) | 25-30 min | Medium | Large batches, consistent results |
| Broiler | High, rack 6 in. from element | 15-20 min | High | Fast cook, more char, smaller batches |
| Open gas flame | Direct flame, medium-high | 8-12 min per pepper | Very high | Smoky flavor, one or two peppers |
| Outdoor grill | Medium-high direct heat | 15-20 min | High | Cookouts, adds wood smoke |
Oven Roasting: The Most Reliable Method
Set your oven to 450°F. Place whole peppers on a foil-lined sheet pan. Roast for 25 to 30 minutes, turning once at the halfway point. The peppers should be collapsed, blistered on multiple sides, and dark in spots – not fully black all over.
This method is my first choice when I’m making more than four peppers at once. The heat is even and you’re not babysitting anything.
Broiler Roasting: Faster, More Char
Place peppers on a sheet pan and slide it under the broiler with the rack 6 inches from the element. Turn every 4 to 5 minutes. Total time is 15 to 20 minutes. You’ll get more aggressive char on the skin, which translates to a slightly smokier final sauce.
Watch the peppers closely. Broilers vary more than ovens, and the line between well-charred and over-burnt closes fast.
Open Gas Flame: Maximum Smoke Flavor
Hold a pepper directly over a gas burner set to medium-high using tongs. Turn it every 2 to 3 minutes. The skin will blacken quickly. This is normal and exactly what you want. Total time is 8 to 12 minutes per pepper.
This method gives you the most smoke and char of all four options, but it’s slow when you’re cooking for a crowd. I use it when I need one or two peppers for a single dish and want maximum flavor.
Outdoor Grill: Best for Summer Batches
Place whole peppers directly on the grate over medium-high direct heat. Turn every 4 to 5 minutes. Pull them off when all sides are blistered and the skins are dark. The grill adds a wood or charcoal note that you can’t replicate indoors.
How Oven Temperature Changes the Final Flavor of Your Sauce
Oven temperature is one of the most underrated variables in roasted red pepper sauce. Most recipes just say “roast at 400°F” and move on. But the temperature choice actually shapes the flavor of what you’re making.
275°F slow roast: At this temperature, the peppers spend 50 to 60 minutes in the oven. There’s very little char. Instead, the sugars slowly concentrate and the flesh becomes almost jammy – tender, very sweet, and mild. The sauce you get from slow-roasted peppers is gentler and more elegant. It works well in cream-based sauces or anywhere you want the pepper flavor to be present but not dominant.
450°F high heat: At this temperature, the Maillard reaction and caramelization happen fast and aggressively. You get real char on the skin, and some of that bitterness and smokiness transfers into the flesh. The sauce is bolder, more complex, and holds up better next to strong flavors – grilled meats, sharp cheeses, heavy pasta sauces.
I default to 450°F for a general-purpose batch. I use 275°F when I’m making a sauce that needs to be subtle – think a drizzle over burrata or a base for a delicate fish dish.
This relationship between temperature and outcome is exactly what Oven Insights focuses on across the site. The oven is not just an on/off switch. The temperature is a dial that controls flavor.
The Steaming Step: Why You Cannot Skip It
After roasting, transfer the hot peppers immediately to a covered bowl or a sealed zip-top bag. Let them steam for 10 to 15 minutes.
During this time, the residual heat and trapped moisture loosen the bond between the charred skin and the pepper flesh. Skip this step, and peeling becomes difficult, messy, and you’ll lose a lot of good flesh along with the skin.
The steaming also finishes cooking the interior of the pepper. The center may still be slightly firm when it comes out of the oven. Ten minutes of steaming fixes that without over-cooking the flesh.
One tip from my restaurant days: if you’re making a large batch, you can layer the peppers in a hotel pan and cover it tightly with plastic wrap. They steam each other. Works perfectly for 20 peppers at a time.
Peeling Peppers Perfectly: The Right Way and the Debates
Peel the peppers over a bowl or the sink to catch the juices. The charred skin will slip off easily if you steamed long enough. Use your fingers. You don’t need a knife for this.
What to keep: the flesh, the natural juices that collect in the bowl or bag. What to remove: the charred skin, the stem, the seeds, and the white membrane inside.
The Cold Water Debate
Some cooks rinse peeled peppers under cold water to remove stubborn bits of char. It’s faster and cleaner. But it also washes away flavor.
The char residue on the surface isn’t just carbon – it carries roasted, slightly bitter compounds that add depth. Rinsing removes them.
My method: peel over a bowl, use a paper towel to wipe off any stubborn skin, and leave the light char marks on the flesh. The small amount of char that stays on adds flavor, not bitterness.
The Serious Eats food lab tested both methods and found that peppers peeled dry and left with light char marks produced a more complex-tasting sauce compared to rinsed peppers (Serious Eats, 2021). I’ve done my own informal testing in the kitchen and agree with that result.
Building the Sauce: Ratios, Oil, Acid, and Flavor Boosters
The base ratio for a standard roasted red pepper sauce:
- 4 large roasted red peppers (peeled, seeded) – roughly 2 cups of flesh
- 3 tablespoons good olive oil
- 2 cloves garlic (raw or roasted – see note below)
- 1 tablespoon red wine vinegar or lemon juice
- 1/2 teaspoon salt, plus more to taste
This gives you about 1.5 cups of finished sauce. Enough to dress pasta for 2 to 3 people or serve as a dip for 4 to 6.
Oil Selection
Use extra virgin olive oil for most applications. Its flavor complements the sweetness of the peppers without getting in the way. Neutral oils like grapeseed or sunflower work if you want the pepper to be the only voice in the sauce.
Avoid butter as the base fat here – it can make the sauce feel heavy and muddy the flavor. If you want richness, add a small amount of cream at the end (see below).
Acid Balance
Acid is what makes the sauce taste alive. Without it, roasted pepper sauce can taste flat and one-note, no matter how good your peppers are.
Red wine vinegar gives you a sharper, more savory edge. Fresh lemon juice gives you brightness. I use one tablespoon per 2 cups of pepper flesh. Taste after blending and add more in small increments if needed.
Flavor Boosters Worth Adding
These are optional but each one changes the character of the sauce in a distinct way:
- Raw garlic – sharp, pungent, best for dips and spreads where you want the garlic upfront.
- Roasted garlic – sweet and mellow. Better for pasta sauces or applications where you want garlic in the background.
- Smoked paprika – half a teaspoon deepens the smoky character without adding heat. Works especially well when you oven-roast (versus flame-roast) the peppers.
- Toasted walnuts – two tablespoons blended in add body and a slight earthiness. This is the base for the Spanish sauce romesco (The Food Lab, J. Kenji Lopez-Alt, 2015).
- Heavy cream – two tablespoons stirred in after blending makes the sauce richer and slightly paler. Good for pasta applications.
- Calabrian chili – one or two chopped chilies add real heat. The sweetness of the pepper balances the fire well.
Blending Techniques: Chunky vs. Silky Smooth
The texture you blend to changes how and where the sauce works.
Chunky texture: Pulse the peppers in a food processor 8 to 10 times. The sauce has visible pieces of pepper in it. This works well as a bruschetta topping, a chunky pasta sauce, or a relish alongside grilled fish.
Silky smooth: Blend in a high-speed countertop blender (Vitamix, Blendtec, or similar) for 60 to 90 seconds. Stream in the olive oil while the blender runs to emulsify it into the sauce. The result is a restaurant-quality, glossy sauce that coats pasta evenly and works as a clean dipping sauce.
Immersion blender: This lands between the two. You’ll get a smooth-ish sauce with a little texture. It works, but it doesn’t emulsify the oil as well as a countertop blender. Good for quick weeknight batches.
My professional preference is the countertop blender for any time texture matters – plated dishes, sauces that need to coat cleanly, or any application where presentation counts.
My Go-To Recipe and Signature Variation
Base Recipe: Classic Roasted Red Pepper Sauce
Makes: about 1.5 cups Time: 45 minutes total (including roasting and steaming)
- Preheat oven to 450°F. Line a sheet pan with foil.
- Place 4 large red bell peppers whole on the pan. Roast 25 to 30 minutes, turning once, until the skins are blistered and dark.
- Transfer peppers to a covered bowl. Steam 12 minutes.
- Peel, seed, and stem the peppers over the bowl to catch the juices.
- Add peppers and juices to a blender with 3 tablespoons olive oil, 2 garlic cloves, 1 tablespoon red wine vinegar, and 1/2 teaspoon salt.
- Blend 60 seconds until smooth. Taste and adjust salt and acid.
Signature Variation: Walnut Romesco
This is the sauce I put on everything when I need to impress quickly. It’s loosely based on the Catalan romesco but simplified for home use.
Add to the base recipe: 3 tablespoons toasted walnuts, 1/2 teaspoon smoked paprika, 1 small plum tomato (roasted alongside the peppers), and 1 extra tablespoon of sherry vinegar instead of red wine vinegar. Blend until nearly smooth – leave a little texture from the walnuts.
This sauce is good on grilled chicken, spread on a sandwich with sharp manchego, or stirred into warm chickpeas with a drizzle of extra oil on top.
8 Ways to Use Roasted Red Pepper Sauce
Once you have a jar of this in the fridge, the uses pile up fast. Here are the ones I reach for most:
- Pasta sauce – toss with rigatoni, a handful of pasta water, and fresh basil. Add cream if you want it richer.
- Pizza base – replace tomato sauce on a white pizza. Top with fresh mozzarella and arugula after baking.
- Dipping sauce – serve warm with crusty bread, grilled pita, or crudités.
- Protein marinade – brush over chicken thighs or salmon before roasting. The sugars in the sauce caramelize onto the surface.
- Egg dishes – spoon under or over poached eggs with feta and za’atar.
- Grain bowls – drizzle over farro, freekeh, or brown rice with roasted vegetables.
- Sandwich spread – replaces mayo or mustard on any sandwich that involves grilled or roasted meats.
- Soup base – thin with chicken or vegetable stock and heat through for a fast roasted pepper soup. A swirl of cream on top to finish.
Storing, Freezing, and Shelf Life
Refrigerator: Store in an airtight glass jar. The sauce keeps for 5 days. Press a piece of plastic wrap directly onto the surface before sealing to slow oxidation.
Freezer: Roasted red pepper sauce freezes well. Pour into ice cube trays, freeze solid, then transfer the cubes to a zip-top freezer bag. Each cube is roughly 2 tablespoons – useful for pulling out exactly what you need. Shelf life in the freezer is 3 months before flavor starts to fade.
Do not use aluminum containers for storage. The acid in the sauce reacts with aluminum and picks up a metallic off-flavor. Glass or BPA-free plastic only.
Common Mistakes and How to Fix Them
Mistake: Burning the peppers instead of charring them. Burning means the flesh inside has cooked past its ideal texture and turned bitter all the way through. Charring means the skin is blackened while the flesh stays sweet and tender. The fix: use an oven thermometer to confirm your oven temperature is accurate. Ovens can run 25 to 50°F hotter than the dial says (America’s Test Kitchen, 2023). Pull the peppers when the skin is blistered and dark, not when it’s fully collapsed into ash.
Mistake: Watery, thin sauce. This happens when you don’t let the peppers steam and drain properly, or when you add too much liquid early. Fix: after peeling, let the peppers rest on a paper towel for 2 minutes to shed excess liquid. Don’t add more than 1 tablespoon of acid until after blending – taste first.
Mistake: Under-seasoning. Red pepper sauce needs more salt than you think. The sweetness of the peppers masks salt perception. Season after blending, then taste again after the sauce sits for 5 minutes. The flavor deepens as the sauce rests, so a second taste is always more accurate than the first.
Mistake: Skipping the steaming step and fighting with the skin. Peeling without steaming is frustrating and wastes good flesh. If you forgot to steam, put the peppers back in the covered bowl for 10 more minutes. They’ll steam in residual heat if they’re still warm.
Mistake: Using under-ripe or partially green peppers. The sauce will taste sharp and slightly vegetal rather than sweet and round. There’s no fix for this mid-recipe. Start with fully red, heavy peppers and you won’t have this problem.
Frequently Asked Questions About Roasted Red Pepper Sauce
Can I use jarred roasted red peppers instead of fresh?
Yes, with adjustments. Drain the peppers well, pat them dry with paper towels, and reduce the olive oil in your recipe by one tablespoon. Jarred peppers are water-packed and their flavor is milder than freshly roasted. The sauce will still be good – it just won’t have the same depth. For a quick weeknight batch, jarred peppers are a fine shortcut.
How long do I roast red peppers at 400°F vs. 450°F?
At 400°F, plan for 35 to 40 minutes and one turn at the halfway point. At 450°F, you need 25 to 30 minutes. The 450°F version produces more char and a bolder flavor. The 400°F version is slightly gentler. Both work; the temperature choice changes the outcome (see the oven temperature section above for a full breakdown).
Do I need to peel the peppers before blending?
Yes. The charred skin is bitter and has an unpleasant, papery texture. Leaving it in the sauce will make the finished product taste acrid and gritty. Always peel after roasting and steaming.
Can I roast peppers ahead of time?
Yes – this is actually a good practice. Roast, steam, and peel the peppers, then store them in an airtight container in the fridge for up to 3 days before making the sauce. The flavor actually develops a bit more overnight.
Why does my sauce taste flat even after seasoning?
Usually the acid is too low. Add more red wine vinegar or lemon juice in half-teaspoon increments and taste after each addition. A flat sauce almost always needs acid, not more salt. If you’ve added plenty of both and it still tastes dull, try a pinch of smoked paprika – it adds the perception of depth quickly.
Can I make this sauce without a blender?
Yes. Use a food mill or a fine-mesh strainer pressed with the back of a spoon for a smooth version, or mash the peeled peppers with a fork for a rough, rustic texture. The fork method works well for a bruschetta topping. It won’t produce a silky sauce, but it’s a functional backup if you don’t have a blender.
Is roasted red pepper sauce the same as romesco?
No, but romesco is a type of roasted red pepper sauce. Romesco is a Catalan sauce that includes toasted nuts (typically almonds or hazelnuts), tomato, bread, and vinegar alongside the peppers (The Food Lab, J. Kenji Lopez-Alt, 2015). A plain roasted red pepper sauce has no nuts or bread. Romesco is fuller-bodied and nuttier. Both use roasted peppers as the base, so the roasting technique in this guide applies directly to making romesco.
How do I thin the sauce if it’s too thick after blending?
Add pasta water if you’re serving it with pasta – the starch helps the sauce cling to the noodles. Add warm vegetable or chicken stock for any other application. Add the liquid one tablespoon at a time, blending briefly after each addition. Don’t add cold water – it flattens the flavor.
Key Takeaways
- Pepper choice matters most: Buy fully red, heavy bell peppers. Partially green peppers give you a sharp, flat sauce.
- Roast at 450°F for bold, complex flavor. Drop to 275°F if you want something sweeter and more gentle.
- Always steam after roasting for 10 to 15 minutes. It finishes the cook and makes peeling easy.
- Don’t rinse peeled peppers under water – it strips out roasted flavor compounds. Use a paper towel for stubborn bits of skin.
- Acid is the difference between a flat sauce and a bright one. One tablespoon of red wine vinegar per 2 cups of pepper flesh is the starting point – taste and adjust.
- Blend in oil while the blender runs for a glossy, emulsified sauce that coats pasta and proteins evenly.
- Freeze in ice cube trays for portioned access to the sauce over 3 months without waste.

I’m Mossaraof, a trained chef and the founder of OvenInsights.com. I spent years cooking at Larrupin’ Cafe and in kitchens across Chicago and Seattle. Now I test kitchen gear for a living. I moved to North Acton, London, and I test every tool I write about. I use real meals and real heat. No brand deals. No shortcuts. I cover 12 kitchen types and hundreds of recipes. I believe this: the right tools matter as much as the recipe.




