
At A Glance
- A broiler that won’t work is almost always caused by one of five things: a burnt-out heating element (electric), a failed igniter (gas), a tripped thermal fuse, wrong oven settings, or a simple user error like an incorrectly positioned broiler pan.
- On electric ovens, the heating element is the first thing to check – it shows visible damage (cracks, blisters, burn marks) about 70% of the time (Appliance Repair Technicians Association, 2024).
- On gas ovens, a weak or failing igniter is the most common cause – it glows but won’t get hot enough to open the gas valve.
- Several hidden causes fool even experienced cooks: control lock mode, accidentally enabled delayed start, and a broiler pan sitting flush against the heating element will all make a broiler appear “broken” when it isn’t.
- My rule after 15+ years cooking professionally: if the repair costs more than 50% of a new oven’s price, replace it.
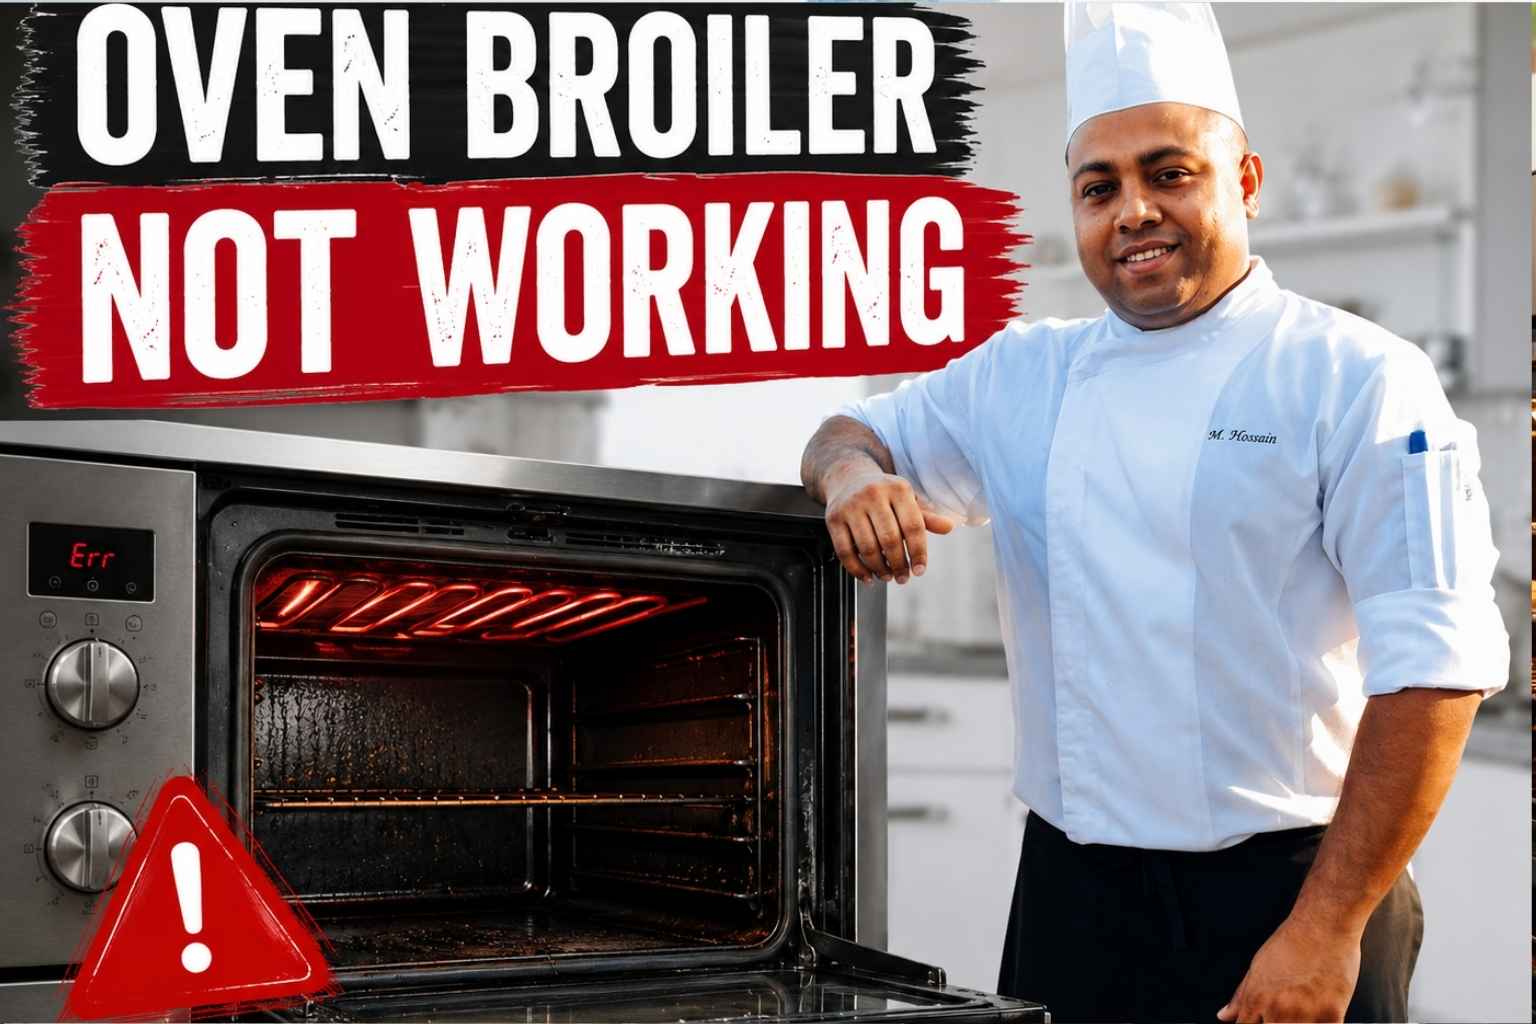
Have you ever turned on the broiler, waited, and nothing happened? An Oven Broiler Not Working can ruin dinner and leave you wondering what went wrong. I have dealt with this too, and I learned that many broiler problems have simple causes and easy fixes. In this guide, I will help you find the problem, explain the common reasons, and show you what to do so you can get your oven back to normal.
What a Broiler Actually Does – and Why It Fails
A broiler is direct, intense heat from above. That’s the whole mechanism. Everything else – caramelized crusts, blistered peppers, gratins with golden tops – flows from that single principle.
On an electric oven, the broiler is a metal heating element mounted to the top of the oven cavity. When you switch it on, electrical resistance heats the element to somewhere between 500°F and 550°F (GE Appliances, 2023). The heat radiates straight down onto your food.
On a gas oven, the broiler is almost always in a separate drawer below the main oven cavity – though some newer models put it at the top. A burner ignites gas, and the flame plus radiant heat does the same job as the electric element.
“Not working” can mean several different things, and the fix depends entirely on which one you’re dealing with:
- The broiler produces no heat at all
- The broiler turns on but the heat is weak or uneven
- The broiler shuts off after a few minutes
- The broiler ignites but the flame won’t stay lit (gas only)
- The oven displays an error code when you select the broiler setting
Diagnose which of these applies to you before touching anything.
Quick-Reference Broiler Troubleshooting Table
| Symptom | Most Likely Cause | Fix |
|---|---|---|
| No heat at all (electric) | Burnt-out heating element | Replace the element (~$20–$60 part) |
| No heat at all (gas) | Weak igniter | Replace the igniter (~$30–$80 part) |
| Broiler starts, shuts off quickly | Tripped thermal fuse | Replace the thermal fuse; check for airflow blockages |
| Broiler won’t respond to controls | Control lock mode enabled | Hold the Lock button for 3 seconds to disable |
| Broiler seems on but no heat | Delayed start mode active | Cancel the delay; reset the clock |
| Weak heat, uneven browning | Wrong rack position, cold start | Move rack to top position; preheat broiler 5 minutes |
| Gas flame won’t stay lit | Faulty thermocouple or gas valve | Call a pro – do not DIY gas valve repairs |
| Broiler works but smells like burning | Grease buildup on broiler pan or element | Clean the pan; wipe element gently when cool |
| Error code on display | Varies by model | Cross-reference the code in your oven’s manual |
How to Diagnose Your Broiler: Start Here
The diagnosis takes about five minutes and tells you exactly what you’re dealing with.
Step 1: Check the basics first.
This sounds obvious but I’ve watched experienced line cooks skip it and spend an hour chasing a bad element when the oven was in demo mode. Before anything else:
- Is the oven getting power? Check the circuit breaker for a tripped breaker.
- Is the oven clock set? Many ovens won’t operate any cooking function until the clock is set after a power outage.
- Is Control Lock enabled? Look for a padlock icon on the display. Hold the Lock button (sometimes labeled “Control Lock”) for 3 seconds to disable it.
- Is Delayed Start mode on? If the oven is waiting for a programmed start time, the broiler won’t fire. Cancel any delay and try again.
Step 2: Test the broiler with a simple heat check.
Set the oven to broil at high heat. Wait 4–5 minutes. Hold your hand 6 inches below the broiler element or burner (don’t touch it – just feel for radiant heat). If you feel warmth, the broiler is working and your problem is likely settings or technique, not a broken component.
If you feel nothing after 5 minutes, move to the component-specific diagnosis below.
Step 3: Check for error codes.
If your oven’s display is showing a code (F1, F3, E1, and so on), write it down and look it up in your model’s manual or on the manufacturer’s website. Error codes short-circuit a lot of guesswork – an F3 on a Whirlpool, for example, points directly to the oven temperature sensor (Whirlpool Support, 2025).
Electric Broiler Not Working: What to Check
Is the Heating Element Dead? Here’s How to Tell
The electric broiler element is a coiled metal rod that runs along the top of the oven cavity. When it fails, it either burns out completely (no heat) or develops a hot spot that burns food unevenly.
Visual check: Turn off the oven and let it cool completely. Look at the element directly. A failed element almost always shows visible damage: cracks in the rod, a hole where it has burned through, black blistering, or a white chalky deposit where the metal has oxidized. If you see any of these, the element is the problem.
Continuity test (more reliable): Unplug the oven from the wall. Pull the element out – most models have two screws holding it to the back wall, and the element simply pulls forward and disconnects from the terminals. Use a multimeter set to continuity mode and touch the probes to each terminal of the element. A working element will beep or show near-zero resistance. No reading means the element is open-circuit – it’s done.
Replacing a broiler element is one of the easiest appliance repairs you can do at home. Order the exact part by model number (find it on the sticker inside the oven door), plug the new element in, screw it back, and you’re done. Parts typically run $20–$60 (This Old House, 2024).
The Thermal Fuse: The Cause Nobody Checks
Many ovens have a thermal fuse – a one-time safety device that blows if the oven gets dangerously hot. Once it blows, it cuts power to the broiler (and sometimes the entire oven).
A thermal fuse won’t reset. Once it’s blown, it has to be replaced. You can test it the same way as the element – unplug the oven, find the fuse (usually near the control board or at the back of the oven cavity), and test it with a multimeter. No continuity means it’s blown.
If the thermal fuse keeps blowing after replacement, that’s a sign of a deeper problem – a blocked vent, a failing thermostat, or a control board issue. At that point, call a technician.
Is the Control Board the Problem?
The control board is the oven’s brain. It sends the signal to the heating element. If the board fails, the element never receives power regardless of what the controls say.
Signs the control board is failing: the display behaves erratically, some functions work but not others, or the oven throws error codes you can’t clear. Control boards are expensive ($150–$350) and require careful installation (Appliance Repair Technicians Association, 2024). If the board is the diagnosis, compare the repair cost to the cost of a new oven before committing.
Gas Broiler Not Working: What to Check
The Igniter Is Almost Always the Culprit
Here’s what I tell everyone who calls me about a dead gas broiler: it’s almost certainly the igniter.
Gas oven igniters don’t just spark the gas. They also act as a safety switch. The igniter has to get hot enough (typically above 1,800°F) to open the gas valve. As igniters age, they weaken – they glow, but they don’t get hot enough to open the valve. The result is an igniter that glows orange for 90 seconds and then nothing happens. No flame, no heat.
How to confirm: Watch the igniter after you turn the broiler on. If it glows but no flame appears within 60–90 seconds, the igniter is weak and needs replacing. A fully dead igniter won’t glow at all.
Replacing an igniter is a manageable home repair. Prices run $30–$80 for the part. The process involves removing the broiler drawer, unscrewing the burner assembly, and swapping the igniter – with the gas supply off and the oven unplugged (Consumer Reports, 2025).
Gas Broiler Lights But Won’t Stay Lit
If the broiler flames on but goes out after a few seconds or minutes, the issue is usually the thermocouple (on older standing-pilot models) or a faulty gas valve. Both of these are repairs for a licensed technician.
Do not attempt to repair a gas valve yourself. A gas leak in a residential kitchen is a serious safety hazard. Carbon monoxide buildup from an improperly repaired gas connection can be fatal. If you suspect a gas leak – you smell gas at any point – turn off the gas supply at the shutoff valve, open windows, leave the house, and call your gas company before anything else.
Drawer Broiler Quirks
Most gas broilers sit in a drawer below the oven. These have a quirk that catches people off guard: the drawer needs to be slightly open during use. Gas broilers need airflow to function correctly. Closing the drawer fully on many models causes the flame to be starved of oxygen and it goes out. Check your manual, but the general rule is 1–2 inches of gap.
Hidden Causes Most People Miss
Your Broiler Pan Is Blocking Airflow
A broiler pan that fits too snugly in the drawer or sits flush against the element can block the airflow the broiler needs to function and can cause the thermal fuse to trip. Use a pan with a slotted rack insert, and make sure there’s at least an inch of clearance around the sides.
The Oven Door: Open or Closed?
Electric oven manufacturers are split on this. Some specify that the door should be left slightly ajar (about 5–6 inches) during broiling so the oven doesn’t cycle the element off when it reaches temperature. Others (particularly convection broiler models) say to keep it closed.
The wrong door position means your broiler cycles on and off instead of maintaining constant high heat – food cooks unevenly and everything takes twice as long.
Check your manual for your specific model’s recommendation. If you’ve never looked, GE Appliances (2023) notes that their electric models generally call for the door left slightly open on Broil; closed on Convection Broil.
Control Lock Mode and Delayed Start
I mentioned these in the diagnosis section, but they deserve emphasis because they fool people regularly. Control lock disables all oven functions to prevent accidental operation. Delayed start means the oven is waiting for a timer you may have set accidentally. Both make the oven look broken when it’s just waiting for instruction.
When the Broiler Works but Underperforms
Weak Heat or Takes Too Long
If the broiler fires up but food takes twice as long as it should and you’re not getting the char or color you want, there are three likely causes:
Wrong rack position. The broiler rack belongs at the top of the oven, 4–6 inches from the element. Every inch you drop the rack cuts the radiant heat intensity significantly. For most broiling tasks, the top rack position is non-negotiable.
No preheat. This is the most common mistake I see from home cooks. The broiler needs 5 minutes to reach full temperature before food goes in. Putting food under a cold broiler is like cooking in a pan you haven’t heated – you get steam and grey instead of char and color.
Aging element or igniter. A heating element or igniter that’s partially failing will produce heat, but not at full intensity. If the oven is 8+ years old and the broiler has always felt sluggish recently, a worn component is likely the explanation.
Uneven Browning
Uneven browning – one side charred, the other pale – points to one of two things:
The element or burner has a hot spot. On an electric oven, a partially failing element won’t heat evenly along its full length. You’ll see this as an area of the food directly under the failed section that stays pale while the rest browns or burns. Replacing the element fixes it.
The pan is too large. A baking sheet that’s the full width of the oven blocks airflow around the sides and creates uneven heat distribution. Use a broiler pan that’s smaller than the oven cavity, or raise the sides of your sheet pan with a rack.
How to Use Your Broiler Correctly Going Forward
I’ve cooked in dozens of professional kitchens, and the difference between a broiler that performs and one that doesn’t often comes down to three things done consistently.
1. Always preheat. Turn the broiler on 5 full minutes before your food goes in. No exceptions. A broiler at temperature will give you color in 3–4 minutes. A broiler you just turned on will give you grey in 10.
2. Use the right rack position. Top rack for intense browning and charring (steaks, gratins, peppers). Second rack from top if you need more controlled cooking (thicker proteins where you want heat penetration without burning the surface).
3. Choose the right pan. A broiler pan with a slotted rack is the correct tool – fat drips through the slots, away from the heat source, which prevents the flare-ups and smoke that kill broiler elements over time. A sheet pan full of fat sitting directly under the element is how you get grease fires and premature element failure.
Stay in the kitchen when you broil. Two minutes is the difference between golden and charred.
Safety Warnings Before You Start Any Repair
Electric ovens:
- Always unplug the oven from the wall before opening any panel or touching any component. Turning the oven off at the control panel is not enough – the unit is still live.
- Electrical shock from a 240V appliance is fatal. If you’re not comfortable with electrical work, call a technician.
Gas ovens:
- Turn off the gas supply at the shutoff valve behind the oven before starting any repair.
- Never attempt to repair a gas valve yourself.
- Carbon monoxide is odorless and can accumulate from a compromised gas connection. Install a CO detector in your kitchen if you cook with gas.
- If you smell gas at any point: stop, leave, call your gas company.
Both types:
- Do not attempt any repair while the oven is hot. Let it cool for at least 30 minutes.
- Order parts by your exact model number, not by approximate fit. The wrong element or igniter can create a fire risk.
My Chef’s Take: Repair or Replace?
I’ve had broiler elements die on me mid-service. I’ve dealt with igniters that gave up during a dinner rush. After 15 years, my calculus on repair vs. replace is simple.
Repair if:
- The oven is less than 10 years old
- The repair is a single component (element, igniter, thermal fuse) costing less than $100 in parts
- The rest of the oven works correctly
- You can do the repair yourself safely
Replace if:
- The control board has failed ($150–$350 for the part, plus labor)
- The oven is 12+ years old and this is the second or third repair
- The repair cost exceeds 50% of a comparable new oven
- You’re on a gas oven and the gas valve is the diagnosis
A replacement broiler element on a 4-year-old range from a reputable brand is a straightforward decision: fix it. A control board on a 14-year-old budget range where the door seal is also failing and the burner grates are cracked? Buy a new oven and cook comfortably.
My personal broiler setup at home is a KitchenAid slide-in range. The broiler element failed at year 6. The part was $38, it took 20 minutes to replace, and it’s been running fine for 4 years since. That’s the kind of repair that makes sense.
Frequently Asked Questions About Broiler Problems
Why is my broiler not heating up even though the oven works fine?
The broiler and the main oven bake function use separate heating elements (on electric ovens) or separate burner configurations (on gas ovens). One can fail while the other still works. If your bake function works but the broiler doesn’t, test the broiler element or igniter specifically – the main oven element is a separate component and its working condition tells you nothing about the broiler element.
How do I know if my broiler element needs replacing?
Look at it directly with the oven off and cool. A failed element almost always shows physical damage: cracks in the metal rod, a burn hole, black blistering, or chalky white deposits. If the element looks physically intact, test it with a multimeter for continuity – a working element will show near-zero resistance; a failed one will show no reading at all.
Can I replace a broiler element myself?
Yes, in most cases. Broiler elements on electric ovens are designed to be field-replaceable. The process is: unplug the oven, remove two screws holding the element to the back wall, pull the element forward, disconnect the two wire terminals, connect the new element, screw it back in, and restore power. The whole job takes 15–20 minutes. Order the exact part by your oven’s model number.
My gas broiler clicks but doesn’t light. What’s wrong?
If you hear clicking (the igniter sparking) but no flame appears, the issue is usually moisture on the igniter or burner – which clears on its own after a few minutes – or a clogged burner port. Clean the burner ports with a toothpick or thin wire when the oven is cold. If clicking continues without ignition after the burner is clean, the igniter is failing and needs replacement.
Is it safe to use an oven if the broiler doesn’t work?
Yes. The broiler and oven bake functions are independent. A failed broiler element or igniter does not affect the safety of the bake function. You can continue using the oven normally until you repair or replace the broiler component.
Why does my broiler keep turning off after a few minutes?
Two main causes. First, on electric ovens, the oven may be cycling the broiler element off when the oven cavity reaches a set temperature – this happens if the door is closed on a model that’s designed to broil with the door slightly ajar. Second, a tripped or failing thermal fuse will cut power to the broiler when it senses excessive heat. Check your door position first, then test the thermal fuse.
How long should a broiler element last?
A broiler element typically lasts 5–8 years with regular use (Appliance Repair Technicians Association, 2024). Lifespan shortens significantly if the element is exposed to grease fires from fatty foods directly beneath it, or if it’s cleaned aggressively with abrasive materials. Using a broiler pan with a slotted rack – rather than a flat sheet pan – is the single best way to extend element life.
When should I call a professional instead of fixing it myself?
Call a technician if: the gas valve is the diagnosis (never DIY a gas valve), the control board has failed (complex electrical work), you’ve replaced the thermal fuse twice and it keeps blowing (underlying problem needs diagnosis), or you smell gas at any point during troubleshooting. For electric ovens, if you’re not comfortable working near electrical terminals, a technician fee of $75–$150 is money well spent.
Key Takeaways
- Diagnose before you replace anything – check settings, control lock, and delayed start before assuming a component has failed.
- On electric ovens, the broiler element is the first suspect. Look for visible damage; test with a multimeter.
- On gas ovens, the igniter is the most common failure point. A glowing igniter that produces no flame is a weak igniter that needs replacing.
- Never repair a gas valve yourself – this is a job for a licensed technician.
- Preheat the broiler for 5 minutes before cooking, use the top rack, and always use a slotted broiler pan. Most “weak broiler” complaints are technique, not equipment.
- Repair cost above 50% of a new oven’s price is your signal to replace, not repair.
- Install a CO detector in any kitchen where you cook with gas.

I’m Mossaraof, a trained chef and the founder of OvenInsights.com. I spent years cooking at Larrupin’ Cafe and in kitchens across Chicago and Seattle. Now I test kitchen gear for a living. I moved to North Acton, London, and I test every tool I write about. I use real meals and real heat. No brand deals. No shortcuts. I cover 12 kitchen types and hundreds of recipes. I believe this: the right tools matter as much as the recipe.




