
At A Glance
- Insert a leave-in probe thermometer into the thickest part of the meat before the roast goes into the oven – never near bone, fat, or the pan wall.
- Pull meat from the oven 5-10°F before your target temperature; carryover cooking finishes the job during the rest.
- Instant-read thermometers check a single moment; leave-in probes track the whole cook – use both for different jobs.
- The USDA recommends 165°F for all poultry, 145°F for whole cuts of beef, pork, and lamb (with a 3-minute rest), and 145°F for fish (USDA Food Safety and Inspection Service, 2024).
- Color, timing, and the “poke test” are unreliable doneness signals – internal temperature is the only method that actually tells you what’s happening inside the meat.
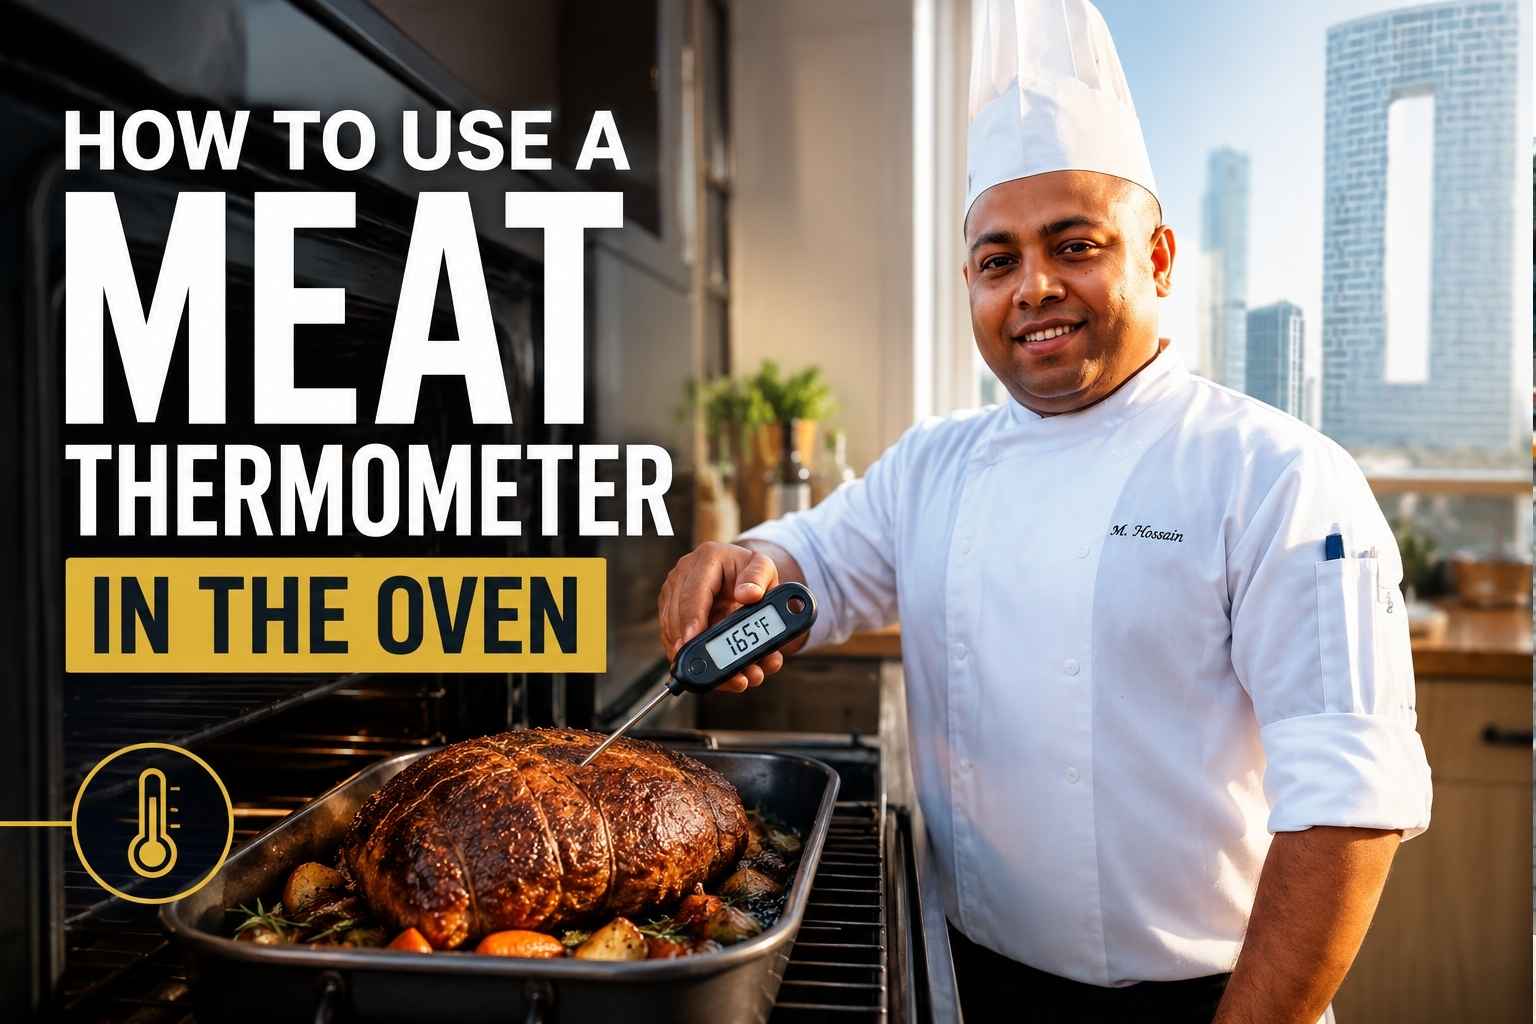
Have you ever cut into a roast and hoped it was done, only to find it was too dry or not safe to eat? I felt that way for years until I learned How to Use a Meat Thermometer in the Oven, and it changed the way I cook. It is a small tool, but it takes away the guesswork and helps me get juicy, safe meat every time.
I have tested this method with chicken, beef, pork, and turkey in my own kitchen, and it works every time. In this guide, I will show you where to place the thermometer, when to check the temperature, the safe internal temperatures to use, and the simple tips that help you cook with confidence. Let’s get started and make your next oven meal the best one yet.
Why Internal Temperature Beats Every Other Doneness Test
A meat thermometer in the oven is the only reliable way to know when meat is safe and properly cooked. Color, timing, and feel – the three most common home-cook shortcuts – all lie regularly, and I’ve watched them fail in professional kitchens too.
Here’s why each one breaks down:
Color depends on myoglobin, the protein that gives meat its red color. Myoglobin denatures (turns brown) at different temperatures depending on the age of the animal, the pH of the meat, and even the packaging gas used at the processor. I’ve pulled fully-cooked chicken breasts at 167°F that still showed pink near the bone. A 2021 study from America’s Test Kitchen confirmed this: poultry can remain pink at safe temperatures due to marinating, smoking, or young bird myoglobin levels (America’s Test Kitchen, 2021).
Timing is a rough estimate, not a measurement. Oven calibration varies, meat thickness varies, starting temperature varies. A 4-pound chicken roasted at 425°F might take 55 minutes in my oven and 75 in yours. Per-pound cooking charts account for none of these variables.
The poke test – pressing meat to gauge firmness – takes years to develop any accuracy, and even then it only works on cuts you’ve cooked hundreds of times. I’ve been a working chef for 15 years and I still reach for a thermometer on unfamiliar cuts.
The bottom line: a $15 thermometer removes all the guesswork. Use it every time.
Types of Meat Thermometers: Which One to Use and When
Four types of meat thermometers are commonly used in home and professional kitchens. Each serves a different purpose, and knowing when to reach for which one matters.
Instant-Read Thermometers
An instant-read thermometer gives you a temperature reading in 2-5 seconds when inserted into meat. It does not stay in the oven during cooking – you pull the meat out, insert the probe, read the temp, and return it to the oven if needed.
The ThermoWorks Thermapen ONE is the benchmark here, reading in under 1 second with an accuracy of ±0.5°F (ThermoWorks, 2024). For most home cooks, a good instant-read is the single most useful kitchen tool they can own.
Use an instant-read for: quick checks at the end of a cook, checking multiple spots in a large roast, and verifying a leave-in probe’s reading.
Leave-In Probe Thermometers
A leave-in probe thermometer stays inserted in the meat for the entire cook. The probe connects to a digital display either via a heat-resistant cable that runs out of the oven door, or wirelessly via Bluetooth or Wi-Fi.
Leave-in probes track temperature continuously and alert you when the meat hits your target. They’re what make oven cooking genuinely hands-off. I use the ThermoWorks Chef Alarm for roasts and the MEATER+ (wireless) when I want to move freely around the kitchen.
Use a leave-in probe for: roasts, whole birds, thick pork shoulders, and any cook over 45 minutes.
Dial Thermometers (Avoid for Oven Use)
Dial thermometers are the old bimetallic-coil style with an analog face. They’re slow (30-60 seconds to read), less accurate, and the face can be hard to read through a hot oven door. I keep one in my kit as a backup but don’t recommend them as a primary tool.
Bluetooth and Wi-Fi Thermometers
These are leave-in probes with wireless connectivity. You set a target temperature in an app on your phone and get a notification when the meat hits it. The MEATER Block supports up to 4 simultaneous probes – useful for large dinner parties where you’re cooking multiple proteins.
The downside: Bluetooth range drops through oven walls, so test your device’s range before relying on it for a long cook. Wi-Fi models like the ThermoWorks Signals don’t have this limitation.
Internal Temperature Reference Table: Pull Temps and Target Temps by Protein
Carryover cooking – the continued rise in internal temperature after meat leaves the oven – means you should always pull meat before it hits your final target. The table below lists the USDA-recommended safe temperature, the carryover rise you can expect, and the temperature to pull the meat from the oven.
| Protein | USDA Safe Temp | Expected Carryover Rise | Pull from Oven at | Rest Time |
|---|---|---|---|---|
| Chicken breast | 165°F (74°C) | 3-5°F | 160-162°F | 5 min |
| Chicken thigh | 165°F (74°C) | 3-5°F | 160-162°F | 5 min |
| Whole roast chicken | 165°F (74°C) | 5-8°F | 158-160°F | 15-20 min |
| Turkey breast | 165°F (74°C) | 5-10°F | 155-160°F | 15 min |
| Beef – rare | 125°F (52°C) | 5-10°F | 115-120°F | 10 min |
| Beef – medium-rare | 130-135°F (54-57°C) | 5-10°F | 120-125°F | 10 min |
| Beef – medium | 140-145°F (60-63°C) | 5-10°F | 130-135°F | 10 min |
| Beef – well-done | 160°F+ (71°C+) | 5-10°F | 150-155°F | 5 min |
| Pork loin / chops | 145°F (63°C) | 5-8°F | 138-140°F | 3 min |
| Pork shoulder (pulled) | 195-205°F (91-96°C) | 5°F | 190-200°F | 30-60 min |
| Lamb chops / leg | 145°F (63°C) | 5-8°F | 135-140°F | 5-10 min |
| Fish (most species) | 145°F (63°C) | 1-3°F | 140-142°F | 2-3 min |
| Ground meat (all) | 160°F (71°C) | 3-5°F | 155-157°F | 5 min |
Sources: USDA Food Safety and Inspection Service, 2024; The Food Lab by J. Kenji López-Alt, 2015.
How to Insert a Meat Thermometer in the Oven Correctly
The correct technique for inserting a meat thermometer in the oven is to push the probe into the thickest part of the meat, angled so the tip sits at the thermal center of the cut – not touching bone, fat pockets, or the roasting pan.
This is where most home cooks go wrong. The thermal center is the last spot in the cut to reach your target temperature, so that’s exactly where the probe needs to be.
Step-by-Step Probe Insertion
Step 1: Identify the thickest part of the cut. For a chicken, that’s the breast near the wing joint. For a leg of lamb, it’s the center of the largest muscle. For a beef roast, it’s the geometric center of the cut.
Step 2: Insert at a slight angle (about 45 degrees for most cuts) so the tip reaches the center without the shaft touching a pan wall or rack.
Step 3: Push to the correct depth. The probe tip should be at least 1/2 inch from any bone. Most probes have a dimple or notch marking the minimum insertion depth – usually 1.5-2 inches. The reading comes from the tip, so the tip must be fully surrounded by meat.
Step 4: Avoid these three placement errors:
- Bone contact – bone conducts heat faster than muscle and will give a falsely high reading.
- Fat pockets – fat also heats at a different rate than lean muscle.
- Pan wall or rack contact – metal conducts heat from the oven environment directly into the probe shaft.
Step 5: For leave-in probes, route the cable out through the oven door seal, not over the door hinge. Most modern oven door gaskets can accommodate a probe cable without compromising the seal significantly. Pulling the door partially over a cable for 2+ hours damages both the cable and the gasket.
How Leave-In Probe Thermometers Work During Oven Cooking
A leave-in probe thermometer monitors meat temperature in real time throughout the entire cook, without you opening the oven. The probe sits in the meat, connected to an external display by a cable or wirelessly, and alerts you when the meat hits your pre-set target.
This matters because every time you open the oven door, you drop the oven temperature by 25-50°F and add 5-10 minutes to your cook (Serious Eats, 2022). A leave-in probe eliminates the need to open the door for temperature checks.
How to Set Up a Leave-In Probe
- Insert the probe into the meat before placing it in the oven, following the placement rules above.
- Set your target temperature on the display unit – use the pull temperature from the table above, not the final target.
- Place the meat in the oven and route the cable through the door seal.
- Set a secondary alarm for 10-15 degrees below target so you have warning to prepare your resting surface and any finishing steps.
The display will track temperature in real time. You’ll see the temperature rise, plateau (common in pork shoulders and briskets around 160-170°F – this is the “stall,” where evaporative cooling temporarily halts the rise), then continue climbing to target.
Gas vs. Electric Ovens: How They Affect Probe Readings
Gas and electric ovens heat differently, and those differences affect how evenly your roast cooks – which in turn affects where you place your probe.
Gas ovens heat with a burner at the bottom, produce moisture during combustion, and cycle the burner on and off to maintain temperature. This creates more temperature swings (±25-30°F is common) and can create hot and cool spots, particularly front-to-back (Cook’s Illustrated, 2023). In a gas oven, the back-center of the rack is typically the most consistent spot. Check your oven’s calibration with an oven thermometer before a big cook.
Electric ovens use a heating element at the top and bottom, produce dry heat, and hold temperature more steadily. Temperature swings of ±10-15°F are typical. Electric convection ovens (with a circulating fan) are the most consistent of all, reducing temperature variation to ±5°F in most cases.
Why this matters for probe placement: In an uneven oven, your probe could be sitting in a cooler zone while the exterior of the meat in a hotter zone overcooks. Rotating the roast halfway through the cook and cross-checking with an instant-read at multiple points compensates for this.
How to Calibrate Your Meat Thermometer
A meat thermometer is only useful if it reads accurately. Calibrate yours using the ice water test monthly, or any time you drop it.
The Ice Water Test
- Fill a glass with crushed ice, then add cold water until the glass is full.
- Let it sit for 1 minute so the water reaches 32°F.
- Insert the probe tip into the center of the ice water without touching the glass sides.
- Wait 30 seconds and read the temperature.
- An accurate thermometer reads 32°F (0°C). If it reads 30°F or 34°F, note the offset and add or subtract accordingly when cooking, or use the calibration adjustment feature on digital models.
The Boiling Water Test
Boiling water at sea level is 212°F (100°C). At higher elevations, it’s lower – subtract approximately 1°F for every 500 feet of elevation (ThermoWorks, 2024). Repeat the same process as above with boiling water.
If your thermometer is off by more than 2°F in either test, replace it. Inexpensive bimetallic dial thermometers drift over time and are rarely worth re-calibrating repeatedly.
When NOT to Trust Your Thermometer – Common Probe Failures
A meat thermometer gives you the wrong reading more often than most people expect. Here are the failure modes I see regularly.
Bad probe placement is the most common cause of a misleading reading. If the tip is within half an inch of bone, you’ll get a number 5-10°F higher than the actual meat temperature. If you pull a roast at what you thought was 165°F and it reads 158°F three inches away, bad placement is almost certainly why.
A damaged probe gives erratic readings. Probes with kinked cables, cracked seals, or moisture intrusion jump 20 degrees randomly or read flat at a single number. If your reading doesn’t change as the meat heats, the probe has failed.
Pan interference happens when the probe shaft touches the roasting pan. Metal conducts heat directly from the oven environment into the probe, and you’ll see a falsely high reading almost immediately.
Cold spot compensation – a legitimate reason to check multiple spots. A whole chicken with a cavity full of stuffing will have the breast at 170°F while the stuffed cavity area is still at 145°F. Always check the stuffing separately; it must reach 165°F (USDA Food Safety and Inspection Service, 2024).
Thermal lag in thick probes means some older or less accurate probes take 20-30 seconds to stabilize. Don’t pull a reading immediately – hold the probe still and wait for the number to stop moving.
8 Common Meat Thermometer Mistakes and How to Fix Them
These are the mistakes I correct most often when teaching cooking classes or working with new kitchen staff.
1. Inserting the probe after the meat goes in the oven. With a leave-in probe, you must insert it before the roast goes in. Trying to insert a probe through a partially-cooked, firmed-up roast shifts the placement off-center.
2. Pulling meat exactly at the target temperature. Carryover cooking continues after you pull the roast. A 5-pound beef prime rib pulled at 130°F will reach 140°F during a 15-minute rest. Always pull 5-10°F early.
3. Skipping the rest. Resting is not optional. During resting, muscle fibers that tightened from heat relax and reabsorb juices. Cut a chicken breast at 165°F immediately and juices pour out. Let it rest 5 minutes and they stay in (The Food Lab, J. Kenji López-Alt, 2015). Resting is part of the cook, not an afterthought.
4. Only checking one spot. For large roasts and whole birds, check three spots: the thickest section, a second muscle group, and near (but not touching) the bone. The lowest reading is the one that matters for food safety.
5. Trusting the pop-up timer in a turkey. Pop-up timers are set to trigger at 180-185°F, which overcooks turkey breast dramatically. Use your own probe, pull the breast at 158-160°F, and let carryover carry you home.
6. Leaving the probe in during broiling. Intense radiant heat from the broiler element damages probe cables and can give false readings as the cable itself heats up. Remove leave-in probes before switching to broil.
7. Not zeroing out the cold spot. When meat comes from the refrigerator, the center may be 15-20°F colder than the exterior. Letting large roasts sit at room temperature for 30-45 minutes before roasting reduces uneven cooking (Cook’s Illustrated, 2023).
8. Ignoring the stall during low-and-slow cooks. Pork shoulder cooked at 300°F often stalls at 155-165°F for 1-2 hours. The probe will read flat. This is normal – evaporative cooling is temporarily balancing the heat input. Do not raise the oven temperature; wait it out.
My Personal Thermometer Routine After 15 Years in the Kitchen
I use two thermometers on every significant roast: a ThermoWorks Chef Alarm with a leave-in probe and a Thermapen ONE for spot checks.
Before the meat goes in, I insert the Chef Alarm probe and set the alert to my pull temperature. This is non-negotiable – I don’t guess and I don’t peek. The oven stays closed.
When the alarm sounds, I pull the roast and immediately verify with the Thermapen in two additional spots. If any spot reads more than 5°F below the Chef Alarm reading, I return the roast to the oven for 5 more minutes and check again.
Then the roast rests on a wire rack over a sheet pan – never on a flat plate, because steam from the bottom surface carries heat away unevenly. Large roasts get tented loosely with foil. Small cuts like chicken breasts or lamb chops rest uncovered.
I don’t plate until the Thermapen confirms the meat has rested long enough that the temperature has stabilized or begun to drop. For a prime rib, that’s 20-25 minutes. For a chicken breast, 5-7 minutes.
One strong opinion from years of doing this: buy a Thermapen. It costs more than the supermarket drawer thermometer, but it reads in under 1 second, it’s accurate, and it won’t fail you mid-service. A cheap instant-read that takes 15 seconds and drifts 4°F is worse than useless – it gives you false confidence.
Frequently Asked Questions About Using a Meat Thermometer in the Oven
How do you use a meat thermometer in the oven without touching bone?
Insert the probe into the thickest part of the meat at a slight angle, aiming the tip toward the center of the cut. Stop inserting when the tip is at least 1/2 inch from any bone. If you feel resistance from bone while inserting, withdraw slightly and re-angle. Always cross-check with an instant-read thermometer at a second location to confirm the reading.
Can I leave a meat thermometer in the oven while cooking?
Yes, but only if it’s designed for it. Leave-in probe thermometers are built to withstand oven temperatures continuously. Instant-read thermometers are not – their displays and housings are not rated for sustained heat exposure and will be damaged if left in a hot oven. Check your thermometer’s manual for its maximum temperature rating before leaving it in.
What temperature should I pull chicken out of the oven?
Pull a whole chicken from the oven when the thickest part of the breast reads 158-160°F. Carryover cooking during a 15-20 minute rest will bring it to 165°F, which is the USDA-recommended safe minimum internal temperature for all poultry (USDA Food Safety and Inspection Service, 2024). Pulling at exactly 165°F on the probe often results in overcooked, dry breast meat.
Why does my meat thermometer give different readings in different spots?
Meat is not a uniform medium – it has different densities, muscle groups, and proximity to bone and fat, all of which heat at different rates. Readings varying by 5-10°F across a large roast are normal. Always use the lowest reading as your food safety reference point, and check the thickest, coolest-running section of the cut as your primary probe placement.
How do I know if my meat thermometer is accurate?
Run the ice water test: fill a glass with crushed ice and cold water, insert the probe, and wait 30 seconds. An accurate thermometer reads 32°F. If it reads more than 2°F off in either direction, recalibrate using the adjustment feature on your thermometer, or replace it. Repeat this test monthly and after any drop or impact.
What is carryover cooking and how much temperature rise should I expect?
Carryover cooking is the continued rise in internal temperature after meat is removed from the oven. The retained heat in the outer layers continues transferring inward even after the heat source is removed. Expect 5-10°F of rise in large roasts and whole birds, and 3-5°F in thinner cuts like chicken breasts and pork chops. Always pull meat before your target temperature to account for this rise (The Food Lab, J. Kenji López-Alt, 2015).
Does the type of oven affect my thermometer readings?
The oven type affects cooking evenness, which affects where you place the probe – but it doesn’t affect the accuracy of the thermometer itself. Gas ovens cycle on and off and run hotter at the back; electric ovens are more steady. In either case, probe the thermal center of the meat, rotate the roast halfway through cooking if using a gas oven, and verify with a spot-check instant-read at the end.
How deep should I insert a meat thermometer?
Insert the probe deep enough that the tip is at least 1.5-2 inches into the meat, or at the geometric center of the cut for thick roasts. Most probes have a minimum insertion depth marked on the shaft. Reading accuracy comes from the probe tip – if the tip is less than 1 inch into the meat, you’re measuring surface temperature, not core temperature.
Key Takeaways
- Always use a leave-in probe thermometer for oven roasts over 45 minutes and an instant-read for quick final verification at multiple spots.
- Insert the probe before the roast goes in the oven, with the tip at the thermal center of the thickest muscle – not touching bone, fat, or the pan.
- Pull all meat 5-10°F before your target temperature and let carryover cooking finish the job during the rest period.
- The USDA minimum safe temperatures are 165°F for all poultry, 145°F for whole cuts of beef, pork, and lamb, and 145°F for fish, each with their respective rest times.
- Calibrate your thermometer monthly with the ice water test; replace it if it reads more than 2°F off.
- Gas ovens run unevenly, so rotate large roasts halfway through cooking and verify with an instant-read at two or more spots.
- Skipping the rest, trusting pop-up timers, and reading only one spot are the three most common errors home cooks make – and all three lead to overcooked or under-measured meat.

I’m Mossaraof, a trained chef and the founder of OvenInsights.com. I spent years cooking at Larrupin’ Cafe and in kitchens across Chicago and Seattle. Now I test kitchen gear for a living. I moved to North Acton, London, and I test every tool I write about. I use real meals and real heat. No brand deals. No shortcuts. I cover 12 kitchen types and hundreds of recipes. I believe this: the right tools matter as much as the recipe.




