
At A Glance
- Toast bread in the oven at 375°F for 8-10 minutes (flip halfway) for even, golden results that beat most toasters on texture.
- Use the broiler for speed – 2 minutes per side under a preheated broiler gets you dark, crisp toast with excellent surface color.
- The oven produces better toast than a toaster on thick-cut bread, sourdough, and frozen loaves because heat surrounds the slice from all sides.
- Butter goes on after toasting, not before – unless you are making garlic bread or crostini.
- A wire rack on a sheet pan is the single best setup for oven toasting: it circulates air under the bread and stops the bottom from steaming.
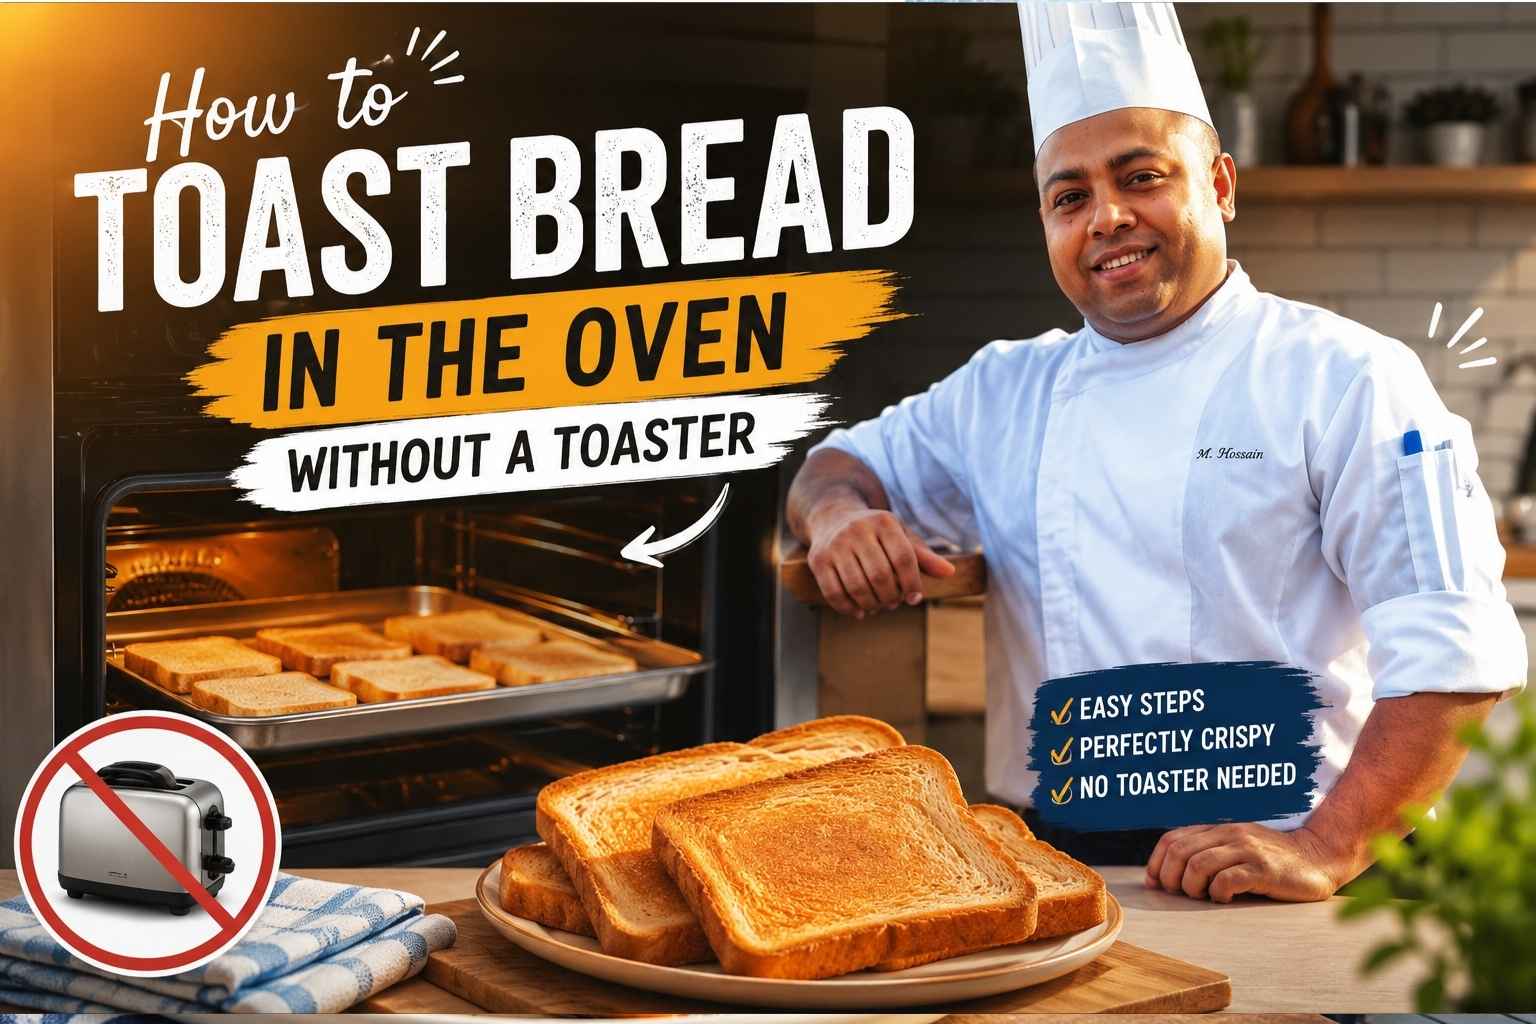
I learned How to Toast Bread in the Oven Without a Toaster on a busy morning when my toaster quit. I was surprised by how easy it was and how crisp the bread turned out. Since then, I have used this simple method many times, and it works with almost any oven. In this guide, I’ll show you the best steps, share helpful tips, and help you make perfect toast every time.
Why Oven-Toasted Bread Is Often Better Than Toaster Bread
Most home cooks reach for the toaster without thinking. After 15 years working professional kitchens, I can tell you that the oven beats a toaster in almost every situation where texture matters.
Here is why. A standard two-slot toaster heats bread with radiant coils positioned inches from the surface. It browns the outside fast, but the interior often stays soft and slightly gummy – particularly on anything thicker than a standard sandwich slice. The oven works differently. Circulating hot air removes surface moisture evenly and allows the Maillard reaction (explained below) to develop at a controlled pace. The result is a slice with a genuinely crisp crust and a dry, firm interior.
There is also a capacity question. A toaster handles two or four slices. A half-sheet pan handles twelve to sixteen. If you are cooking brunch for eight people or making a full tray of crostini for a party, the oven is the only tool that makes sense.
America’s Test Kitchen found in a 2022 review that oven-toasted sourdough scored higher on crust crispness and color uniformity than the same bread toasted in a leading two-slice toaster (America’s Test Kitchen, 2022). That tracks with what I have seen on the line for years.
The Science of Toasting: Maillard Reaction, Moisture Loss, and Surface Browning
Toasting is dehydration followed by browning. When bread hits heat, free water in the crumb evaporates first. Once the surface drops below about 5% moisture content, the temperature of the crust can climb past 212°F – the point at which the Maillard reaction starts.
The Maillard reaction is a chemical process between amino acids and reducing sugars that happens between roughly 280°F and 330°F. It creates hundreds of new flavor compounds and turns the surface golden to dark brown. This is why toast tastes different from plain bread – not just drier, but genuinely more complex. (Serious Eats, 2021)
Surface caramelization kicks in alongside Maillard browning when natural sugars in the bread reach around 320°F. Brioche and enriched doughs brown faster because they contain more sugar. Sourdough and whole wheat toast more slowly and develop deeper, slightly bitter notes.
Knowing this helps you control the outcome. Low heat (325-350°F) dries the bread slowly and produces pale, even toast. High heat (400°F+) or the broiler pushes surface temps fast and gives you darker color with a softer interior. Neither is wrong – they are different results for different uses.
Quick-Reference: Oven Toast Settings by Bread Type
| Bread Type | Method | Temperature | Rack Position | Time Per Side |
|---|---|---|---|---|
| Sandwich bread (thin) | Bake | 375°F | Middle | 4-5 min |
| Sandwich bread (thick-cut) | Bake | 375°F | Middle | 5-6 min |
| Sourdough (1-inch slice) | Bake | 400°F | Upper-middle | 5-6 min |
| Baguette slices (crostini) | Bake | 375°F | Middle | 6-7 min |
| Brioche (3/4-inch slice) | Bake | 350°F | Middle | 4-5 min |
| Gluten-free sandwich bread | Bake | 350°F | Middle | 5-7 min |
| Frozen bread (unthawed) | Bake | 375°F | Middle | 7-9 min |
| Any bread (fast method) | Broil | High | Top (6 in. from element) | 1.5-2 min |
Step-by-Step: Two Methods for Oven Toast
Method 1: The Bake Method (Best for Even Results)
This is my go-to for everyday toast, batch cooking, and anything thicker than 3/4 inch.
Step 1: Preheat the oven to 375°F. Do not skip the preheat. Putting bread into a cold oven steams it before it can brown. Allow at least 10 full minutes of preheat time.
Step 2: Set up a wire rack on a half-sheet pan. This is the most important equipment choice. The rack lifts the bread off the metal pan so hot air reaches the bottom of the slice. Without the rack, the bottom of the bread sits on a surface that conducts heat unevenly and traps steam – the result is a pale, slightly soft underside.
Step 3: Lay slices flat on the rack, not overlapping. Leave at least half an inch between slices for air circulation.
Step 4: Slide the pan onto the middle rack. The middle position gives you the most even heat from both the top and bottom elements.
Step 5: Bake for 4-6 minutes, then flip each slice. The first side takes longer because the bread starts cool. After flipping, the second side toasts faster.
Step 6: Bake for another 3-5 minutes. Watch the color, not the clock. Pull when the surface is deep golden and the edges show a slightly darker ring.
Step 7: Transfer to a plate immediately. Leaving toast on the hot pan after the oven is off continues to dry and darken the bottom.
Method 2: The Broil Method (Best for Speed)
Use the broiler when you want fast, dark toast or when you are finishing a piece with a topping (cheese, bruschetta mix, garlic butter).
Step 1: Position the rack 5-6 inches below the broiler element. Too close (2-3 inches) and the surface burns before the interior warms. Too far (8+ inches) and you are just baking slowly.
Step 2: Preheat the broiler on HIGH for at least 5 minutes. A cold broiler element puts out uneven heat for the first few minutes. Skipping the preheat gives you patchy color.
Step 3: Place bread directly on the rack or a foil-lined sheet pan. No need for a wire rack here – the broiler heats from one direction only.
Step 4: Broil for 1.5-2 minutes, watching constantly. Stay at the oven. Broiler toast can go from golden to black in under 30 seconds, especially on thin sandwich bread.
Step 5: Flip and broil the second side for 1-1.5 minutes.
Step 6: Remove and serve immediately. Broiled toast softens faster than bake-method toast. It is best eaten within 2-3 minutes.
Temperature Guide: When to Use 350°F vs. 400°F vs. Broil
Getting the temperature wrong is the most common reason oven toast disappoints people.
350°F is correct for enriched breads like brioche, challah, and milk bread. These contain butter, eggs, and sugar – they brown faster than lean breads. At 375°F or higher, the crust can over-darken before the interior finishes drying. Drop the temp, slow it down, and you get even color all the way to the edge.
375°F is the right choice for standard sandwich bread and most everyday loaves. It is hot enough to produce real browning in under 10 minutes total but forgiving enough that a 30-second delay does not ruin the slice.
400°F suits thick sourdough and whole-grain loaves. These are dense, high-moisture breads. They need more aggressive heat to drive out moisture fast enough to get surface browning in a reasonable time. At 375°F, thick sourdough can take 15+ minutes and still come out with a slightly soft center.
Broil (high) is for speed and surface char. Use it for crostini (where you want a very dry, snappable texture), garlic bread finishing, open-face melts, and bruschetta bases. Do not use the broiler for frozen bread – the outside burns before the center thaws.
Bread Type Breakdown: What Works and What Needs Adjustment
Sandwich Bread
The most forgiving option. Standard 3/4-inch slices toast well at 375°F in 8-10 minutes total. Thin-cut sandwich bread (grocery store standard) can toast in as little as 7 minutes. Watch the edges – they brown first and signal when the center is close.
Sourdough
My personal favorite for oven toasting. The open crumb structure lets hot air penetrate quickly. Cut 1-inch slices for the best result. At 400°F with a preheated oven, you get a shatteringly crisp crust and a dry, chewy interior in about 11-12 minutes total. The slight acidity in sourdough also interacts with the Maillard reaction to produce deeper, more complex browning flavors. (King Arthur Baking, 2023)
Baguette Slices
Cut on a 45-degree angle at about 1/2 inch thick for crostini. Bake at 375°F for 6-7 minutes per side. No flipping needed if you want one flat, very dry side for topping. Drizzle with olive oil before baking if you are making crostini – the oil speeds browning and adds flavor.
Thick Brioche
Handle with care. Brioche at 350°F for 4-5 minutes per side gives you a golden exterior with a soft, slightly warm center. At 375°F it can look done on the outside while the interior remains doughy. If you are making French toast base, skip toasting entirely – the egg custard does the work.
Gluten-Free Loaves
These are the trickiest. Most gluten-free sandwich breads have a higher water content and a gummy internal structure. Toast them at 350°F for 5-7 minutes per side – longer than you think is necessary. The extra time drives off the excess moisture that makes gluten-free toast feel dense. A wire rack setup is especially important here.
Frozen Bread
Do not thaw first. Put frozen slices directly on the wire rack at 375°F. Add about 2-3 minutes to your standard time. The bread thaws in the first 3-4 minutes of baking, then begins browning. This gives you toast that is genuinely hot through to the center rather than warm outside and cold in the middle (the common result when you microwave-thaw first and then bake).
Butter Before or After: The Chef’s Position
Butter goes on after. This is not a preference. It is the correct answer for almost every situation.
When you spread butter on bread before toasting, the butter melts immediately and migrates into the crumb. By the time the surface browns, much of the butter has soaked in and the outer crust is partly fried rather than toasted. You get grease and a slightly greasy texture rather than clean, crisp toast.
Butter applied after toasting coats the surface and melts on contact from residual heat. It stays at the surface, adding richness and flavor without compromising texture. (Cook’s Illustrated, 2020)
The two exceptions are garlic bread and crostini. For garlic bread, you want the butter (or garlic oil) to soak in and fry the surface slightly – that is the point. For crostini, a pre-toast olive oil drizzle produces a crunchier, more shelf-stable cracker texture.
How to Toast Large Batches for a Crowd or Meal Prep
A half-sheet pan (18 x 13 inches) holds 12-16 standard sandwich slices with spacing. For larger batches, run two pans on two oven racks simultaneously – place one on the upper-middle rack and one on the lower-middle rack. Swap their positions halfway through baking to compensate for the temperature difference between racks.
For meal prep toast (batches you will store and reheat), bake at 325°F for a longer time – about 12-15 minutes per side. Lower, slower heat produces drier toast that holds up better in storage without going stale as quickly. Store in an airtight container at room temperature for up to 3 days. Reheat at 350°F for 3-4 minutes directly on the oven rack to restore crispness.
Gas vs. Electric Oven: What Changes for Toasting
Gas and electric ovens behave differently, and those differences affect toast in specific ways.
Gas ovens produce combustion byproducts including small amounts of water vapor. This makes the oven environment slightly more humid than electric, which can slow surface browning and sometimes produces slightly softer toast. If you have a gas oven and your toast comes out pale, increase the temperature by 25°F or add 2 minutes to your time.
Gas broilers are also typically less powerful than electric broilers. They produce a larger, less concentrated flame that sits lower in the oven. Set your rack higher than you would with electric (4-5 inches from the element rather than 5-6) and allow an extra 30-45 seconds per side.
Electric ovens produce drier heat and more consistent temperatures. The broiler element gets hotter than a gas flame and holds that temperature steady. Standard broil times in this guide apply directly to electric ovens.
If your electric oven has a “hidden bake” element (the element is concealed under the oven floor rather than visible), bottom browning may be slower. Use the middle rack position and consider adding a minute to the second side of your flip.
Convection vs. Conventional: Speed, Evenness, and How to Adjust
Convection mode uses a fan to circulate hot air. For toasting, this is almost always better than conventional mode. Circulating air removes surface moisture faster and produces more even browning across the full slice – including the edges, which often stay lighter in conventional mode.
If you are using convection, reduce the temperature by 25°F from the guide above and check the toast about 2 minutes earlier than the listed time. So a conventional 375°F / 10-minute total becomes convection 350°F / ~8 minutes total. (America’s Test Kitchen, 2023)
Conventional mode is fine for everyday toast. It is more forgiving on timing – the lack of air circulation means browning happens a little slower, giving you a slightly larger window before over-browning.
For batch toasting on multiple pans, convection is clearly better. The moving air compensates for rack position differences and means you do not need to swap pans halfway through.
How to Avoid Soggy, Pale, or Burnt Toast
These are the four most common failures I see, and each has a direct fix.
Soggy or steamed bottom: You put the bread directly on a sheet pan without a rack. The metal surface conducts heat unevenly and traps steam from the bread. Fix: always use a wire rack.
Pale, soft toast: The oven was not fully preheated. Bread in a warming oven steams before it browns. Fix: give the oven a full 10-15 minute preheat. If you are in a gas oven, also check if the temperature is running 25-50°F low with an oven thermometer.
Burnt edges with pale center: The oven temperature is too high, or the rack is too close to the broiler. The thin edges lose moisture and brown before the thicker center finishes. Fix: drop the temperature by 25°F and move the rack down one position.
Dry but flavorless toast: The bread was old before toasting. Stale bread loses its aromatic compounds before you toast it, leaving mostly texture with no flavor development. For best results, toast bread within 2-3 days of baking or purchase.
Broiler vs. Bake: When to Use Each
Use bake when you want consistent, even browning on both sides, when you are toasting more than 4 slices, when the bread is thick (over 3/4 inch), or when you want to control color gradually.
Use broil when speed matters (under 5 minutes total), when you want darker color on one side only (open-face dishes), when you are finishing toast with a topping that needs to melt or caramelize, or when you are making thin crostini that should be bone-dry and snappable.
The broiler is also better for melts and bruschetta. Toast one side under the broiler until golden, flip, add toppings to the untoasted side, then return to the broiler for 1-2 minutes. The topping heats and the bottom crisps simultaneously.
My Personal Oven-Toast Routine
After years of testing, here is what I actually do every time.
I preheat to 375°F with a wire rack already set on a half-sheet pan. I do not oil the bread or add anything before baking. I put slices on the rack and set a timer for 5 minutes. At 5 minutes I check the color, flip every slice, and set another 4-minute timer. I pull when the surface is uniformly golden with a slightly darker ring around the outer edge – that ring tells me the interior is fully dry.
I butter immediately off the oven while the toast is hot. I use cold butter, cut into a thin pat, so it melts on contact without pooling.
For sourdough specifically, I go to 400°F with a 12-minute total time (6 minutes per side). It needs the extra heat.
Creative Uses for Oven-Toasted Bread
Crostini: Slice a baguette at 1/2 inch on the diagonal. Brush with olive oil. Bake at 375°F for 6-7 minutes per side until pale golden and completely dry. Store airtight for up to 5 days. Top with anything from ricotta to tapenade.
Garlic bread: Slice a loaf in half lengthwise. Mix softened butter with minced garlic (4 cloves per stick of butter) and flat-leaf parsley. Spread on the cut sides. Bake at 375°F cut-side up for 10-12 minutes, then broil for 1-2 minutes to finish with golden spots.
Bruschetta base: Thick sourdough at 400°F for 10-12 minutes produces a base crisp enough to hold wet toppings without going soggy. Rub with a cut raw garlic clove immediately after removing from the oven while the surface is still hot.
Croutons: Cut day-old bread into 3/4-inch cubes. Toss with olive oil, salt, and any dried herb. Spread in a single layer on a sheet pan (no rack needed for cubes). Bake at 375°F for 10-15 minutes, tossing once halfway through, until golden and completely dry.
French toast prep: If you want particularly custardy French toast, skip oven toasting. But if you prefer a firmer, less soggy result, lightly toast your bread at 325°F for 5-6 minutes per side before dipping in custard. The dried surface absorbs the egg mixture more slowly, giving you better structure after cooking. (Serious Eats, 2022)
Frequently Asked Questions About Toasting Bread in the Oven
How long does it take to toast bread in the oven?
Standard sandwich bread at 375°F takes 8-10 minutes total: 4-6 minutes on the first side, 3-4 minutes after flipping. Thick sourdough at 400°F takes 11-13 minutes total. Broil method: 1.5-2 minutes per side, so 3-4 minutes total.
What temperature do I use to toast bread in the oven?
375°F is the most reliable all-purpose setting for sandwich bread and standard loaves. Use 350°F for enriched breads (brioche, challah) to prevent over-browning. Use 400°F for thick sourdough or dense whole-grain loaves. Use the broiler on high only when you need speed or a very dark, crisp surface.
Do I need to flip the bread when toasting in the oven?
Yes, if you are using the bake method. The bottom of the bread faces the lower heating element, so it browns faster. Flipping halfway gives you even color on both sides. With the broiler, you still need to flip – the element only heats from one direction.
Can I toast frozen bread in the oven without thawing it first?
Yes. Put frozen slices directly on a wire rack at 375°F and add 2-3 minutes to your standard time. The bread thaws in the first few minutes, then toasts normally. This produces better results than thawing in a microwave first, which introduces extra moisture and creates uneven texture.
Why does my oven toast come out pale even at high temperatures?
The most common cause is an under-preheated oven. Bread placed in a cold or partially preheated oven releases steam before the surface temperature is high enough to brown. Preheat for a full 10-15 minutes. Also check your oven’s actual temperature with a $10 oven thermometer – many home ovens run 25-50°F below the set temperature. (Cook’s Illustrated, 2021)
Is oven-toasted bread better than toaster bread?
For thick slices, sourdough, and batch cooking – yes, noticeably better. A standard toaster heats bread with radiant elements and produces fast but sometimes uneven browning. The oven surrounds each slice with hot air, which drives off moisture more evenly and allows the Maillard reaction to develop across the full surface. On thin standard sandwich bread, the difference is smaller.
Can I use a convection oven to toast bread?
Yes, and convection often produces better results. The circulating fan removes surface moisture faster and gives you more even color across the slice, including the edges. Reduce your set temperature by 25°F and check the bread 2 minutes earlier than you would in a conventional oven.
What is the best rack position for oven toast?
Middle rack for the bake method – it gives the most even heat from both top and bottom elements. Upper-middle rack if you want slightly faster top browning on thick loaves. For the broil method, place the rack 5-6 inches below the broiler element (one position below the top slot in most ovens).
Key Takeaways
- Preheat the oven fully before the bread goes in – a cold oven steams rather than toasts.
- A wire rack on a sheet pan is non-negotiable for even browning on both sides.
- 375°F / 8-10 minutes total (flipping halfway) works for most everyday bread.
- Thick sourdough needs 400°F and more time; enriched breads like brioche need 350°F and less time.
- Broil for speed and surface char; bake for control and batch cooking.
- Butter after toasting, not before – unless you are intentionally making garlic bread or crostini.
- Frozen bread goes straight from freezer to oven at 375°F with 2-3 extra minutes added.
- Convection mode produces better, faster, more even toast – reduce temp by 25°F when using it.

I’m Mossaraof, a trained chef and the founder of OvenInsights.com. I spent years cooking at Larrupin’ Cafe and in kitchens across Chicago and Seattle. Now I test kitchen gear for a living. I moved to North Acton, London, and I test every tool I write about. I use real meals and real heat. No brand deals. No shortcuts. I cover 12 kitchen types and hundreds of recipes. I believe this: the right tools matter as much as the recipe.




