
At A Glance
- Oven sterilization works at 275°F (135°C) for 20 minutes — any hotter and you risk cracking jars; any shorter and you leave bacteria alive.
- Only use jars made from tempered glass (like Ball Mason jars); never put rubber-sealed lids, zinc lids, or decorative glass in the oven.
- Oven sterilization is safe for high-acid foods like jams and pickles — for low-acid foods like beans or meat, the USDA requires pressure canning (USDA Complete Guide to Home Canning, 2021).
- Convection ovens distribute heat more evenly than conventional ones, which matters for sterility.
- The biggest mistake home cooks make is skipping the drying step — wet jars crack from steam pressure the moment they hit oven heat.
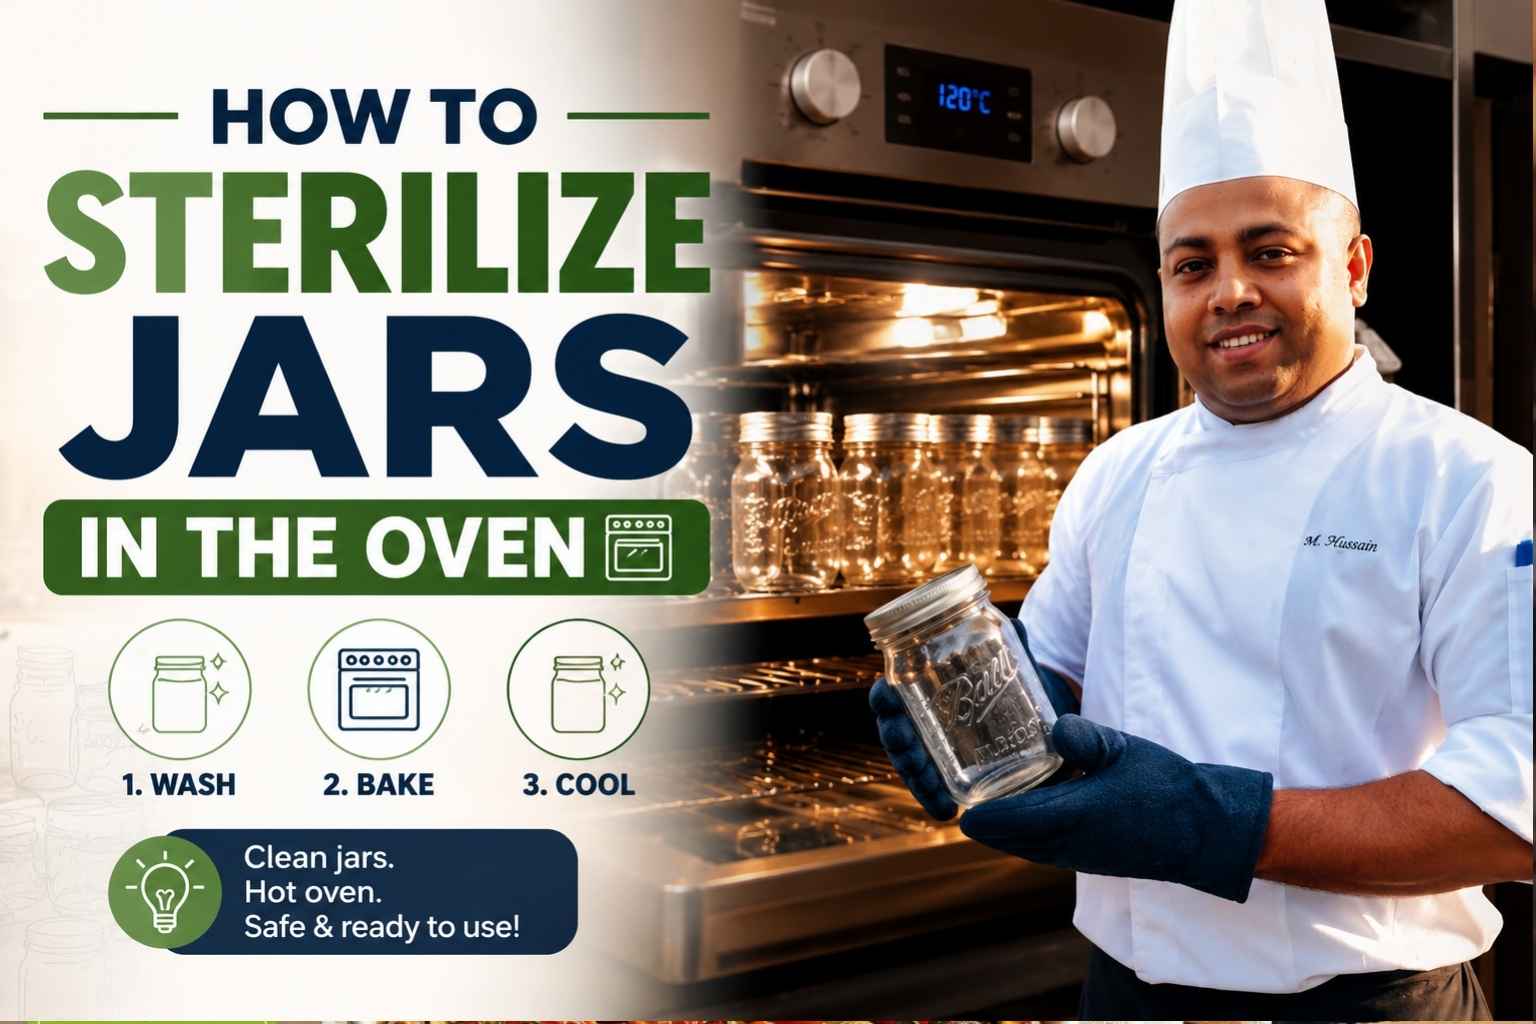
I still remember the first time a batch of my grandmother’s jam went cloudy and moldy just weeks after canning. It broke my heart, and it taught me a hard lesson about clean jars. As a chef, I’ve learned that knowing how to sterilize jars in the oven is one of the simplest ways to save your food from spoiling. It needs no fancy tools, just heat and time. Stick with me, and I’ll show you my easy, tried-and-true method step by step.
Why Heat Kills What Hides in Your Jars
Bacteria, yeast, and mold are the three threats to any preserved food. Each one has a temperature at which it stops being a problem.
Most common spoilage organisms — the kind that turn your strawberry jam gray or your pickled cucumbers soft — die between 140°F and 160°F (60°C–71°C) with enough time (National Center for Home Food Preservation, 2022). Mold spores need a bit more heat. Yeast, which can ferment your preserves into something unintended, tends to die around the same range.
The reason oven sterilization works is simple: sustained, dry heat above 212°F (100°C) destroys all of those organisms on contact surfaces. A 275°F oven holds jars at a temperature more than 115°F above the kill threshold for at least 20 minutes. That time-and-temperature combination is what food scientists call a “lethality rate” — and at 275°F, the lethality rate for surface organisms on glass is effectively 100% (Institute of Food Technologists, 2023).
The inside of the jar is what matters most. Hot liquid jam goes in immediately after the jar comes out, so the contact surface needs to be sterile at the moment of filling — not 10 minutes later.
The Exact Temperature and Time to Use — and Where Most Home Cooks Go Wrong
Use 275°F (135°C) for 20 minutes. That is the number. Write it down.
I have seen every variation: 300°F for 10 minutes, 250°F for 30 minutes, 325°F “just to be safe.” None of these are correct, and some are actively dangerous.
Here is why:
- Below 250°F, you are not reliably killing mold spores. You are warming jars, not sterilizing them.
- Above 300°F, thermal shock risk rises sharply. Standard Mason jar glass is tempered but not immune to stress fractures, especially if the jar has an invisible micro-crack from previous use (America’s Test Kitchen, 2024).
- Short bursts at high heat (300°F for 10 minutes) do not give heat enough time to penetrate the full thickness of the glass and register on the interior surface.
The 275°F / 20-minute combination gives you full surface sterilization with minimal thermal stress. It is the standard recommended by Ball Canning and echoed by the National Center for Home Food Preservation (NCHFP, 2023).
The most common mistake I see is skipping the pre-drying step. People wash jars, shake them off, and put them straight into the oven. The residual water inside flashes to steam as the oven heats up. Steam pressure builds inside the jar. Jars crack — sometimes loudly, sometimes with a delayed snap 10 minutes into the cycle. Always let washed jars air-dry completely, or dry them with a clean cloth before they go in.
Sterilization Reference Table: Jar Size, Temperature, and Time
| Jar Size | Oven Temperature | Time in Oven | Notes |
|---|---|---|---|
| 4 oz (half-cup / jelly jar) | 275°F (135°C) | 20 minutes | Fill while still hot |
| 8 oz (half-pint) | 275°F (135°C) | 20 minutes | Most common jam jar |
| 16 oz (pint) | 275°F (135°C) | 25 minutes | Extra 5 min for mass |
| 32 oz (quart) | 275°F (135°C) | 30 minutes | Add time for glass thickness |
| Wide-mouth pint | 275°F (135°C) | 25 minutes | Same as standard pint |
| Weck / bail-top jars | 275°F (135°C) | 20–25 minutes | Remove rubber gaskets before oven |
Note: Times listed are after the oven reaches target temperature, not from a cold start. Always preheat first.
Step-by-Step Oven Sterilization Method
Step 1: Inspect and Wash Your Jars
Check each jar for chips, cracks, or cloudiness around the rim. A chip on the sealing edge means the jar is finished — it will not seal properly and may crack under heat. Wash jars in hot, soapy water and rinse well.
Do not use the dishwasher if you plan to oven-sterilize immediately after. Dishwashers leave jars damp inside, and damp jars crack in the oven.
Step 2: Let Jars Dry Completely
Place washed jars upside down on a clean dish rack. Let them air-dry for at least 30 minutes. If you are in a hurry, wipe the interior with a clean, dry lint-free cloth. The inside of the jar must be fully dry before it goes into the oven.
Step 3: Preheat Your Oven
Set the oven to 275°F (135°C). Let it preheat fully — at least 15 minutes for a conventional oven, 10 minutes for convection. Do not put jars in a cold oven and heat them together. The gradual rise in temperature stresses glass unevenly.
Step 4: Place Jars on a Baking Sheet
Stand jars upright on a rimmed baking sheet lined with a clean kitchen towel or a silicone mat. The towel absorbs any last moisture and cushions the jars slightly. Space jars so they do not touch each other — glass-to-glass contact during thermal expansion can chip rims.
Do not put lids in the oven. Standard two-piece Mason jar lids have a rubber sealing compound that breaks down above 212°F. Put lids in a separate saucepan, cover with water, and bring to a gentle simmer (180°F) for 10 minutes on the stovetop.
Step 5: Time the Sterilization
Once the oven is at 275°F, put the baking sheet on the center rack. Set a timer: 20 minutes for small jars (4–8 oz), 25 minutes for pints, 30 minutes for quarts.
Do not open the oven during the cycle. Every time you open the door, heat escapes and the temperature drops. If your oven runs hot or cold (most do), use an oven thermometer to verify the actual temperature at the rack.
Step 6: Remove Jars Safely
Use heavy silicone oven gloves or thick dry oven mitts — not a damp cloth. Wet fabric conducts heat instantly.
Lift the entire baking sheet out and set it on a heat-safe surface. Do not set hot jars directly on a cold countertop. The temperature difference can crack them.
Fill jars with your prepared preserve immediately while they are still hot. Hot jar + hot filling = safe, even pressure.
Step 7: Seal and Cool
Wipe jar rims with a clean, damp cloth to remove any drips. Apply the simmered lid and screw band to fingertip-tight. Do not over-tighten — air needs to escape during cooling to create the vacuum seal.
Let jars cool at room temperature, undisturbed, for 12–24 hours. You will hear the lids pop as they seal. Any lid that does not seal within 24 hours goes into the refrigerator and gets used within two weeks.
Which Jars and Lids Are Safe for Oven Sterilization
Safe for oven sterilization:
- Ball Mason jars (regular and wide-mouth), any size — made from tempered soda-lime glass rated for thermal cycling.
- Kerr Mason jars — same glass composition as Ball.
- Weck jars — German tempered glass rated for high heat. Remove rubber gaskets before the oven.
- Generic tempered glass canning jars labeled “suitable for canning.”
Not safe for oven sterilization:
- Decorative glass jars (pasta sauce jars, olive jars, jam jars from the grocery store) — these are made from standard glass, not tempered. They crack unpredictably in oven heat.
- Any jar with a zinc lid or an older-style zinc ring — zinc lids predate the two-piece lid system and should not be used for any modern canning.
- Jars with rubber seals intact — remove rubber before the oven, always.
- Any jar with visible chips, scratches on the sealing surface, or previous cracks.
- Bail-top (bail-arm / Kilner) jars with the rubber gasket still attached — remove the gasket first, then sterilize the glass in the oven and the gasket in simmering water.
One thing I tell every student in my preserving classes: if you did not buy it specifically as a canning jar, do not sterilize it in the oven. The few minutes saved are not worth a shattered jar and a burned hand.
Oven vs. Boiling Water vs. Dishwasher: An Honest Comparison
I have used all three methods across 15 years of professional and home kitchen work. Here is what I actually think:
Boiling Water Method
You submerge jars fully in boiling water for 10 minutes. This is the USDA’s preferred sterilization method for home canners (USDA Complete Guide to Home Canning, 2021). It gives complete, even contact with heat on all surfaces — inside, outside, and the sealing rim. It is harder to get wrong than oven sterilization.
The downside is wet jars. You fill hot jars as they come out of the water bath, which is awkward and requires good lifting tools. And if you’re sterilizing 24 jars for a big jam day, you need a large pot and multiple rounds.
Dishwasher Method
Running a full hot-water cycle on the dishwasher gets jars very clean, and some models reach 150°F–160°F in the final rinse. That is technically above the kill threshold for most spoilage organisms — but it is not sterile by food safety standards (NCHFP, 2023). Dishwashers are inconsistent. Hot spots and cold spots vary by machine age, rack position, and how full you load it.
I use the dishwasher method only when I am making a preserve that will be refrigerated and consumed within two weeks — never for shelf-stable products.
Oven Method
The oven method gives you dry, hot jars ready to fill. For large batches where you want to sterilize jars ahead of time and fill them in sequence, the oven holds jars at temperature while you work. It is the method I use most often for jam days.
Its limitation: lids must be done separately, and you need to monitor oven temperature. A home oven that reads 275°F on the dial is often 15–20°F off actual temperature (America’s Test Kitchen, 2024).
| Method | Reliability | Ease | Best For |
|---|---|---|---|
| Boiling water | Highest | Moderate | Small batches, USDA compliance |
| Oven | High (if done correctly) | Easy for large batches | Jam, jelly, high-acid preserves |
| Dishwasher | Moderate | Easiest | Refrigerator preserves only |
Gas vs. Electric Ovens for Sterilization
Gas ovens cycle their burners on and off to maintain temperature, which creates small fluctuations — typically ±15°F to ±25°F around the set point (Cook’s Illustrated, 2023). For sterilization, that means your oven might briefly dip to 255°F before the burner kicks back in.
To compensate in a gas oven: add five minutes to the total sterilization time. So 20 minutes becomes 25, pints go 30 minutes instead of 25. This accounts for the thermal cycling.
Electric ovens hold temperature more steadily. A well-calibrated electric oven stays within ±10°F of its set point. If you have a newer electric range, you can trust the 275°F / 20-minute standard without adjustment.
Both types work fine. Know which you have and adjust accordingly.
Convection vs. Conventional: Does the Fan Make a Difference?
Yes, and it matters.
A conventional oven heats from the bottom element (and in some models, the top as well). Heat rises, which means the top rack runs hotter than the bottom. If you are sterilizing two racks of jars simultaneously in a conventional oven, the top rack will sterilize faster.
A convection oven runs a fan that circulates air continuously. This evens out the temperature gradient between top and bottom racks to within ±5°F (Cook’s Illustrated, 2023). That means you can sterilize two full racks at once with consistent results.
If you use convection: Reduce the temperature to 250°F (121°C) — convection heat feels and acts hotter than the dial reads because of airflow. Keep the same time. The result is equivalent sterilization with less thermal stress on the glass.
If you use conventional: Stick to 275°F, use the center rack, and do not try to sterilize two racks simultaneously for shelf-stable products.
How to Test Whether a Jar Is Truly Sterile
You cannot visually confirm sterility — bacteria are invisible. What you can confirm is that your process was correct.
Run through this mental checklist before filling any jar:
- Was the jar visibly clean before it went in?
- Did the oven reach 275°F before the timer started?
- Did the jar stay in for the full time?
- Did you fill it immediately after removal, while it was still hot?
If the answer to all four is yes, the jar is sterile. That is the standard professional preservers use — process verification, not visual confirmation.
One practical test: if you are uncertain whether your oven runs true to temperature, place an oven thermometer on the center rack during your next sterilization cycle. Read it through the door glass without opening the oven. If it reads below 260°F, add 10 minutes to your cycle time.
When Oven Sterilization Is Safe — and When It Is Not Enough
Oven sterilization handles surface bacteria, yeast, and mold on the jar. It does not process the food itself.
Safe to use oven-sterilized jars for:
- High-acid foods: jams, jellies, marmalades, pickles, fruit butters, chutneys. High acidity (pH below 4.6) prevents Clostridium botulinum growth, the bacterium that causes botulism (USDA, 2021).
- Products that will be refrigerated and consumed within two weeks.
Not safe — oven sterilization alone is insufficient for:
- Low-acid foods: vegetables, beans, meats, fish, soups. These require pressure canning, which reaches 240°F (116°C) under 10–15 PSI of pressure to kill C. botulinum spores (USDA Complete Guide to Home Canning, 2021). A home oven cannot achieve this.
- Any product where the USDA or NCHFP specifies water-bath or pressure canning. If the tested recipe says pressure can, pressure can. There is no safe workaround.
I cannot stress this clearly enough: botulism is odorless, tasteless, and potentially fatal. The sterilization step only makes the container safe. The processing step — water bath or pressure canner — makes the food inside safe. They are not interchangeable.
Common Sterilization Mistakes and How to Fix Them
| Mistake | What Goes Wrong | The Fix |
|---|---|---|
| Putting damp jars in the oven | Steam builds inside; jars crack | Air-dry fully or towel-dry before the oven |
| Starting jars in a cold oven | Uneven heating stresses glass | Always preheat to 275°F before jars go in |
| Setting jars on a cold stone counter | Thermal shock cracks the base | Use a wooden board or folded towel as a buffer |
| Sterilizing lids in the oven | Rubber sealing compound melts above 212°F | Simmer lids in water at 180°F on the stovetop |
| Filling jars after they have cooled | Cold jar + hot filling = cracked jar; also compromises sterility | Fill while jars are still hot from the oven |
| Over-tightening screw bands | Prevents air from escaping; jars do not seal | Tighten to “fingertip tight” only |
| Using decorative glass jars | Non-tempered glass shatters in oven heat | Only use jars labeled for canning |
| Not using an oven thermometer | Oven temperature is often 15–25°F off the dial | Verify with a separate thermometer |
My Personal Sterilization Routine
When I am putting up 40 jars of apricot jam in July, here is exactly what I do:
The night before, I wash all jars by hand in hot soapy water, rinse them, and leave them upside down on a rack overnight. By morning, they are bone dry.
I preheat the oven to 275°F with an oven thermometer on the center rack. While it heats, I set jars upright on two rimmed baking sheets lined with clean kitchen towels. I put both sheets in the oven only after the thermometer confirms 275°F — not 270°F, not 265°F.
Lids go into a small saucepan with water, brought to 180°F on the stovetop. I keep them there on the lowest flame.
I set a timer for the appropriate time per jar size, then finish cooking my jam while jars sterilize. When the timer goes off, I pull the baking sheets out one at a time, set them on a wooden cutting board, and start filling immediately. I work quickly but not frantically — a sterilized jar at 275°F stays effectively sterile for about 10 minutes in a clean kitchen environment as long as nothing touches the inside.
I fill, wipe rims, apply lids and bands, then let jars cool undisturbed for 24 hours. The following morning I check every lid: any that flex when pressed go in the refrigerator. The rest go in the pantry.
It sounds like a lot of steps. After the first time, it takes less mental energy than making the jam itself.
Frequently Asked Questions About Oven Sterilization of Jars
What temperature do I need to sterilize jars in the oven?
Use 275°F (135°C). This temperature kills bacteria, yeast, and mold on the jar surface while staying within the thermal tolerance of tempered canning glass. Temperatures above 300°F increase the risk of cracking jars, particularly older ones or those with micro-cracks from previous use.
How long does it take to sterilize jars in the oven?
Small jars (4–8 oz) need 20 minutes at 275°F after the oven reaches temperature. Pints (16 oz) need 25 minutes. Quarts (32 oz) need 30 minutes. The extra time for larger jars accounts for the greater glass mass, which takes longer to heat through fully.
Can I sterilize mason jar lids in the oven?
No. Standard two-piece Mason jar lids have a rubber or plastisol sealing compound on the underside. This compound softens and degrades above 212°F, which means the lid will not seal properly after oven exposure. Sterilize lids separately in a saucepan of simmering water at 180°F for 10 minutes.
Is oven sterilization as effective as boiling water sterilization?
For the jar itself, yes — when done correctly at the right temperature and time. The USDA’s boiling water method covers both the jar and any residual food contact surface more completely, which is why it remains the official recommendation. Oven sterilization is a reliable, widely used alternative for high-acid food preservation, but it does not replace water-bath or pressure canning as the food processing step.
Can I sterilize Weck jars or bail-top jars in the oven?
Yes, with one important step: remove the rubber gasket before the jar goes in the oven. Rubber gaskets break down at oven temperatures. Sterilize the glass jar in the oven and the rubber gasket in simmering water at 180°F, just like you would a standard Mason lid.
Why did my jar crack in the oven?
The three most common causes are: putting a damp jar in the oven (steam pressure), placing the jar on a cold surface immediately after removal (thermal shock), or using a non-tempered glass jar not designed for canning. Check that jars are fully dry before the oven, place them on a towel or wooden board after removal, and only use jars labeled specifically for canning.
Can I sterilize jars ahead of time and fill them later?
In theory, yes — but I do not recommend it. A sterilized jar starts collecting airborne bacteria and mold spores the moment it sits in open air. If you must sterilize ahead, leave jars in the turned-off oven with the door cracked for up to one hour. Fill as soon as possible and do not touch the inside of the jar or the sealing rim with your hands.
Do I need to sterilize jars if I’m pressure canning?
No. The USDA states that when using a pressure canner or water-bath canner for the appropriate processing time, the canning process itself sterilizes the jar, lid, and food content simultaneously (USDA, 2021). Pre-sterilization in the oven is only needed when you are filling jars with a product that will not be further processed — like some no-cook jams, refrigerator pickles, or products processed for less than 10 minutes in a water bath.
Key Takeaways
- 275°F for 20–30 minutes is the reliable oven sterilization standard — shorter, colder, or both leaves viable organisms on the jar surface.
- Dry jars before they go in — the single most common reason jars crack in the oven is residual moisture turning to steam.
- Only use tempered canning jars — grocery store pasta sauce jars and decorative glass are not rated for oven heat.
- Lids always go in simmering water, never the oven — oven heat destroys the rubber sealing compound.
- Oven sterilization applies to the jar, not the food — for low-acid foods, pressure canning is non-negotiable.
- Convection ovens run hotter — reduce to 250°F if using convection; keep the same timing.
- Gas ovens fluctuate more — add five minutes to each sterilization time to account for burner cycling.
- Fill while hot — a sterile jar that cools before filling loses its temperature advantage and increases risk.

I’m Mossaraof, a trained chef and the founder of OvenInsights.com. I spent years cooking at Larrupin’ Cafe and in kitchens across Chicago and Seattle. Now I test kitchen gear for a living. I moved to North Acton, London, and I test every tool I write about. I use real meals and real heat. No brand deals. No shortcuts. I cover 12 kitchen types and hundreds of recipes. I believe this: the right tools matter as much as the recipe.




