
At A Glance
- Roasting tomatoes in the oven at 375-425°F drives off water and triggers Maillard browning, which gives the sauce a depth that no stovetop method can match.
- Roma and San Marzano tomatoes give the best results; beefsteak and most heirloom varieties release too much water to roast well without a very long cook time.
- A sheet pan at 400°F for 45-60 minutes works for most home kitchens; drop to 300°F and roast for 2-3 hours if you want a concentrated, almost jammy result.
- Salt the tomatoes before roasting, not after – it pulls water out during cooking and speeds up concentration.
- This sauce freezes perfectly for up to 6 months (The Food Lab, J. Kenji López-Alt, 2015), making it ideal for batch cooking.
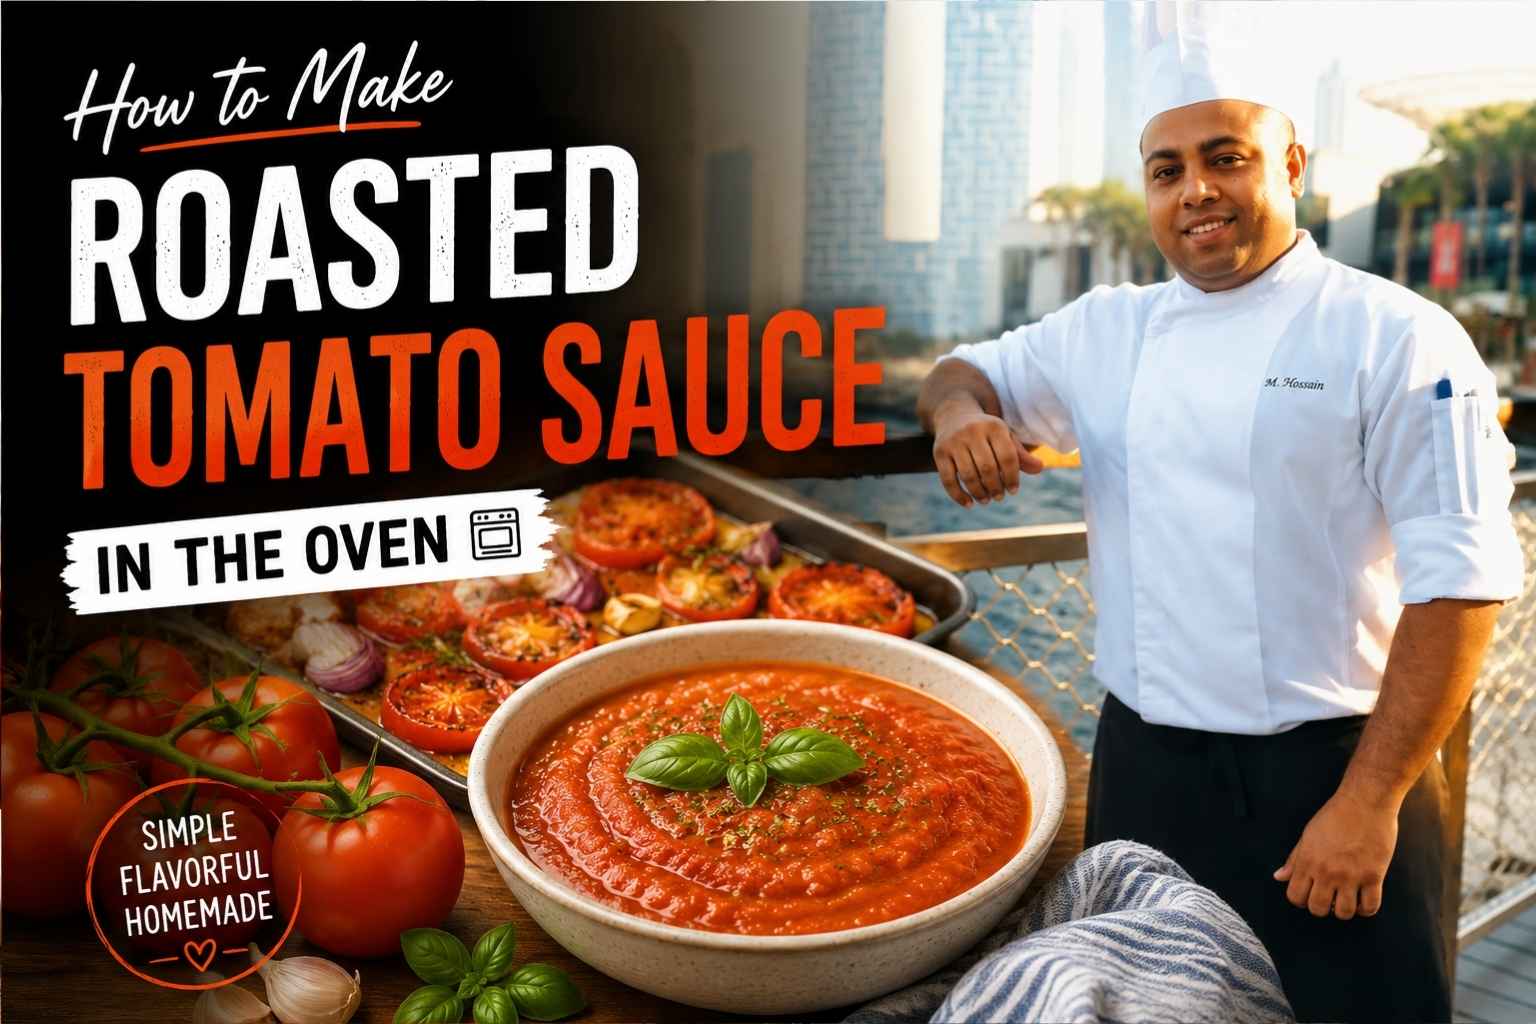
Some sauces just hit different. Roasted tomato sauce is one of them. Learning how to make roasted tomato sauce in the oven changed the way I cook forever. The heat caramelizes the tomatoes slowly. It builds a rich, bold flavor you can’t fake. I have tested this method many times in my own kitchen. It is simple, fast, and so rewarding. I will walk you through every step right here. Grab your tomatoes and let’s start!
Why Roasting Transforms Tomatoes: The Science Behind the Flavor
Roasting changes tomatoes in two ways that stove-top cooking cannot replicate at the same time: the Maillard reaction and caramelization. The Maillard reaction is a chemical process that happens when proteins and sugars in food are exposed to dry heat above 280°F (138°C). It creates hundreds of new flavor compounds. Caramelization is what happens to the sugars alone above 320°F (160°C). Together, they produce the brown, slightly blistered edges you see on a properly roasted tomato.
A stovetop sauce simmers in liquid, which caps the temperature at 212°F – water’s boiling point. That means the Maillard reaction never really gets going. You get a bright, acidic tomato flavor. That’s fine. But roasting gives you something more layered: sweet, smoky, slightly jammy, with a richness that comes from fat-soluble flavor compounds that only form under dry heat (Serious Eats, 2023).
The other thing roasting does is remove water. A raw tomato is about 94% water by weight (USDA FoodData Central, 2024). Roasting at 400°F for an hour can reduce that by 40-50%. Less water means the sugars, acids, and savory compounds are more concentrated in every bite. The sauce you get from those tomatoes is thicker and more flavorful before you add a single other ingredient.
I spent three years cooking in a wood-fired restaurant in northern Italy in my late twenties. The chef there refused to make sauce any other way. He said boiling tomatoes was “cooking them twice in water” – once to grow them, once in the pot. He was right.
Best Tomato Varieties for Roasting in the Oven
Roma tomatoes are the best all-around choice for roasted tomato sauce in the oven. They have thick walls, low water content, and fewer seeds than most varieties. A Roma holds its shape while roasting, which means you get good caramelization on the cut face without the tomato collapsing into a puddle.
San Marzano tomatoes perform slightly better than standard Roma if you can get them. Authentic San Marzanos, grown in the volcanic soil near Mount Vesuvius in Italy, have a sweeter flavor and lower acidity (Bon Appétit, 2022). They cost more. For a weeknight batch, Roma is fine. For a sauce you’re making for a dinner party, San Marzano is worth the price.
Cherry tomatoes are an underrated choice for roasting. They caramelize fast – often in 30-35 minutes at 400°F – and they produce a bright, sweet sauce. The skin-to-flesh ratio is high, which means more surface area for browning. The downsides: they’re fiddlier to prep and produce a thinner sauce.
Heirloom tomatoes disappoint most of the time for oven roasting. They have high water content and irregular shapes that make even roasting hard. Brandywine and Cherokee Purple can work if you roast them at a lower temperature for longer, but expect to spend 2.5 to 3 hours at 300°F. Save heirlooms for raw preparations where their flavor shines.
Beefsteak tomatoes are not worth roasting for sauce. Too much water, too little flesh. You’ll spend twice as long roasting them and get less than half the sauce yield of the same weight in Romas.
Roasting Variable Reference Table
| Tomato Type | Best Temp | Roast Time | Result | Best Use |
|---|---|---|---|---|
| Roma | 400°F (204°C) | 45-60 min | Thick, balanced | All-purpose pasta sauce |
| Roma | 300°F (149°C) | 2-2.5 hrs | Jammy, concentrated | Pizza sauce, bruschetta |
| San Marzano | 400°F (204°C) | 50-65 min | Sweet, low-acid | Refined pasta dishes |
| Cherry | 400-425°F (204-218°C) | 30-40 min | Bright, caramelized | Quick sauces, grain bowls |
| Heirloom | 300°F (149°C) | 2.5-3 hrs | Complex, delicate | Specialty dishes only |
| Mixed batch | 375°F (190°C) | 55-70 min | Variable | Rustic, textured sauce |
Oven Temperature: 300°F Slow Roast vs. 400-425°F High Roast
The temperature you choose changes the character of the sauce more than almost any other variable.
At 300°F, you’re cooking the tomatoes low and slow for 2 to 3 hours. The moisture leaves gradually. The sugars concentrate without much browning. You get a sauce that’s deeply sweet, almost jammy, with a wine-like complexity. The color stays a rich red rather than taking on brown edges. This method is best for San Marzanos or Romas when you want a clean, pure tomato flavor. The Food Lab by J. Kenji López-Alt (2015) calls this approach “tomato confit” and recommends it specifically when you want maximum sweetness without bitterness.
At 400-425°F, you get browning fast. The Maillard reaction happens in the first 20 minutes on the cut face of the tomato. The edges blister and char slightly. Moisture leaves quickly. The result is a more complex, slightly smoky flavor with darker color. This is the method I use 80% of the time in both professional and home kitchens. It takes less than an hour and produces a deeply savory sauce.
At anything above 450°F, you risk burning the skins before the interior has time to soften. You also get a bitter edge from over-charred tomato solids. Go no higher than 425°F unless you’re roasting cherry tomatoes for just 25-30 minutes with close monitoring.
One note: these temperature ranges assume a conventional oven. See the convection section below for adjusted times.
Pan Setup: Sheet Pan vs. Roasting Pan vs. Cast Iron
Use a rimmed sheet pan (also called a half sheet pan) for most roasted tomato sauce work. It gives maximum air circulation and allows moisture to escape freely. Line it with parchment paper, not foil. Foil can trap steam underneath the tomatoes, which slows browning. Parchment lets moisture escape while keeping the tomatoes from sticking.
Spacing matters more than most guides admit. Cut your tomatoes in half and place them cut-face up, with at least one inch of space between each piece. Crowding forces the tomatoes to steam rather than roast. When they steam, you get a watery, pale result. This is the single most common mistake I see home cooks make.
A roasting pan with high sides is the wrong tool here. The walls trap steam and prevent browning on the top surface. Use it for chicken, not tomatoes.
Cast iron is a legitimate option for small batches. A 12-inch cast iron skillet holds about 1.5 lbs of halved Roma tomatoes. It retains heat well, which promotes even cooking. But it only holds a small batch, and for a full sauce yield you’ll want to roast 3-5 lbs of tomatoes at a time. Two sheet pans running at once is more practical.
Essential Ingredients and the Right Ratios
For every 2 lbs of tomatoes (about 8-10 Roma halves), here’s what I use:
- Olive oil: 3 tablespoons. Enough to coat every cut face without pooling. More than this and you’re frying, not roasting.
- Garlic: 4-6 whole cloves, unpeeled. Toss them on the pan with the tomatoes. They’ll soften and roast without burning inside their skins. Squeeze them out when everything is done.
- Onion: Half a medium onion, cut into rough wedges. Optional, but it adds a mild sweetness that rounds out the acidity.
- Salt: 1 teaspoon of kosher salt, applied before roasting. Salt draws water out of the tomatoes during cooking, which helps concentrate flavor faster (America’s Test Kitchen, 2021).
- Fresh thyme or dried oregano: 4-5 sprigs of fresh thyme or 1 teaspoon of dried oregano. Fresh herbs work better at lower temperatures; at 400°F+, dried herbs hold up without burning.
Do not add fresh basil before roasting. It scorches. Add it after, when you blend or crush the sauce.
The Blending Decision: Rustic Crushed vs. Smooth Blended vs. Food-Milled
How you finish the sauce changes its texture and how you use it.
Rustic crushed is the simplest method. Pull the roasted tomatoes off the pan and crush them by hand or with a fork into a chunky sauce. Keep the skins on. This is what I do for bruschetta, shakshuka base, or a quick pasta where you want visible texture. It takes two minutes.
Smooth blended uses a regular blender or an immersion blender. Add the roasted tomatoes and garlic directly into a blender with any pan drippings and blend until smooth. This produces a velvety, pourable sauce. Blend in batches if using a standard blender – hot liquids expand and can force the lid off. The Serious Eats Food Lab team recommends filling the blender no more than halfway when processing hot liquids (Serious Eats, 2022).
Food-milled is the professional kitchen method. A food mill (also called a passatutto) presses the tomatoes through a perforated disc that separates the flesh from the skins and seeds. You get a smooth sauce with a slightly silkier texture than a blended sauce, and without the aerated, slightly foamy quality that blenders can produce. It takes longer but the texture is worth it for a formal dinner. Pass the roasted tomatoes through the medium disc.
Gas vs. Electric Oven: What Changes for Roasting Tomatoes
Gas and electric ovens behave differently, and those differences matter for tomato roasting.
Gas ovens produce moisture as a byproduct of combustion. More humidity inside the oven means slower browning on the tomato surface. If you have a gas oven, add 5-10 minutes to your roasting time, or increase the temperature by 25°F compared to the times in this guide. The extra humidity is actually useful at lower temperatures (300°F range) because it reduces the risk of the tomatoes drying out too fast.
Electric ovens run dry. They brown more aggressively and more evenly. The times and temperatures in this guide are calibrated for a conventional electric oven. If you have electric, follow the guide as written.
One practical tip: regardless of oven type, rotate your sheet pan halfway through roasting. Most home ovens have hot spots – areas where the heating element produces more direct heat. Rotating the pan at the 25-minute mark evens out the color across all the tomatoes.
Convection vs. Conventional: When Each One Wins
Convection mode – where a fan circulates hot air around the oven – speeds up moisture evaporation and promotes faster, more even browning. For roasted tomato sauce, convection wins at high temperatures (375-425°F). Use it when you want a faster result or when roasting cherry tomatoes that need quick caramelization.
Reduce the stated temperature by 25°F when using convection. At 400°F conventional, run convection at 375°F. The fan-driven air makes up the difference. America’s Test Kitchen (2023) tested this specifically and found that convection at 375°F produced the same browning as conventional at 400°F in about 15% less time.
When to avoid convection: slow-roasting at 300°F. At low temperatures, the fan can dry out the tomatoes too fast, pulling moisture before the sugars have time to concentrate evenly. You get a leathery exterior before the interior softens. For low-and-slow roasting, turn the convection fan off.
How to Know When Roasting Is Done: Visual Cues and Timing
You’ll know the tomatoes are done roasting when you see all four of these signs together:
- Color: The cut face has turned from bright red to a deep red-orange with brown edges. Some light charring on the edges is fine – that’s flavor.
- Shrinkage: The tomato halves have lost roughly 40-50% of their original size. A Roma half that started 2 inches across will be about 1 to 1.25 inches when done.
- Skin: The skins are wrinkled and pulling away slightly from the flesh. On cherry tomatoes, the skins may have split.
- Smell: The kitchen smells like a concentrated tomato and caramel mixture. That sweet, slightly smoky smell is the Maillard reaction doing its job. If it smells sharp or acrid, check immediately – you may be at the edge of burning.
Don’t pull them early. Under-roasted tomatoes still taste bright and raw. The full flavor doesn’t come until the last 10-15 minutes of cooking.
Storage, Freezing, and Batch-Cooking Strategy
Roasted tomato sauce stores well and rewards batch cooking. Here’s my approach:
Refrigerator: Finished sauce keeps for 5-7 days in an airtight container. Let it cool completely before sealing – trapping steam leads to faster spoilage.
Freezer: Roasted tomato sauce freezes for up to 6 months with no quality loss (The Food Lab, J. Kenji López-Alt, 2015). I freeze it in 2-cup portions in zip-lock freezer bags laid flat. Flat bags stack easily and thaw fast – about 20 minutes in a bowl of cold water.
Batch-cooking: When tomatoes are cheap and in season (late July through September in the Northern Hemisphere), I roast 15-20 lbs in a single session. That fills a full oven with three to four sheet pans, running two pans at a time. I do two rounds. At the end, I have enough sauce to last three months. The work is about the same as making one small batch.
One professional trick: freeze the sauce before seasoning with salt to taste. Salt levels change slightly after freezing and reheating. Season when you reheat and serve.
When to Add Sugar to Roasted Tomato Sauce (and When It’s a Mistake)
Add sugar only when the tomatoes themselves are under-ripe or clearly sour after roasting. A properly roasted, ripe tomato shouldn’t need added sugar. The caramelization process converts existing sugars into sweeter compounds naturally.
If the sauce tastes sharp after blending, add sugar in very small amounts – start with half a teaspoon per 2 cups of sauce and taste. Adding more than 1 teaspoon per 2 cups pushes the sauce toward a canned, commercial flavor that most cooks are actually trying to get away from.
A better fix for acidity than sugar is a small pinch of baking soda. Baking soda neutralizes acid chemically rather than masking it with sweetness. Add a tiny pinch – less than 1/8 teaspoon per 2 cups – stir, and taste. It reduces sharpness without making the sauce sweet. Bon Appétit (2021) covered this technique extensively and it works well.
If your sauce is consistently too acidic, the fix is at the sourcing stage: buy riper tomatoes, or switch from heirloom to Roma varieties.
Common Roasted Tomato Sauce Mistakes and How to Fix Them
Mistake 1: Crowding the pan. The tomatoes steam instead of roast. The result is pale, watery, and lacking in flavor. Fix: spread tomatoes in a single layer with at least one inch of space between each piece. Use two pans if needed.
Mistake 2: Roasting cut-face down. You miss the browning on the primary surface. Fix: always roast cut-face up so the flat surface gets direct heat and caramelizes.
Mistake 3: Adding salt after roasting. Salt draws out moisture during cooking, which speeds up concentration and flavor development. Adding it after means you lose that benefit. Fix: salt the tomatoes before they go into the oven.
Mistake 4: Using foil instead of parchment. Foil traps steam underneath, which softens the tomato without browning it. Fix: use parchment paper or roast directly on the unlined pan.
Mistake 5: Pulling the tomatoes too early. Under-roasted tomatoes haven’t concentrated enough to produce a full-flavored sauce. Fix: wait for all four visual cues listed in the “How to Know When Roasting Is Done” section above.
Mistake 6: Not accounting for altitude. At elevations above 3,500 feet, water evaporates at lower temperatures (roughly 202°F at 5,000 feet vs. 212°F at sea level). This means the tomatoes lose moisture faster during roasting, and browning can happen unevenly. If you cook at altitude, reduce your oven temperature by 15-25°F and check the tomatoes 10 minutes earlier than the stated time.
My Personal Roasted Tomato Sauce Routine: Step by Step
This is the method I’ve used in professional kitchens and at home for the past 15 years. It works. Here it is, without hedging.
Ingredients for about 3 cups of finished sauce:
- 3 lbs Roma tomatoes (about 10-12 medium tomatoes)
- 4 tablespoons olive oil
- 6 garlic cloves, unpeeled
- 1 medium onion, cut into 8 wedges
- 1.5 teaspoons kosher salt
- 1 teaspoon dried oregano
- Black pepper to taste
- Fresh basil (added after roasting)
Step 1: Preheat and prep. Set the oven to 400°F (375°F if using convection). Line two rimmed sheet pans with parchment paper.
Step 2: Cut and season. Halve all the tomatoes lengthwise. Place them cut-face up on the pans. Scatter the garlic cloves and onion wedges between them. Drizzle the olive oil over everything, then sprinkle the salt and oregano evenly across the tomatoes.
Step 3: Roast. Place both pans in the oven. Roast for 50-60 minutes total. At the 25-minute mark, rotate both pans (swap top and bottom racks, and spin each pan 180 degrees). The tomatoes are done when the cut faces are deep red-orange with browned edges and the tomatoes have shrunk by about half.
Step 4: Squeeze the garlic. Let the pan cool for 5 minutes. Pick up each garlic clove and squeeze the soft roasted garlic directly into the tomatoes. Discard the skins.
Step 5: Blend or crush. Transfer the tomatoes, onion, and all the pan drippings into a blender. Add 8-10 fresh basil leaves. Blend until smooth. Taste and adjust salt.
Step 6: Reduce if needed. If the sauce is thinner than you want, pour it into a saucepan and simmer over medium heat for 10-15 minutes, uncovered, until it reaches the right consistency.
That’s it. Total active time: about 15 minutes. Total elapsed time: 75 minutes. The result is better than anything I’ve bought in a jar.
Frequently Asked Questions About Roasted Tomato Sauce in the Oven
How long does it take to make roasted tomato sauce in the oven?
At 400°F, roasting takes 45-60 minutes for Roma or San Marzano tomatoes. Add 10-15 minutes for blending and any reduction on the stovetop. Total time from prep to finished sauce is about 75-80 minutes. The low-and-slow method at 300°F takes 2.5-3 hours but requires almost no active attention.
What is the best oven temperature for roasting tomatoes for sauce?
400°F (204°C) is the best all-around temperature for roasted tomato sauce. It delivers good browning and moisture reduction in under an hour. Use 300°F (149°C) if you want a sweeter, more concentrated result and have the time. Do not go above 425°F – the skins burn before the flesh cooks through.
Do I need to peel tomatoes before roasting them for sauce?
No. Roast them with the skins on. The skins protect the flesh during high-heat roasting and peel away easily once the tomatoes are done. If you want a very smooth sauce, pass the roasted tomatoes through a food mill, which removes the skins automatically. A blender also handles roasted skins well.
Can I roast tomatoes for sauce on a gas grill instead of an oven?
Yes, but with limitations. A gas grill can replicate oven conditions if you set it up for indirect heat (burners on only one side) and close the lid. Set it to around 400°F and place the tomatoes on the unlit side. The result is similar but with a slightly smokier flavor. The main risk is temperature instability – gas grills fluctuate more than ovens, so check the tomatoes every 15 minutes.
Why does my roasted tomato sauce taste bitter?
Bitterness usually means one of three things: the tomatoes over-roasted and the edges burned (reduce temperature or cooking time); the tomato skins were blended at high speed for too long (blend in short pulses); or the garlic burned during roasting (add it to the pan skin-on and place it in a less exposed spot). A tiny pinch of baking soda stirred into the finished sauce neutralizes bitterness as well as acidity.
How much sauce does 2 lbs of tomatoes make?
Two pounds of raw Roma tomatoes yields about 1 to 1.5 cups of finished roasted tomato sauce after roasting and blending. The high water content means significant volume reduction. For a pasta dinner for four, start with at least 3-4 lbs of tomatoes. For batch cooking and freezing, 10 lbs of tomatoes makes roughly 5-6 cups of sauce.
Can I freeze roasted tomatoes before blending them into sauce?
Yes, and it’s a practical approach for batch cooking. Roast the tomatoes, let them cool completely, then freeze them flat on a sheet pan before transferring to bags. Blend them after thawing. The texture softens after freezing, which actually makes blending easier. Frozen roasted tomatoes keep for up to 6 months (America’s Test Kitchen, 2022).
What herbs work best in roasted tomato sauce?
Oregano and thyme both tolerate high oven heat and can go in before roasting. Fresh basil scorches in the oven – always add it after roasting, right before or during blending. Rosemary works in small amounts (no more than 1 sprig for a 3 lb batch) but can overpower the tomato flavor if overused. Bay leaves can be added during a post-roast stovetop reduction; remove them before blending.
Key Takeaways
- Roast Roma or San Marzano tomatoes at 400°F on a parchment-lined sheet pan for 45-60 minutes, cut-face up, with at least one inch of space between each piece.
- Salt the tomatoes before roasting to draw out water and speed up flavor concentration.
- The Maillard reaction and caramelization only happen under dry heat above 280°F – stovetop sauces cannot replicate this.
- Use convection mode at 375°F to match conventional results at 400°F in about 15% less time.
- Watch for four visual cues before pulling: deep red-orange color, 40-50% shrinkage, wrinkled skins, and a sweet-smoky smell.
- Freeze finished sauce in 2-cup portions for up to 6 months; season with salt after reheating, not before freezing.
- Add sugar only when tomatoes are genuinely under-ripe; use a pinch of baking soda instead for acidity control without sweetness.

I’m Mossaraof, a trained chef and the founder of OvenInsights.com. I spent years cooking at Larrupin’ Cafe and in kitchens across Chicago and Seattle. Now I test kitchen gear for a living. I moved to North Acton, London, and I test every tool I write about. I use real meals and real heat. No brand deals. No shortcuts. I cover 12 kitchen types and hundreds of recipes. I believe this: the right tools matter as much as the recipe.




