
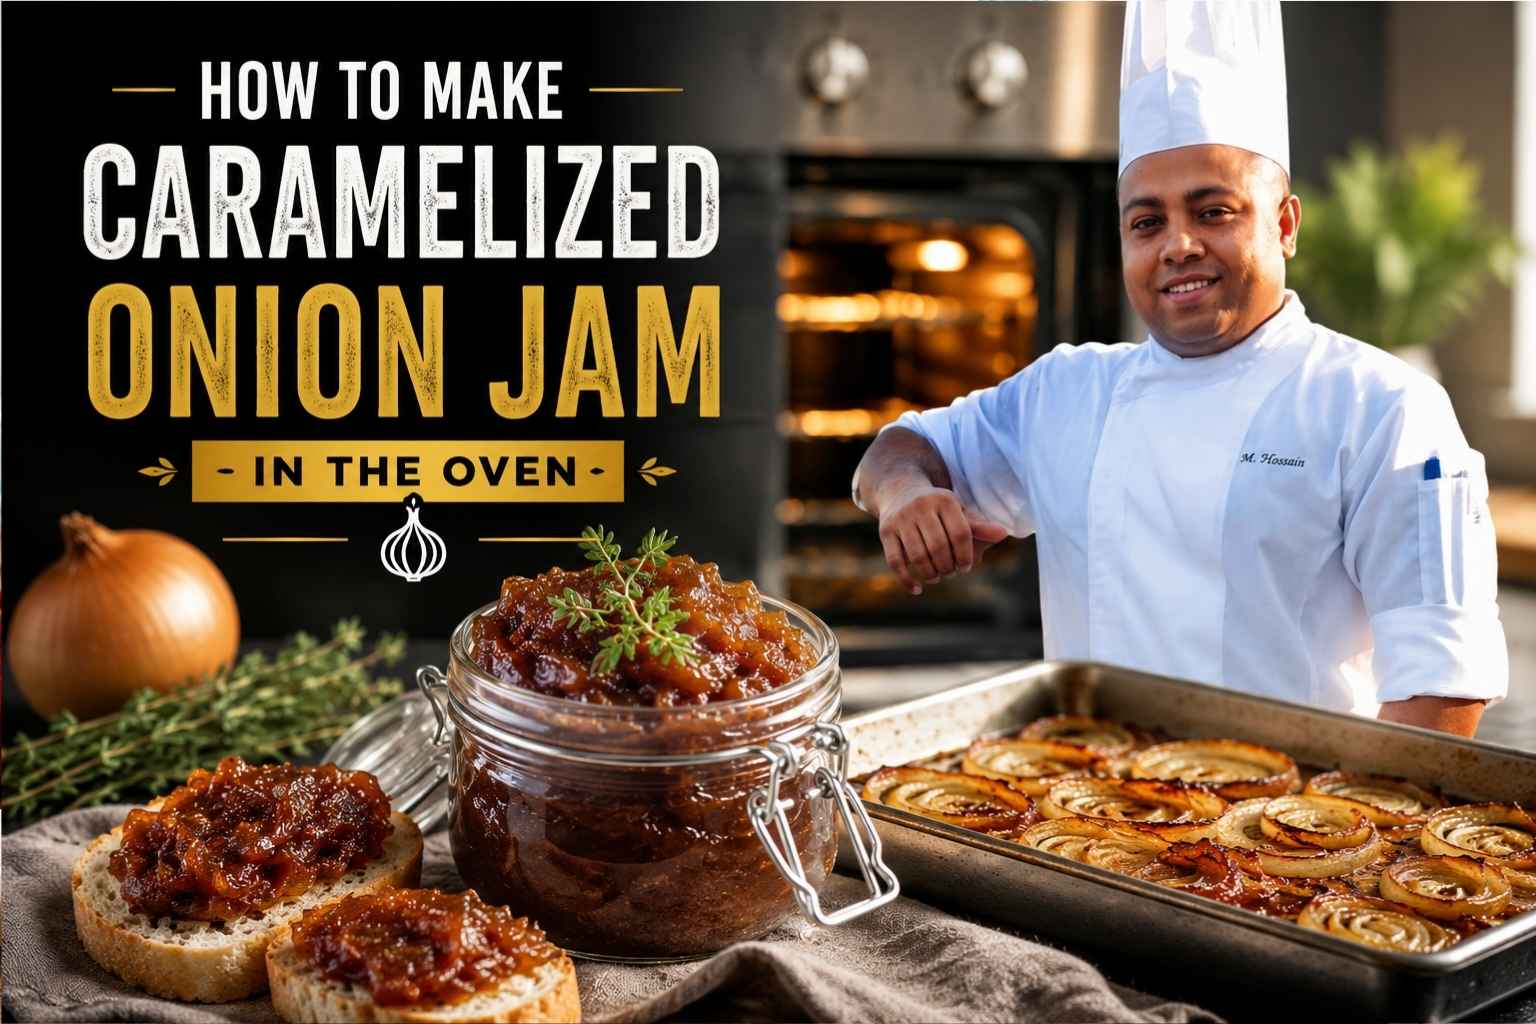
At A Glance
- The oven beats the stovetop for onion jam. Heat spreads evenly, so onions cook without scorching and you don’t have to stand and stir for an hour.
- Start hot, then go low. Bake at 450°F for 20-25 minutes to drive off moisture, then drop to 300°F for the slow caramelizing stage.
- Yellow onions give the best base flavor. Mix in red onions for color, tang, and a touch of natural sweetness (America’s Test Kitchen, 2023).
- Add sugar and acid late, not early. A spoonful of brown sugar and a splash of sherry vinegar near the end turn caramelized onions into true jam.
- Stir every 30-40 minutes during the slow stage. Skip this and the edges burn. Stir too often and the onions never brown.
I love recipes that turn simple food into something special. How to Make Caramelized Onion Jam in the Oven is one of my favorites because it is easy, hands-off, and full of rich, sweet flavor. I have made it for burgers, cheese boards, and sandwiches, and it always gets great reviews.
In this guide, I will show you each step in a simple way. You will learn the best onions to use, how to get deep flavor in the oven, and how to store your onion jam so it stays fresh. Let’s get started and make a batch you will want to enjoy again and again.
Ingredient and Ratio Guide for Onion Jam
For 3 pounds of onions, use about 3 tablespoons of fat, 2 tablespoons of sugar, 2 tablespoons of acid, 1 teaspoon of salt, and a few sprigs of fresh herbs. This ratio gives you roughly 1.5 cups of finished jam. Adjust sugar and acid to taste once the onions are soft and brown.
| Ingredient | Amount (per 3 lbs onions) | Notes |
|---|---|---|
| Onions | 3 lbs, thinly sliced | Yellow onions as the base. Add 1 red onion for color. |
| Fat (butter or olive oil) | 3 tbsp | Butter adds richness. Olive oil holds up better at high heat. |
| Sugar or sweetener | 1-2 tbsp brown sugar or honey | Add in the last 30 minutes, not at the start. |
| Acid (vinegar or wine) | 2 tbsp sherry vinegar or balsamic | Stir in during the final 15 minutes. Balances the sweetness. |
| Salt | 1 tsp kosher salt | Add early. Salt pulls out moisture and speeds up cooking. |
| Aromatics | 2-3 sprigs thyme, 1 bay leaf | Remove before storing. Fresh thyme works better than dried here. |
Why the Oven Beats the Stovetop for Onion Jam
The oven wins because the heat surrounds the pan instead of hitting it from one spot. On a stovetop, the bottom of the pan gets hot fast, but the onions on top barely cook. That uneven heat is why so many home cooks burn the bottom layer while the rest stays raw and crunchy.
In the oven, every part of the pan gets the same heat. The onions cook at roughly the same rate, top to bottom. You also free up your stovetop and your hands. I’ve made six-quart batches of onion jam in a restaurant oven while running a full lunch service on the stove below it. That’s not possible with a pan you have to babysit.
Oven heat is also gentler. A stovetop burner can spike in temperature if you’re distracted, even for a minute. An oven holds steady. That steady, even heat is the real secret behind soft, sweet, deeply browned onions (Serious Eats, 2022).
What’s Actually Happening to the Onions
Two different reactions turn raw onions into jam. The first is moisture loss. Onions are about 89% water (King Arthur Baking, 2024). That water has to evaporate before any real browning can start. This is why the first stage of oven cooking uses high heat with the lid off.
The second reaction is browning. Most people call this “caramelization,” but that’s only half right. True caramelization is the breakdown of sugar alone, and it needs temperatures above 320°F. What happens to onions at lower heat is mostly the Maillard reaction, a browning reaction between sugars and amino acids (proteins) in the onion.
Both reactions build flavor. The Maillard reaction creates hundreds of new flavor compounds, giving you savory, nutty, and roasted notes. True caramelization, which kicks in during longer cooking or with added sugar, brings out the deep sweetness. A good onion jam uses both. That’s why my method has a hot start and a long, low finish.
Choosing the Right Onions
Yellow onions are your base. They have a balanced mix of sugar and sulfur compounds, so they brown well without turning bitter or one-note sweet. Use these for at least 70% of your batch.
Sweet onions, like Vidalia or Walla Walla, have more sugar and less bite. They caramelize faster, but on their own they can taste flat, almost like candy. Use them as a smaller part of the mix, not the whole batch.
Red onions add color and a sharper, slightly tangy edge. A handful mixed into a batch of yellow onions gives the finished jam a deeper purple-brown color and a more complex flavor. Too many red onions, though, and the jam can taste sharp instead of sweet.
My go-to mix is 2.5 pounds of yellow onions to half a pound of red. That ratio gives you sweetness, depth, and a little color without one flavor taking over.
The Pan Matters More Than You Think
Dutch Oven
A Dutch oven holds heat well and keeps moisture in if you cook with the lid on. This is great for the early stage, when you want the onions to steam and soften fast. The downside is that a lid traps steam, which slows down browning. I use the lid for the first 15 minutes only, then take it off for the rest of the bake.
Sheet Pan
A sheet pan gives onions more surface area, so more of each slice touches hot metal. This speeds up browning but also speeds up drying out. If you go this route, use a rimmed sheet pan, not a flat one, or you’ll lose juices over the edges. Sheet pans work best for smaller batches, under 2 pounds.
Roasting Dish or Casserole
A ceramic or glass roasting dish sits in the middle ground. It holds a bit more moisture than a sheet pan but browns slower than a Dutch oven. This is my pick for beginners. It’s harder to burn a batch in a roasting dish, and the slower pace gives you more room to fix mistakes.
Bottom line: if you only own one of these, a Dutch oven is the most forgiving. Le Creuset notes that enameled cast iron holds and releases heat slowly, which is exactly what long, slow cooking needs (Le Creuset, 2023).
Step-by-Step Oven Method
What You Need Before You Start
- 3 lbs onions, peeled and thinly sliced (about 1/4-inch thick)
- 3 tbsp butter or olive oil
- 1 tsp kosher salt
- 2-3 sprigs fresh thyme, 1 bay leaf
- 1-2 tbsp brown sugar
- 2 tbsp sherry vinegar or balsamic vinegar
- A Dutch oven or heavy roasting dish with a lid
Stage 1: High Heat to Release Moisture (450°F, 20-25 minutes)
Preheat your oven to 450°F. Toss the sliced onions with the butter or oil and salt in your Dutch oven. Spread them out as much as the pan allows. Cover with the lid and bake for 20-25 minutes.
This stage is about steam, not browning. The high heat forces the onions to release their water fast. You’ll see a good amount of liquid pool at the bottom of the pan. That’s normal and expected.
Stage 2: Low and Slow Roast (300°F, 1.5 to 2 hours)
Drop the oven temperature to 300°F. Remove the lid. Give the onions a stir to redistribute them, then return the pan to the oven, uncovered, for 1.5 to 2 hours.
This is where the real flavor builds. The lower heat lets the Maillard reaction do its slow work without burning the onions. Stir every 30-40 minutes. Each time you stir, scrape the bottom of the pan. Browned bits stuck to the bottom are flavor, not waste, and stirring them back in spreads that flavor through the whole batch.
Stage 3: Build the Jam (300°F, final 15-20 minutes)
Once the onions are deeply browned, soft, and jammy in texture, it’s time to add the sugar and acid. Stir in the brown sugar and let it cook in for about 10 minutes. This is when true caramelization kicks in, since the added sugar can hit higher temperatures than the onions’ natural sugars alone.
In the last 5 minutes, stir in the vinegar. The acid will hiss and steam right away. Stir it through and let the oven finish the job. Remove the bay leaf and thyme stems before serving or storing.
Sugar, Vinegar, and Wine: Getting the “Jam” Texture Right
The difference between caramelized onions and onion jam is texture and tang. Caramelized onions are soft and brown, but they’re still onion strands. Jam is thicker, glossier, and a little sticky, with a sweet-and-sour balance that cuts through fat.
Sugar added too early just burns off or gets absorbed without doing much. Add it in the last 15-20 minutes of cooking, once the onions are already soft and brown. At that point, the sugar can form a glossy coating instead of disappearing into the pan.
Acid works the same way. A splash of sherry vinegar, balsamic vinegar, or even a dry red wine added near the end brightens the whole dish. Without it, onion jam tastes flat and one-note sweet. Bon Appétit’s onion jam recipes consistently call for an acid component for exactly this reason (Bon Appétit, 2021).
If you want a wine-based jam, swap the vinegar for 1/4 cup of dry red or white wine, added in Stage 3. Let it cook down until the liquid is mostly gone before pulling the pan from the oven.
Stirring Frequency: Why Timing Matters
Over-stirring is one of the most common mistakes I see. Every time you stir, you release heat from the pan and disturb the layer of onions that’s starting to brown against the hot surface. Stir too often, and that browning layer never gets the chance to form. You end up with soft, pale onions that taste boiled, not roasted.
Under-stirring is just as bad, but in the other direction. The onions touching the bottom and edges of the pan will brown much faster than the ones in the middle. Leave the pan alone for too long, and those edge pieces turn from brown to black and bitter.
The fix is a simple schedule: stir once at the start of Stage 2, then every 30-40 minutes after that. Set a timer. This gives each layer enough time to brown before you mix things up again, without letting any one spot scorch.
How to Know When It’s Done
Visual Cues
The onions should be a deep amber-brown, almost mahogany in color, not pale gold. There should be very little liquid left in the pan. What’s left should look glossy and slightly syrupy, not watery.
Textural Cues
Press a spoon into the onions. They should mash easily, almost like a soft jam already, with no firm or crunchy pieces left. If you can still see distinct onion rings holding their shape, give it more time.
Aroma Cues
This is the cue I trust most after years in professional kitchens. Properly caramelized onions smell sweet and toasty, almost like roasted nuts or dark bread crust. If the kitchen smells sharp or acrid, that’s a sign of scorching, not caramelizing. Pull the pan and check the bottom for burnt spots.
Storage, Shelf Life, and Freezing
Cooked onion jam keeps in an airtight container in the fridge for 7-10 days. Let it cool to room temperature before sealing the container, since trapping steam can lead to a watery texture and faster spoilage.
For longer storage, freeze the jam in small portions. Ice cube trays work well for this. Once frozen, pop the cubes into a freezer bag, and you’ll have single-serving portions ready for sauces, sandwiches, or grain bowls. Frozen onion jam keeps well for up to 3 months.
To reheat, thaw in the fridge overnight or warm gently in a small pan over low heat. A splash of water or stock can loosen the texture if it’s thickened too much in the freezer.
Common Mistakes and How to Fix Them
Mistake 1: Using too high a temperature for the whole bake. Cooking onions at 450°F the entire time burns the sugars on the outside before the inside softens. Fix: use the two-stage method. High heat only to release moisture, then drop to 300°F for the slow stage.
Mistake 2: Overcrowding the pan. Piling 3 pounds of onions into a small pan means the bottom layer steams instead of browning, and the top layer barely cooks. Fix: use a wide pan, even if it means a shallower layer. If your pan is too small, cook in two batches.
Mistake 3: Skipping the acid. Onion jam without vinegar or wine tastes like sweet mush. The acid is what gives it that tangy, jam-like finish that pairs so well with rich foods. Fix: always add 1-2 tablespoons of vinegar or wine in the last stage of cooking, even if your recipe doesn’t call for it.
Mistake 4: Adding sugar at the start. Sugar added early can scorch over a long bake, turning bitter instead of sweet. Fix: hold the sugar back until the last 15-20 minutes.
Mistake 5: Not slicing onions evenly. Thick and thin slices in the same batch cook at different rates. Some pieces will be mush while others are still raw. Fix: take an extra few minutes to slice evenly, about 1/4-inch thick, before you start.
My Recipe and Routine
Here’s the version I make at home, almost exactly the way I’d run it in a restaurant kitchen, just scaled down.
I start with 3 pounds of yellow onions and half a pound of red onions, both sliced about 1/4-inch thick. I toss them in my 5-quart Dutch oven with 3 tablespoons of butter, 1 teaspoon of kosher salt, two sprigs of thyme, and a bay leaf. Lid on, into a 450°F oven for 20 minutes.
After that, I drop the oven to 300°F, pull the lid, give everything a stir, and let it go for about 90 minutes, stirring every 30-40 minutes. I scrape the bottom of the pan every time. Those browned bits are where most of the flavor lives.
When the onions are deep brown and soft, I stir in 1 tablespoon of brown sugar and let it cook for 10 minutes. Then I add 2 tablespoons of sherry vinegar, stir, and give it 5 more minutes. I pull the bay leaf and thyme stems, taste for salt, and that’s it.
I learned the hot-start, low-finish method the hard way, in a hotel kitchen years ago. We had a banquet order for 200 portions of caramelized onion soup, and the sous chef told me to “just throw them in a low oven and forget about them.” I did exactly that at 250°F the whole time. Six hours later, the onions were still pale and watery, and we had to finish the entire batch on the stove during service. Since then, I always start hot to drive off water fast, then drop the temperature. It cuts the total cooking time almost in half.
Serving Suggestions and Pairings
Onion jam is one of the most useful things you can keep in your fridge. A spoonful changes a dish without adding much work.
- Cheese boards: Pair it with sharp cheddar, aged gouda, or a soft brie. The sweetness and acid cut through rich, fatty cheeses.
- Burgers: Spread it on the bun under the patty. It does the job of caramelized onions and a sweet sauce in one step.
- Grilled cheese: Add a spoonful inside the sandwich before grilling. It melts slightly and adds a sweet-savory layer between the cheese and bread.
- Roasted meats: Serve alongside roast chicken, pork tenderloin, or steak. The acidity balances rich, fatty cuts especially well.
Frequently Asked Questions
How long does it take to make caramelized onion jam in the oven?
Total time is about 2 to 2.5 hours, including the high-heat stage to release moisture and the slow roast to build flavor. Most of that time is hands-off, with only a quick stir every 30-40 minutes.
Can I make onion jam without sugar?
Yes. Onions have natural sugar, and a long, slow roast will bring out sweetness on its own. Skipping added sugar gives you a more savory jam, closer to deeply caramelized onions than a true sweet jam.
What happens if I don’t add an acid like vinegar?
The jam will taste sweet and flat, without the tang that balances rich foods. It will still be edible and useful in cooking, but it won’t have the bright, jam-like finish most recipes are aiming for.
Can I use a sheet pan instead of a Dutch oven?
Yes, especially for smaller batches. A sheet pan browns onions faster because more surface area touches the hot metal. Watch the edges closely, since they can go from brown to burnt quickly on a sheet pan.
Why are my onions still pale after 2 hours in the oven?
This usually means the oven temperature was too low for too long, or the pan was overcrowded. Onions piled too deep steam instead of browning. Try a wider pan or raise the temperature slightly for the slow stage.
Can I freeze onion jam?
Yes. Onion jam freezes well for up to 3 months. Freeze it in small portions, like ice cube trays, so you can thaw only what you need.
What’s the difference between caramelized onions and onion jam?
Caramelized onions are soft, brown onion strands with concentrated flavor but a loose texture. Onion jam goes a step further, with added sugar and acid that create a thicker, glossier, sweet-and-tangy spread.
Do I need to peel and slice the onions a specific way?
Slice onions about 1/4-inch thick for even cooking. Slicing pole to pole (through the root and stem ends) gives slightly firmer pieces that hold their shape longer, while slicing across the equator gives softer strands that break down faster.
Key Takeaways
- The oven gives onions even, steady heat, which is gentler and more hands-off than a stovetop.
- A two-stage bake works best: high heat (450°F) to release moisture, then low heat (300°F) for slow browning.
- Yellow onions are the base, with a smaller amount of red onions for color and depth.
- Add sugar and acid late in the cooking process to build true jam texture and flavor.
- Stir every 30-40 minutes during the slow stage. Too much or too little stirring both lead to problems.
- Stored properly, onion jam lasts 7-10 days in the fridge or up to 3 months in the freezer.

I’m Mossaraof, a trained chef and the founder of OvenInsights.com. I spent years cooking at Larrupin’ Cafe and in kitchens across Chicago and Seattle. Now I test kitchen gear for a living. I moved to North Acton, London, and I test every tool I write about. I use real meals and real heat. No brand deals. No shortcuts. I cover 12 kitchen types and hundreds of recipes. I believe this: the right tools matter as much as the recipe.




