
At A Glance
- You can make safe, shelf-stable beef jerky in a home oven at 160°F-175°F (71°C-79°C) without a dehydrator.
- The USDA recommends heating beef jerky to an internal temperature of 160°F (71°C) to kill pathogens like Salmonella and E. coli (USDA Food Safety and Inspection Service, 2023).
- Top round, bottom round, and eye of round are the best cuts – they are lean, cheap, and slice clean.
- Marinate for at least 6 hours; 12-24 hours gives the deepest flavor.
- Convection mode cuts drying time by 25-30% compared to conventional heat (America’s Test Kitchen, 2022).
- A batch of homemade jerky costs roughly $4-6 per pound to make vs. $15-25 per pound at retail (USDA Economic Research Service, 2024).
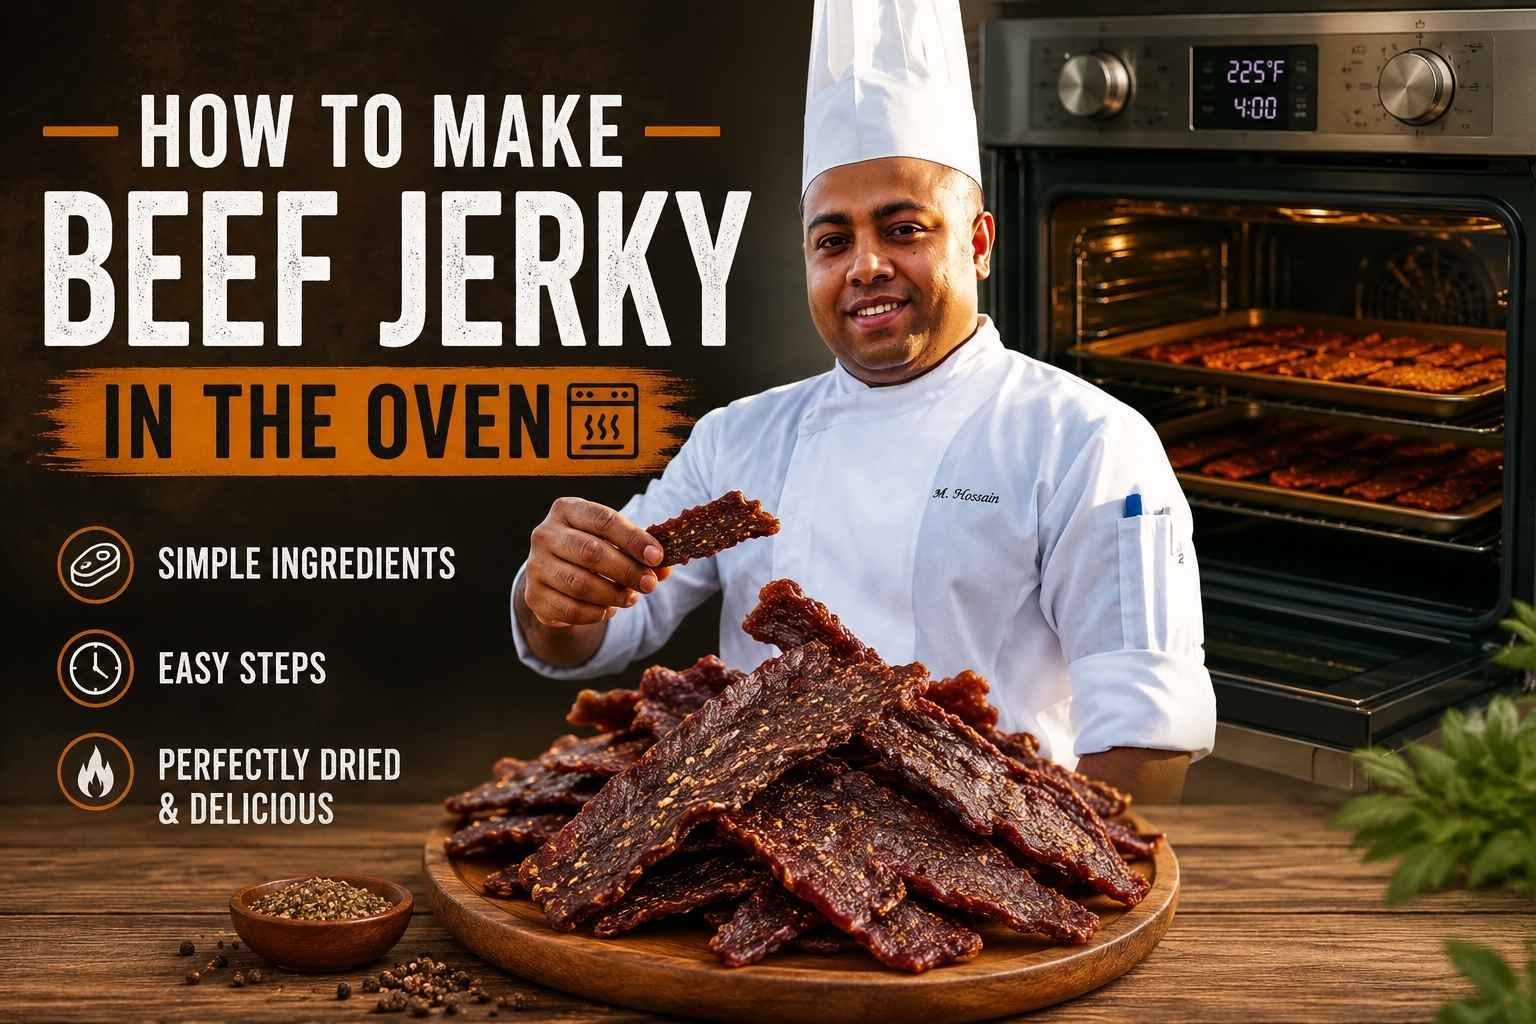
I still remember the first time I tried How to Make Beef Jerky in the Oven. I thought it would be hard, but it turned out to be one of the easiest snacks I have ever made. The rich smell filled my kitchen, and every bite was worth the wait.
Since then, I have tested many cuts of beef, seasoning blends, and oven settings to find what works best. In this guide, I will show you simple steps, the best tips, safe drying times, and easy ways to make tender, flavorful homemade beef jerky. Let’s get started and make a batch you will want to enjoy again and again.
Why Homemade Oven Jerky Beats Store-Bought
Homemade jerky gives you total control over flavor, texture, and ingredients – and it costs a fraction of what you pay at the store.
I’ve been making jerky for 15 years, in professional dehydrators and home ovens. Store-bought jerky has two real problems. First, the sodium levels are absurd. A single 1-oz serving of most commercial brands hits 500-600mg of sodium (USDA FoodData Central, 2024). Second, the flavor is flat. Commercial processors prioritize shelf stability and uniform texture over taste. They’re optimizing for a warehouse pallet, not your palate.
At home, you get to choose your cut, build your marinade from scratch, and dial in the texture you actually want. Thick and chewy? Thin and snappy? You decide.
The cost difference alone makes this worth learning. A 3-pound top round roast costs around $12-15 at most grocery stores. After drying, you’ll get about 1 pound of jerky. That’s $4-6 per pound. The same quantity at a specialty store runs $20-25 per pound (USDA Economic Research Service, 2024).
The Science of Drying Meat: What Actually Happens in the Oven
Jerky is safe to eat because drying removes enough water to stop bacterial growth, not because heat alone kills everything.
The science term here is water activity (aw). Bacteria need free water to grow. Fresh beef sits around 0.99 aw. To make shelf-stable jerky, you need to bring that below 0.85 aw (Institute of Food Technologists, 2021). Low oven heat, combined with air circulation, pulls moisture out of the meat over several hours until it hits that threshold.
Here’s the food safety catch most home jerky guides skip: low temperatures below 160°F can dry the outside of the meat quickly, which traps pathogens inside where they survive and stay alive. The USDA recommends that all jerky reach an internal temperature of 160°F (71°C) during or after the drying process (USDA Food Safety and Inspection Service, 2023).
There are two ways to hit that target. You can pre-heat the meat in an oven at 275°F for 10 minutes before lowering the temperature to dry it. Or you can dry first at 160°F-175°F and then finish at 275°F for 10 minutes at the end. I prefer the finish-high method. It lets the meat dry at a lower temp (which protects texture) and then you blast it at the end to guarantee safety.
Best Beef Cuts for Oven Jerky: What to Buy and Why
Top round, bottom round, and eye of round are the three best cuts for jerky. They are lean, easy to find, and inexpensive.
Fat is the enemy of jerky. Fat doesn’t dry out – it goes rancid. A piece of jerky with fat streaks will spoil far faster than a lean piece (J. Kenji López-Alt, The Food Lab, 2015). This is why you skip ribeye and brisket for jerky. Their fat marbling is great for other cooking but wrong here.
Slicing: With the Grain vs. Against the Grain
The grain direction changes the texture completely.
Slicing against the grain gives you tender jerky that tears apart easily. This is what most people expect from jerky.
Slicing with the grain gives you chewy jerky with more pull. Some people prefer this, especially for thicker pieces.
I go against the grain at 3/16″ to 1/4″ thickness. Thinner than that dries too fast and turns brittle. Thicker than 1/4″ takes forever and the center stays too moist.
Pro tip: Freeze your beef for 1-2 hours before slicing. It firms up and you get clean, even slices. A sharp knife matters more than any special tool.
Cut, Marinade, and Oven Reference Table
| Cut | Fat Level | Slice Thickness | Marinade Time | Oven Temp | Estimated Dry Time |
|---|---|---|---|---|---|
| Top Round | Very Lean | 3/16″ – 1/4″ | 12-24 hours | 165°F | 3.5 – 5 hours |
| Bottom Round | Very Lean | 3/16″ – 1/4″ | 12-24 hours | 165°F | 3.5 – 5 hours |
| Eye of Round | Very Lean | 3/16″ – 1/4″ | 12-24 hours | 165°F | 4 – 5.5 hours |
| Flank Steak | Lean | 1/4″ | 8-16 hours | 165°F | 3 – 4.5 hours |
| Sirloin Tip | Lean | 3/16″ – 1/4″ | 10-20 hours | 165°F | 3.5 – 5 hours |
| Brisket Flat | Moderate fat | 1/4″ | 12-24 hours | 170°F | 4 – 6 hours |
Times vary by oven, humidity, slice thickness, and altitude. Always verify doneness with the bend test (see below).
Marinade Breakdown: The Role of Salt, Acid, Sugar, and Curing Agents
A good jerky marinade does four things: it seasons the meat, draws out surface moisture, adds flavor complexity, and (optionally) adds a curing agent for safety and color.
Salt is the foundation. It seasons the meat and starts the osmotic process that pulls liquid out of the muscle fibers. I use 1-1.5% salt by weight of the meat as a starting point. Soy sauce is a convenient way to deliver salt plus umami in one ingredient.
Acid (vinegar, citrus juice, Worcestershire sauce) adds brightness and helps the flavors penetrate the meat faster. It also lowers the surface pH, which slows bacterial growth during the marinating stage.
Sugar (brown sugar, honey, maple syrup) adds balance, helps with browning on the surface, and rounds out the salty-savory profile. Go light with sugar if you want a traditional savory jerky rather than a sweet one.
Prague Powder vs. No Curing Agent
Prague Powder No. 1 (also called pink curing salt or Instacure #1) is a mixture of sodium chloride and sodium nitrite. It prevents the growth of Clostridium botulinum, which produces botulism toxin in low-oxygen environments like the inside of a meat slab being dried slowly (National Center for Home Food Preservation, 2022).
You do not need Prague Powder if you use the pre-heat or finish-heat method described above. But if you are making large batches to store for weeks, a very small amount (0.25% of meat weight) adds an extra safety margin and gives the jerky that classic red-pink color.
Do not confuse Prague Powder No. 1 with table salt. It is used in tiny amounts. Too much sodium nitrite is toxic. Follow a precise recipe if you use it.
My Go-To Marinade Ratio (Per 2 lbs of beef)
- 1/3 cup soy sauce
- 2 tablespoons Worcestershire sauce
- 1 tablespoon apple cider vinegar
- 1 tablespoon brown sugar
- 1 teaspoon black pepper
- 1 teaspoon garlic powder
- 1/2 teaspoon onion powder
- Optional: 1/2 teaspoon smoked paprika, 1/4 teaspoon cayenne
This ratio is a starting point. I adjust based on the cut. Flank steak can handle more acid. Eye of round absorbs salt faster, so I pull back the soy sauce by a tablespoon.
Step-by-Step Oven Method: Slice to Shelf-Ready
Step 1: Slice the Beef
Freeze the beef for 1-2 hours. Slice against the grain at 3/16″ to 1/4″ thickness. Trim all visible fat before marinating.
Step 2: Marinate
Combine your marinade ingredients in a zip-lock bag or non-reactive bowl. Add the beef and coat evenly. Refrigerate for at least 6 hours. 12-24 hours is better for flavor depth. Do not marinate longer than 36 hours – the acid starts to break down the muscle fibers and the texture becomes mushy.
Step 3: Prep the Oven
Set your oven to 160°F-175°F. If it doesn’t go that low, set it to the lowest setting and crack the door slightly (about 2-4 inches). This drops the air temperature and, more importantly, lets steam escape. Trapped moisture means the meat steams instead of dries.
Place a wire rack on a foil-lined baking sheet. The rack lifts the meat off the pan so air circulates around all sides. This is non-negotiable for even drying.
Step 4: Arrange the Meat
Remove the beef from the marinade and pat each piece dry with paper towels. This step is one most home cooks skip, and it costs them 30-60 minutes of drying time. Surface moisture has to evaporate before drying can begin. Pat it off now and save the time.
Lay the strips flat on the wire rack in a single layer. Do not let pieces touch or overlap.
Step 5: Dry and Finish
Place the rack in the oven. After 3 hours, start checking every 30 minutes. Rotate the pan halfway through if your oven has hotspots.
At the end, raise the oven to 275°F for 10 minutes to bring the internal temperature to 160°F. Use an instant-read thermometer on the thickest piece to confirm (Taylor Precision Products, 2023). Then return to drying temperature if needed.
Gas vs. Electric Oven: Which Is Better for Jerky?
Electric ovens are better for jerky. Gas ovens introduce moisture during combustion, which slows drying and makes it harder to hold a steady low temperature.
If you have a gas oven, crack the door open slightly more than you would with electric to compensate for the humidity. Also expect 30-60 minutes of extra drying time. The jerky will still be good – you just need to adjust for the environment.
Electric ovens hold temperature more consistently below 200°F, which is exactly the range you need for jerky (Serious Eats, 2021). Some gas ovens also cycle on and off in wide bands at low temps, which can cause uneven drying.
Convection vs. Conventional: Why Convection Wins
Use convection mode if your oven has it. Full stop.
Convection fans circulate air across the surface of the meat continuously. This accelerates evaporation and gives you more even drying across the whole rack. America’s Test Kitchen found that convection reduced drying time by 25-30% vs. conventional heat at the same temperature setting (America’s Test Kitchen, 2022).
One adjustment: lower the oven temperature by 15-25°F when using convection. The moving air makes the effective temperature feel hotter. If your recipe calls for 165°F, set convection to 145°F-150°F and let the airflow do the work.
If your oven doesn’t have convection, place a small desk fan near the cracked door to push air into the oven. It’s improvised convection and it helps.
How to Know When Jerky Is Done: 3 Tests
The clock is a rough guide. The tests below tell you if it’s actually ready.
The Bend Test
Pick up a piece and bend it. Done jerky bends without snapping and shows a few cracks but stays in one piece. If it snaps cleanly, it’s overdone. If it folds without any cracking, it needs more time.
The Color Check
The surface should be deep mahogany to dark brown with no pink or red in the center when you tear a piece open.
The Temperature Check
Use an instant-read thermometer. The thickest piece should read 160°F (71°C) at the center (USDA Food Safety and Inspection Service, 2023).
I always run all three checks before pulling a batch. The bend test is the most useful for texture. The temperature check is the most important for safety.
Storage, Shelf Life, and Food Safety
Properly dried, homemade jerky stored in an airtight bag at room temperature will keep for 1-2 weeks (National Center for Home Food Preservation, 2022). In the refrigerator, expect 1-2 months. In the freezer, it keeps well for up to 6 months.
Vacuum sealing extends room-temperature shelf life to 4-6 weeks by removing the oxygen that supports mold and rancidity.
Signs of spoilage to watch for: white mold on the surface, a sour or ammonia smell, or any soft or wet texture. When in doubt, throw it out.
One note on home vs. commercial: commercial jerky uses preservatives and precise water activity testing that home kitchens can’t replicate. Be conservative with your storage estimates.
Common Jerky Mistakes and How to Fix Them
Skipping the fat trim. Fat doesn’t dry, it goes rancid. Any white fat on the meat before marinating needs to come off. Use a sharp knife and take your time.
Marinating too long. More than 36 hours in an acidic marinade breaks down muscle fibers. The jerky comes out with a mealy, soft texture instead of a clean chew. Set a timer.
Packing the rack. Pieces touching each other block airflow and create wet spots. Leave at least 1/4 inch between every strip.
Not patting dry before the oven. Surface liquid on the meat delays drying by 30-60 minutes. Paper towels are free. Use them.
Relying only on the clock. Every oven is different. Check with the bend test starting at hour 3.
High altitude drying. At elevations above 3,000 feet, water evaporates at a lower temperature and boiling point drops, which means moisture leaves the meat faster on the surface while the interior may lag behind (Colorado State University Extension, 2021). At altitude, drying time can be shorter on the outside but the center may remain wetter. Check internal temperature more frequently and don’t rely on color or the bend test alone.
Storing warm jerky. Let jerky cool completely on the rack (20-30 minutes) before sealing. Sealing warm jerky traps condensation inside the bag, which speeds up mold growth.
My Personal Jerky Routine: What I Actually Do
I’ve settled into a method after years of testing and adjusting. Here it is without the theory.
I buy top round roast from a butcher, ask them to slice it at 3/16″ against the grain, and trim any fat when I get home. For a 2-pound batch, I use the marinade ratio I listed above – soy sauce, Worcestershire, cider vinegar, brown sugar, black pepper, garlic powder. I add a small shot of fish sauce (1 teaspoon). It sounds wrong. It adds depth without tasting fishy at all.
I marinate for 18-20 hours in the fridge. I pat each piece dry, lay them on wire racks set over foil-lined sheet pans, and set my electric oven to convection at 150°F with the door cracked 2 inches using a wooden spoon.
I start checking at 3.5 hours. At hour 4 to 4.5, most batches hit the bend test and color check. I then raise the oven to 275°F for 10 minutes, confirm 160°F internal temp with my instant-read thermometer, and pull everything off to cool on the counter.
I store the cooled jerky in vacuum-sealed bags in the fridge. A batch lasts about two weeks, which is usually faster than it goes stale because people keep eating it.
My strong opinion: the wood spoon door crack is the single most underrated jerky tip. Your oven is not designed for drying. It’s designed to hold moisture in for baking. Opening the door slightly turns it into an approximation of a dehydrator. Do it every time.
Frequently Asked Questions About Making Beef Jerky in the Oven
What temperature should I set my oven for beef jerky?
Set your oven to 160°F-175°F for drying. If your oven doesn’t go that low, use the lowest setting and crack the door 2-4 inches to let steam escape and drop the air temperature. At the end of drying, raise the temperature to 275°F for 10 minutes to guarantee the meat hits a safe internal temperature of 160°F (USDA Food Safety and Inspection Service, 2023).
How long does beef jerky take to make in the oven?
Most batches take 3.5-6 hours depending on slice thickness, cut, oven type, and humidity. Thinner slices (3/16″) at the low end. Thicker slices (1/4″) or brisket at the high end. Always go by the bend test rather than the clock.
Do I need a wire rack to make jerky in the oven?
Yes. A wire rack is not optional. It lifts the meat off the pan so air circulates underneath. Without it, the bottom of each strip sits in its own pooled moisture and dries unevenly. Place the rack on a foil-lined baking sheet to catch drips.
Is homemade oven jerky safe to eat?
Yes, when made correctly. The safety rule is that beef jerky must reach an internal temperature of 160°F (71°C) to kill E. coli O157:H7 and Salmonella (USDA Food Safety and Inspection Service, 2023). Achieve this by either pre-heating strips at 275°F before drying or finishing at 275°F for 10 minutes after drying.
Can I use ground beef for oven jerky?
Yes, but ground beef jerky requires a different approach. Ground beef carries bacteria throughout the meat (not just on the surface), so it must reach 160°F internally with no shortcuts. Use a jerky gun or extruder to form uniform strips, and always verify internal temperature. J. Kenji López-Alt covers the food safety difference in detail in The Food Lab (2015).
Can I make jerky in a gas oven?
Yes, but expect longer drying times, roughly 30-60 extra minutes. Gas ovens release water vapor during combustion, which raises the humidity inside and slows drying. Crack the door open slightly more than you would with electric, and keep an eye on temperature consistency.
How do I know if my jerky has gone bad?
Discard jerky if you see white mold on the surface, notice a sour or off smell, or find any soft or wet spots. Properly dried jerky should be firm and dry throughout. If a piece feels tacky or moist in the middle, it was underdried and is at higher risk of spoilage.
Does altitude affect how long jerky takes to dry?
Yes. At elevations above 3,000 feet, the lower atmospheric pressure causes moisture to evaporate faster at the surface, but the interior of thicker slices can stay wet longer (Colorado State University Extension, 2021). Check internal temperature more often if you are above 3,000 feet, and don’t rely on the bend test alone. Cut a piece open and look at the center.
Key Takeaways
- Beef jerky made in the oven at 160°F-175°F is safe when the meat reaches an internal temp of 160°F.
- Top round, bottom round, and eye of round are the best cuts – they are lean, slice clean, and hold up through marinating and drying.
- Marinate 12-24 hours. Pat dry before the oven. Use a wire rack. Crack the door.
- Convection mode cuts drying time by 25-30%. Use it if you have it, and lower the set temp by 15-25°F.
- Always confirm doneness with the bend test and an instant-read thermometer, not just the clock.
- Finish every batch at 275°F for 10 minutes to guarantee food safety.
- Cool completely before sealing. Store in the fridge for up to 2 months or freeze for up to 6 months.

I’m Mossaraof, a trained chef and the founder of OvenInsights.com. I spent years cooking at Larrupin’ Cafe and in kitchens across Chicago and Seattle. Now I test kitchen gear for a living. I moved to North Acton, London, and I test every tool I write about. I use real meals and real heat. No brand deals. No shortcuts. I cover 12 kitchen types and hundreds of recipes. I believe this: the right tools matter as much as the recipe.




