
At A Glance
- Bake baklava at 300-325°F (150-163°C) for 60-75 minutes. High heat burns the top before the bottom sets, which is the single most common mistake.
- Always pour cold syrup over hot baklava the moment it comes out of the oven. Reversing this order makes the pastry go soggy.
- Cut all the way through before baking, not after. Cutting baked baklava shatters the layers and breaks the diamond pattern.
- Clarified butter (ghee) gives a cleaner flavor and crispier layers than whole melted butter. The milk solids in whole butter burn at oven temperatures and add off-flavors.
- Baklava tastes better on day two. The syrup soaks in overnight and the layers firm up. Make it ahead without guilt.
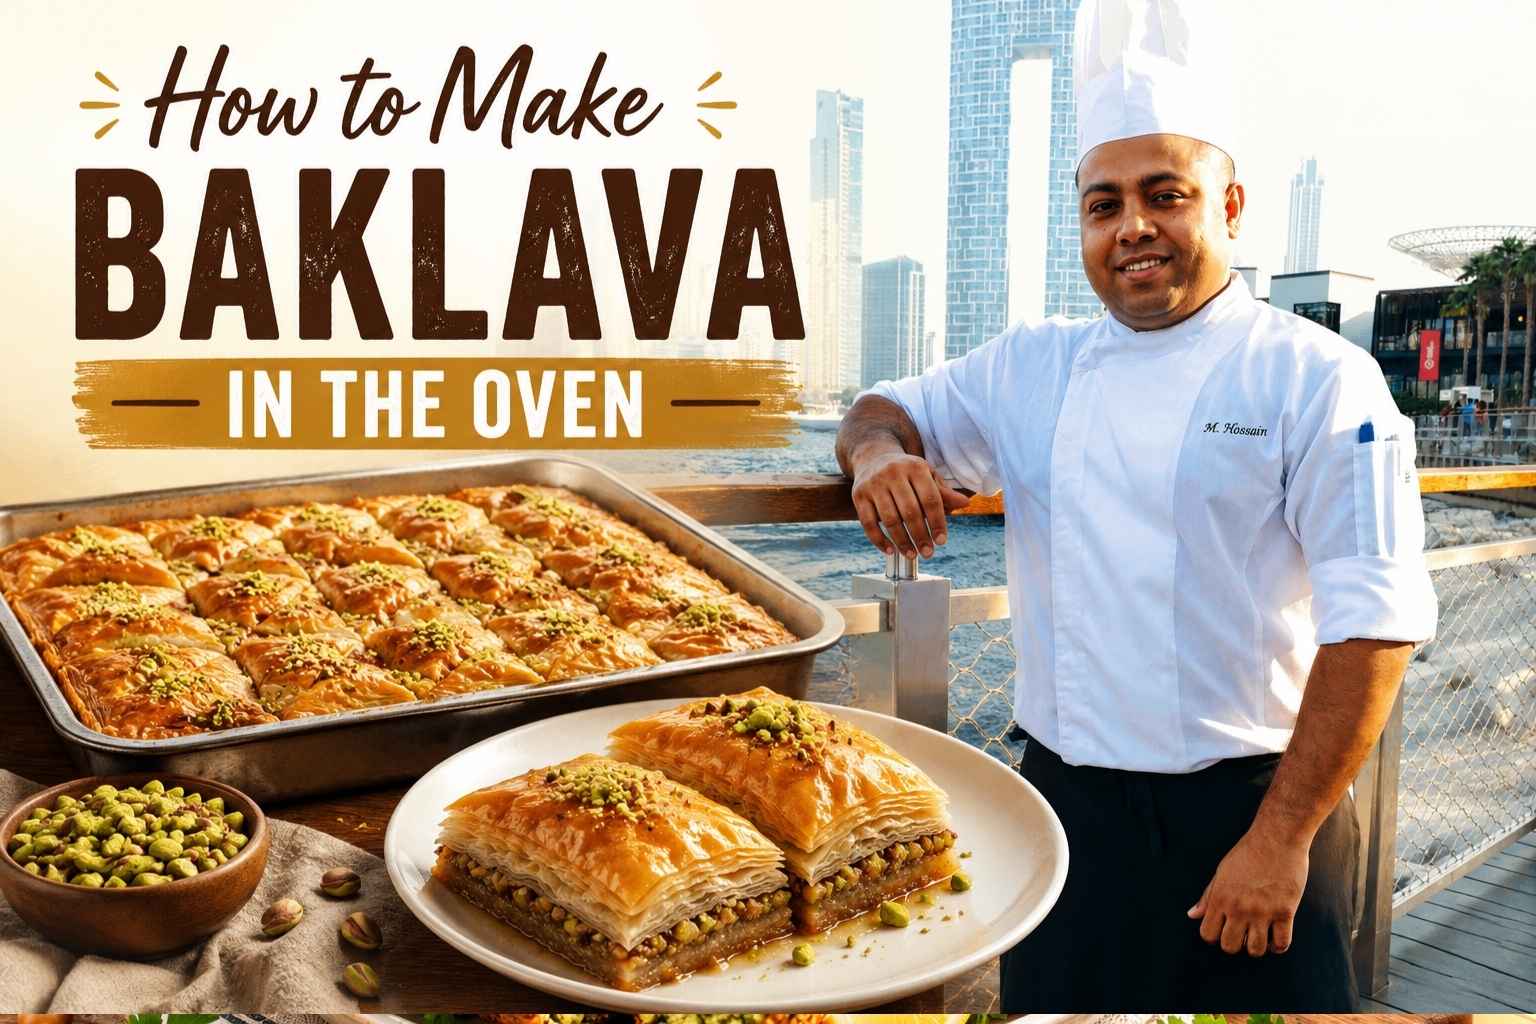
There is nothing like the smell of sweet pastry fresh from the oven. The first time I learned How to Make Baklava in the Oven, I was surprised by how simple it was. Each crisp layer and rich honey bite felt like a small reward for the time I spent in the kitchen.
Over the years, I have made baklava for family dinners, holidays, and quiet weekends at home. I have learned what makes the layers stay crisp, how to keep the filling full of flavor, and how to bake it until it turns a beautiful golden brown. In this guide, I will show you each step in a simple way so you can make homemade baklava with confidence. Let’s get started and bake a dessert everyone will love.
What Makes Baklava Great – and Why Most Homemade Batches Fall Flat
Great baklava has three things: shatteringly crisp layers, a syrup that is sweet but not cloying, and a nut filling that holds its texture. Most home versions miss on all three.
I have made baklava in professional kitchens from Istanbul to Beirut, and the failures always come from the same three places. The oven is too hot. The syrup hits warm pastry. Or the cook tries to cut after baking. Fix those three things and you are 80% of the way to a professional result.
The fourth problem – less talked about – is butter. Whole butter contains water and milk solids. At 300°F those solids brown. By 325°F they start to burn between the phyllo sheets where you cannot see them. The result is a bitter undertone that you taste as “something off.” Switch to clarified butter (ghee) and that problem disappears. (Claudia Roden, The New Book of Middle Eastern Food, 2000)
Phyllo vs. Homemade Dough: Which One to Use for Oven Baklava
Use store-bought phyllo for oven baklava. Homemade phyllo is for skilled pastry chefs with a large work surface and a lot of time. Store-bought phyllo, thawed correctly, produces excellent results.
“Thawed correctly” is doing a lot of work in that sentence. Phyllo thaws in the fridge overnight, not on the counter. Counter thawing makes it sweat, and wet phyllo tears. Once it is at fridge temperature, let it sit at room temperature for one hour before you open the package. (King Arthur Baking, 2023)
When you open the package, cover the stack with a slightly damp kitchen towel. Phyllo dries out in minutes. Work quickly and keep the towel over the sheets you are not using.
For a standard 9×13 inch pan, you need one full package (about 20 sheets). Some sheets will tear – that is fine. Torn sheets go in the middle layers. Save your best sheets for the top and bottom.
Nut Choices: Pistachio, Walnut, and Cashew – What Each Does to the Final Bake
The nut you choose changes the flavor, color, and texture of the finished baklava.
Walnuts are the most common choice in Turkish and Greek baklava. They are slightly bitter, which cuts the sweetness of the syrup well. They also release a small amount of oil during baking, which adds richness to the layers. (Serious Eats, 2022)
Pistachios are the preferred nut in Lebanese and some Persian baklava. They stay firmer than walnuts after baking and give a distinct green color that looks clean against the golden pastry. Use unsalted, raw pistachios. Salted or roasted pistachios make the filling taste like a snack mix, not a pastry.
Cashews show up in some Persian and Indian-influenced baklava. They are mild, creamy, and sweet. They work best when mixed with pistachios rather than used alone, because on their own they lack the contrast you need against a sweet syrup.
Grind your nuts to a medium texture – think coarse breadcrumbs. Too fine and the filling becomes a paste. Too chunky and the layers do not press down evenly when you cut before baking.
Butter, Syrup, and Flavor Add-ins: The Ingredient Breakdown
Butter: Use ghee (clarified butter) at room temperature, not hot. Hot butter cooks the phyllo as you brush it and makes the sheets stick. Room-temperature ghee spreads easily and does not activate the dough. About 1.5 cups (340g) for a 9×13 pan. (America’s Test Kitchen, 2021)
Syrup base: You have two options – honey-based or sugar-based. Honey syrup is richer and darker. Sugar syrup (water, sugar, lemon juice) is cleaner and lighter. I use a 50/50 blend: equal parts honey and sugar syrup. The sugar syrup carries the floral water flavors better, and the honey adds body and stops crystallization.
Lemon juice: Add 1 tablespoon per cup of syrup. Lemon juice adds brightness and, more importantly, it inverts the sugar, which stops the syrup from crystallizing into a grainy crust on top of your baklava. (The Mediterranean Dish, 2024)
Rosewater and orange blossom water: Use one, not both. They compete. Rosewater is more common in Lebanese and Persian versions. Orange blossom water appears more in Moroccan and some Greek recipes. One tablespoon per batch is enough. More than that and the flavor turns soapy.
Spices: Cinnamon is standard in Greek baklava. Cardamom shows up in Persian versions. Clove appears occasionally in Turkish baklava. Keep spicing simple – pick one spice and add it to the nut filling, not the syrup.
The Layering Reference Table
| Layer | Ingredient | Quantity (9×13 pan) | Purpose |
|---|---|---|---|
| Base layers | Phyllo sheets | 8-10 sheets | Creates a firm, crisp base that holds the filling |
| First butter coat | Ghee | 2-3 tbsp per 2 sheets | Separates layers and ensures even browning |
| First nut layer | Ground nuts | 1/3 of total nut mix | Even filling distribution across the base |
| Middle phyllo | Phyllo sheets | 4-6 sheets | Separates nut layers and adds structure |
| Middle butter coat | Ghee | 2-3 tbsp per 2 sheets | Prevents dry, papery layers in the center |
| Second nut layer | Ground nuts | 1/3 of total nut mix | Second flavor layer for textural interest |
| Second middle phyllo | Phyllo sheets | 4-6 sheets | Creates separation before the top section |
| Third nut layer | Ground nuts | 1/3 of total nut mix | Final filling layer just below the top crust |
| Top layers | Phyllo sheets | 8-10 sheets | Forms the golden crust – use your best sheets here |
| Final butter coat | Ghee | 3-4 tbsp | Covers every inch of the top surface for even color |
Why Oven Temperature Is the Most Important Variable in Baklava Baking
Bake at 300-325°F (150-163°C). This is non-negotiable. I know it feels too low. It is not.
Phyllo is extremely thin – often less than 1mm per sheet. High heat (350°F or above) browns the top three or four sheets before the heat penetrates to the base layers. You end up with a golden top and a pale, soft, under-cooked bottom. The base layers stay greasy and never crisp. (America’s Test Kitchen, 2021)
At 300-325°F, the heat moves through all 30+ sheets slowly and evenly. Every layer has time to dry out and crisp. The butter between the sheets cooks off without burning. You get an even golden color from top to bottom, not just on the surface.
The bake time at this temperature is 60-75 minutes. Check at 60 minutes. The top should be deep golden brown – not pale yellow, not dark amber. If the edges brown faster than the center, your oven has hot spots. See the section on hot spots below.
Step-by-Step: How to Layer, Cut, and Bake Baklava in the Oven
Baklava in the oven requires you to follow these steps in exact order. Skipping or reordering any step changes the result.
Step 1: Prep Your Pan and Ingredients
Brush a 9×13 inch metal baking pan with ghee. Use metal, not glass. Glass holds heat unevenly and makes the bottom layers brown faster than the top. Count out your phyllo sheets and separate them into three groups: base (8-10 sheets), middle (8-12 sheets), top (8-10 sheets). Cover all three groups with a damp towel.
Step 2: Build the Base Layers
Lay one phyllo sheet into the pan. Brush it with ghee, edge to edge, including the corners. Add another sheet. Brush again. Repeat until your base group is done. Press down gently after every two sheets to eliminate air pockets. Air pockets turn into bubbles during baking.
Step 3: Add the First Nut Layer
Scatter one-third of your nut mixture evenly over the base phyllo. Spread it with your fingers or a spoon to fill every corner. The layer should be about 3-4mm thick – thin enough that you can still see the phyllo beneath it when you press lightly.
Step 4: Build the Middle Phyllo and Nut Layers
Repeat the phyllo-and-butter process for the middle sheets. Add the second nut layer. Add the rest of the middle phyllo. Add the third nut layer. Keep every phyllo sheet buttered and every nut layer level.
Step 5: Build the Top Layers
Lay your best phyllo sheets on top. Brush each one with ghee. For the final top sheet, pour or brush ghee generously – cover every millimeter. A dry spot on the top will bake pale and look unfinished.
Step 6: Cut Before Baking – Not After
This step surprises people who have never made baklava before. Cut all the way through to the bottom of the pan before the baklava goes in the oven.
Use a sharp knife and a ruler if you want clean lines. The standard pattern is diagonal cuts to create diamonds. First, cut straight lines across the short dimension of the pan, about 1.5 inches apart. Then cut diagonally across those lines to make diamonds.
If you cut after baking, the crisp phyllo shatters. You lose the clean diamond shape and get crumbled edges on every piece. Cutting before baking lets the cut edges crisp and seal during the bake.
Step 7: Bake Low and Slow
Place the pan on the center rack. Bake at 300-325°F for 60-75 minutes. Do not open the oven in the first 45 minutes. Phyllo needs sustained dry heat to crisp. Every time you open the oven, steam from elsewhere in the kitchen gets in and softens the layers.
At 60 minutes, check the color. Pull when the top is a uniform deep gold.
Step 8: Add Cold Syrup to Hot Baklava
The moment the baklava comes out of the oven, pour cold syrup over it slowly and evenly. Use a ladle or a measuring cup. Pour into the cut lines first so the syrup reaches the lower layers immediately.
You will hear a sizzle. That sizzle is the cold syrup hitting the hot pastry and being pulled down between the layers by the temperature contrast. This is exactly what you want.
The rule: hot baklava + cold syrup. The cold syrup cools the baklava from the outside in, creating a crisp exterior while the inside absorbs moisture slowly. If you pour hot syrup on hot baklava, both the syrup and the pastry are at the same temperature. The syrup sits on top and makes the exterior soft and sticky. (Serious Eats, 2022)
Let the baklava rest at room temperature for at least 4 hours before serving. Overnight is better.
Gas vs. Electric Oven: How Each One Affects Your Baklava
Gas ovens run moister than electric ovens because burning gas produces water vapor. That extra moisture slows crisping. In a gas oven, add 5-10 minutes to your bake time and consider removing the baklava from the pan for the last 10 minutes to let the bottom dry out.
Electric ovens run dryer and more consistent. They are better for baklava. If you have a choice between gas and electric at the same temperature, choose electric.
Both oven types can have hot spots. The back of most home ovens runs 15-25°F hotter than the front. (King Arthur Baking, 2023) Rotate the pan 180 degrees at the 45-minute mark to compensate.
Convection vs. Conventional Baking for Baklava
Use conventional (no fan) for baklava. Convection baking circulates hot air and browns the top quickly – sometimes too quickly. The fan can also lift the top layers of phyllo before they set, which gives you an uneven, ruffled surface.
If convection is your only option, reduce the temperature by 25°F and start checking at 50 minutes instead of 60.
How to Find and Manage Hot Spots in Your Oven
An uneven oven browns baklava in patches – dark on one side, pale on the other. Here is how to find your hot spots before baking.
Place a sheet of plain white sandwich bread on the center rack of a cold oven. Set the oven to 350°F and bake for 10 minutes. Pull the bread out and look at the color. Dark spots on the bread map directly to hot spots in your oven. (America’s Test Kitchen, 2021)
Once you know where the hot spots are, rotate your baklava pan away from them at the 45-minute mark. If your oven has one persistent hot corner, start with that corner facing the back, then rotate 180 degrees at 45 minutes so it faces the front for the second half of the bake.
Regional Baklava Variations and How the Oven Method Differs
Turkish baklava uses a very thin syrup and a high ratio of butter to nuts. The result is almost translucent layers and a very light, delicate crunch. Turkish bakers often bake at a slightly higher temperature (325°F rather than 300°F) and for a shorter time to achieve the pale gold color that is standard in Turkey.
Greek baklava uses walnuts, cinnamon, and a honey-heavy syrup. Greek recipes often use a denser nut layer and bake slightly longer to compensate. The result is a heavier, more filling pastry. (Claudia Roden, The New Book of Middle Eastern Food, 2000)
Lebanese baklava favors pistachios and orange blossom water or rosewater. Lebanese versions tend to be cut into smaller pieces and use a thinner nut layer. The bake temperature and time are the same as the base method above.
Persian baklava (called baqlava in Farsi) often uses a diamond shape with a pistachio and cardamom filling, and rosewater syrup. Persian versions are sometimes baked in a round tray. The method is identical to the step-by-step above, just in a different pan shape.
The oven method is the same across all four traditions. The variables are the nut, the spice, and the syrup flavor. The temperature, the cut-before-baking rule, and the hot-syrup/cold-syrup rule do not change.
Storage, Make-Ahead Tips, and How Long Baklava Keeps
Baklava keeps at room temperature, uncovered, for up to 2 weeks. The word “uncovered” is important. Covering baklava traps moisture and makes the top layers soft. Store it in the pan with the top exposed, or transfer pieces to a plate and leave them out.
Do not refrigerate baklava. Refrigeration pulls moisture into the layers and softens them permanently. (The Mediterranean Dish, 2024)
The make-ahead timeline that works best in my experience: bake the baklava, add the syrup, and let it rest overnight. Serve the next day. The syrup distributes more evenly after 12-16 hours. The layers firm up. The flavor deepens. Baklava made 24 hours ahead is better than baklava made the same day.
If you want to get further ahead, freeze the unbaked, uncut baklava (before the syrup) for up to 3 months. Thaw overnight in the fridge, bring to room temperature, cut, and bake as normal. The syrup always goes on fresh from the oven.
Common Baklava Mistakes and Exactly How to Fix Them
| Mistake | Why It Happens | How to Fix It |
|---|---|---|
| Soggy layers | Hot syrup on hot baklava | Always use cold syrup. Refrigerate the syrup for 1 hour before using. |
| Pale, under-cooked base | Oven too hot – top cooks before heat reaches the bottom | Bake at 300-325°F for the full 60-75 minutes |
| Shattered edges when cutting | Cutting after baking | Cut all the way through before the pan goes in the oven |
| Bitter undertone | Milk solids in whole butter burning between layers | Switch to ghee (clarified butter) |
| Grainy syrup crust | Syrup crystallized during cooling | Add 1 tbsp lemon juice per cup of syrup to prevent crystallization |
| Dry, crumbly nut filling | Nuts ground too fine or not enough butter in layers | Use medium-grind nuts and brush every phyllo sheet edge-to-edge |
| Uneven browning | Oven hot spots | Rotate the pan 180 degrees at the 45-minute mark |
| Baklava at altitude (above 3,500 ft) | Water boils at a lower temperature, changing syrup consistency | Cook the syrup 2-3 minutes longer than the recipe states to reach the right density |
My Personal Baklava Routine: How I Actually Make It
I make baklava the day before I need it. Always. Never the same day.
I use ghee from a jar, not clarified butter I make myself. The texture is the same and it saves 20 minutes. I grind my nuts in a food processor in 5-second pulses – three pulses, check the texture, one or two more pulses if needed. The goal is fine gravel, not powder.
My syrup is half sugar, half honey, with water, lemon juice, and one tablespoon of orange blossom water. I make it first and put it in the fridge while I build the baklava. It needs to be cold when the baklava comes out of the oven.
I bake at 310°F in my electric oven. Not 300, not 325. My oven runs slightly cool, so 310°F gives me 300°F in real terms. I know this because I tested it with a separate oven thermometer. Buy a $12 oven thermometer. It is the single most useful tool you can add to a home kitchen. (King Arthur Baking, 2023)
I check the baklava at 60 minutes and pull it when I see deep, even gold across the top. Then cold syrup goes on immediately. I pour slowly, working from the center out, tilting the pan so the syrup runs into every cut line.
Then I walk away for 4 hours. Minimum. Overnight is better.
I do not decorate the top with whole pistachios before baking. I add them after – one pistachio pressed into the center of each diamond after the syrup goes on. The syrup acts as an adhesive while it sets. Pistachios baked on top often burn at the edges and turn bitter.
Frequently Asked Questions About How to Make Baklava in the Oven
Why does my baklava turn out soggy?
Soggy baklava almost always comes from adding hot syrup to hot pastry. When both are at the same temperature, the syrup does not absorb – it pools on the surface and softens the top layers. Use cold syrup on hot baklava. Make the syrup first, let it cool in the fridge for at least an hour, and pour it straight from the fridge onto the baklava the moment it comes out of the oven.
What is the best oven temperature for baklava?
300-325°F (150-163°C) is the right range for baking baklava in the oven. Lower temperatures take too long and can dry out the nut filling. Higher temperatures brown the top before the lower layers cook through. If your oven runs hot, stay at 300°F. If it runs cool, go to 325°F. An oven thermometer will tell you which category your oven falls into.
Can I use regular butter instead of ghee?
You can, but the result will not be as good. Regular butter contains water (which steams the phyllo instead of crisping it) and milk solids (which burn at oven temperatures and add bitterness). Ghee has had both removed. It is pure butterfat and behaves more like oil during baking. Ghee is sold in most supermarkets and online. If you cannot find it, clarify your own butter by melting it and skimming the foam from the top.
How far ahead can I make baklava?
Baklava keeps at room temperature for up to 2 weeks without losing quality. In fact, it improves for the first 24-48 hours as the syrup distributes through the layers. Make it 1-2 days before you need it for the best result. Do not refrigerate it – the cold makes the layers go soft. Store it uncovered or loosely covered with a cloth, not plastic wrap.
Why do I cut baklava before baking instead of after?
Baked phyllo is brittle. Cutting it after baking shatters the layers and crumbles the edges. Cutting before baking lets the cut surfaces crisp and seal during the bake, which gives you clean diamond shapes with defined edges. Use a sharp knife and go all the way to the bottom of the pan. Partially cut lines will fuse back together in the oven and be impossible to separate cleanly after baking.
What is the difference between Turkish and Greek baklava?
Turkish baklava uses a lighter sugar syrup and a very high butter-to-nut ratio. It bakes to a pale gold with an almost transparent look in the layers. Greek baklava uses a heavier honey syrup, more nuts per layer, and usually includes cinnamon in the filling. Greek baklava is darker, denser, and sweeter than Turkish baklava. Both use phyllo dough and the same basic layering method. (Claudia Roden, The New Book of Middle Eastern Food, 2000)
How do I know when baklava is done baking?
The top should be a deep, even gold – not pale yellow and not dark brown. The edges are the first to brown, so watch the center. If the center is still pale yellow at 60 minutes and the edges are golden, the oven has hot spots. Rotate the pan and give it another 10-15 minutes. A pale top means under-cooked layers below. Pull it too early and the base will be greasy and soft.
Does baklava freeze well?
Yes, with one condition: freeze the assembled, unbaked baklava before adding the syrup. Wrap the uncut pan tightly in two layers of plastic wrap and freeze for up to 3 months. Thaw overnight in the fridge, bring to room temperature for one hour, cut, and bake normally. The syrup always goes on after baking, never before freezing. Freezing already-baked, already-syruped baklava softens the layers permanently.
Key Takeaways
- Temperature is everything. Bake at 300-325°F for 60-75 minutes. Anything hotter and you burn the top before the base layers cook through.
- Cut before baking. Use a sharp knife to cut all the way through the assembled baklava before it goes in the oven. Cutting after baking shatters the layers.
- Use ghee, not whole butter. Ghee crisps phyllo. Whole butter steams it and adds bitterness from burned milk solids.
- Cold syrup on hot baklava. Make the syrup first, chill it, and pour it straight from the fridge the moment the pan comes out of the oven.
- Know your oven. Buy an oven thermometer. Rotate the pan at 45 minutes. If you have a gas oven, add 5-10 minutes to the bake time.
- Let it rest overnight. Baklava eaten the same day it is made is good. Baklava eaten the next day is significantly better.
- Lemon juice in the syrup prevents crystallization. One tablespoon per cup of syrup keeps the surface smooth and glossy instead of grainy.

I’m Mossaraof, a trained chef and the founder of OvenInsights.com. I spent years cooking at Larrupin’ Cafe and in kitchens across Chicago and Seattle. Now I test kitchen gear for a living. I moved to North Acton, London, and I test every tool I write about. I use real meals and real heat. No brand deals. No shortcuts. I cover 12 kitchen types and hundreds of recipes. I believe this: the right tools matter as much as the recipe.




