
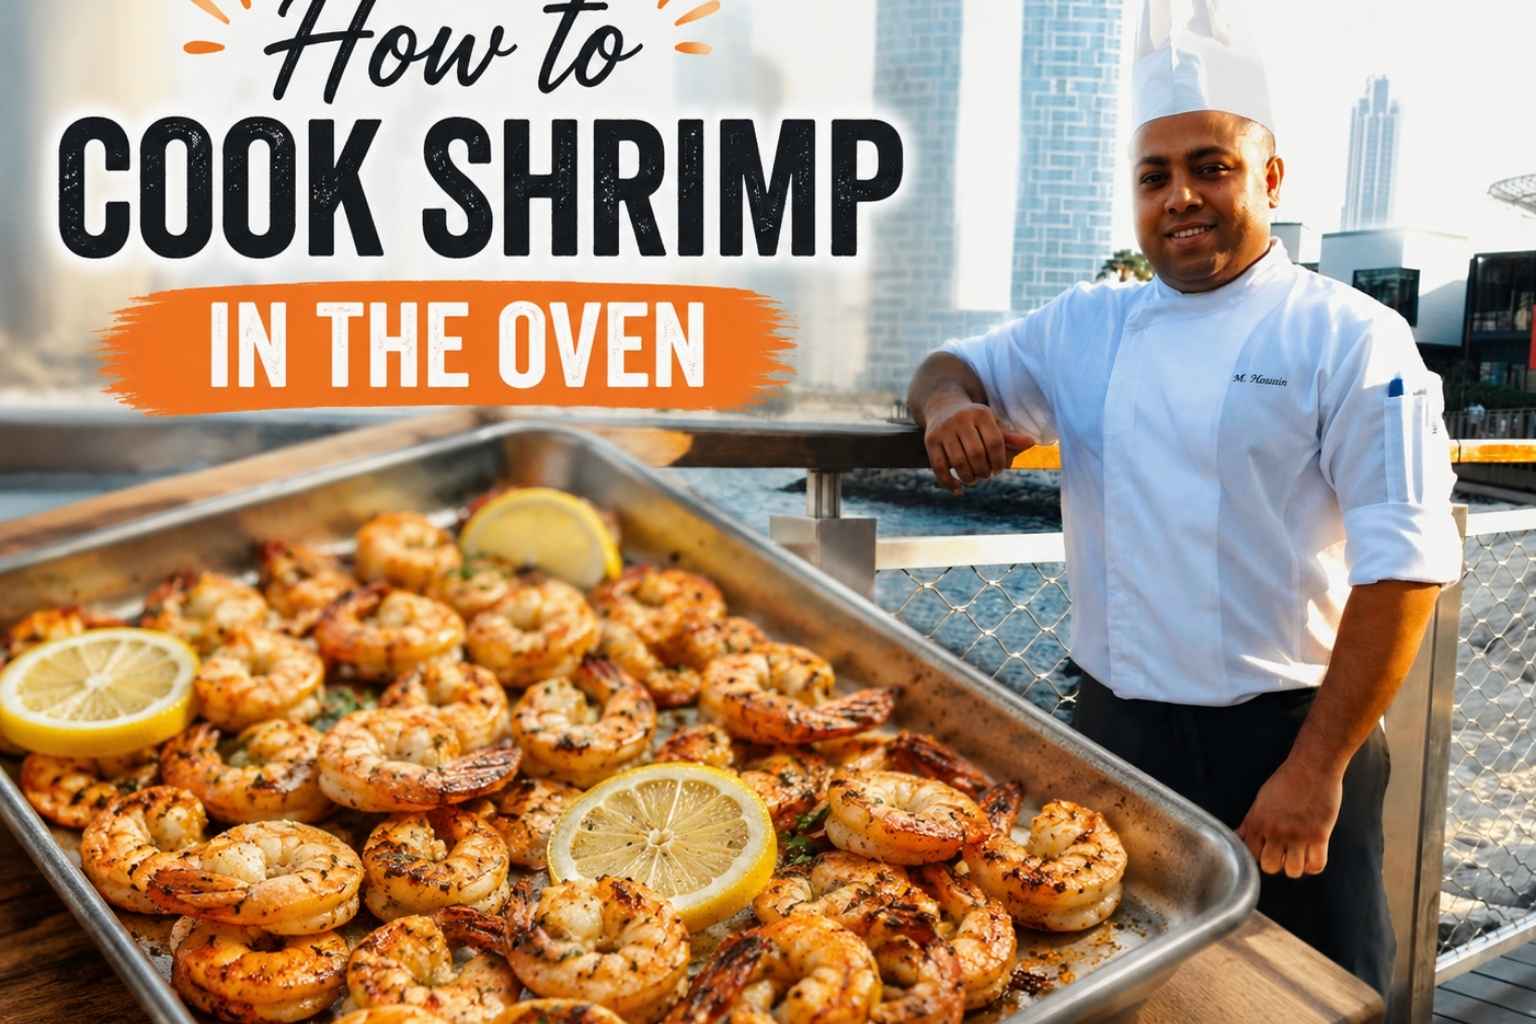
I used to think shrimp was hard to get right. Mine came out rubbery, or worse, dry as cardboard. Then I learned how to cook shrimp in the oven, and honestly, it changed everything in my kitchen.
This method is fast, mess-free, and almost impossible to mess up. I’ve made it for busy weeknights and fancy dinners alike. Below, I’ll show you my simple steps, plus a few tricks I picked up along the way. Grab your baking sheet, and let’s get cooking!
At A Glance
- Cook shrimp at 400°F-425°F for 6-10 minutes depending on size – they are done when they curl into a “C” shape and turn pink and opaque.
- Never cook shrimp straight from frozen – thaw them first using the cold-water method (15-20 minutes) or overnight in the fridge.
- Pat shrimp completely dry before seasoning – this one step separates golden, slightly charred shrimp from pale, steamed ones.
- The safe internal temperature for shrimp is 120°F (USDA, 2024) – use a probe thermometer to hit it exactly and stop guessing.
- Overcrowding the pan is the single most common mistake home cooks make – it causes steaming instead of roasting.
Why Cooking Shrimp in the Oven Works Better Than Most People Think
Oven-baked shrimp is fast, hands-off, and far more forgiving than pan-frying when you follow a few basic rules. A sheet pan full of large shrimp goes from raw to done in about 8 minutes at 400°F. No hovering over a hot skillet. No splatter. No batch cooking.
I have cooked shrimp in hotel kitchens, catering operations, and my own home kitchen for over 15 years. The oven is my go-to method for anything over a pound because it delivers even heat on all sides without the babysitting.
The challenge with shrimp is the window. Shrimp go from perfectly cooked to rubbery in about 60-90 seconds. Understanding why that happens makes it easy to avoid.
What Actually Happens When Shrimp Cooks (The Short Science Version)
Shrimp are almost entirely protein and water. When heat hits them, two things happen fast. First, the proteins – mainly actin and myosin – contract and squeeze moisture out. Second, the shell (if on) traps some of that steam and slows the cook.
At around 120°F internal temperature, shrimp are cooked through, tender, and juicy (USDA, 2024). Push past 145°F and the proteins over-contract, squeezing out most of the moisture. What you get is a rubbery, bouncy texture that no amount of sauce can fix.
Carryover cooking – the heat that keeps cooking food after it leaves the oven – is real with shrimp. Pull them at 115°F and they’ll coast to 120°F on the pan. Pull them at 120°F and they’ll hit 125°F-128°F before you serve them. Still fine. Pull them at 130°F and you are already in rubbery territory.
Fresh vs. Frozen Shrimp: What to Buy and How to Handle It
Fresh shrimp is rarely actually fresh unless you live near a shrimp boat. Most “fresh” shrimp at grocery store counters was previously frozen and thawed. Buy frozen and thaw it yourself – you control the timeline and the quality.
How to Thaw Shrimp the Right Way
Method 1 – Overnight fridge thaw: Put frozen shrimp in a bowl or bag in the fridge the night before. This is the best method. Texture stays firm and even.
Method 2 – Cold water quick thaw: Put frozen shrimp in a colander or strainer. Run cold (not warm, not hot) water over them for 15-20 minutes. They thaw evenly and stay at a safe temperature throughout (America’s Test Kitchen, 2023).
Never thaw shrimp in warm or hot water. It thaws the outside faster than the inside, and the outer layer starts to cook before the center is even close to ready.
Why You Should Never Cook Shrimp Straight from Frozen
Cooking shrimp from frozen in the oven is a mistake I see constantly. The outside overcooks trying to drive heat to the frozen center. By the time the interior hits 120°F, the exterior is already at 140°F+ and well into rubbery territory. Always thaw first.
Shell-On vs. Peeled, Deveined vs. Not: Which Should You Use?
For oven cooking, peeled and deveined shrimp is almost always the right call. The shell adds a small flavor benefit but slows cooking, makes even seasoning harder, and forces your guests to peel at the table.
The exception is whole-roasted shrimp served as an appetizer or a showpiece dish. Shell-on shrimp roasted at high heat get a little char on the shell that adds a smoky, slightly briny flavor you just cannot get otherwise.
Deveining – removing the dark digestive tract that runs along the back – is a personal call. It has no impact on safety (USDA, 2024) and very little impact on flavor. I do it because it looks cleaner and some guests are put off by it. Use a small paring knife or a dedicated deveining tool to make a shallow cut along the back and pull the vein out.
Choosing the Right Shrimp Size for Your Recipe
Shrimp are sold by count per pound – the number tells you how many shrimp fit in one pound. Smaller number means bigger shrimp. Here is how the sizing breaks down:
| Size Label | Count Per Pound | Best Used For |
|---|---|---|
| Small | 51-60 | Pasta, soups, stuffing |
| Medium | 41-50 | Stir-fry, tacos, salads |
| Large | 31-40 | Most oven recipes, sheet pan dinners |
| Jumbo | 21-25 | Appetizers, shrimp cocktail |
| Colossal | 16-20 or U/15 | Showpiece dishes, stuffed shrimp |
For most home oven recipes, large (31-40 count) is the sweet spot. They cook evenly, they’re easy to handle, and they don’t disappear into whatever you’re serving them with.
How to Cook Shrimp in the Oven: Step-by-Step
What You Need Before You Start
- 1-2 lbs shrimp, peeled and deveined, fully thawed
- Sheet pan (Nordic Ware half-sheet pans are my pick – heavy gauge, no warping)
- Olive oil or avocado oil
- Paper towels
- Instant-read thermometer (I use the ThermoWorks Thermapen One – no other thermometer is as fast or accurate)
- Salt, pepper, garlic powder, smoked paprika
Step 1: Dry the Shrimp Completely
Lay thawed shrimp on a sheet of paper towels. Press another layer on top. Pat firmly. Wait 2 minutes. Pat again.
This is the step most home cooks skip. Wet shrimp steam instead of roast. The moisture turns to steam in the oven and prevents any browning. Dry shrimp get color and a slightly firmer edge. Serious Eats (2022) tested this directly and found that dried shrimp browned measurably faster and had better texture in blind tasting.
Step 2: Season Generously
Toss dry shrimp in a bowl with 1-2 tablespoons of olive oil and your seasoning. My go-to blend for everyday oven shrimp:
- 1 tsp kosher salt
- 1/2 tsp black pepper
- 1 tsp garlic powder
- 1 tsp smoked paprika
- 1/4 tsp cayenne (optional)
- Zest of half a lemon
Toss until every shrimp is coated. The oil helps seasoning stick and helps with browning.
Step 3: Arrange in a Single Layer With Space Between
Spread shrimp on the sheet pan in a single layer. Leave at least a half inch of space between each one. If your pan is crowded, use two pans or cook in batches.
Crowded shrimp steam. Spaced-out shrimp roast. The difference is visible and delicious.
Step 4: Position the Oven Rack and Preheat
Preheat your oven to 400°F or 425°F. Place the rack in the upper-middle position – about 6-8 inches from the top heating element. If you’re broiling (more on that below), move the rack to the top position.
Do not put shrimp in a cold oven. The preheat is non-negotiable.
Step 5: Roast, Watch, and Pull Early
Slide the pan into the oven. Set a timer for 2 minutes less than the time listed in the table below. Check at that point. You are looking for a “C” shape and pink-opaque color. Pull them the moment they hit that mark.
Shrimp Cooking Time and Temperature Reference Table
Use this table as your guide. Times assume peeled, deveined, fully thawed shrimp on a preheated sheet pan in a well-calibrated oven.
| Shrimp Size | Count/lb | Temp | Time | Doneness Signs | Notes |
|---|---|---|---|---|---|
| Small | 51-60 | 400°F | 4-5 min | Pink, opaque, C-shape | Watch closely – very fast |
| Small | 51-60 | 425°F | 3-4 min | Pink, opaque, C-shape | Easy to overcook |
| Medium | 41-50 | 400°F | 5-6 min | Pink, opaque, C-shape | Good for pasta and salads |
| Medium | 41-50 | 425°F | 4-5 min | Pink, opaque, C-shape | Slight browning at edges |
| Large | 31-40 | 400°F | 7-8 min | Pink, opaque, C-shape | Best all-purpose size |
| Large | 31-40 | 425°F | 6-7 min | Pink, opaque, slight char | My preferred setting |
| Jumbo | 21-25 | 400°F | 8-9 min | Pink, opaque, C-shape | Flip halfway for even cook |
| Jumbo | 21-25 | 425°F | 7-8 min | Pink, opaque, slight char | Flip halfway |
| Colossal | U/15-16-20 | 400°F | 10-12 min | Pink, opaque, C-shape | Flip halfway, use thermometer |
| Colossal | U/15-16-20 | 425°F | 9-10 min | Pink, firm, light char | Pull at 115°F internal |
Key: C-shape = done. O-shape (tight curl) = overcooked. When in doubt, pull earlier and check with a thermometer.
The “C” Shape vs. “O” Shape Doneness Test Explained
This is the fastest visual test you can use without a thermometer.
A shrimp in its raw state is straight. As it cooks, it curls. A perfectly cooked shrimp curves into a loose “C” – still open at both ends of the curve. An overcooked shrimp curls so tight it forms a full “O,” like a circle. The “O” shape tells you the proteins have contracted too hard. The shrimp is already rubbery.
Pull the pan when you see “C” shapes across the majority of the shrimp. A few stragglers at the edges that still look slightly translucent will finish from carryover heat on the hot pan.
Roasting vs. Broiling Shrimp: When to Use Each Method
Roasting (standard oven heat, 400°F-425°F) gives you even cooking throughout the shrimp. This is the right choice when you want consistent texture and are cooking a large batch.
Broiling uses top-down intense heat, typically 450°F-500°F. It browns the top surface fast – usually 2-3 minutes for large shrimp – and gives you more char and caramelization. This is the right choice when you want shrimp for tacos, a salad topper, or any dish where you want a little visible color.
The trade-off with broiling: it is less forgiving. The difference between perfectly broiled and overcooked is about 45 seconds. Stay at the oven door and watch the whole time. America’s Test Kitchen (2023) recommends broiling on a preheated pan for best results – slide a cold sheet pan under the broiler for 5 minutes before adding the shrimp.
I use broiling for 1-pound batches and smaller. For anything larger, I roast at 425°F.
Marinating Shrimp: How Long Is Safe and When It Hurts Texture
You can marinate shrimp. But shrimp are small and thin, so they absorb flavor fast. Most marinades do their job in 15-30 minutes in the fridge.
Do not marinate shrimp in acidic marinades (lemon juice, lime juice, vinegar) for longer than 30 minutes. The acid starts to denature the proteins – the same process that happens with heat. Over-marinated shrimp come out with a mushy, almost mealy texture even before they hit the oven (Cook’s Illustrated, 2022). It is the same science behind ceviche, just unwanted.
Oil-based marinades with garlic, herbs, and spices are safe for up to 2 hours. Salt-based marinades (dry brines) work in as little as 15 minutes and give you better browning because they pull surface moisture out and let it reabsorb.
My rule: season and oil shrimp right before cooking. If you want flavor depth, dry brine them with salt and garlic powder for 20 minutes uncovered in the fridge first.
Using a Meat Thermometer for Shrimp: Why Most Cooks Skip It and Why You Shouldn’t
Most home cooks do not use a thermometer for shrimp because shrimp are small and the window for “done” feels visual. The “C” shape test is good enough most of the time.
But if you are cooking colossal shrimp, shell-on shrimp, or stuffed shrimp, a thermometer is the difference between great and overcooked.
The USDA safe internal temperature for shrimp is 120°F (USDA, 2024). I pull shrimp at 115°F and let carryover finish the job. Use a thin-probe instant-read thermometer (Taylor Precision Products makes a reliable budget option; ThermoWorks Thermapen is the professional standard). Insert the probe into the thickest part of the largest shrimp on the pan.
My Personal Go-To Oven Shrimp Recipe and Routine
Here is exactly what I do when I’m cooking shrimp for a weeknight dinner for four.
I buy two pounds of large (31-40 count) wild-caught Gulf shrimp, peeled and deveined, from the freezer section. I thaw them in a colander under cold running water for 15 minutes. I dry them aggressively with paper towels – this step gets two full minutes of my attention because it matters that much.
In a bowl, I toss the dry shrimp with 2 tablespoons of good olive oil, 1.5 teaspoons of kosher salt, 1 teaspoon of smoked paprika, 1 teaspoon of garlic powder, 1/2 teaspoon of black pepper, and the zest of one lemon. I spread them on two Nordic Ware half-sheet pans in a single layer – never one crowded pan.
I roast at 425°F on the upper-middle rack for exactly 6 minutes. I pull the pan, check two or three shrimp for the “C” shape, and if they’re there, I squeeze fresh lemon juice over the top and serve immediately.
That’s it. No flipping required at this size and temp. No standing over the pan. Start to finish, with thawing, it is under 30 minutes.
7 Common Mistakes When Cooking Shrimp in the Oven (With Fixes)
Mistake 1: Crowding the pan. Shrimp release moisture as they cook. Too many on one pan and that moisture turns to steam, giving you pale, soft shrimp instead of roasted ones. Fix: use two pans or cook in batches.
Mistake 2: Skipping the pat-dry step. Surface moisture is the enemy of browning. Even 30 extra seconds of drying makes a visible difference. Fix: use paper towels and press firmly, then wait and press again.
Mistake 3: Cooking from frozen. The outer layer overcooks before the inside thaws. Fix: always thaw first using the cold-water method or overnight in the fridge.
Mistake 4: Wrong oven rack position. Shrimp on the bottom rack cook unevenly and don’t brown on top. Fix: upper-middle rack for roasting, top rack for broiling.
Mistake 5: Not preheating the pan. A cold pan slows the bottom of the shrimp from cooking and promotes moisture pooling. Fix: for best results, preheat the pan in the oven for 5 minutes before adding shrimp.
Mistake 6: Pulling shrimp too late. By the time every shrimp on the pan looks done, half of them are already overcooked. Fix: pull when 80% look done and let carryover finish the rest.
Mistake 7: Over-marinating in acid. Lime and lemon juice start breaking down shrimp texture within 30 minutes. Fix: keep acidic marinades short or add the acid only after cooking.
Frequently Asked Questions About Cooking Shrimp in the Oven
Can you cook shrimp from frozen in the oven?
You can, but you should not if you want good results. Cooking frozen shrimp directly in a hot oven means the outside overcooks before the center is done. The better move is a 15-minute cold-water thaw. It’s fast and makes a real difference in texture.
How do I know when shrimp is done in the oven?
The clearest visual sign is the “C” shape – a loose curl with both ends of the curve still open. The shrimp should be fully pink and opaque with no grey or translucent spots. For the most accurate result, use an instant-read thermometer and pull shrimp when the internal temperature reaches 115°F-120°F.
Can you overcook shrimp in the oven?
Yes, easily. Overcooked shrimp curls into a tight “O” shape and turns rubbery. At high oven temps, the difference between done and overdone can be under a minute. Set a timer and start checking 2 minutes before the expected cook time ends.
What temperature should I cook shrimp in the oven?
400°F-425°F is the best range for most home ovens. At 400°F you get a little more control and even cooking. At 425°F you get faster cooking and slightly more browning. Both work well. Do not go below 375°F – shrimp will take too long and dry out. Do not go above 450°F unless you are broiling and watching the whole time.
What is the safe internal temperature for shrimp?
The USDA sets the safe minimum internal temperature for shrimp at 120°F (USDA, 2024). In practice, I pull shrimp at 115°F and let carryover heat bring them up to 120°F on the pan. A thin-probe instant-read thermometer is the only reliable way to know exactly where you are.
How long does it take to cook large shrimp in the oven at 400°F?
Large shrimp (31-40 count per pound), peeled and deveined, take 7-8 minutes at 400°F on a preheated pan. Start checking at the 6-minute mark. They are done when they are pink, opaque, and shaped like a loose “C.”
Should shrimp be flipped when cooking in the oven?
For small and medium shrimp at high heat, flipping is not necessary – the oven heat is enough to cook both sides. For jumbo and colossal shrimp, flipping halfway through helps the bottom side get the same browning as the top. Use tongs and flip quickly to avoid losing oven heat.
Can I cook shrimp in the oven without oil?
Technically yes, but the results are worse. Oil helps seasoning adhere, promotes surface browning, and prevents sticking. A dry shrimp without oil will turn out pale and a little dry. Use at least 1 tablespoon of oil per pound of shrimp.
Key Takeaways
- Dry shrimp before cooking. Pat them with paper towels until the surface is dry. This single step has the biggest effect on texture and color.
- Use 400°F-425°F. This range works for every size from small to colossal. Large shrimp at 425°F take 6-7 minutes.
- Pull at the “C” shape – a loose curl, fully pink and opaque. A tight “O” means overcooked.
- 120°F is the target internal temperature (USDA, 2024). Pull at 115°F and let carryover do the last few degrees.
- Never crowd the pan. Single layer with space between each shrimp – use two pans if needed.
- Thaw frozen shrimp first, always. Cold-water thaw takes 15-20 minutes and makes a real difference.
- Acidic marinades work in 15-30 minutes. Longer than that and the acid starts to break down the texture before the oven even gets involved.
- For broiling, move the rack to the top position and watch the shrimp the entire time – 2-3 minutes is all it takes at broiler heat.

I’m Mossaraof, a trained chef and the founder of OvenInsights.com. I spent years cooking at Larrupin’ Cafe and in kitchens across Chicago and Seattle. Now I test kitchen gear for a living. I moved to North Acton, London, and I test every tool I write about. I use real meals and real heat. No brand deals. No shortcuts. I cover 12 kitchen types and hundreds of recipes. I believe this: the right tools matter as much as the recipe.




