
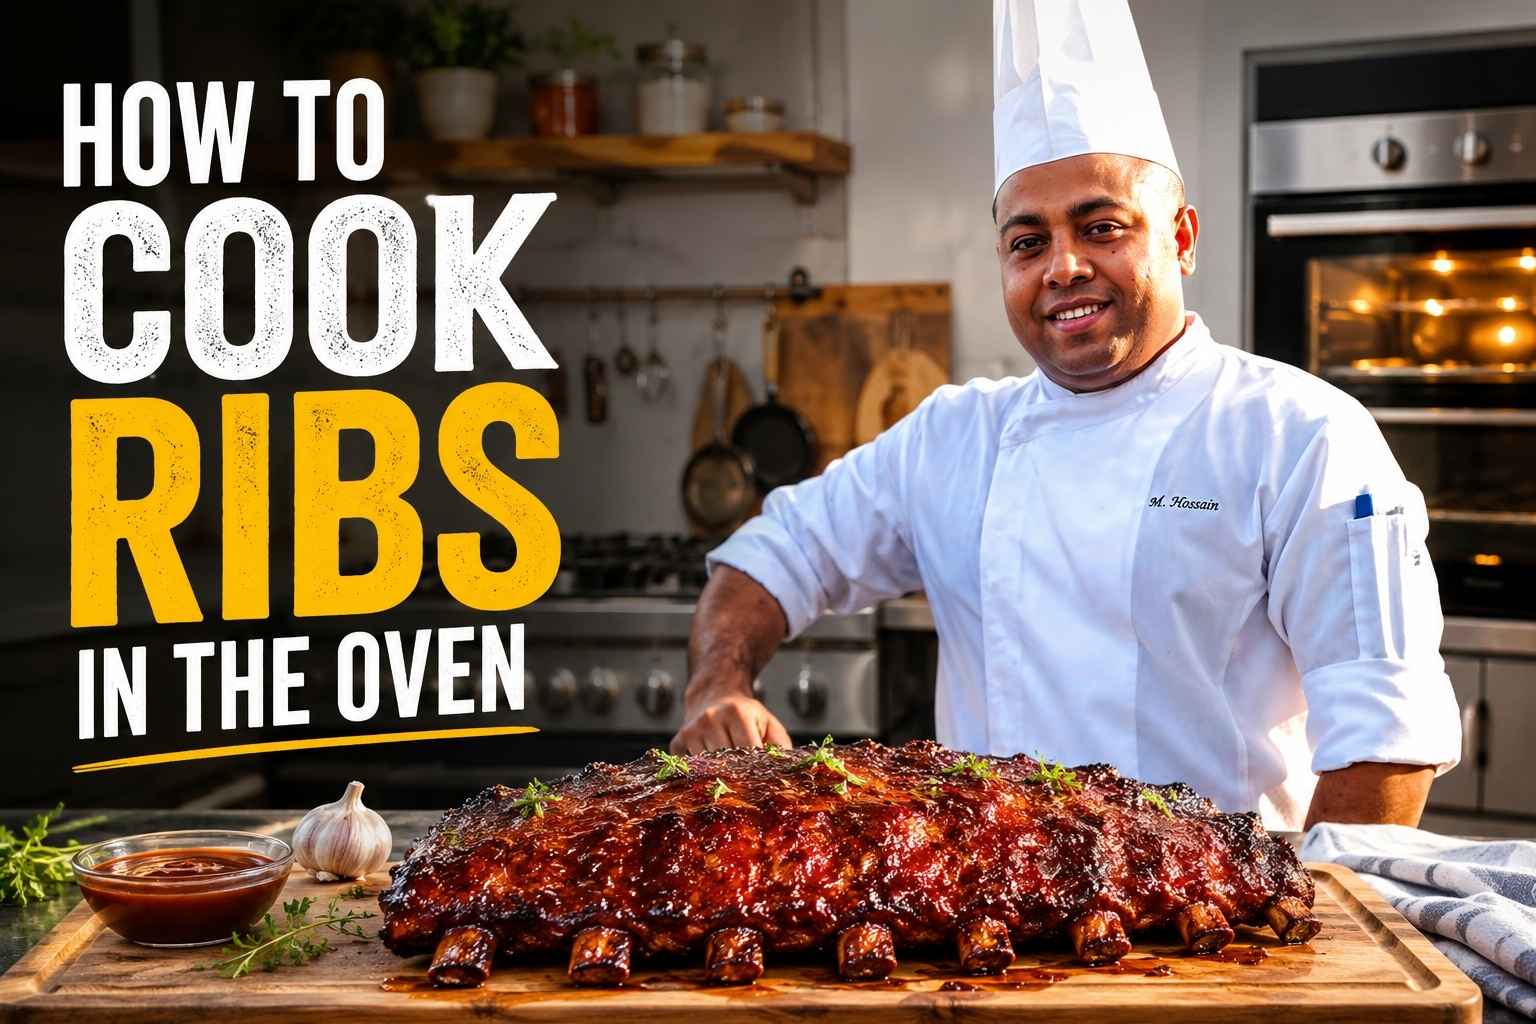
I still remember my first try at ribs. They came out dry and tough, and I felt so let down. That’s why I want to show you how to cook ribs in the oven the easy way. This simple method gives you soft, juicy meat every single time. Stick with me, and you’ll make ribs your whole family will love.
At A Glance
- Oven-baked ribs at 275°F for 2.5–3 hours (foil-wrapped) match or beat smoker results when you nail the prep.
- Always remove the membrane – it blocks seasoning and turns rubbery no matter how long you cook.
- Dry rub beats marinade for ribs. Salt, fat, and heat do the real work.
- The bend test and toothpick test are more reliable than a timer alone.
- Rest ribs 10–15 minutes before cutting. Skipping this step loses juice you can’t get back.
Why Oven Ribs Are Genuinely Great (And What’s Happening Inside the Meat)
Oven-baked ribs taste as good as smoker ribs when you understand what you’re cooking toward. The goal isn’t “smoke flavor” – it’s collagen breakdown.
Ribs are full of collagen, the connective tissue that makes them tough when undercooked. At temperatures between 160°F and 180°F, collagen melts into gelatin. That gelatin coats the meat fibers and creates the rich, sticky, pull-apart texture everyone is chasing. This process takes time. It cannot be rushed with high heat. High heat tightens the muscle fibers and squeezes out moisture before the collagen has time to melt. The result is dry, chewy ribs – not fall-off-the-bone.
A low oven – 250°F to 300°F – holds the meat in that collagen-melting window long enough to do the job. No smoker required.
The smoke flavor is the only thing the oven can’t replicate. But smoked paprika, black pepper, and a touch of chipotle in your rub get you most of the way there (America’s Test Kitchen, 2024).
Choosing the Right Ribs: Baby Back vs. Spare vs. St. Louis vs. Country-Style
The cut you buy determines your cook time, temperature, and method. Here’s how each one breaks down.
| Rib Type | Best Oven Temp | Cook Time (Foiled) | Texture | Best For |
|---|---|---|---|---|
| Baby back | 275°F | 2 – 2.5 hours | Lean, tender | Quick weeknight cook |
| Spare ribs | 275°F | 3 – 3.5 hours | Fatty, rich | Slow weekend cook |
| St. Louis-style | 275°F | 2.5 – 3 hours | Even, meaty | Competition-style results |
| Country-style | 300°F | 2 – 2.5 hours | Very meaty, pork-shoulder-like | Feeding a crowd cheap |
Baby back ribs are cut from the upper back near the spine. They’re shorter, leaner, and more tender. They cost more per pound but cook faster. Good choice if you’re short on time.
Spare ribs come from the belly side. They have more fat, more connective tissue, and more flavor. They take longer to cook and reward patience. This is my personal pick.
St. Louis-style is spare ribs with the sternum bone, cartilage, and rib tips trimmed off. The rack becomes a uniform rectangle – easier to cook evenly, easier to slice. If you’re buying spare ribs and want cleaner results, trim them yourself.
Country-style ribs are not ribs in the traditional sense. They’re cut from the blade end of the pork loin or shoulder. No rib bones. More like thick chops. They cook differently and don’t follow the same rules.
The Membrane: Remove It Every Single Time
The membrane (also called the fell) is a thin, silvery layer of connective tissue on the bone side of the rack. It does not break down during cooking. It turns leathery, blocks your rub from reaching the meat, and makes the finished ribs harder to eat.
Remove it before you season.
How to remove the membrane cleanly:
- Flip the rack bone-side up.
- Slide a butter knife under the membrane at the end of a middle bone.
- Lift until you have a flap big enough to grip.
- Grab the flap with a paper towel (dry hands slip – the paper towel grips).
- Pull back in one slow, steady motion. The whole membrane should come off in one piece.
If it tears, start again at a new corner. Takes 30 seconds once you’ve done it a few times.
Some butchers leave it on by default. Check every rack you buy.
Dry Rub vs. Marinade vs. Wet Brine: My Honest Take
Dry rub is the right call for ribs. Here’s why.
A marinade is liquid. It cannot penetrate more than a few millimeters into dense muscle fiber – even after 24 hours (Serious Eats, 2023). All it does is flavor the surface. For ribs, the surface gets sauced at the end anyway, so the marinade adds almost nothing.
A wet brine (submerging the rack in salted water) helps retain moisture in very lean cuts like pork tenderloin. Ribs are not lean. The fat content and slow cook time already handle moisture. Brining ribs adds a lot of prep time for minimal return.
Dry rub works because salt pulls moisture out of the meat’s surface, dissolves, and gets reabsorbed back in. This process seasons the meat from the outside in – not deep, but deeper than a marinade. The dry surface also promotes better browning and better bark formation.
Apply your rub at least one hour before cooking. Overnight in the fridge is better.
My go-to rub (for one full rack):
- 2 tbsp kosher salt
- 1 tbsp black pepper (coarse-ground)
- 1 tbsp smoked paprika
- 1 tsp garlic powder
- 1 tsp onion powder
- 1 tsp dry mustard
- 1/2 tsp cayenne
No brown sugar in the rub. I add sugar to the sauce – not the rub. Sugar on the surface burns before the interior is done.
The 3-2-1 Method: What It Is and How to Adjust It for Your Oven
The 3-2-1 method is a smoking framework adapted for the oven. It stands for 3 hours uncovered, 2 hours foiled, 1 hour unfoiled with sauce. Those numbers were built for a smoker running at 225°F.
In an oven, you run hotter – so the times compress. Use this as your guide:
At 250°F:
- Baby back: 2 hours uncovered – 1.5 hours foiled – 30 min unfoiled
- Spare/St. Louis: 2.5 hours uncovered – 2 hours foiled – 30 min unfoiled
At 275°F (my preferred temp):
- Baby back: 1.5 hours uncovered – 1.5 hours foiled – 20 min unfoiled
- Spare/St. Louis: 2 hours uncovered – 1.5 hours foiled – 20 min unfoiled
At 300°F (faster, slightly drier):
- Baby back: 1 hour uncovered – 1.5 hours foiled – 15 min unfoiled
- Spare/St. Louis: 1.5 hours uncovered – 1.5 hours foiled – 20 min unfoiled
At 325°F (only for country-style):
- 45 min uncovered – 1.5 hours foiled – 15 min unfoiled
The foil phase is where most of the collagen breakdown happens. Don’t cut it short.
Foil vs. No Foil: What the “Texas Crutch” Actually Does
Wrapping ribs in foil mid-cook is called the Texas Crutch. It speeds up collagen breakdown by trapping steam around the meat. That steam raises the effective temperature inside the foil packet and pushes the meat through the stall faster (ChefSteps, 2022).
The tradeoff: foil softens the bark. If you wrap too early or leave the foil on too long, you get a steamed texture – soft on the outside instead of firm and slightly chewy. That’s not always bad, but it’s different.
My rule: foil always, but time it right. For most home cooks cooking spare ribs at 275°F, foiling after 2 hours and removing foil for the last 20–30 minutes gives you tender meat with enough surface texture to feel right.
If you want competition-style bark with a firmer exterior – skip the foil, drop the temp to 250°F, and add 45–60 minutes to your total cook time.
Bone-Side Up or Down? Here’s the Answer
Cook bone-side up for the foiled phase. Bone-side down for everything else.
Here’s the reasoning: the bones act as a natural rack. When the meat faces down during the uncovered phase, it’s farther from the direct oven heat (which comes mainly from the top element in most ovens). That protects the meat from drying out and helps it cook more evenly.
During the foil phase, bone-side up means the rendered fat bastes the meat as it melts. The fat runs down through the meat, not away from it.
During the final uncovered phase, flip bone-side down again. This lets the surface caramelize without sitting in its own pooled fat.
Rack position matters too. Use the middle rack. Top rack browns the surface too fast. Bottom rack undercooks the top of the meat.
How to Tell When Ribs Are Done (Bend Test, Toothpick Test, and Temp)
Three reliable methods. I use all three together.
The bend test: Pick up the rack with tongs from one end. Hold it horizontally. A done rack bends at 45 degrees or more and shows cracks in the surface. An underdone rack stays stiff and flat.
The toothpick test: Slide a toothpick between two bones into the thickest part of the meat. It should pass through with almost no resistance – like warm butter. If you feel any drag or tug, keep cooking.
Internal temperature: The USDA minimum for pork is 145°F (USDA, 2023). That’s food-safe but nowhere near done for ribs. For fall-off-the-bone results, you want 195°F to 203°F in the meat between the bones. At that temp, the collagen has fully converted to gelatin.
An instant-read thermometer like a Thermapen is the most accurate tool here. Probe the thickest section of meat. Avoid the bone – bone conducts heat differently and will read high.
Finishing With Sauce: Broiler Timing and How to Avoid Burning
Apply sauce only in the last 15–20 minutes of cooking. Never sauce at the start.
Sugar-based sauces – which includes most store-bought BBQ sauces – burn fast. They start to char above 300°F, and if they’re on the meat during the full cook, they’ll be black before the ribs are ready.
Two finishing methods:
Oven method: Brush sauce on during the last 20 minutes at 275°F. This gives the sauce time to caramelize slowly without burning. Apply one coat, let it set for 10 minutes, then apply a second coat for the last 10 minutes. You get layered, sticky sauce with good color.
Broiler method: Pull the ribs out at fully done. Set the broiler to high. Brush with sauce. Broil for 3–4 minutes per side, watching constantly. The broiler caramelizes the sauce fast. Do not walk away. One minute too long and it turns bitter.
My preference: the oven method for control, the broiler for speed and char.
Resting Ribs Before Cutting: Why It Matters and How Long
Rest ribs for 10–15 minutes after pulling them from the oven. Cover loosely with foil.
During cooking, the proteins in the meat tighten and push moisture toward the center. Resting lets those proteins relax and redistribute the moisture back through the meat. Cut too early and the juices pool on the cutting board instead of staying in the meat.
With ribs specifically, resting also lets the gelatin firm up slightly. This makes slicing cleaner – the meat holds together better between the bones instead of falling apart on the knife.
Common Mistakes and How to Fix Them
Cooking ribs straight from the fridge. Cold meat takes longer to come up to temperature. The outer layers overcook before the center reaches the right temp. Pull your rack out of the fridge 30 minutes before cooking.
Wrong rack position. Top rack burns the surface before the interior is done. Bottom rack doesn’t brown the meat properly. Middle rack every time.
Over-saucing too early. Sugar burns. Apply sauce in the last 15–20 minutes only. If your ribs look pale going into the oven, that’s fine – color comes at the end.
Cutting with the grain. Ribs should be cut between the bones, not across the meat’s grain. Slice straight down between each rib bone with a sharp knife. Don’t saw back and forth.
Not letting the rub sit. A rub applied five minutes before cooking barely penetrates. Apply it at least one hour before. Salt needs time to do its work.
Using too much liquid in the foil packet. Some recipes call for adding apple juice or beer inside the foil. A small splash (2 tbsp) is fine. More than that and you’re steaming, not braising. The ribs turn out mushy and the bark dissolves.
My Personal Rib Routine: Specific, Practical, and Opinionated
I cook ribs like this every time. It works in a home oven as reliably as it worked in the professional kitchens I spent my early career in.
The night before:
- Remove the membrane.
- Apply the dry rub generously on all sides.
- Wrap in plastic and refrigerate overnight. Minimum 8 hours.
Two hours before cooking:
- Pull the rack from the fridge.
- Preheat the oven to 275°F.
- Line a rimmed baking sheet with foil. Place a wire rack on top. The rack lifts the ribs out of their drippings and allows air to circulate.
Cook uncovered, bone-side down:
- Baby back: 1.5 hours.
- Spare/St. Louis: 2 hours.
Wrap and flip:
- Lay two sheets of heavy-duty foil on a flat surface.
- Place the rack meat-side down on the foil.
- Fold the foil tightly around the rack. No gaps.
- Return to the baking sheet, bone-side up.
Cook foiled:
- Baby back: 1.5 hours.
- Spare/St. Louis: 1.5–2 hours.
Unwrap and check:
- Open the foil carefully – steam burns fast.
- Do the bend test and toothpick test.
- If not done, rewrap and cook another 20 minutes.
Sauce and finish:
- Brush with sauce.
- Return to oven uncovered at 275°F for 20 minutes.
- Apply a second coat of sauce at the 10-minute mark.
Rest 12 minutes, then slice between the bones.
Total active time: about 30 minutes. Total cook time: 4–5 hours depending on the cut.
Frequently Asked Questions About Cooking Ribs in the Oven
What temperature should I cook ribs in the oven?
275°F is the best all-around oven temperature for ribs. It’s high enough to finish in a reasonable time and low enough to break down collagen without drying out the meat. 250°F is better if you have an extra hour and want more flexibility. 300°F works when you’re short on time but requires closer monitoring to avoid drying.
How long do ribs take to cook in the oven at 275°F?
Baby back ribs take about 3–3.5 hours total at 275°F. Spare ribs and St. Louis-style ribs take 3.5–4.5 hours. Country-style ribs run shorter – around 2.5–3 hours. These times include the uncovered, foiled, and sauce-finishing phases.
Should I cover ribs with foil when cooking in the oven?
Yes, for most of the cook. Wrapping ribs in foil for a significant portion of the cook time speeds up collagen breakdown and keeps the meat moist. Remove the foil for the last 20–30 minutes to firm up the surface and caramelize the sauce.
How do I know when ribs are done without a thermometer?
Use the bend test: pick up the rack with tongs from one end. If the rack bends 45 degrees or more and the surface shows cracks, the ribs are done. Also try the toothpick test: a toothpick should pass between the bones into the meat with almost no resistance. Both tests take practice but become reliable quickly.
Can I cook ribs in the oven the day before and reheat them?
Yes, and they often taste better the next day. Cook them fully, let them cool, then refrigerate wrapped in foil. To reheat, place them in a 275°F oven for 30–45 minutes still wrapped in foil. Add a splash of apple juice or water inside the foil before sealing to prevent drying. Apply sauce and finish uncovered for the last 15 minutes.
What is the best way to keep ribs moist in the oven?
Three things keep ribs moist: foil-wrapping during the main cook, not cooking above 300°F, and resting before cutting. If your ribs consistently come out dry, check whether you’re starting from a cold rack (let it sit 30 minutes before cooking) and whether your foil seal is tight enough to trap steam.
Do I need a wire rack inside the baking pan?
A wire rack is better than cooking the ribs directly in the pan, but not required. The rack lifts the meat out of the drippings, allows air to circulate underneath, and prevents the bottom from steaming in its own fat. If you don’t have a rack, you can prop the ribs up on the bones (bone-side down) to create a slight gap from the pan.
Key Takeaways
- Cook ribs at 275°F for the best balance of speed, moisture, and texture.
- Remove the membrane every time – no exceptions.
- Use dry rub and apply it at least one hour before cooking. Overnight is better.
- Foil the ribs for the main cook, then unwrap to firm the surface.
- Target 195°F to 203°F internal temperature for true fall-off-the-bone results.
- Apply sauce only in the last 15–20 minutes to prevent burning.
- Rest 10–15 minutes before cutting. The juice stays in the meat, not on the board.
- The bend test and toothpick test are your most reliable doneness checks.

I’m Mossaraof, a trained chef and the founder of OvenInsights.com. I spent years cooking at Larrupin’ Cafe and in kitchens across Chicago and Seattle. Now I test kitchen gear for a living. I moved to North Acton, London, and I test every tool I write about. I use real meals and real heat. No brand deals. No shortcuts. I cover 12 kitchen types and hundreds of recipes. I believe this: the right tools matter as much as the recipe.




