At A Glance
- Heat is the real problem, not fat. Cook chicken too long. It turns dry. This is true for any cut.
- Skinless thighs mix good taste with low fat. Boneless breast is the leanest cut. But it dries out fast.
- A hot oven, 400°F to 425°F, with a short cook time, keeps more juice. A slow 350°F bake dries chicken out.
- Use a meat thermometer to check doneness. It should read 165°F in the thickest part. This is the only safe way to know.
- Rest your chicken for 5 to 10 minutes after it comes out. This one step saves more juice than almost any other step.
Want juicy chicken with no guilt? I felt this way years back. I have cooked in real kitchens for ten years. I have tried many tricks. Today I show you how to cook healthy chicken in the oven. I use tips from my ultimate oven guide. Grab a pan. Let’s make it fun and fast.
Why Healthy Oven Chicken Needs More Than Low Fat
Most people think healthy chicken just means less fat. That’s only part of it. The real problem is dry meat from too much heat.
When chicken cooks, its fibers get tight. They squeeze out water as they tighten. Cook past the safe point, and it loses even more water. That lost water carries flavor with it.
A dry chicken breast tastes worse. It also feels less rich to eat. Most people fix dry chicken with butter or sauce. That extra fat can cancel out your healthy swap.
So the real goal is not just a lean cut. It’s a cooking method that keeps water in the meat. Get that part right. You won’t need extra fat for good taste.
Think of chicken like a sponge full of water. Squeeze it too hard, and the water runs out. Heat does the same thing to chicken. High heat for too long is a hard squeeze. The right heat for the right time is a gentle one.
I learned this the hard way, early in my career. I once cooked 40 chicken breasts for a big event. I baked them at a low heat for a long time. I thought slow and low meant safe and juicy. Each one came out dry. That day changed how I cook chicken for good.
The Best Cuts for Healthy Cooking
Skinless Thighs: My Top Pick
I reach for skinless chicken thighs more than any other cut. Thighs have more fat than breast meat. But that fat sits inside the muscle, not on top of it.
That fat bastes the meat as it cooks. A 3.5-ounce skinless thigh has about 10 grams of fat. It has about 20 grams of protein too (USDA FoodData Central, 2025). That’s more fat than breast. But the payoff is juicy meat. That’s true even if you cook it a bit too long.
Boneless Chicken Breast: Lean but Risky
Boneless, skinless breast is the leanest cut on this list. A 3.5-ounce piece has about 3 grams of fat. It has 31 grams of protein (USDA FoodData Central, 2025). That’s a great number on paper.
The catch is timing. Breast meat has almost no fat to shield it. It dries out fast once it passes 165°F. I’ve watched new cooks pull a breast too late. By then, it’s already dry and chalky.
Chicken Tenderloins: Fast and Forgiving
Tenderloins sit under the breast. They are thin. They are even in size. That makes them cook fast and cook evenly. There’s less risk of a thick spot staying raw.
Drumsticks and Whole Chicken: The Bone Advantage
Bone-in cuts cook a bit slower. But the bone acts like a shield. It slows down heat right at the center. That gives you more room for error.
A whole bird gets this same bone shield. You can pull the skin off after the cook. That cuts fat without losing juice while it bakes.
Chicken Cut, Oven Temp, and Time Chart
Use this table as your starting point. Each oven runs a bit different. Treat the time column as a guide only. Trust the temp reading as the real answer.
| Cut | Oven Temp | Inside Temp Target | Estimated Time | Notes |
|---|---|---|---|---|
| Bone-in breast | 400°F | 165°F | 35–40 min | Pull at 160°F; it climbs a bit while it rests |
| Boneless breast | 425°F | 165°F | 18–22 min | Pound to even thickness first |
| Thighs (bone-in) | 400°F | 165°F | 35–40 min | Fat under the skin bastes the meat |
| Thighs (boneless) | 425°F | 165°F | 20–25 min | The easiest cut to get right on this list |
| Drumsticks | 400°F | 165°F | 35–45 min | The bone slows down cooking at the center |
| Whole chicken | 425°F | 165°F (thigh) | 60–75 min | Check the thigh, not the breast, for doneness |
| Tenderloins | 425°F | 165°F | 10–14 min | Watch them close. They cook fast |
Why Oven Temp Changes Everything
350°F: The Slow, Common Mistake
Many home cooks bake at 350°F. It feels safe. But low heat means more time in the oven to hit 165°F. That extra time is what pulls out the juice.
400°F to 425°F: My Go-To Range
I cook almost all my chicken between 400°F and 425°F. High heat browns the outside fast. It also cooks the inside all the way in less total time. Less time in the oven means less lost water.
Cook’s Illustrated has tested high, short-roast methods against slow, low-heat ones. Their tests found that high heat wins on juice. This held true again and again (Cook’s Illustrated, 2024). My own kitchen results match that finding.
The Trade-Off You Should Know
High heat also gives you a smaller window for error. At 425°F, a boneless breast can turn from perfect to dry in about 3 minutes. This is why a quick temp check matters so much.
Inside Temp: Stop Guessing, Start Checking
165°F Is the Rule, Not a Suggestion
The USDA sets 165°F as the safe number for all chicken (USDA FoodSafety.gov, 2025). This number kills the germs that cause food poisoning. It is not a style choice. It is a safety rule.
Why Time Alone Fails You
Two breasts can be sized not alike. They can need cook times not alike in the same oven. A recipe that says “bake 25 minutes” is a guess, not a promise. Your oven, your pan, and your chicken’s start temp all shift that number.
The Thermometer Is Not Optional
I never cook chicken without a quick-read temp tool. It’s the one tool that turns a guess into a fact. Taylor Precision Products makes temp tools for home cooks and chefs. They say to check the thickest part of the meat. Skip the bone. Bone reads hotter than muscle (Taylor Precision Products, 2024).
Chef’s tip: Pull bone-in cuts about 5°F before your goal number. The meat keeps cooking for a few minutes after it leaves the oven. The meat keeps getting hot on its own for a bit. Skip this step, and you will end up with dry meat.
Marinades, Dry Brines, and Low-Fat Flavor Building
Dry Brine: My Go-To Method
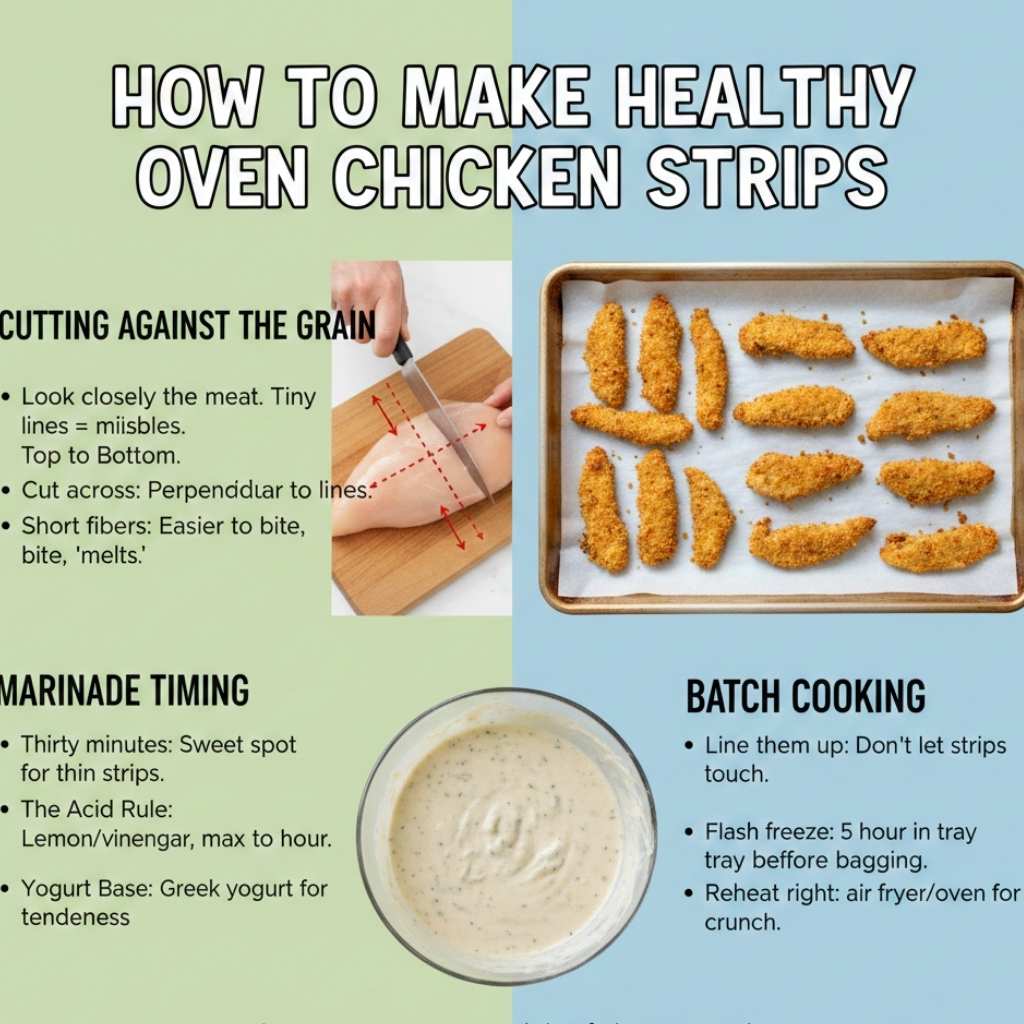
A dry brine is just salt. You put it on the chicken ahead of time. You leave the chicken with no cover in the fridge. Salt pulls out a little water at first. Then that salty water gets pulled back in. It carries flavor deep into the meat.
I salt chicken the night before, when I can. Even 30 minutes ahead helps a lot. This method adds no fat and no calories. It does more for flavor than most bottled sauces.
Marinades That Don’t Add Empty Calories
Skip marinades built mostly from oil and sugar. Build yours around acid and herbs instead. Think lemon juice, vinegar, garlic, and fresh herbs. Add just a touch of oil to help flavors stick. Lemon juice, garlic, and oregano make a great mix. It adds real flavor with very little added fat.
Harvard T.H. Chan School of Public Health notes that acid can help. It softens lean cuts like chicken breast. It breaks down a bit of the muscle fiber first (Harvard T.H. Chan School of Public Health, 2023).
Spice Rubs for Fast Flavor
A dry spice rub is my fastest flavor tool. Mix smoked paprika, garlic powder, black pepper, and a bit of salt. This turns plain chicken into something great. It takes under two minutes to mix and rub on. No fat gets added at all.
I keep a jar of my go-to rub mixed and ready in my pantry. It saves time on busy nights. You can mix a big batch on a Sunday and use it all week long. Just store it in a sealed jar, out of the light and heat.
Sheet Pan vs. Baking Dish vs. Wire Rack
Wire Rack Over a Sheet Pan: My Top Pick
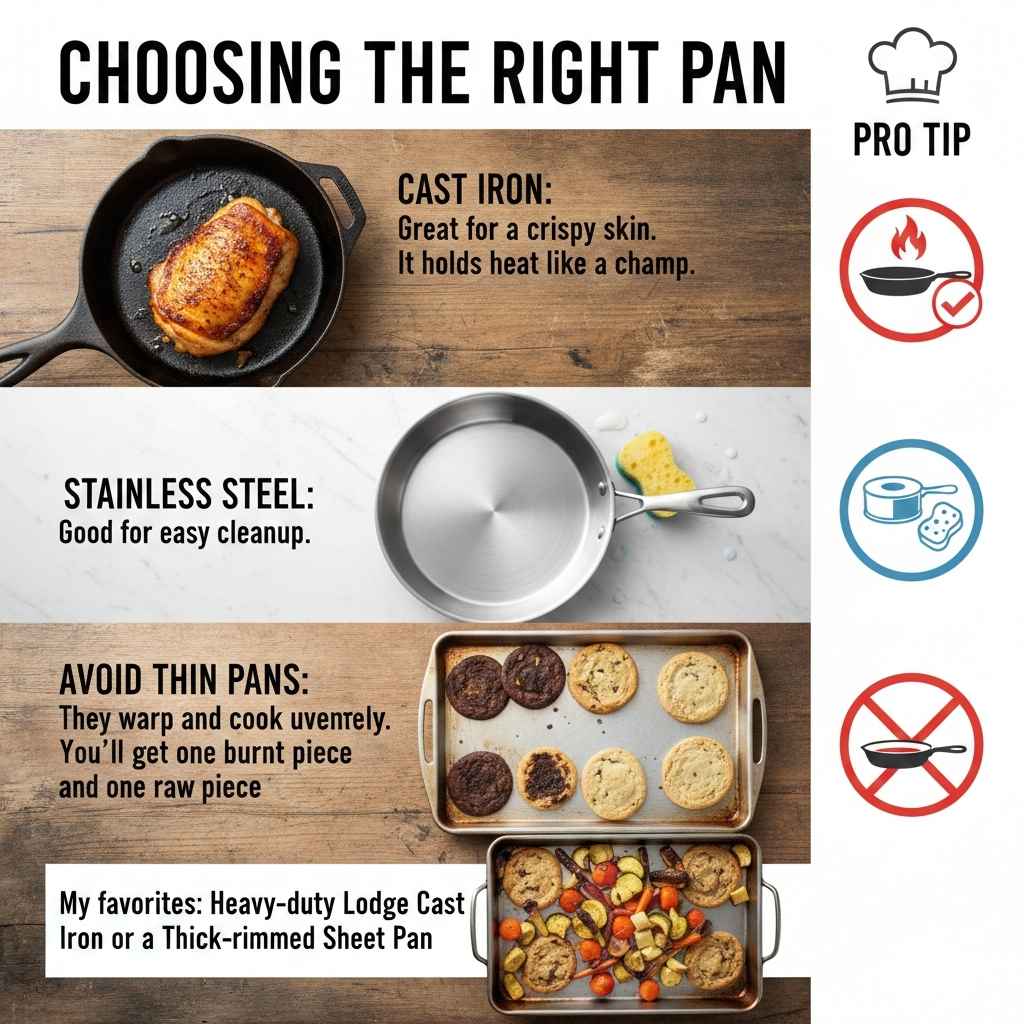
I set chicken on a wire rack inside a sheet pan. I do this almost every time. Air moves under and around the meat. The chicken does not sit in its own juice. That airflow also crisps the skin with no added oil.
Sheet Pan Alone
A plain sheet pan works fine. But the bottom of the chicken can steam a bit in its own juice. That steam softens the skin. The bottom ends up less crisp than a rack setup.
Baking Dish: The Least Moisture-Friendly Option
A deep baking dish traps the most liquid around the chicken. That sounds like it should help with juice. In fact, it just leads to steam, not to roasting. The chicken can look pale. It can feel soft or rubbery too.
I still use a baking dish for one thing: a whole chicken with veggies below. The dish catches the drippings, and those drippings baste the veggies below. For a single cut of meat, I reach for the rack and pan first.
Bone-In vs. Boneless: The Real Difference
Bone-in chicken takes longer to cook. But the bone shields the center from heat. That means the meat near the bone dries out at a slower rate. Boneless chicken cooks fast. It’s easy to serve for a quick meal. But it has no shield once it passes its target temp.
If you’re new to cooking chicken, start with bone-in thighs. They give you the most room for error. Once you trust your temp tool, boneless cuts get just as easy.
Price is another point worth a mention. Bone-in cuts often cost less per pound than boneless ones. You pay for the work of cutting the bone out. If you’re on a budget, bone-in thighs are a smart pick. They save money. They also give you a wider safety window. That’s a solid win on both fronts.
Common Mistakes That Ruin Healthy Chicken
- Overcrowding the pan: Pieces that touch each other trap steam between them. That steam softens the outside. It also slows browning. Give each piece open space on the pan.
- Skipping the rest: Cutting hot chicken right away lets juice run onto the board. Wait 5 to 10 minutes first.
- Cooking straight from cold: A cold piece needs more time to warm up. That extra time can overcook the outer layer while the center catches up. Let chicken sit out for 15 to 20 minutes first. Then put it in the oven.
- Wrong rack spot: A low rack sits too close to the bottom heat. It can burn the bottom before the middle is done. Use the middle rack for most bakes.
- Low heat, too long, with boneless breast: This cut has the least fat. It has the least shield too. Slow-roasting at 350°F is the top cause of dry, stringy chicken.
- Guessing based on color: White meat can look done on the outside well before it hits 165°F on the inside. Color is not a safe test. A thermometer is the only real test.
I made most of these mistakes myself early on. The overcrowded pan one still gets me on busy nights, if I’m honest. It’s an easy trap when you’re cooking for a big group and want to save time.
My Go-To Method for Healthy Weeknight Chicken
Here’s what I do on a normal Tuesday night. I salt boneless chicken thighs the night before. If I forget, I do it at least 30 minutes ahead. I leave them with no cover, on a plate, in the fridge.
I heat the oven to 425°F. I set a wire rack inside a sheet pan. I put that pan in the oven while it heats up. This gives the rack a head start. The chicken gets a better sear right from the first second.
I pat the thighs dry. I rub them with a little olive oil. Then I add smoked paprika, garlic powder, and black pepper. No sugar. No bottled sauce.
They go in for 20 to 22 minutes. I start checking with a temp tool around 18 minutes. Each oven runs a bit hot or cold, so I check early. I pull the thighs at 160°F to 162°F. I know the meat will keep cooking on its own for a bit. Then they rest for 5 minutes under loose foil. I plate a quick side dish at the same time.
That’s the whole method. No overnight marinade is needed. No fancy gear is needed. Just a rack, a pan, and a temp tool. It’s the real healthy oven chicken I make on a busy night. I don’t just write about it. I actually cook it this way.
Storing and Reheating Extra Chicken the Right Way
Cool It Fast, Store It Fast
Cooked chicken should not sit out for more than two hours (USDA FoodSafety.gov, 2025). I slice it and box it fast. I get it into the fridge while it’s still a bit warm. This keeps the meat safer. It locks in more juice too.
Reheat Low and Slow, Not High and Fast
A microwave on high heat dries out leftover chicken fast. I reheat mine in a low oven, around 300°F. I add a splash of broth to the pan. It takes a bit longer. But the meat comes out much closer to fresh.
How Long Leftovers Actually Last
Cooked chicken is good in the fridge for 3 to 4 days (USDA FoodSafety.gov, 2025). Past that point, the risk goes up fast. If I won’t eat it in time, I freeze it. I freeze it the same day I cook it.
FAQs: How to Cook Healthy Chicken in the Oven
How to Cook Healthy Chicken in the Oven without drying it out?
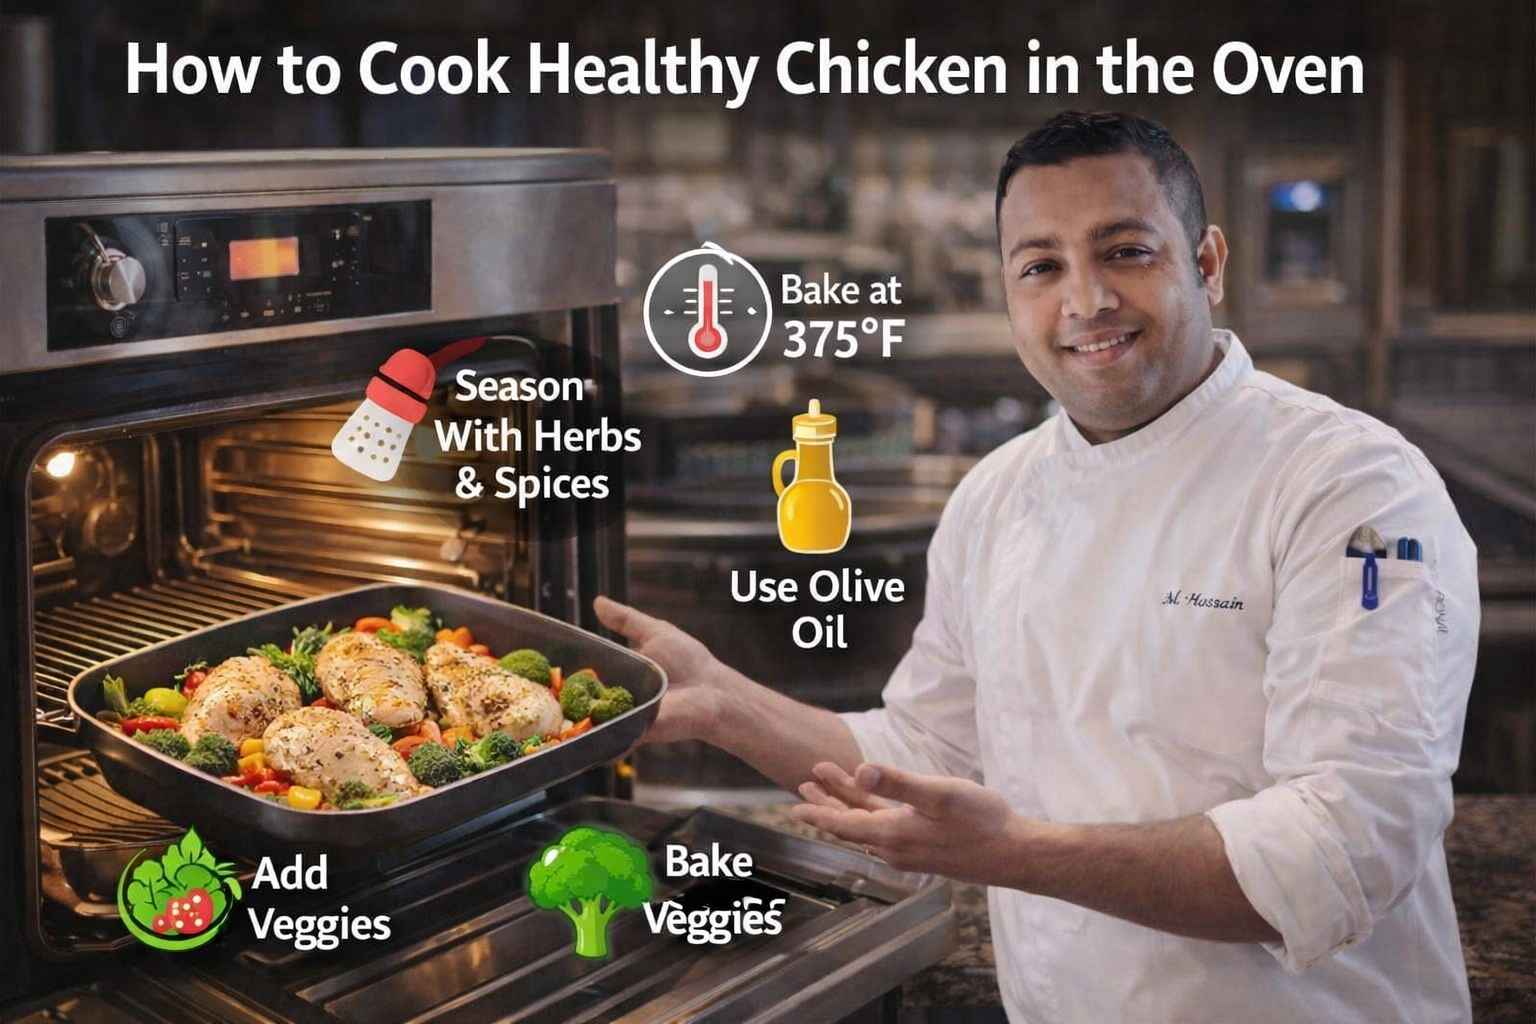
To cook healthy chicken in the oven and keep it juicy, bake at 375°F and use a light brush of olive oil. Do not overcook. Check at 165°F and let it rest before slicing.
What temperature is best to cook healthy chicken in the oven?
The best temperature to cook healthy chicken in the oven is 375°F for even heat. It keeps the meat moist and helps herbs and spices stay fresh and bright.
How long does it take to cook healthy chicken in the oven?
Boneless breasts take about 20 to 30 minutes at 375°F. Thicker cuts need more time. Always check that the center reaches 165°F for safe eating.
Can I cook healthy chicken in the oven without oil?
Yes, you can cook healthy chicken in the oven without oil. Use parchment paper and fresh herbs. A splash of lemon juice helps keep the meat moist.
What seasonings work best for healthy oven baked chicken?
Simple spices work best for healthy oven baked chicken. Try garlic, paprika, black pepper, and dried herbs. They add bold flavor without extra salt or fat.
Key Takeaways
- Too much time in the oven is the main problem. Not fat. That’s why healthy chicken turns out dry.
- Skinless thighs give you low fat. They also give you built-in juice protection. That’s a strong mix for most home cooks.
- A hot oven, from 400°F to 425°F, keeps more juice. A slow 350°F bake dries chicken out.
- A meat thermometer is the only real way to know chicken is done. Look for a 165°F reading. Guessing by time leads to dry, sad chicken.
- Rest chicken for 5 to 10 minutes after the oven. Let it sit out for 15 to 20 minutes before the oven. These two free steps make a real difference.

I’m Mossaraof, a trained chef and the founder of OvenInsights.com. I spent years cooking at Larrupin’ Cafe and in kitchens across Chicago and Seattle. Now I test kitchen gear for a living. I moved to North Acton, London, and I test every tool I write about. I use real meals and real heat. No brand deals. No shortcuts. I cover 12 kitchen types and hundreds of recipes. I believe this: the right tools matter as much as the recipe.