
At A Glance
- The best way to roast green beans is at 425°F on a bare sheet pan for 15-18 minutes – no foil, no crowding, no steaming.
- Dry your green beans completely before seasoning. Wet beans steam instead of roast and turn army-green and soft.
- Fresh green beans work best; frozen beans need to be thawed and patted very dry or they’ll release too much water in the oven.
- Spacing matters more than temperature – a crowded pan is the single biggest reason home cooks get soggy beans.
- The oven beats the stovetop for green beans every time: you get caramelization, blistering, and concentrated flavor without standing over a hot stove.
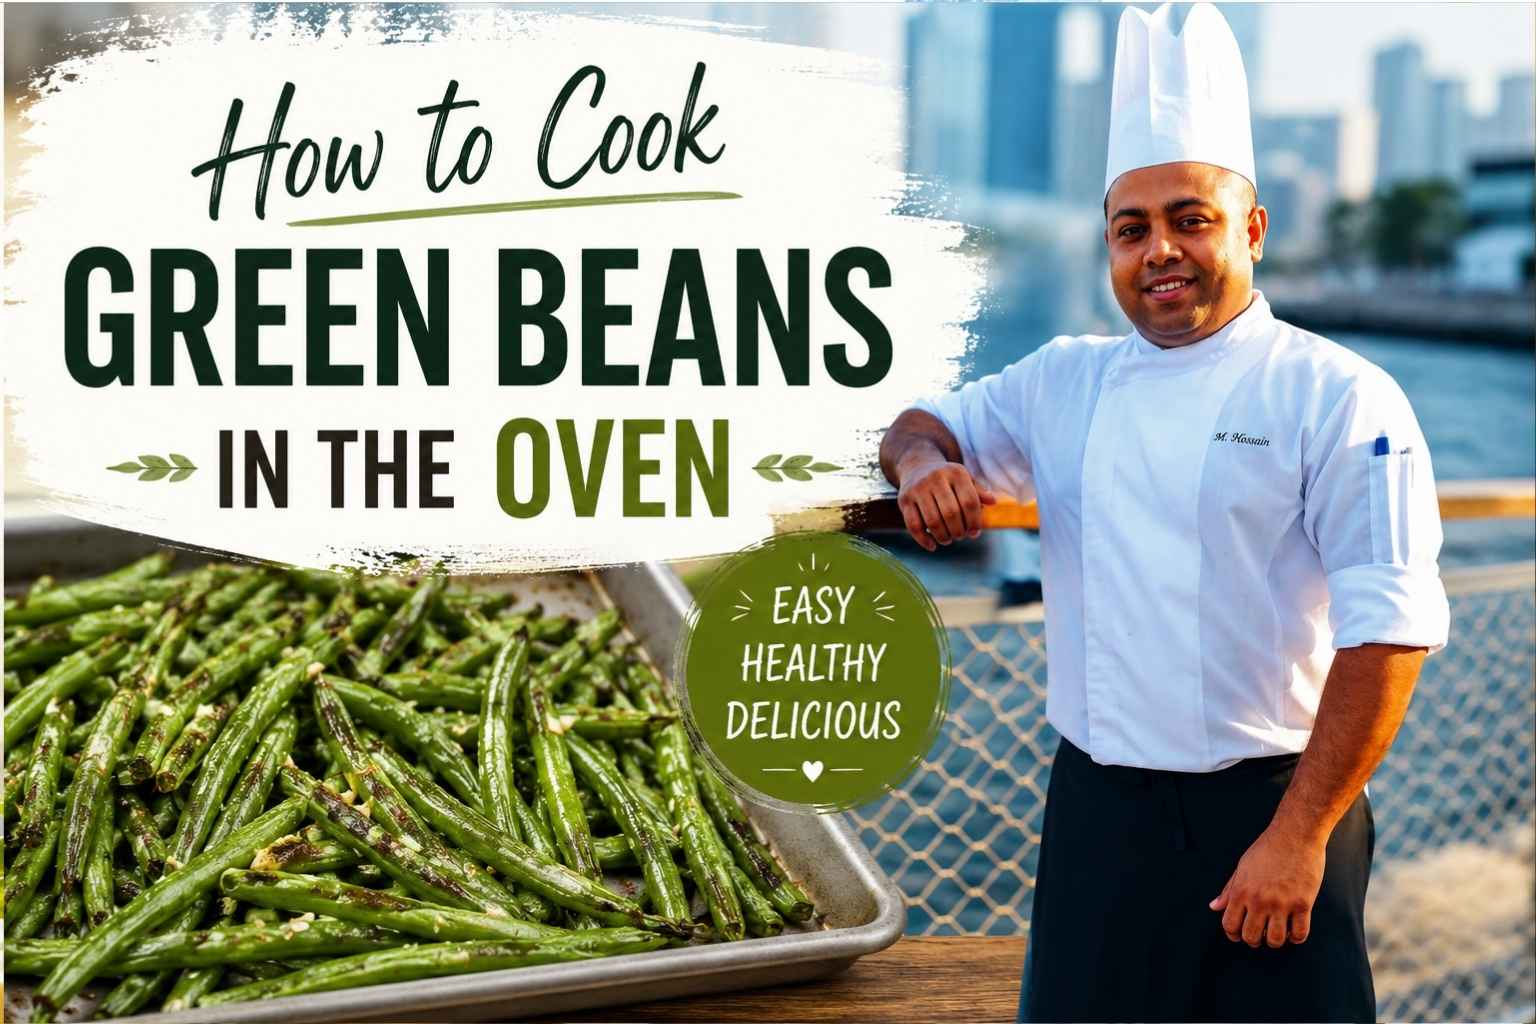
Fresh green beans can turn into one of the best side dishes with very little work. If you want to learn How to Cook Green Beans in the Oven, you are in the right place. I have made this recipe many times, and it always gives me crisp, tender beans with great flavor.
I will show you each step in a simple way. You will learn the best oven temperature, cooking time, easy seasoning ideas, and tips to help your green beans come out perfect every time. Let’s get started and make a side dish your family will want again and again.
Quick-Reference: Oven Cooking Methods for Green Beans
| Method | Temperature | Time | Best For |
|---|---|---|---|
| High-heat roast | 425°F | 15-18 min | Everyday side dish, crisp-tender texture |
| Blistered / charred | 450°F | 12-15 min | Big flavor, wrinkled skin, restaurant-style |
| Slow-roasted | 325°F | 35-45 min | Silky, deeply savory, melts into the bean |
| Casserole-style | 375°F | 25-30 min | Holiday dishes, cream or cheese-based |
Why the Oven Beats the Stovetop for Green Beans
The oven is the right tool for green beans because it gives you dry, radiant heat from all sides at once – and that’s exactly what green beans need to develop real flavor.
On the stovetop, you’re fighting moisture. Water-blanching turns beans dull and soft. Sauteing in a pan gives you some color, but you can’t spread beans in a single layer across a 12-inch pan the way you can across two sheet pans. You end up with some beans charred, some still raw, and most of them sitting in the steam that builds under the lid.
The oven solves all of that. At 425°F, the beans roast in their own sugars. The Maillard reaction – the chemical browning process that creates hundreds of flavor compounds – fires at around 300°F surface temperature (America’s Test Kitchen, 2024). Roasting gives you that. Steaming does not.
I’ve cooked green beans every way possible over 15 years in restaurant kitchens. Blanching has its place – for salads, for prep-ahead cooking, for when you need bright green color. But for a side dish with actual flavor, the oven wins every time.
How to Prep Green Beans for the Oven: Trimming, Drying, and Seasoning
Prepping green beans for the oven takes about five minutes, and most of that time is drying them.
Trimming Green Beans the Right Way
Trim only the stem end – the tough, woody tip where the bean was attached to the plant. The tail end (the pointed tip) is fine to leave on. It gets crispy in the oven and tastes good.
The fastest way to trim a batch: line up 10-12 beans at a time with the stem ends flush, then make one cut with a chef’s knife. Do not use scissors. They crush the cell walls and the ends turn mushy when roasted.
Why Drying Matters More Than Anything
This is the step most home cooks skip, and it’s the reason their beans turn out soft.
Water on the surface of a green bean creates steam. Steam drops the pan temperature below the threshold for browning. The beans cook – but they braise in their own moisture rather than roast. The result looks green and feels mushy instead of slightly wrinkled and caramelized.
After washing, spread the beans on a clean kitchen towel and roll them dry. Or use paper towels and press hard. Give them 10 minutes of air-drying if you have time (Serious Eats, 2023).
Seasoning Ratios That Work
For one pound of green beans, I use:
- 2 tablespoons of olive oil
- 3/4 teaspoon of kosher salt
- 1/4 teaspoon of black pepper
That’s it for the base. Add garlic, lemon, or other flavoring agents after the beans have roasted – not before, because garlic burns at 425°F.
Toss beans in a large bowl with the oil and salt, not directly on the pan. You want every bean coated evenly.
The Master Method: Roasted Green Beans at 425°F
Roasting green beans at 425°F on a bare sheet pan for 15-18 minutes gives you the best texture and flavor with the least effort.
Here is the exact method I use, at home and in the restaurant:
- Preheat your oven to 425°F with the rack in the center position. Don’t rush this – the oven needs a full 15 minutes to stabilize at temperature.
- Dry and trim your beans as described above.
- Toss with olive oil and salt in a large bowl until every bean is coated.
- Spread in a single layer on a bare, unlined sheet pan. Do not overlap. If you have more than one pound of beans, use two pans.
- Roast for 15-18 minutes, shaking the pan once at the halfway point.
- Pull when the beans are slightly wrinkled and show brown spots on the undersides. They should not look steamed or uniformly bright green.
Why Crowding Ruins Green Beans
This is the physics of roasting. A crowded pan traps steam from the beans’ natural moisture. Pan temperature drops below 212°F in the spaces between the beans. Instead of roasting, the beans braise.
The result: soft, drab, army-green beans with no browning and no caramelization.
The fix is simple: one layer, beans not touching. If you’re cooking for more than four people, use two pans on two racks and rotate them halfway through (USDA Food Safety and Inspection Service, 2025).
Temperature Guide: What Happens from 375°F to 450°F
Different temperatures give you different results. Here’s what to expect at each range.
375°F – Gentle roast. The beans cook through and become tender, but you get minimal browning. Good for casserole-style applications where they’re going into a cream sauce or getting topped with breadcrumbs. Time: 25-30 minutes.
400°F – Moderate roast. Decent color, solid texture. This is the middle ground if you’re nervous about burning, but I find 425°F gives better results for the same effort. Time: 20-25 minutes.
425°F – The sweet spot. This is what I recommend. The beans get wrinkled, spotted, and slightly charred on the edges. The flavor is concentrated and savory. Time: 15-18 minutes.
450°F – High heat, maximum blister. The beans get genuinely charred in spots – thin, black lines on the skin, a slight smokiness in the flavor. This is the restaurant style. Watch closely because the margin between blistered and burnt is narrow. Time: 12-15 minutes.
Fresh vs. Frozen Green Beans: Which Works in the Oven
Fresh green beans always outperform frozen in the oven – but frozen can work if you handle them correctly.
Fresh Green Beans
Fresh green beans have firm cell walls and low surface moisture. They roast cleanly. Look for beans that snap cleanly when bent – that snap is the sign of a fresh, high-moisture bean (Cook’s Illustrated, 2023). Avoid any beans that bend without snapping, which signals age and dehydration.
Frozen Green Beans in the Oven
Frozen green beans are blanched before freezing, which means they’re partially cooked already. This gives them a softer baseline texture and – more importantly – they carry a lot of ice crystal moisture.
To roast frozen green beans successfully:
- Thaw completely in the refrigerator overnight or at room temperature for 45 minutes.
- Pat very dry with paper towels – more aggressively than you would with fresh.
- Spread on the pan with extra space between beans.
- Roast at 425°F, but check at 12 minutes. They cook faster than fresh because they’re already partially done.
The result with frozen beans is softer and less blistered than fresh. They’re fine for casseroles and dishes where texture is masked by sauce – but for a straightforward roasted side dish, buy fresh.
How to Get Crispy, Blistered Green Beans vs. Tender, Slow-Roasted Ones
For Crispy, Blistered Green Beans
The target here is wrinkled skin, charred spots, and a slight chewiness – what you’d get at a good restaurant as a bar snack or appetizer.
- Temperature: 450°F
- Pan: Bare, unlined sheet pan, preheated in the oven for 5 minutes before adding the beans
- Oil: Use a high smoke point oil – avocado oil or refined grapeseed oil. Olive oil smokes aggressively at 450°F.
- Time: 12-15 minutes, shaking once
- Spacing: More space than usual. The beans should have at least half an inch between them.
The preheated pan is the trick most people miss. A cold pan drops temperature the moment you put wet food on it. A hot pan sears the underside of the bean immediately and starts caramelization before the surface moisture has time to create steam.
For Tender, Slow-Roasted Green Beans
Slow-roasted beans are a different dish entirely – almost silky, deeply savory, with a concentrated flavor that’s nothing like a steamed bean.
- Temperature: 325°F
- Pan: Baking dish or sheet pan (you can use foil here – low heat, long time)
- Oil: More than you think. 3 tablespoons per pound rather than 2.
- Time: 35-45 minutes, tossing once at the 20-minute mark
- Addition: A few whole garlic cloves in the pan work perfectly at this temperature – they roast alongside the beans without burning.
These beans are best in fall and winter, served alongside braised meats or pasta.
Flavor Variations: Four Green Bean Recipes Worth Making
Garlic Parmesan Green Beans
Roast beans at 425°F using the master method. In the last 3 minutes of cooking, scatter 2 tablespoons of freshly grated Parmigiano-Reggiano over the beans and return to the oven. Pull when the cheese is melted and starting to brown. Toss immediately with 2 cloves of minced garlic sauteed in butter (not raw garlic – it’ll taste sharp and harsh).
Lemon Herb Green Beans
After roasting, toss warm beans with 1 tablespoon of lemon juice, 1 teaspoon of lemon zest, 2 tablespoons of chopped fresh parsley, and a pinch of red pepper flakes. The acid from the lemon brightens the whole dish and cuts through the richness of the oil.
Balsamic Green Beans
Drizzle 1 tablespoon of aged balsamic vinegar over roasted beans and toss immediately. The heat from the beans will make the balsamic sticky and slightly sweet. Good balsamic matters here – cheap balsamic turns sour rather than caramelized (Fine Cooking, 2022).
Sesame-Ginger Green Beans
Use toasted sesame oil (1 tablespoon, in addition to 1 tablespoon of neutral oil for roasting). After roasting, toss with 1 teaspoon of grated fresh ginger, 1 tablespoon of soy sauce, and 1 teaspoon of toasted sesame seeds. This pairs well with salmon or grilled chicken.
Foil vs. Bare Sheet Pan: Why the Surface Changes Everything
Use a bare, unlined sheet pan for roasting. Use foil only for slow-roasting or casserole-style cooking.
Here’s why this matters: aluminum foil insulates the surface of the pan. The beans sitting on foil are separated from direct contact with the hot metal. That lowers the temperature at the point of contact between the bean and the pan by a measurable amount – enough to prevent proper caramelization on the underside.
A bare aluminum sheet pan conducts heat directly. The underside of the bean gets seared. You get color and caramelized spots. That’s the texture and flavor you want.
Foil also traps steam underneath the beans. On a bare pan, moisture evaporates off the pan surface. On foil, it pools.
When to use foil: Slow-roasted beans at 325°F (the time difference makes it fine), casserole dishes with sauce or cheese toppings, or any recipe where you’re cooking the beans in a liquid.
What pan to use: A heavy-gauge aluminum half sheet pan (18×13 inches). This is the standard and it’s what I use. Thin, flimsy pans warp at high heat and create hot spots. Nonstick pans run cooler than bare aluminum and don’t give the same browning (America’s Test Kitchen, 2024).
Common Mistakes and How to Fix Them
Soggy beans. The pan is crowded, the beans were wet, or both. Fix: dry beans aggressively, use two pans if needed, and never skip preheating.
Uneven cooking. Some beans are charred, some are raw. This usually means your beans are different sizes. Fix: sort beans by size before roasting and pull thin ones early, or cut all beans to the same length.
Underseasoning. Green beans need more salt than you think. The oven concentrates flavors, but salt doesn’t concentrate – it stays at the level you added. Fix: season to what tastes slightly over-salted before roasting. It will taste right when cooked.
Wrong pan type. Glass or ceramic baking dishes are too thick to get beans crispy – they work for casseroles only. A thin, dark nonstick pan runs hot and burns before browning evenly. Fix: use a heavy-gauge bare aluminum sheet pan.
Adding garlic before roasting. Garlic burns at 325°F. At 425°F, it will turn black and bitter within minutes. Fix: roast beans plain, then add cooked or sauteed garlic after pulling from the oven.
My Personal Green Bean Routine
I’ll tell you exactly what I do when I make green beans at home, because after testing every variable across hundreds of batches, this is what I’ve landed on.
I buy green beans loose from the bin, not pre-bagged. Pre-bagged beans are often older and have more variation in size.
I wash them in cold water, dump them onto a clean kitchen towel, and roll them up in the towel for two minutes. Then I line them up on the towel and let them air-dry while I preheat the oven to 425°F. That’s 15 minutes of passive drying while the oven does its thing.
I trim only the stem ends with one batch cut per 12 beans.
I toss them in a stainless bowl with 2 tablespoons of extra-virgin olive oil and 3/4 teaspoon of Diamond Crystal kosher salt. I go by weight, not visual guess, because 3/4 teaspoon of Diamond Crystal is not the same as 3/4 teaspoon of Morton’s – Morton’s is nearly twice as salty by volume.
On the pan – bare, heavy aluminum, nothing on it – I spread the beans and check that none of them are touching.
425°F, center rack, 16 minutes. I shake the pan at 8 minutes. I pull when I see brown spots on the undersides and the skins look wrinkled.
Off the pan, into a warm bowl, squeeze of lemon, handful of chopped parsley, done.
That’s it. No tricks, no complications. Just the physics of roasting done right.
Frequently Asked Questions About Cooking Green Beans in the Oven
How long do you cook green beans in the oven at 425°F?
Fresh green beans at 425°F take 15-18 minutes on a bare sheet pan in a single layer. Shake the pan once at the 8-minute mark. Thinner beans take closer to 15 minutes; thicker ones need the full 18. You’re looking for wrinkled skin and brown spots on the undersides – not uniformly bright green.
Should you blanch green beans before roasting?
No. Blanching before roasting is a double step that works against you. Blanching adds moisture, and moisture is the enemy of caramelization. Skip the blanching entirely. Dry the beans well and roast straight from raw. They’ll cook through fully in 15-18 minutes.
Why are my roasted green beans soggy?
Soggy green beans usually come from one of three problems: the beans were wet before going into the oven, the pan was crowded so steam built up between the beans, or foil was used. Fix all three – dry aggressively, spread with space between each bean, and use a bare pan.
Can you cook green beans in the oven from frozen?
Yes, but you need to thaw and dry them thoroughly first. Spread thawed frozen beans on paper towels and press hard to remove as much surface moisture as possible. Roast at 425°F and check at 12 minutes – they cook faster than fresh because they’re already partially cooked from the blanching done before freezing. The texture will be softer than fresh.
What temperature is best for roasting green beans?
425°F is the standard for everyday roasting – crisp-tender beans with good caramelization in about 16 minutes. If you want blistered, charred beans with more intensity, use 450°F and watch closely. For slow-roasted, silky beans, use 325°F for 35-45 minutes.
Can you roast green beans ahead of time?
You can roast green beans up to 2 hours ahead and let them sit at room temperature. Reheat in a 400°F oven for 4-5 minutes before serving to bring back the crispness. Do not microwave – they turn soft and lose the texture you worked for. Do not refrigerate and reheat, because condensation from the cold fridge will make them steam rather than crisp.
Do you need to cover green beans when cooking them in the oven?
No. Covering green beans in the oven traps steam and braises them – which is fine for casseroles but wrong for roasted beans. Leave the pan uncovered for the full cooking time. The only exception is if you’re making a cream-based casserole and covering with foil to prevent the top from drying out before the beans are done.
What kind of pan is best for oven green beans?
A heavy-gauge aluminum half sheet pan (18×13 inches) is the best pan for roasting green beans. It conducts heat fast and evenly, doesn’t warp at high temperatures, and has enough surface area to spread a full pound of beans without crowding. Avoid glass, ceramic, dark nonstick pans, and thin flimsy pans.
Key Takeaways
- Dry your beans completely. Wet beans steam instead of roast. This single step separates good results from bad ones.
- 425°F on a bare, heavy sheet pan is the reliable standard for roasted green beans with good texture and flavor.
- Don’t crowd the pan. One single layer, beans not touching. Use two pans if you have more than one pound of beans.
- Add garlic and acids after roasting, never before. Both burn or turn harsh at high oven temperatures.
- Fresh beats frozen for oven roasting, but frozen works with proper thawing and drying.
- The difference between good and great green beans is usually not the recipe – it’s the technique. Dry, space, and heat. Get those three right and the beans take care of themselves.

I’m Mossaraof, a trained chef and the founder of OvenInsights.com. I spent years cooking at Larrupin’ Cafe and in kitchens across Chicago and Seattle. Now I test kitchen gear for a living. I moved to North Acton, London, and I test every tool I write about. I use real meals and real heat. No brand deals. No shortcuts. I cover 12 kitchen types and hundreds of recipes. I believe this: the right tools matter as much as the recipe.




