
At A Glance
- The target internal temperature for oven-baked cod is 130-145°F (54-63°C), measured at the thickest part of the fillet (FDA FoodSafety.gov, 2024).
- Pat the fillet completely dry before seasoning – surface moisture is the single biggest cause of steamed, rubbery cod.
- Classic baking at 400°F for 12-15 minutes works for most fillets; use 425°F for a browned crust, 275°F for restaurant-style silky texture.
- A convection oven runs 25°F hotter in effect – reduce temperature or time when switching from conventional.
- Cod is one of the most forgiving white fish in the oven, but a two-minute overrun will wreck it – pull it at the first sign of flaking and let carry-over heat finish the job.
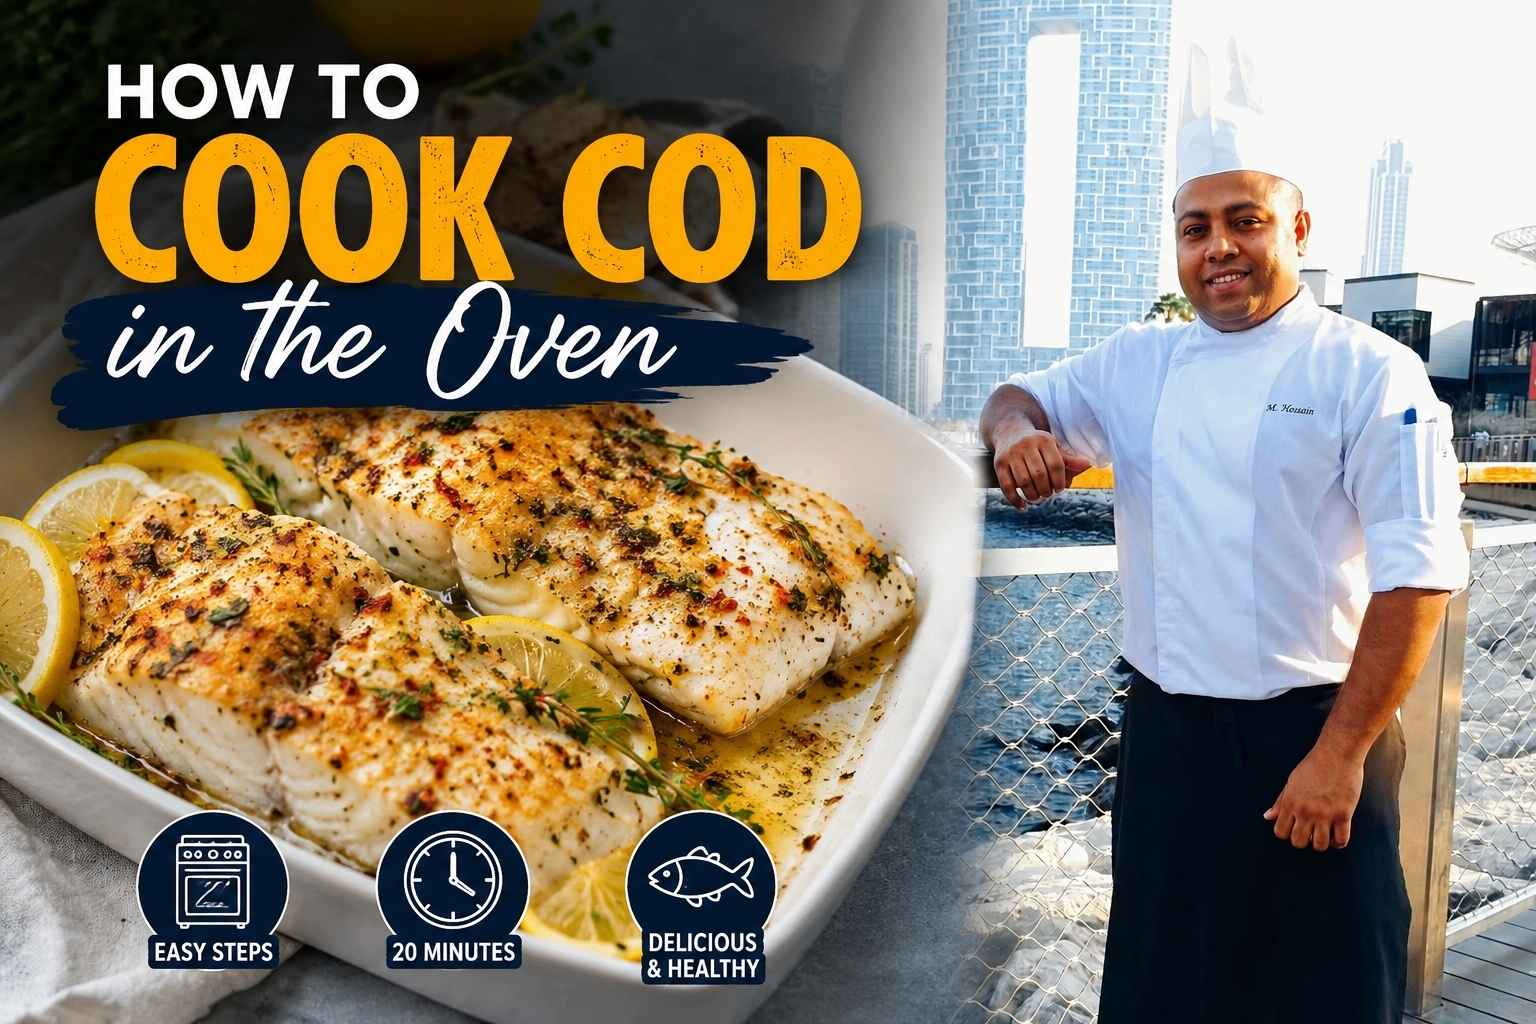
I still remember the first time I tried to cook cod in the oven, and honestly, I almost gave up on fish forever. It came out dry, bland, and kind of sad on my plate. But after years in professional kitchens, I finally cracked the code for how to cook cod in the oven so it stays soft and full of flavor every single time. In this guide, I’ll walk you through my go-to method, step by step, no fancy skills needed. Grab your baking dish, and let’s make dinner easy tonight.
Why Cod Is the Best White Fish to Start With in the Oven
Cod is forgiving, widely available, and honest. It tells you exactly when it’s done – the flesh goes from translucent to opaque, separates into clean flakes, and firms up just enough to hold a fork. There’s no hiding a mistake the way you can with a fatty fish like salmon, but there’s also a wider window between underdone and ruined than most home cooks realize.
I’ve cooked cod in Michelin-starred kitchens and in a 1970s rental apartment with an oven that ran 50°F hot. Both produced good fish. The method matters far more than the equipment.
Here’s the science behind why cod responds so well to oven heat: cod is a lean, low-fat fish with proteins that begin denaturing (setting) around 120°F and reach full coagulation near 145°F (America’s Test Kitchen, 2023). That 25-degree range is your window. Fat slows and buffers heat transfer – cod has almost none, so it heats fast and evenly. That’s a feature, not a flaw, once you understand how to work with it.
Choosing Cod: Fresh vs. Frozen, and What to Look For
Fresh cod should smell like the ocean, not like fish. Any ammonia smell means it’s past its prime – walk away. The flesh should be firm and spring back when pressed. Look for a clean white color without yellowing or drying at the edges.
Frozen cod is often the better buy. Most “fresh” cod at a supermarket counter was previously frozen anyway. Flash-frozen at sea, then thawed in a display case, is not better than buying it frozen and thawing it yourself at home. I buy frozen cod in bulk from a commercial supplier, and the quality is consistent in a way that fresh rarely is outside of coastal fish markets.
How to Thaw Frozen Cod Properly
Thaw in the refrigerator overnight – this is the only method I recommend for texture and food safety. Place the sealed fillet on a plate to catch any liquid. Do not thaw on the counter, do not use warm water, and do not microwave it.
If you are pressed for time, place the sealed bag in a bowl of cold (not warm) running water for 30-45 minutes. Dry it immediately and cook it within the hour.
After thawing, check for moisture. Press a paper towel against the fillet. If it soaks through in under three seconds, the fish is holding too much water. This is common with cheaper frozen cod that has been treated with sodium tripolyphosphate (STP) to retain water weight. That water will steam off in the oven and prevent any browning. Pat it dry and, if possible, let it sit uncovered on a rack in the fridge for 20-30 minutes before cooking.
How to Prep Cod Before It Goes in the Oven
Preparation takes five minutes and decides 80% of the outcome.
Step 1: Dry the fillet. Lay it on a clean cutting board and press paper towels firmly across the top and sides. Do this twice. Surface moisture converts to steam in the oven and makes the exterior soft instead of lightly set. A dry surface browns; a wet surface steams.
Step 2: Bring it close to room temperature. Cold fish straight from the fridge cooks unevenly – the outside overcooks before the center reaches temperature. Let the fillet sit out for 15-20 minutes before it goes in the oven. This is not a food safety issue for a fillet you are about to cook immediately (USDA Food Safety and Inspection Service, 2024).
Step 3: Season correctly. Salt draws moisture out through osmosis. If you salt the fish and let it sit for more than five minutes before cooking, pat it dry again. I season immediately before the fish goes in the pan – no resting time after salting. Use kosher salt, not table salt. The larger crystal gives you more control and won’t over-salt the surface. Add black pepper, and whatever else fits your recipe, at the same time.
Step 4: Choose your fat and surface. A thin coat of olive oil or melted butter does two things: it transfers heat more evenly from the pan to the fish, and it promotes browning through the Maillard reaction. Use a light-colored baking dish or sheet pan – dark pans absorb more radiant heat and can overcook the bottom of thin fillets.
Oven Temperature Guide: Which Setting to Use and When
This is where most recipes fail home cooks – they pick one temperature and call it the right answer. There are actually three distinct approaches, and the right one depends on what you want from the fish.
Cod Doneness and Temperature Reference Table
| Oven Temp | Method | Fillet Thickness | Cook Time | Internal Temp at Pull | Texture Result |
|---|---|---|---|---|---|
| 275-300°F | Low-and-slow | 1 inch | 25-30 min | 125-130°F | Silky, almost custard-like, very moist |
| 375-400°F | Classic bake | 3/4 inch | 12-15 min | 130-140°F | Clean flake, firm but juicy – the standard |
| 375-400°F | Classic bake | 1 inch | 15-18 min | 130-140°F | Clean flake, firm but juicy |
| 425-450°F | High-heat roast | 3/4 inch | 8-10 min | 135-145°F | Light crust, browned edges, faster moisture loss |
| 425-450°F | High-heat roast | 1 inch | 10-13 min | 135-145°F | Light crust, browned edges |
Internal temps are at time of pull. Carry-over cooking adds 3-5°F. FDA minimum safe internal temperature for fish is 145°F (FDA FoodSafety.gov, 2024). Silky textures achieve this through carry-over from 130°F pulls in enclosed environments.
Low-and-Slow (275-300°F): When to Use It
This method comes from fine dining – it’s how we cooked fish in restaurant kitchens where texture mattered more than speed. The lower temperature keeps proteins from contracting too fast, so the flesh stays silky and almost custardy. It’s the best method for very fresh, high-quality cod where you want to show off the fish itself.
The tradeoff is time and no browning. The exterior won’t develop color. If you want visual appeal with a golden edge, finish under the broiler for 60-90 seconds after the fish reaches temperature.
Classic Baking (375-400°F): The Everyday Standard
This is what I use 90% of the time for home cooking. It’s fast enough to be practical (12-18 minutes depending on thickness), produces clean flakes, and works with most sauces and toppings. 400°F is the sweet spot – hot enough to set the exterior quickly, not so hot that the outside overcooks before the center catches up.
Use this method for weeknight dinners, meal prep, and any recipe where the cod is paired with a sauce, vegetables, or toppings that cook at similar rates.
High-Heat Roasting (425-450°F): For Texture Contrast
Use this when you want some color on the fish or when you’re cooking cod alongside vegetables that need high heat (cherry tomatoes, asparagus, broccolini). The risk is moisture loss – lean fish at high heat dries out faster than fatty fish. Cut your estimated cook time and start checking for doneness at the lower end of the time range.
I use 425°F for cod with a breadcrumb crust. The high heat sets the crust crisp before the fish has time to overcook.
Fat, Foil, Parchment, and En Papillote: Which Method Is Right
Bare on a sheet pan: Best for high-heat roasting when you want browning. Oil the pan lightly to prevent sticking. The fish sits directly on the metal and gets direct radiant heat from below.
Foil: Good for locking in moisture and flavors, particularly when adding wine, lemon juice, or aromatics. The foil creates a closed environment that steams the fish slightly. The result is moist but won’t brown. Great for meal prep and easy cleanup.
Parchment: My preference for classic baking. It prevents sticking without the full steam-trap effect of foil. The fish sits on it but the parchment breathes enough to let some surface moisture escape. You get a cleaner texture than foil with less risk of sticking than a bare pan.
En papillote (in paper): Fold parchment into a sealed packet around the fish with aromatics and a small amount of liquid. The packet puffs in the oven and the fish steams in its own moisture. It produces incredibly moist fish but no crust. Open the packet tableside for the full effect – the steam release smells extraordinary. This is the method I use when I want a dish that impresses with minimal effort.
Convection vs. Conventional: Adjustments for Cod
A convection oven circulates hot air with a fan, which speeds heat transfer by about 25%. In practice, this means a 400°F conventional recipe becomes either a 375°F convection recipe at the same time, or a 400°F recipe with 20-25% less time (ThermoWorks, 2023).
For a 1-inch fillet that takes 15-18 minutes at 400°F in a conventional oven, expect 12-14 minutes at 375°F in convection. Start checking three minutes early.
Convection is excellent for high-heat roasting cod because the circulating air helps set and lightly brown the surface. It’s less useful for low-and-slow methods, where the fan can actually dry out the exterior faster than you want.
If your oven has a “convection bake” setting (fan on) and a regular bake setting (fan off), use convection bake for roasting and regular bake for lower, gentler methods.
How to Tell When Cod Is Done: Five Reliable Checks
Guessing by time alone causes overcooked fish. Use these checks together.
1. The flake test. Press the thickest part of the fillet gently with a fork. If it separates into clean, defined flakes, it’s done. If it resists and feels rubbery or looks translucent at the center, it needs more time.
2. Opacity. Look at the fish from the side if the dish allows it. Raw cod is translucent and slightly glassy. Cooked cod is fully opaque white through the thickest part. A thin translucent line at the center means pull it now – carry-over heat will finish it in two minutes off the oven.
3. Internal temperature. This is the most reliable check. Insert an instant-read thermometer into the thickest part horizontally – not from the top down, which gives you a surface reading. Pull the fish at 130-135°F if you want a silky interior; it will reach 140-145°F during rest. The FDA’s minimum safe temperature is 145°F (FDA FoodSafety.gov, 2024), which carry-over will achieve from a 135°F pull.
4. Shrinkage and moisture. As cod cooks, it releases moisture and the fillet shrinks slightly. A small amount of white albumin (protein) may appear on the surface – this is normal. Excessive albumin means the fish cooked too fast or too hot.
5. Texture at the edges. The thin, tapered edges of a cod fillet cook faster than the center. If the edges look overcooked and dry before the center is done, your oven is too hot or the fillet was too thin for that temperature. Fold the thin end under itself before cooking to equalize thickness.
Common Mistakes When Baking Cod and How to Fix Them
Skipping the dry. This is the most common mistake I see. Wet fish steams in the oven. The exterior stays soft, the browning never happens, and the texture is off. Fix: two rounds of paper towel, then 15 minutes uncovered on a rack in the fridge if time allows.
Cooking cold fish. A fillet straight from the refrigerator takes longer to cook through, and the exterior overcooks in the time it takes the center to catch up. Fix: rest the fillet on the counter for 15-20 minutes before cooking.
Wrong rack position. Most home cooks default to the middle rack. For cod, the middle rack works for classic baking. For high-heat roasting where you want some top color, move it to the upper third. For a breadcrumb crust, run it under the broiler at the end rather than adjusting the rack mid-cook.
Overcrowding the pan. When fillets are packed too close together, moisture has nowhere to escape and the fish steams instead of baking. Leave at least an inch between fillets. If you’re cooking for a crowd, use two pans.
Overcooking by two minutes. This is how good cod turns into dry, chalky cod. The window between done and overdone is narrow. Set a timer for the minimum time in any range, check early, and pull the fish when it’s just barely done. Carry-over heat is real – a 135°F fillet in a hot dish will hit 143-145°F in two minutes of resting.
My Go-To Method: 400°F, Parchment, Olive Oil, and a Lemon-Caper Pan Sauce
I’ve cooked cod hundreds of ways. This is the one I make on a Tuesday night when I want something good without thinking too hard about it.
Early in my career, I worked under a chef in a small coastal restaurant in Maine where cod was on the menu every night. He had one rule: don’t chase the fish. What he meant was stop opening the oven, stop poking at it, stop second-guessing. Set the temperature, set the timer, and trust the process. I’ve carried that lesson into every kitchen since.
Here’s the method:
- Heat the oven to 400°F. Line a sheet pan with parchment.
- Dry two cod fillets (6-8 oz each, about 1 inch thick) thoroughly with paper towels.
- Let them sit out for 15 minutes.
- Brush both sides lightly with olive oil. Season with kosher salt, black pepper, and a pinch of smoked paprika.
- Place on the parchment, skin-side down if skin is present. Slide into the center rack.
- Cook for 13 minutes. Check with a thermometer – you’re looking for 132-135°F at the thickest point.
- Pull the fish. Let it rest on the pan for two minutes. It will carry to 140-145°F.
While the fish rests, deglaze the hot pan with 2 tablespoons of white wine (or stock), add a tablespoon of cold butter, a handful of drained capers, and the juice of half a lemon. Swirl the pan until the butter melts into the liquid. Spoon it over the fish. That’s the whole sauce.
Serve with roasted potatoes or white beans, and a green vegetable. Done in under 30 minutes.
Pairing and Serving Cod: Sauces, Sides, and Presentation
Cod’s mild flavor makes it a canvas. It absorbs and highlights whatever you pair it with.
Sauces that work: Brown butter with herbs, lemon-caper butter (above), salsa verde, romesco, a simple tomato and olive sauce, or a light cream sauce with dill. Avoid anything heavy enough to mask the fish – if your sauce is the whole point, use a different protein.
Sides: Roasted root vegetables, white beans, mashed potatoes, steamed rice, crusty bread for the sauce. Bitter greens like escarole or broccoli rabe cut through the richness of any butter-based sauce.
Presentation: Serve cod on a warm plate. Cold plates drop the fish’s temperature in under 60 seconds. If you’re plating for guests, run the plates under hot water and dry them right before plating. Place the fish on top of the sauce, not under it – this keeps the exterior from going soggy on the plate.
Frequently Asked Questions About Cooking Cod in the Oven
What temperature should cod reach when cooked in the oven?
The FDA recommends an internal temperature of 145°F for fish (FDA FoodSafety.gov, 2024). In practice, pulling cod at 130-135°F and resting it for two minutes achieves this through carry-over cooking while preserving a moister, silkier texture. Use an instant-read thermometer inserted horizontally into the thickest part of the fillet for an accurate reading.
Can I cook frozen cod in the oven without thawing it first?
Yes, but expect to add 50% more cooking time and accept an uneven result. Frozen cod releases a large amount of water as it thaws in the oven, which means the exterior steams rather than bakes. If you must cook from frozen, use a 400°F oven, pat off the water mid-cook once the surface thaws, and use a thermometer to confirm doneness. Thawing overnight in the fridge produces significantly better results.
How do I reheat leftover baked cod without drying it out?
Reheat cod in a covered dish at 275°F for 10-12 minutes. Add a tablespoon of water or stock to the dish before covering – this creates a small amount of steam that prevents moisture loss. Do not microwave cod if you can avoid it; the uneven heat turns the texture rubbery. Leftover cod is also excellent cold, flaked into a salad or over rice.
Can I substitute another white fish for cod in these methods?
Yes. Haddock, pollock, and hake are the closest substitutes – same lean, flaky profile and similar cook times. Halibut is thicker and denser, so add 3-5 minutes and verify with a thermometer. Tilapia is thinner and cooks faster – reduce time by 20%. Avoid fatty fish like salmon or mackerel in recipes designed for cod, as the fat content changes how the fish responds to heat.
Why does my baked cod come out watery?
Three possible causes: the fillet was not dried before cooking, the oven temperature was too low, or the fish was treated with sodium tripolyphosphate (a common additive in budget frozen cod that adds water weight). Fix the first two by drying thoroughly and cooking at 375°F or higher. For STP-treated fish, thaw it, press it with paper towels, and rest it uncovered on a rack in the fridge for 30 minutes before cooking.
What is the difference between cod and Pacific vs. Atlantic cod?
Atlantic cod (Gadus morhua) is the traditional species and has a slightly firmer texture and more pronounced flavor. Pacific cod (Gadus macrocephalus) is milder and slightly softer when cooked. Both work with every method in this guide. Check sustainability ratings before buying – Atlantic cod stocks have been heavily managed due to historical overfishing (Marine Stewardship Council, 2024). Pacific cod and Alaskan pollock are the more sustainable choices in most North American markets.
How do I keep cod from sticking to the pan?
Use parchment paper – it is the most reliable non-stick surface for fish. If you prefer a bare pan, use a well-oiled light-colored sheet pan and ensure the oven is fully preheated before the fish goes in. Do not try to move the fillet in the first five minutes of cooking; fish sticks most when it first makes contact with a surface and releases once the proteins set. Slide a thin spatula under the fish after the full cook time.
How do I know if my cod fillet is thick enough to bake whole, or if I should cut it?
Fillets thicker than 1.5 inches at the thickest point can be awkward to cook evenly because the thin tail end overcooks before the thick center catches up. Either fold the thin end under itself to equalize thickness, or cut the fillet into even portions. Fillets between 3/4 inch and 1.25 inches cook well whole without modification.
Key Takeaways
- Dry the fillet completely before it goes near the oven. This one step separates good baked cod from mediocre baked cod.
- Use a thermometer. Pull the fish at 130-135°F and let carry-over heat bring it to the FDA-recommended 145°F during a two-minute rest.
- Match the oven temperature to the result you want: 275-300°F for silky texture, 400°F for everyday baking, 425°F for a browned crust.
- Let the fillet rest at room temperature for 15-20 minutes before cooking to ensure even heat penetration.
- In a convection oven, reduce temperature by 25°F or cut time by 20-25% compared to conventional settings.
- Frozen cod is not inferior to fresh – thaw it overnight in the fridge and dry it well, and the results are indistinguishable.
- Cod is ready when it flakes cleanly, turns fully opaque, and reads 130°F+ on a thermometer. Do not wait until it looks dramatically done – by then, it is overdone.

I’m Mossaraof, a trained chef and the founder of OvenInsights.com. I spent years cooking at Larrupin’ Cafe and in kitchens across Chicago and Seattle. Now I test kitchen gear for a living. I moved to North Acton, London, and I test every tool I write about. I use real meals and real heat. No brand deals. No shortcuts. I cover 12 kitchen types and hundreds of recipes. I believe this: the right tools matter as much as the recipe.




