
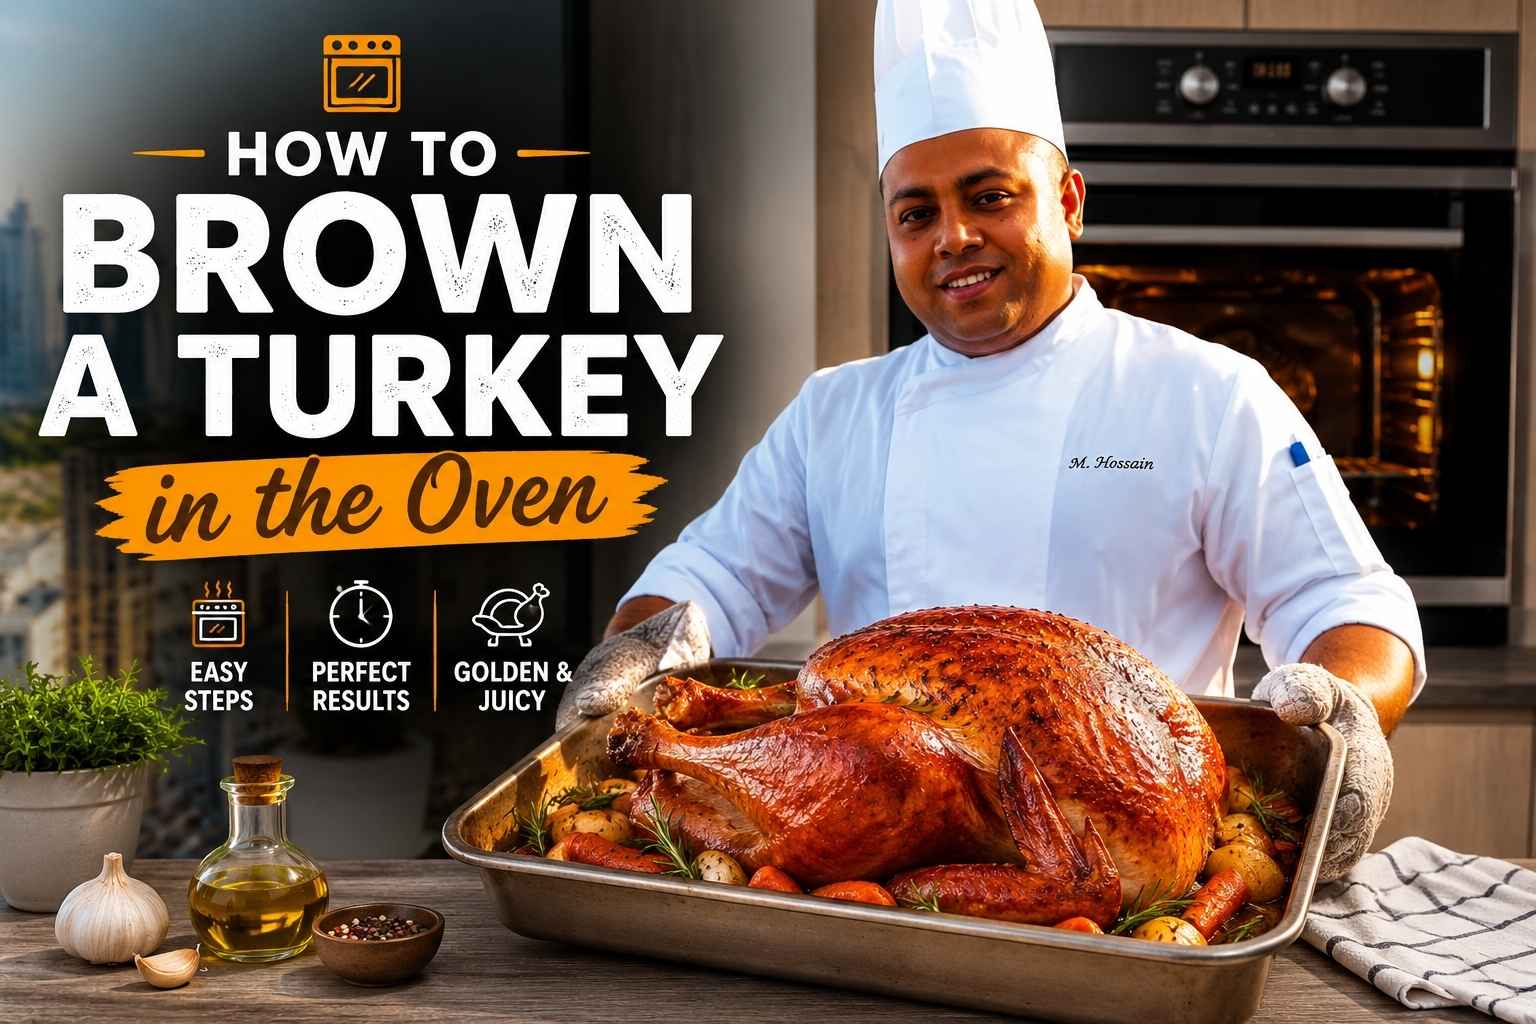
At A Glance
- Brown skin comes from a dry surface, not a hot oven alone. Salt the bird a day ahead and let it sit uncovered in the fridge.
- A thin coat of oil or softened butter browns skin better than a thick coat. Fat that pools just steams the surface.
- Start hot (450°F for 30 minutes), then drop to 325°F to finish. This gives you color early and even cooking after.
- Tent the breast with foil once it hits your target color, usually around the 90-minute mark, not before.
- Skip the basting. It cools the oven and wets the skin, which fights the browning you’re trying to build (Serious Eats, 2024).
- Color is not a doneness test. Pull the bird at 165°F in the thigh, checked with a thermometer (USDA FSIS, 2024).
Have you ever pulled a turkey out of the oven and thought, “Why does it look so pale?” I’ve been there too, staring at a bird that tasted amazing but looked more boiled than roasted. Learning how to brown a turkey in the oven changed my Thanksgiving game for good, and it’s easier than you think. After 15 years behind the stove, I’ve tested every trick out there, from butter rubs to foil tents to oven temp swaps. In this guide, I’ll walk you through my go-to method so your turkey comes out golden, crisp, and ready for its close-up on the dinner table.
Why Turkey Skin Browns: The Maillard Reaction and Caramelization
Turkey skin browns when sugars and proteins on its surface react to heat above roughly 300°F. This is called the Maillard reaction, and it’s the same chemistry that browns a steak crust or toasted bread. Caramelization, a separate reaction involving only sugar, kicks in around 320°F and adds nutty, sweet notes on top of it.
Both reactions need a dry surface. Water on the skin has to evaporate first, and while it’s evaporating, the surface temperature is stuck near 212°F, the boiling point of water. That’s too cool for browning to start. This is the single most important fact in this whole article: wet skin cannot brown, no matter how hot your oven is.
I learned this the hard way in my first restaurant job, pulling turkeys out of a walk-in cooler straight into a 425°F oven. The skin was slick with condensation. Forty minutes in, the bird looked boiled, not roasted. My chef at the time made me pat down every turkey with paper towels before it touched a pan again, and that one habit fixed more browning problems than any technique I’ve used since.
Dry heat is what makes an oven different from a steamer or a covered pot. Once the surface moisture is gone, the skin’s temperature climbs fast, and that’s when color starts to build. Everything else in this guide – brining, fat, oven temperature, tenting – exists to control how fast that surface dries out and how evenly the heat reaches it.
Why a Dry, Well-Prepped Bird Browns Better
A turkey browns better when its skin is as dry as possible before it goes into the oven. The two main tools for this are salting and air-drying, and they work together rather than as alternatives.
Dry Brine vs. Wet Brine: Which One Browns Better
A dry brine rubs kosher salt (and often a little sugar) directly onto the skin, then lets the bird rest uncovered in the fridge for 12 to 24 hours. The salt draws moisture out of the skin initially, then that moisture reabsorbs into the meat as brine, leaving the surface drier than when you started.
A wet brine submerges the turkey in a saltwater solution. It seasons the meat well and adds moisture, but it also leaves the skin waterlogged. Unless you dry the bird thoroughly afterward – ideally with an uncovered rest in the fridge overnight – a wet-brined turkey tends to brown more slowly and unevenly than a dry-brined one.
In my kitchen, dry brine wins for browning almost every time. I’ve roasted wet-brined and dry-brined birds side by side more than once, and the dry-brined skin is reliably crisper and more evenly colored by the time both hit 165°F.
A quick note on baking powder: some cooks add a small amount of baking powder (not baking soda) to the dry brine. Baking powder raises the skin’s pH slightly, which speeds up browning and crisping (Serious Eats, 2024). I use it for holiday turkeys when I want deep color in a shorter roasting time. A ratio of about 1 teaspoon baking powder per tablespoon of kosher salt is plenty. More than that and you risk a faintly metallic taste.
Air-Drying: The Step Most Home Cooks Skip
After salting, the turkey should sit uncovered on a rack in the fridge for at least several hours, ideally overnight. The fridge’s dry, circulating air pulls surface moisture away continuously. A bird straight from its packaging, patted dry once and roasted, will never brown as evenly as one that’s had a full day of air exposure.
If you’re short on time, even one hour of air-drying at room temperature, followed by a thorough pat-down with paper towels, makes a visible difference in color.
Butter, Oil, or Nothing: What Fat Does to Browning
A thin layer of fat on the skin speeds up browning because fat conducts heat more efficiently than air and reaches higher temperatures than water without evaporating. It also helps carry the caramelizing compounds that give skin its deep mahogany color.
| Fat Choice | Browning Effect | Best For |
|---|---|---|
| Softened butter | Fast, deep color; browns milk solids for a rich, nutty tone | Classic holiday turkey, shorter cook times |
| Neutral oil (grapeseed, avocado) | Even, glossy browning without extra flavor | High-heat sear starts, spatchcocked turkeys |
| Rendered poultry fat or duck fat | Very deep color, savory finish | Roasts you want to taste as good as they look |
| Mayonnaise | Surprisingly even browning (egg and oil emulsion spreads thin) | Cooks who want foolproof, streak-free color |
| Nothing | Slower, patchier browning; relies entirely on the bird’s own fat rendering | Very fatty heritage breeds, or cooks avoiding added fat |
I use softened butter under and over the skin for most holiday turkeys, then a light brush of neutral oil if I’m doing a high-heat sear start. Butter alone can scorch a little at 450°F because of its milk solids, so if I’m searing hot, I hold off on the butter until I drop the oven temperature down.
A common mistake here is applying too much fat. A thick coat pools and essentially deep-fries a few spots while leaving others dry. Rub it in like you’re moisturizing, not frosting a cake.
High-Heat Sear Start vs. Low-and-Slow With a High-Heat Finish
There are two reliable approaches to browning a turkey in the oven, and I’ve used both professionally depending on the size of the bird and how much oven space I have.
Method 1: High-Heat Sear Start
Roast at 450°F for the first 30 to 45 minutes, then drop the oven to 325°F to finish cooking. The high initial heat kicks off the Maillard reaction fast and builds a strong base color before the bird has cooked through.
Pros:
- Builds color early, so you’re not racing the clock at the end
- Works well on smaller birds (under 14 pounds) that cook through before over-browning
- Creates a slightly crisper overall skin texture
Cons:
- Higher risk of over-browning the breast and wing tips before the thighs finish cooking
- Needs a foil tent ready to go the moment color looks right
- Less forgiving if your oven runs hot
Method 2: Low-and-Slow With a High-Heat Finish
Roast the entire bird at 325°F, then crank the oven to 450°F for the final 15 to 20 minutes once the internal temperature is close to done.
Pros:
- Even, gentle cooking reduces the risk of dry breast meat
- Better for larger birds (16 pounds and up) where a long cook time at high heat would scorch the skin
- Easier to control – you’re browning at the very end, when you can watch it closely
Cons:
- Skin can look pale for most of the cook, which makes some cooks nervous
- Requires precise timing on the final blast so you don’t overshoot doneness
I default to Method 2 for anything over 15 pounds, which covers most Thanksgiving turkeys. For smaller birds or spatchcocked turkeys, I like Method 1 because the shorter overall cook time means less risk of the breast drying out during that hot start.
Oven Temperature Reference Table
| Oven Temp | Approx. Time to Visible Browning | Skin Result | Best Use |
|---|---|---|---|
| 325°F | 90–120 minutes | Slow, even golden-brown; classic USDA-recommended roasting temp | Standard whole-bird roasting (USDA FSIS, 2024) |
| 350°F | 60–90 minutes | Moderate browning, good balance of speed and control | Smaller birds, turkey breasts |
| 375°F | 45–70 minutes | Faster, richer color; some risk of uneven browning on wings | Spatchcocked turkey, shorter roasts |
| 400°F | 30–50 minutes | Strong color quickly; needs close monitoring | Sear-start method, first 30–45 minutes only |
| 425°F | 20–35 minutes | Deep, fast color; high risk of scorching if unattended | Final browning blast on an already-cooked bird |
| 450°F | 10–20 minutes | Very fast, deep mahogany color; narrow margin for error | Quick color fix or 5–10 minute post-rest blast |
These times assume a properly dried, lightly fatted skin. A wet or heavily basted bird will take noticeably longer to reach the same color at any of these temperatures.
Tenting With Foil: Timing It Right
Foil tenting protects the breast and wing tips from over-browning while the thighs and legs, which need more time, finish cooking. The trick is timing it to the bird’s actual color, not the clock.
When to add it: Once the breast reaches the color you want – usually a deep gold, roughly 60 to 90 minutes into a 325°F roast – tent it loosely with foil. Don’t seal it tight; you want airflow, not a steam pocket.
When to remove it: Pull the foil for the last 15 to 20 minutes of cooking if you want to darken the color slightly at the end, or leave it on through the rest if you’re happy with the shade.
The mistake to avoid: leaving foil on for the entire second half of cooking. This traps steam against the skin and can actually soften color you already built, undoing the work of your dry brine and air-drying.
Does Basting Help Browning? The Short Answer Is No
Basting spoons pan drippings back over the skin, and it feels productive, but it works against browning more than it helps. Pan juices are mostly water with some fat mixed in, and that added water re-wets the skin right when you need it dry. Testing by Serious Eats found that basting does little for juiciness and actually slows browning because of the moisture and the repeated heat loss from opening the oven door (Serious Eats, 2024).
Every time you open the oven to baste, the temperature drops significantly, and it takes several minutes to recover. Do that every 30 minutes over a four-hour roast and you’ve added real time to your cook, with skin that browns less evenly for the trouble.
If you want that glossy look, a single brush of melted butter or fat about two-thirds of the way through the roast does more for appearance than repeated basting, without the moisture penalty.
Convection vs. Conventional Ovens for Browning
Convection ovens circulate hot air with a fan, which strips away the thin layer of humid air that clings to the turkey’s surface. That faster air movement speeds up evaporation and browning, and it tends to color the whole bird more evenly because there’s no single hot spot doing all the work (National Turkey Federation, 2024).
In a conventional oven, heat rises from the bottom element and radiates from the walls, so the top and sides of the bird brown faster than the parts facing the pan. You’ll often see a paler patch on the back or underside of a turkey roasted conventionally, especially if it’s crowded close to the oven wall.
If you have a convection setting, I’d use it for the initial browning phase, then you can switch back to conventional for the low, slow finish if you’re worried about the fan drying out the breast. Convection roasting also typically runs 25 percent faster, so drop your target time down and lean on a thermometer rather than the clock (National Turkey Federation, 2024).
Doneness vs. Browning: Don’t Trust Your Eyes Alone
Color tells you almost nothing reliable about doneness. A turkey can look perfectly golden-brown on the outside while the thigh meat is still 20 degrees short of safe, and a turkey with slightly pale skin can be fully cooked and safe to eat. The USDA requires a minimum internal temperature of 165°F, checked in the thickest part of the breast and the innermost thigh and wing, using a food thermometer (USDA FSIS, 2024).
I pull my thermometer at the thigh first, since it’s the last part to finish, then double-check the breast. If either reads under 165°F, the bird goes back in regardless of how good the skin looks. I’ve seen plenty of gorgeous, deep-brown turkeys pulled too early because the cook trusted color over a thermometer, and turkey can even stay slightly pink near the bone at a fully safe temperature, which throws people off further (USDA FSIS, 2024).
Common Mistakes That Ruin Browning
Wet skin going into the oven. This is the single biggest cause of pale, blotchy turkey. Pat the bird dry with paper towels right before it goes in, even if you air-dried it overnight.
Overcrowding the roasting pan. A turkey crammed against the sides of a pan, or a pan overloaded with vegetables underneath, blocks air circulation and creates steam pockets that stall browning in spots.
Opening the oven too often. Every open door drops the temperature and slows the whole process. Check color through the oven window when you can, and save door-opening for actual basting or temperature checks.
Wrong rack position. A turkey placed too close to the top or bottom heating element browns unevenly, often scorching on one side before the other catches up. Center rack, center of the oven, is the safest default (USDA FSIS, 2024).
Foil left on too long. As covered above, foil left on for hours traps steam and can undo browning you already achieved.
Fixing a Pale or Unevenly Browned Turkey Mid-Roast
If you check your turkey partway through and the color isn’t where you want it, you have a few practical fixes.
- Bump the temperature up 25 to 50°F for the final stretch. This is the single most reliable fix for an overall pale bird. Just watch it closely once you do.
- Brush on a thin coat of melted butter or oil. This gives the skin fresh fat to caramelize and often produces visible color within 15 to 20 minutes.
- Rotate the pan. If one side is browning faster than the other, turn the pan 180 degrees. This fixes most oven hot-spot issues.
- Switch on convection if you have it. The added air movement can push a stalled, patchy bird toward even color faster than conventional heat alone.
- Do a post-rest blast. If the turkey finishes cooking but looks pale, let it rest, then return it to a 450°F oven for 5 to 10 minutes right before serving. Because it’s already cooked and resting, this won’t dry it out, and it gives you a fast, deep color finish (Serious Eats, 2024).
My Personal Routine for a Perfectly Browned Turkey
Here’s exactly what I do, developed over a lot of Thanksgivings both in restaurant kitchens and at my own table.
The night before, I dry brine with kosher salt and a small amount of baking powder, then set the turkey uncovered on a rack in the fridge overnight. In the morning, I pat it bone-dry with paper towels, inside and out, no matter how dry it looks already.
I rub softened butter under the skin directly on the breast meat, then a thin, even layer over the outside skin. No oil on top of the butter – one fat is enough.
Into a 325°F oven it goes, on the center rack, breast side up, on a proper roasting rack so air moves underneath. I don’t sear hot at the start for a full-size bird; I’ve had better luck with even color at a steady 325°F.
Around the 90-minute mark, I check color. If the breast looks close to done, I tent it loosely with foil and leave the legs exposed, since they need the extra heat and browning time.
No basting. Ever. I open the door only to check the thermometer, and even then I try to keep it brief.
When the thigh hits 165°F, I pull the bird, remove the foil, and let it rest for 30 to 45 minutes. If the color looks slightly duller after resting – which happens sometimes as the skin cools – I brush on a little more melted butter and give it a 450°F blast for about 5 minutes right before carving. That last step is a trick I picked up watching how professional kitchens finish roasts under a broiler, and it makes a real difference for presentation without any risk to food safety, since the bird is already fully cooked.
Frequently Asked Questions About Browning a Turkey
What temperature browns turkey skin the best?
Temperatures of 400°F and above brown skin fastest, but 325°F produces the most even color over a full roast without risking scorched wings or breast. A hot finish of 450°F for the last 10 to 20 minutes gives you the best of both.
Why is my turkey skin still pale after hours in the oven?
The most common cause is moisture on the skin, either from an insufficiently dried bird or from basting. Pat the skin fully dry before roasting, skip basting, and consider a foil-free final 20 minutes at a higher temperature to catch it up.
Should I brine my turkey for better browning?
A dry brine helps browning significantly by pulling moisture out of the skin over time. A wet brine helps flavor and moisture in the meat but can slow browning unless you dry the skin thoroughly afterward.
Does butter or oil brown turkey skin better?
Butter browns faster and adds a richer color because its milk solids caramelize, but it can scorch at very high heat. Oil browns more evenly at high temperatures with less risk of burning. I use butter for flavor and a lower, steadier oven, and oil when I’m doing a hot sear start.
Is it safe to eat turkey with pink meat near the bone if it reached 165°F?
Yes. Turkey can stay pink near the bone even at a fully safe internal temperature, a reaction linked to how young birds and certain minerals in the bone react to heat, not a sign of undercooking (USDA FSIS, 2024). The thermometer reading is what matters, not the color of the meat.
How often should I baste my turkey for good color?
You don’t need to baste at all for good color. Testing has shown basting mostly re-wets the skin and cools the oven, which works against browning rather than for it (Serious Eats, 2024). A single brush of fat partway through does more for appearance.
Can I fix a turkey that’s browning unevenly?
Yes. Rotate the pan 180 degrees to correct for oven hot spots, brush on a thin layer of fresh fat to jump-start color in pale areas, and switch to convection if your oven has it. All three can be done mid-roast without affecting safety or doneness.
Does a convection oven really brown turkey better than a regular oven?
In my experience, yes. The circulating air removes humidity from around the skin faster, which speeds up browning and makes it more even across the whole bird rather than concentrated on the top (National Turkey Federation, 2024). It also cooks about 25 percent faster, so watch your thermometer closely.
Key Takeaways
- Dry skin is the foundation of good browning. Dry brine overnight, air-dry uncovered, and pat the bird dry again right before roasting.
- A thin layer of butter or oil speeds browning; a thick layer creates steamed, uneven patches.
- Match your method to bird size: high-heat sear start for smaller or spatchcocked turkeys, low-and-slow with a hot finish for anything 16 pounds and up.
- Tent with foil once the breast hits your target color, not before, and pull it near the end if you want to deepen the shade.
- Skip basting. Use a single brush of fat instead, and lean on a hot post-rest blast if the skin looks pale after resting.
- Convection ovens brown faster and more evenly than conventional ovens, but they also cook faster, so check temperature more often.
- Always finish with a thermometer reading of 165°F in the thigh. Color is a visual cue, not a safety measure (USDA FSIS, 2024).
Sources:
- USDA Food Safety and Inspection Service, “Turkey Basics: Safe Cooking” (2024)
- National Turkey Federation, “Cooking Turkey in a Convection Oven” (2024)
- Butterball, “How to Roast a Turkey” (2026)





