
At A Glance
- Your oven’s preheat signal lies — the internal temperature is still 15–25°F short when that beep goes off, and it costs you every time.
- A pan of boiling water on the bottom rack creates steam that makes home bread crusts rival what comes out of professional deck ovens.
- The reverse sear method for thick steaks isn’t just a trend — it consistently produces more even doneness than high-heat searing first, with zero guesswork.
- A Dutch oven converts your standard home oven into a steam-injected bread cloche, and it costs nothing extra if you already own one.
- You can proof dough, dehydrate herbs, make yogurt, and revive stale bread using settings you already have — most home cooks never find them.
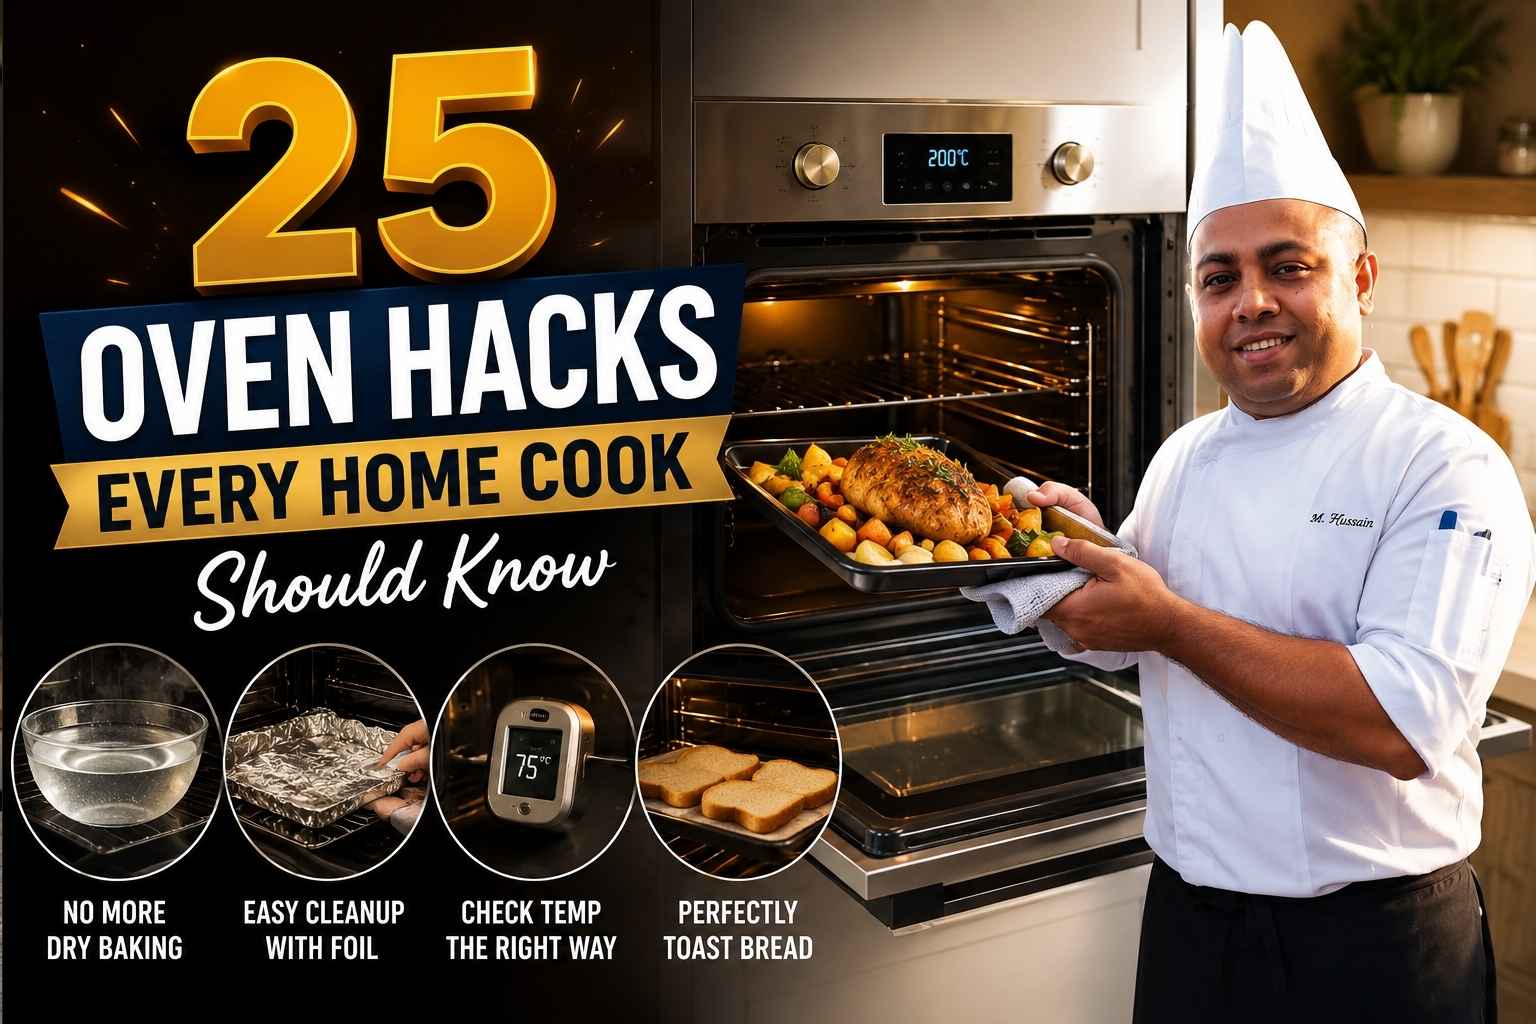
My oven used to scare me a little. Now it’s my best kitchen friend, and I owe it all to a handful of simple tricks. Today I want to share 25 oven hacks every home cook should know, straight from my own kitchen. These are the small moves I use every single week, and they work. Stick with me, and your oven will feel like a whole new tool by the end of this read.
Why Your Oven Is Lying to You (And How to Stop It)
Most ovens from the last decade — even expensive ones — run 25–50°F off from their displayed temperature (Consumer Reports, 2024). I learned this the hard way during my second year in a professional kitchen, when a pastry chef threw a digital thermometer at my station and told me to stop trusting the dial. She was right. Once you understand how your oven actually behaves, every hack in this list gets easier to apply.
Below, I’ve grouped 25 of the most practical oven hacks I’ve gathered across 15+ years in both restaurant and home kitchens. They’re broken into six categories. Work through them in order if you want the full picture, or jump straight to the section that’s causing you problems right now.
Quick-Reference: All 25 Hacks at a Glance
| # | Hack | Category |
|---|---|---|
| 1 | Use a standalone oven thermometer | Heat Control |
| 2 | Wait 5 extra minutes after the preheat signal | Heat Control |
| 3 | Offset convection by 25°F or 25% less time | Heat Control |
| 4 | Know your hot spots with the bread-slice test | Heat Control |
| 5 | Use the broiler for a faster finish | Heat Control |
| 6 | Inject steam with a pan of boiling water | Baking |
| 7 | Use a baking steel instead of a stone | Baking |
| 8 | Bake bread in a cold Dutch oven | Baking |
| 9 | Use parchment, not greased pans, for cookies | Baking |
| 10 | Chill cookie dough before baking | Baking |
| 11 | Reverse sear thick steaks and chops | Roasting |
| 12 | Rest meat in a warm, turned-off oven | Roasting |
| 13 | Use the broiler drawer for fast char | Roasting |
| 14 | Salt-crust fish or vegetables for even cooking | Roasting |
| 15 | Start roast chicken at high heat, then drop | Roasting |
| 16 | Stagger racks for better airflow | Space & Efficiency |
| 17 | Rotate pans at the halfway point | Space & Efficiency |
| 18 | Use sheet pans for batch cooking sequences | Space & Efficiency |
| 19 | Preheat your pan before adding food | Space & Efficiency |
| 20 | Use foil correctly — never line the oven floor | Cleaning |
| 21 | Try baking soda paste before running self-clean | Cleaning |
| 22 | Skip the self-clean cycle if you can help it | Cleaning |
| 23 | Use cast iron as a permanent heat sink | Equipment |
| 24 | Proof dough in a cold oven with just the light on | Surprising |
| 25 | Dehydrate herbs, make yogurt, and revive stale bread | Surprising |
Heat Control Hacks: Get the Temperature Right Before You Touch the Food
Hack 1: Buy a Standalone Oven Thermometer and Never Look Back
The single most impactful thing you can do for your cooking is spend $10 on an oven thermometer. Your oven’s built-in thermostat measures temperature at one specific point — usually near a heating element — and it does not reflect the temperature where your food actually sits. According to a 2024 Consumer Reports analysis of 30 common residential ovens, more than 60% ran at least 25°F off from their display at the standard 350°F setting.
Hang or clip the thermometer at center rack height. Let the oven run for 20 minutes after the preheat signal, then read it. Write the offset on a piece of tape and stick it to the inside of a cabinet door. You’ll use it every single time you cook.
Tool to buy: Any NSF-certified dial thermometer from a kitchen supply store. The Taylor 5921N is a reliable and inexpensive option (America’s Test Kitchen, 2023).
Hack 2: Wait 5 Extra Minutes After the Preheat Signal
Every oven I’ve ever worked in — home or restaurant — signals preheat before it’s actually ready. The heating element shuts off when the thermostat reads the target, but the oven walls, racks, and air haven’t fully equalized yet. Slide your food in at that moment and you’re baking in a dropping-temperature environment for the first 4–6 minutes.
The fix: set a separate timer for 5 minutes after the beep. Put the food in when that second timer goes off. This is especially critical for bread, pastry, and anything with a delicate crust.
Hack 3: Offset Convection Temperature by 25°F or Reduce Time by 25%
Convection mode moves hot air across your food with a fan. That active airflow strips moisture and transfers heat faster than still air. The standard rule: reduce your target temperature by 25°F, or reduce cooking time by roughly 25%, and never both at the same time.
I spent two years in a kitchen that ran only convection ovens. The most common mistake cooks made was dropping temperature AND cutting time, then wondering why their roast chicken was dry on the outside and underdone inside. Pick one adjustment and monitor the result before combining them.
Use convection for: roasting vegetables, crisping chicken skin, baking multiple sheet pans at once.
Avoid convection for: custards, soufflés, anything with an egg-wash top that browns too fast.
Hack 4: Find Your Hot Spots with the Bread-Slice Test
Place a single layer of sandwich bread slices on a sheet pan and cover the entire surface. Set the oven to 350°F and bake for 3–4 minutes. Pull the pan and look at the pattern of browning. Darker slices show you where heat concentrates. Lighter slices show you the cool zones.
I first saw this done at a pastry station in a hotel kitchen. The chef mapped every oven quarterly and taped the result inside each oven door. Once you know where your hot spots are, you stop guessing why one corner of a cake always overbakes.
Hack 5: Use the Broiler for a Faster Finish
The broiler is the most underused tool in most home kitchens. It runs at 500–550°F and sits at the top of the oven. Use it in the last 2–3 minutes of cooking to develop color on gratins, brown cheese, char the skin on fish, or finish a casserole top. Watch it the entire time — it can go from golden to burnt in under 60 seconds.
Most broiler elements cycle on and off rather than staying at steady heat (Serious Eats, 2023). Position your rack 4–6 inches below the element for controlled browning. Move it closer only when you want very fast, aggressive char.
Baking Hacks: What Professional Bakeries Know That Home Ovens Can Replicate
Hack 6: Create Steam with a Pan of Boiling Water
Professional deck ovens inject steam into the baking chamber during the first 10–15 minutes of bread baking. That steam keeps the outer crust soft long enough for the loaf to expand before the crust sets. Without it, the crust forms too early and you get a dense, tight crumb.
To replicate it at home: place an old metal roasting pan or cast iron skillet on the lowest rack while the oven preheats. When you load your bread, pour 1 cup of boiling water into the hot pan and close the oven door immediately. Wear long oven mitts — the steam will billow hard. Bake with steam for the first 15 minutes, then remove the pan for the remaining time to allow the crust to harden and color.
This one change improved my home sourdough more than any recipe adjustment I’d made in years (King Arthur Baking, 2024).
Hack 7: Use a Baking Steel Instead of a Pizza Stone
A baking steel conducts heat faster and more evenly than ceramic or cordierite pizza stones. Steel’s thermal conductivity is roughly 18 times higher than stone (Modernist Cuisine, 2023), which means the bottom of your pizza or bread gets a faster, more aggressive burst of heat the moment it makes contact.
Leave the steel on the middle rack and preheat your oven for at least 45–60 minutes before baking. Use a pizza peel to slide items directly onto the steel. The steel also survives drops and temperature shock — something pizza stones frequently don’t.
Hack 8: Bake Bread in a Cold Dutch Oven (the Cloche Method)
This is the most practical bread hack for home bakers. A heavy Dutch oven acts as a cloche — it traps steam released by the dough itself during the first stage of baking. You get oven-spring, an open crumb, and a blistered crust without buying any special equipment.
Place the Dutch oven (with its lid) in a cold oven and preheat both together to 500°F. Carefully lower your shaped, proofed dough into the hot Dutch oven, score the top, replace the lid, and bake for 20 minutes covered. Remove the lid and bake another 15–20 minutes until the crust is deep brown.
Do not use a Dutch oven with rubber or plastic handles. Confirm your Dutch oven is oven-safe to 500°F before trying this — most enameled cast iron versions are (Lodge, Le Creuset), but some lids are not.
Hack 9: Use Parchment, Not Greased Pans, for Cookies
Greased pans spread cookies faster and cause the bottoms to brown — sometimes burn — before the centers are set. Parchment paper acts as a mild insulator, slows the bottom browning, and lifts the cookie off cleanly without sticking.
Silicone baking mats (like Silpat) work similarly. Both are reusable and consistent. Use whichever you have. If you’re out of both, a light coating of cooking spray on a bare sheet pan is the second-best option — but expect more spread.
Hack 10: Chill Cookie Dough Before Baking
Refrigerate cookie dough for at least 30 minutes — overnight is better. Cold fat melts more slowly in the oven, which means the cookie spreads less before the structure sets. You get a thicker, chewier result. The dough also has time to hydrate more fully, which deepens flavor (Cook’s Illustrated, 2023).
This is non-negotiable for chocolate chip cookies if you want a bakery-style texture. It also applies to shortbread, sugar cookies, and any dough with a high butter content.
Roasting Hacks: How to Get Better Meat and Vegetables Every Time
Hack 11: Reverse Sear Thick Steaks and Chops
Standard searing first, then finishing in the oven — has one problem: the exterior overcooks before the center catches up. Reverse sear fixes this. Start the steak in a low oven (225–250°F) until the internal temperature is 10–15°F below your target (125°F for medium-rare). Then sear in a screaming-hot pan for 60–90 seconds per side.
The result is an edge-to-edge even pink interior with a hard, deeply browned crust. This method also gives you a dry surface before searing — cold meat from the oven has less surface moisture than raw cold meat straight from the fridge, which means better Maillard reaction and less steaming (Serious Eats, 2023).
I converted to reverse sear about eight years ago after seeing it done for thick pork chops at a restaurant in Chicago. I haven’t seared-first since for anything over 1.5 inches thick.
Hack 12: Rest Meat in a Warm, Turned-Off Oven
After pulling a roast from the oven, you need to rest it — but resting on the counter in a cold kitchen lets temperature drop fast and unevenly. Instead, turn the oven off, leave the door slightly ajar (prop it with a folded towel), and rest the meat inside. The ambient warmth slows the temperature drop and keeps the exterior from chilling while the center finishes redistributing juices.
This matters most for large roasts (whole chickens, bone-in rib roasts, leg of lamb) that need 15–30 minutes of resting time.
Hack 13: Use the Broiler Drawer for Targeted Char
Many gas ranges have a separate broiler drawer below the main oven. It runs very hot — often hotter than the broiler setting inside the main oven — and positions food closer to the flame. Use it for fast char on tortillas, browning the top of a frittata, or finishing vegetables you want blistered without further cooking.
The limitation: you can’t see what’s happening without pulling the drawer open, so check every 60–90 seconds.
Hack 14: Use a Salt Crust for Even Cooking on Fish and Vegetables
Packing fish or root vegetables in a thick crust of kosher salt (sometimes mixed with egg white to help it set) creates a sealed steam environment. The food cooks in its own moisture, stays remarkably juicy, and absorbs far less salt than you’d expect — the crust doesn’t break down and penetrate the food the way seasoning does (America’s Test Kitchen, 2024).
Whole fish, beets, and celeriac are the best candidates. Bake at 400°F and crack the crust at the table for a dramatic presentation.
Hack 15: Start Roast Chicken High, Then Drop the Temperature
Begin roast chicken at 450°F for 15 minutes to set and brown the skin, then drop to 375°F for the remainder of cooking time. The high initial heat renders fat under the skin and starts the browning process. The lower finishing temperature lets the interior cook through without the breast drying out before the thighs are done.
Do not baste during cooking — it softens the skin you just worked to crisp. If you want extra flavor, rub butter or herb oil under the skin before the bird goes in, not on top.
Space and Efficiency Hacks: Getting More Out of Every Oven Session
Hack 16: Stagger Racks for Better Airflow
Placing two sheet pans directly on top of each other blocks airflow and causes the bottom pan to steam rather than roast. Instead, stagger them: one pan toward the front of the upper rack, one toward the back of the lower rack. Hot air can circulate around both.
This matters most in convection mode, where airflow does the heavy lifting. In standard (still-air) mode, the effect is less dramatic, but staggering still helps.
Hack 17: Rotate Pans at the Halfway Point
Even with a calibrated oven and mapped hot spots, heat distribution changes across cooking time as moisture evaporates and the oven cycles on and off. Rotating pans 180 degrees at the halfway point of cooking corrects for any directional bias in heat distribution.
For bread and cakes, wait until the structure is set before rotating — usually 2/3 of the way through — or the movement can cause a collapse.
Hack 18: Batch Cook with a Sequence Plan
An oven holding at 400°F can run continuously through multiple dishes if you sequence them by temperature need and timing. Start with whatever needs the longest cooking time and highest heat. Add items that need less time as earlier items come out. Lower the temperature toward the end of the session if something requires lower heat.
I used to plan Sunday meal prep around a written “oven sequence” — it’s the only reason I could roast vegetables, finish a braise, and bake muffins in 90 minutes without firing the oven more than once.
Hack 19: Preheat Your Pan Before Adding Food
A cold pan put into a hot oven drops the surface temperature the moment food touches it. Slide your empty sheet pan or cast iron skillet into the oven during the last 10 minutes of preheating. Then add food to the hot surface.
This creates instant contact heat that starts browning immediately — especially useful for roasted vegetables, which otherwise steam in their own moisture before the surface can caramelize.
Cleaning and Maintenance Hacks: Protect Your Oven Without Damaging It
Hack 20: Use Foil Correctly — Never Line the Oven Floor
Placing aluminum foil directly on the oven floor is one of the most common and damaging mistakes home cooks make. It blocks heat circulation, reflects heat in unpredictable ways, and in gas ovens, can permanently damage the igniter or burner. In electric ovens, it can melt onto the heating element (GE Appliances, 2024).
If you want to catch drips, place foil on a rack one level below the dish you’re cooking — not on the floor. Better still, use a dedicated drip pan or a sheet of foil directly under the dish on the same rack.
Hack 21: Clean with Baking Soda Paste Before Resorting to Chemical Sprays
For stuck-on grease and baked-on spills, make a paste of 3 parts baking soda to 1 part water. Spread it across the interior surfaces, avoiding the heating elements. Leave it for at least 4 hours — overnight works better. Wipe clean with a damp cloth. For stubborn spots, spray white vinegar on top of the paste before wiping; it fizzes and loosens the residue.
This handles about 80% of oven cleaning jobs without caustic fumes or chemical residue that can affect food flavor on the next cook (Cook’s Illustrated, 2023).
Hack 22: Use the Self-Clean Cycle with Caution
The self-clean function runs your oven at 800–900°F to incinerate residue. It works, but the extreme heat can warp oven racks, damage door gaskets, trigger smoke alarms, and — in some models — cause the oven’s own thermal fuse to blow, rendering it non-functional until repaired (Consumer Reports, 2024).
Run self-clean only when baking soda paste can’t handle the mess. Remove racks first. Open windows. Don’t run it the night before you need the oven.
Equipment Hacks: Tools You Already Own, Used Better
Hack 23: Use Cast Iron as a Permanent Heat Sink
A cast iron skillet or griddle placed on the bottom rack absorbs and holds heat through oven temperature cycles. Ovens don’t heat at a perfectly steady rate — the element cycles on and off. A mass of hot cast iron smooths out those fluctuations and keeps the floor of the oven more consistently warm.
This is especially useful for baking. It acts as a thermal buffer between the heat source and your food. Many serious home bakers keep a cast iron piece in the oven permanently.
Surprising Hacks: Things Your Oven Can Do That You’ve Never Tried
Hack 24: Proof Dough Using Only the Oven Light
Turn your oven on, then immediately turn it off. Turn on just the oven light. The heat from the light bulb alone — in the enclosed space — creates a warm, draft-free environment that sits around 75–80°F, which is ideal for yeast dough proofing (King Arthur Baking, 2024).
No need to run the oven at all. This works in any oven with an incandescent interior bulb. LED oven lights don’t produce enough heat, so if your oven has been recently serviced, check the bulb type first.
Hack 25: Dehydrate Herbs, Make Yogurt, and Revive Stale Bread
Dehydrating herbs: Set the oven to its lowest temperature (usually 170–200°F). Spread fresh herbs on a wire rack over a sheet pan. Leave the oven door cracked slightly to let moisture escape. Herbs are done when they crumble between your fingers — usually 1–2 hours.
Making yogurt: Heat milk to 180°F on the stovetop, cool to 110°F, whisk in 2 tablespoons of plain yogurt with live cultures, pour into jars, and place in the oven with just the light on for 8–12 hours. The light-only environment holds the right temperature for culture development.
Reviving stale bread: Run the loaf under cold water, then place it directly in a 350°F oven for 8–10 minutes. The steam from the water trapped inside the bread redistributes moisture throughout the crumb and reactivates the crust. I’ve served day-old sourdough this way in restaurants and had guests assume it just came out of the bakery.
Key Takeaways
- Buy an oven thermometer. Your display temperature is almost certainly wrong, and every other hack in this list depends on knowing your actual oven temperature.
- Wait 5 minutes past the preheat signal — walls, racks, and air need time to fully equilibrate.
- Steam transforms home bread baking. A pan of boiling water or a covered Dutch oven both work.
- The reverse sear method consistently produces better steaks than searing first — use it for anything over 1.5 inches thick.
- Never line the oven floor with foil. It’s one of the most common ways home cooks damage their ovens.
- Your oven can proof dough, dehydrate herbs, make yogurt, and revive stale bread — features you already have and almost certainly never use.
Frequently Asked Questions About Oven Hacks
Why does my oven produce uneven results even at the right temperature?
Most ovens have at least one hot spot — an area where heat concentrates due to proximity to the heating element or the shape of the cavity. Run the bread-slice test (Hack 4) to map yours. Once you know where your hot spots are, you can rotate pans to compensate, or avoid placing delicate items in those zones.
Is convection mode always better?
No. Convection is better for roasting, crisping, and baking multiple items at once. It’s not suitable for custards, soufflés, delicate cakes, or anything where even surface drying is unwanted. Use standard mode for those.
How do I know when to use the broiler vs. the main oven?
Use the oven for cooking food all the way through. Use the broiler for browning, charring, or finishing the surface of food that’s already mostly cooked. The broiler is a finishing tool, not a primary cooking method — with the exception of thin fish fillets or toast, which can cook entirely under a broiler in under 5 minutes.
What is the reverse sear method and why does it work?
Reverse sear means cooking protein slowly at low heat (225–250°F) until it’s close to the target internal temperature, then searing at very high heat to build the crust. It works because low heat allows the interior to cook evenly edge-to-edge before the exterior sets. Searing first traps heat in the outer layers, which then overcook while the center finishes — the reverse approach eliminates that problem.
Can I leave cast iron in the oven permanently?
Yes. Cast iron handles any temperature your residential oven can produce. Leaving a cast iron piece on the bottom rack creates a more thermally stable baking environment by smoothing out heating element cycles. It does slightly increase preheat time since the cast iron itself needs to come up to temperature.
How often should I use the self-clean cycle?
As infrequently as possible. Use baking soda paste (Hack 21) for routine cleaning. Reserve self-clean for heavy buildup that mechanical cleaning can’t handle — no more than 1–2 times per year for most home cooks. Always remove racks first, open windows, and avoid running it close to when you need the oven.
How do I stop my cookies from spreading too much?
Three causes cover 90% of spreading problems: butter is too soft (or melted), the pan is warm from a previous batch, and the dough wasn’t chilled before baking. Chill dough for at least 30 minutes, always bake on a room-temperature pan, and make sure your butter is cold but pliable — not soft, not melted (Cook’s Illustrated, 2023).
What oven temperature is best for proofing bread dough?
You don’t need the oven on at all. Turn the oven on briefly, then off, and leave only the light on. This creates a 75–80°F environment — the ideal range for active yeast fermentation. Anything above 90°F starts to slow yeast activity; above 120°F kills it. The light-only method is gentler and more consistent than running the oven at its lowest setting (King Arthur Baking, 2024).

I’m Mossaraof, a trained chef and the founder of OvenInsights.com. I spent years cooking at Larrupin’ Cafe and in kitchens across Chicago and Seattle. Now I test kitchen gear for a living. I moved to North Acton, London, and I test every tool I write about. I use real meals and real heat. No brand deals. No shortcuts. I cover 12 kitchen types and hundreds of recipes. I believe this: the right tools matter as much as the recipe.




