
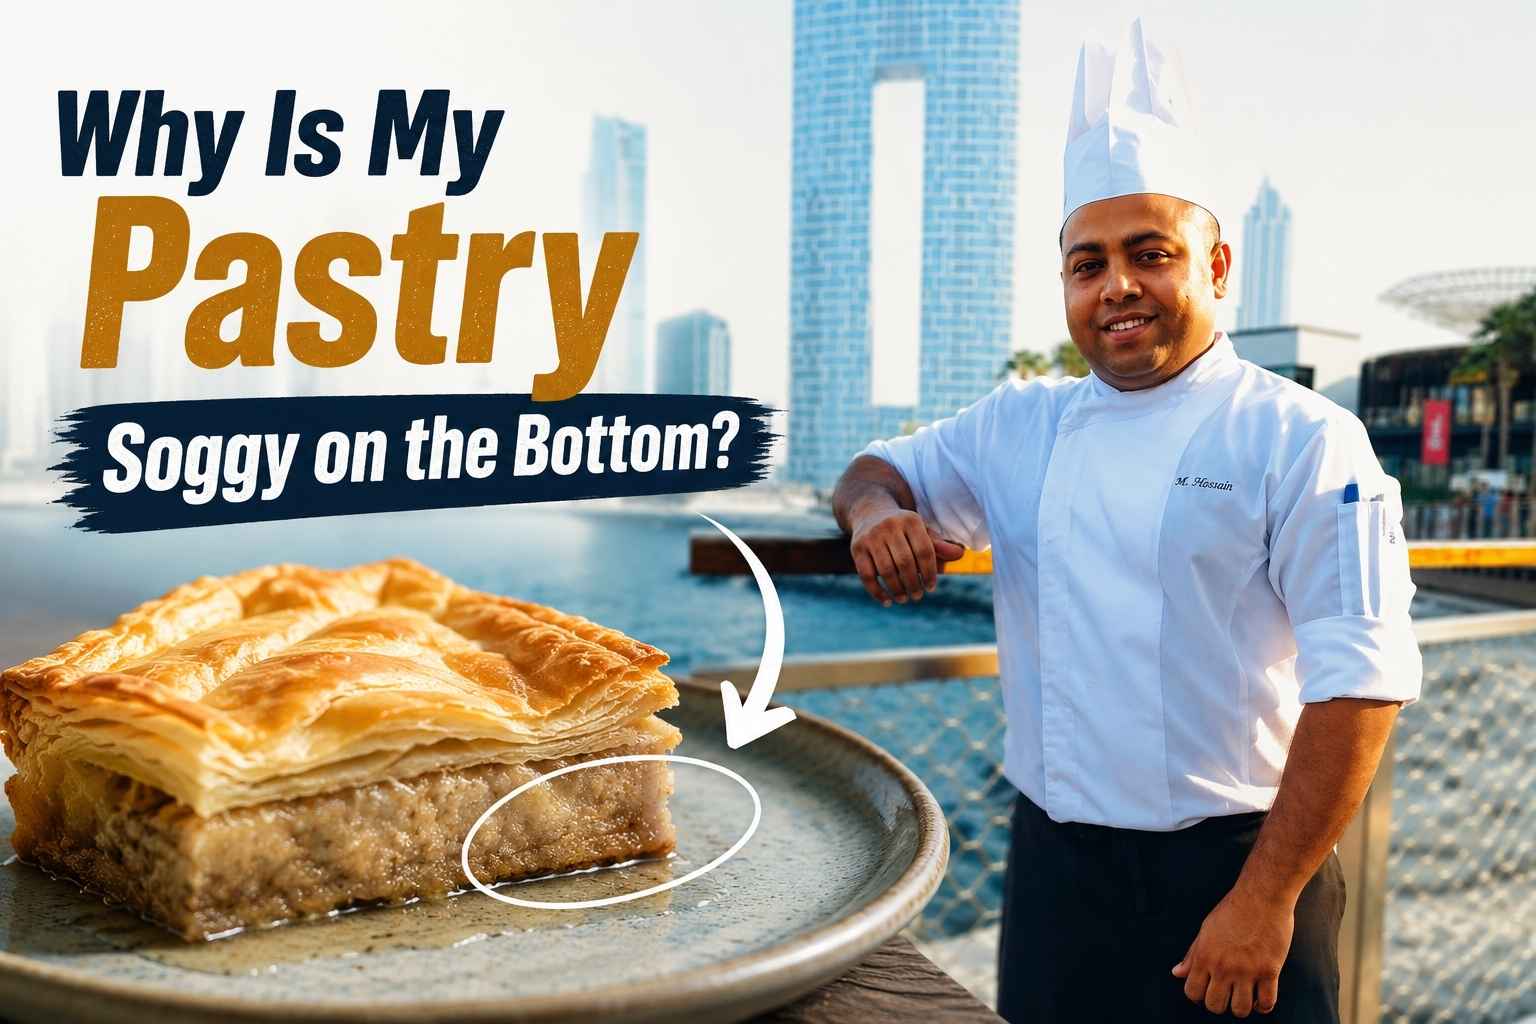
- A soggy pastry bottom happens when steam and moisture get trapped under the crust before the heat can set it (King Arthur Baking, 2024).
- Blind baking with pie weights for 15-20 minutes fixes most soggy-bottom problems before you even add filling.
- Glass and dark metal pans heat the bottom crust faster than light metal or ceramic (America’s Test Kitchen, 2023).
- Pre-cooking wet fillings like fruit and custards cuts down the liquid that soaks into raw dough.
- Always check your oven with a real thermometer. Most home ovens run 25-50°F off the dial (Taylor Precision Products, 2024).
I’ve soggy pastry drove me nuts for years, until I finally cracked the code. Why is my pastry soggy on the bottom? It’s the top question I get from home bakers, and honestly, I asked it myself more times than I’d like to admit. After twenty years in professional kitchens, I’ve tested every trick in the book to fix it. Stick with me, and you’ll bake perfect, crisp-bottomed pastry every single time.
What Causes a Soggy Pastry Bottom?
A soggy bottom happens when liquid from your filling soaks into the dough faster than the heat can dry and set it. Steam gets trapped between the pan and the crust, and that steam has nowhere to go but into your pastry.
Here’s the simple version. Your filling has water in it. Heat turns that water into steam. Steam rises. But if the bottom crust hasn’t firmed up yet, the steam soaks back into the dough instead of escaping.
I learned this the hard way during my second year as a line cook. I baked twelve apple pies for a Sunday brunch service. Every single one had a gummy, pale bottom. My chef at the time looked at one, cut it open, and said, “Your oven’s not hot enough, and your dough’s not ready for that filling.” He was right on both counts.
Three things control whether your bottom crust sets before it gets soggy: oven heat, pan material, and how much moisture is in your filling. Get those three things working together, and soggy bottoms become rare.
Oven Rack Position: Why the Bottom Rack Isn’t Always the Fix
The lower third of your oven is usually the right spot for pastry, but “bottom rack” doesn’t always mean the very lowest slot. In many home ovens, the heating element sits directly under that bottom rack, which can scorch your crust before the center cooks.
Most ovens have between three and six rack positions. For pies and tarts, I aim for the rack that’s roughly one-third up from the bottom. That’s close enough to the heat source to crisp the bottom crust, but far enough away that the top doesn’t burn first.
Why Direct Bottom-Rack Placement Can Backfire
If your oven has exposed coils on the bottom, placing your pie directly above them creates uneven heat. The center of the pan gets blasted while the edges lag behind. You end up with a burnt center and a soft edge.
A better approach is to use a baking steel or pizza stone preheated on that lower-third rack. The stone absorbs and stores heat, then transfers it evenly to your pan the moment it touches down. This is the single biggest change I made when I started baking at home instead of in a commercial kitchen with a deck oven (Serious Eats, 2023).
Quick Fix: Rotate and Test
Halfway through baking, rotate your pan 180 degrees. Ovens have hot spots, and rotating evens out the cooking. If you’re still getting soggy spots in the same place every time, that’s your oven telling you where its hot spot is, and you should adjust your rack or pan position to compensate.
Blind Baking Explained: Why and When You Need It
Blind baking means baking your pastry shell on its own, without filling, before you add anything wet to it. You do this so the crust gets a head start on setting and browning before liquid filling has a chance to soak in.
Skip blind baking for a custard pie or a juicy fruit pie, and you’re asking raw dough to support a pool of liquid for 45 minutes to an hour. That dough will absorb moisture long before it has a chance to crisp.
When You Need It
- Custard pies (pumpkin, pecan, quiche): always blind bake, because the filling is liquid going into the oven.
- Fruit pies with a single crust: blind bake for at least 10-15 minutes.
- No-bake fillings (cream pies, chilled tarts): you must fully bake the shell first, since it won’t get a second chance in the oven.
- Double-crust fruit pies: a brief blind bake (10 minutes) on just the bottom crust still helps, though it’s less critical than with single-crust pies.
How Long to Blind Bake
For most pie and tart shells, blind bake at 375°F for 15-20 minutes with weights, then remove the weights and bake another 5-8 minutes until the bottom looks dry and lightly golden, not just pale (America’s Test Kitchen, 2023).
You’re looking for the surface to go from “wet dough” to “matte and set.” If it still looks shiny or damp, give it more time. This step alone solves the majority of soggy-bottom complaints I hear from home bakers.
Pie Weights vs. Dried Beans vs. Rice: What Actually Works
Ceramic pie weights, dried beans, and dry rice all work for blind baking, but ceramic weights heat up faster and distribute weight more evenly across the crust. Beans and rice are cheaper backups that work almost as well if you use enough of them.
The job of any pie weight is simple: keep the dough from puffing up, sliding down the sides, or shrinking away from the edges of the pan while it bakes without filling.
Comparing Your Options
| Weight Type | How It Performs | Notes |
|---|---|---|
| Ceramic pie weights | Heats quickly, distributes evenly, reusable for years | Worth the investment if you bake pies often |
| Dried beans | Works well, cheap, widely available | Reuse the same batch only for weights, not for eating |
| Dry rice | Fills small gaps well, conforms to corners | Can scorch if it touches the crust directly without parchment |
| Sugar | Heats evenly, doubles as baking sugar after | Pour it back into your sugar jar once cooled |
| Another pie pan (nested) | Great for large batches | Only works for shallow pies, not deep-dish |
My Honest Take
I use ceramic weights for tarts because the shells are shallow and need even pressure across a wide, flat base. For deep-dish pies, I switch to a mix of dried beans and rice because I can pile them higher and press them right into the edges and corners where the dough likes to slump.
Whatever you choose, always line the dough with parchment paper or foil first. Beans and rice can leave grease marks or get stuck in the crimped edges, and nobody wants to bite into a piece of pie and find a rogue lentil.
Pan Material Matters More Than You Think
Glass and dark metal pans conduct and retain heat better than light-colored metal or ceramic, which means they give your bottom crust a stronger, faster blast of heat. That extra heat is often exactly what prevents sogginess.
I switched from a ceramic pie dish to a dark metal pan about eight years ago, and it changed my results more than any other single adjustment. The bottoms of my pies went from “acceptable” to “the part everyone fights over.”
Glass Pans
Glass lets you see the bottom crust as it bakes, which is genuinely useful. Glass also retains heat well once it’s hot, but it takes longer to heat up initially. Glass pans work well if you’re patient with preheating and don’t mind the extra few minutes.
Metal Pans (Dark vs. Light)
Dark metal pans absorb more heat and transfer it directly to your crust, producing a browner, crisper bottom. Light, shiny metal pans reflect heat away, which is great for delicate cookies but works against you for pie bottoms (King Arthur Baking, 2024).
If your pies always come out pale on the bottom no matter what you do, check your pan. A shiny aluminum pan might be the culprit.
Ceramic Pans
Ceramic looks beautiful on the table, but it heats slowly and unevenly compared to metal. If you love your ceramic dish for serving, consider baking in a metal pan and transferring the finished pie to the ceramic dish afterward.
My Recommendation
For everyday pies, I reach for a dark, heavy aluminum pan every time. For tarts with delicate, buttery shells where I want maximum crispness, I go one step further and use a tart pan with a removable bottom, which lets heat reach the crust from underneath with almost nothing in the way.
Wet Fillings: The Real Culprit Behind Most Soggy Bottoms
Most soggy bottoms come down to one thing: too much liquid in the filling with nowhere for it to go. Pre-cooking your filling, using the right thickener, and letting it rest before it goes into the crust solves this at the source.
Pre-Cooking Fruit Fillings
Raw fruit releases a surprising amount of juice as it heats up in the oven. If that juice is still releasing while your crust is trying to set, the crust loses.
I cook my fruit filling on the stovetop first, just until the fruit softens slightly and releases some juice. Then I thicken that juice right there in the pan, mix it back with the fruit, and let the whole thing cool before filling the pie shell.
Choosing the Right Thickener
- Cornstarch: thickens quickly and clearly, but can break down if the pie is reheated or frozen and thawed.
- Flour: a classic choice, slightly cloudy result, holds up well to reheating.
- Tapioca starch (instant): my personal favorite for fruit pies, gives a glossy, jam-like texture and holds up to freezing.
- Cornstarch and flour blend: a good middle ground if you want clarity and stability.
Resting Time Matters
Once your filling is mixed and thickened, let it cool to room temperature before filling your crust, especially if you blind-baked the shell. Pouring hot filling into a hot crust right out of the oven can re-soften the bottom you just worked to set.
For fruit pies, I let the filling sit for at least 20-30 minutes after cooking. This gives the thickener time to fully activate and the temperature time to drop, so it’s not actively steaming when it hits the crust.
Egg Wash and Docking: Small Steps With a Big Payoff
Docking means poking small holes in your pastry to let steam escape, and an egg wash creates a sealed barrier that helps prevent moisture from soaking through. Used together, they manage steam from both directions.
Docking Your Crust
For a blind-baked shell, prick the bottom and sides with a fork before baking. This lets trapped air and steam escape through small channels instead of pushing the dough up into bubbles, which then collapse and create gaps for liquid to pool.
For a double-crust pie, cut a few slits or a decorative pattern into the top crust. This isn’t just decoration. It’s a release valve for the steam building up inside as the filling cooks.
Egg Wash as a Moisture Barrier
Brushing the bottom crust with egg wash (egg mixed with a tablespoon of water or milk) before adding filling creates a thin protein layer that sets quickly in the oven. That layer acts like a seal, slowing down how fast filling juices can soak into the dough underneath.
I brush my blind-baked shells with egg wash, then put them back in the oven for 2-3 minutes just to set that layer before I add any filling. It’s a small extra step, but it makes a real difference on custard and cream pies especially.
The High-Heat Blast: Why Starting Hot Matters
Starting your bake at a higher temperature for the first 15-20 minutes, then lowering it, gives the bottom crust a fast jolt of heat that sets it before moisture has time to soak in. This technique only works if your oven temperature is accurate.
The Two-Stage Bake
Here’s the method I use for most fruit pies:
- Preheat the oven to 425°F.
- Bake the pie at 425°F for the first 15-20 minutes.
- Lower the temperature to 375°F for the remaining bake time.
That initial blast of heat sets the bottom crust quickly, browns it, and creates a barrier before the filling has fully heated through and started releasing steam.
Why Oven Accuracy Is Critical Here
If your oven runs cold, that “425°F” blast might actually be 390°F, which isn’t enough to set the crust in time. If it runs hot, you might burn the edges before the center catches up.
This is why I keep an oven thermometer clipped to the center rack at all times (Taylor Precision Products, 2024). It costs less than a single pie’s worth of ingredients and tells you the truth about what your oven is actually doing, regardless of what the dial says.
Common Mistakes That Cause Soggy Bottoms (And How to Fix Them)
Mistake 1: Filling the Pastry Before the Oven Is Fully Preheated
This is the single most common mistake I see, and I made it constantly early in my career. You assemble your pie, the oven says it’s at temperature, and you slide it in. But ovens lie, especially about how long they take to actually reach temperature throughout the whole cavity, not just at the sensor.
The fix: preheat your oven for at least 20-30 minutes before baking, not just until the indicator light turns off. Many ovens hit their set temperature at the sensor within 10 minutes but need much longer for the walls, racks, and air inside to fully catch up. If you’re using a baking stone or steel, preheat it for the full 30 minutes minimum.
Mistake 2: Cooling Pastry in the Pan Instead of On a Rack
Leaving a baked pie in its pan traps steam underneath the crust as it cools. That steam has to go somewhere, and it goes right back into your bottom crust, undoing all the work you did to get it crisp.
The fix: once your pie comes out of the oven, let it cool for about 10 minutes in the pan just to firm up structurally, then transfer it to a wire rack. The rack lets air circulate underneath, so steam escapes instead of recondensing into the crust.
Mistake 3: Overfilling the Pie
A pie filled right to the brim takes longer to cook through, which means the bottom crust sits exposed to moisture for longer before the whole thing sets.
The fix: leave a small gap, roughly a quarter-inch, between the top of your filling and the rim of the crust. This also gives bubbling juices somewhere to go besides over the edge and down the sides of your pan.
Mistake 4: Using Cold Filling Straight From the Fridge
Cold filling shocks the bottom crust and can cause condensation as the filling warms up faster than the surrounding crust.
The fix: bring custard and cream fillings closer to room temperature before pouring them into a warm, freshly blind-baked shell. The temperatures meet partway, and the crust doesn’t get hit with a sudden cold-to-hot swing.
Mistake 5: Skipping the Parchment Check During Blind Baking
If your parchment paper shifts or the weights aren’t distributed to the edges, the dough can slump in unweighted spots, creating thin areas that cook unevenly and stay doughy.
The fix: press the parchment and weights firmly into the corners and up the sides of the pan, not just in the center. Those edges and corners are exactly where slumping happens.
My Personal Routine for a Guaranteed Crisp Bottom
After 15 years of pies, tarts, and quiches in both restaurant and home kitchens, here’s exactly what I do every time, no exceptions.
Step one: I put my baking steel on the lower-third rack and preheat the oven to 425°F for a full 30 minutes. Not 20. Thirty.
Step two: I blind bake every single-crust pastry shell, even for pies I’ve made a hundred times. I use ceramic weights, bake at 375°F for 18 minutes, remove the weights, then bake another 6-8 minutes until the bottom looks matte and lightly golden.
Step three: I brush the warm shell with egg wash and pop it back in for 2-3 minutes to set that seal.
Step four: My filling is always pre-cooked and cooled to room temperature before it goes anywhere near the crust. No exceptions, even for “quick” fillings.
Step five: I bake the filled pie at 425°F for 15-20 minutes on that preheated steel, then drop to 375°F until done.
Step six: The moment it comes out, it goes onto a wire rack. Ten minutes in the pan to firm up, then straight to the rack for the rest of the cooling time.
That’s six steps. None of them are complicated, but skipping even one of them is usually where soggy bottoms creep back in. I’ve tested this against shortcuts more times than I can count, and the full routine wins every time.
Frequently Asked Questions
What is the main cause of a soggy pastry bottom?
The main cause is steam and liquid from the filling soaking into the bottom crust before the heat has a chance to set and dry it. This usually comes down to a combination of too much moisture in the filling, an oven that isn’t hot enough, or skipping blind baking.
How long should I blind bake a pie crust?
Blind bake at 375°F for 15-20 minutes with pie weights, then remove the weights and bake another 5-8 minutes until the bottom looks dry and matte rather than shiny or pale (America’s Test Kitchen, 2023). Total blind baking time is usually 20-28 minutes.
Should I bake pies on the bottom rack?
Not necessarily the very lowest rack. Aim for the lower third of your oven, ideally one rack up from the bottom, since the lowest rack can sit too close to the heating element and cause uneven cooking.
Does the type of pie pan really make a difference?
Yes. Dark metal and glass pans conduct heat better and produce a browner, crisper bottom crust than light, shiny metal or ceramic pans (King Arthur Baking, 2024). If your bottoms always come out pale, your pan material may be working against you.
Can I fix a soggy bottom after the pie is baked?
Not fully, but you can sometimes salvage it. Returning the cooled pie to a 350°F oven for 10-15 minutes, uncovered and out of the pan if possible, can help re-crisp a slightly soft bottom. It won’t undo a severely soggy crust.
Is it necessary to use an oven thermometer?
Yes, especially for pastry. Most home ovens run 25-50°F hotter or cooler than their dial suggests (Taylor Precision Products, 2024), and that gap is often the difference between a crisp bottom and a soggy one.
What’s the best thickener for fruit pie fillings to prevent sogginess?
Instant tapioca starch gives the best texture and holds up well to freezing, but cornstarch and flour both work fine. The key isn’t which thickener you choose, but pre-cooking the filling so the thickener fully activates before it goes into the crust.
Why does my pie look fine right after baking but get soggy later?
This usually happens because the pie cooled in its pan, trapping steam that recondenses into the bottom crust. Transfer your pie to a wire rack within 10 minutes of taking it out of the oven to let that steam escape instead.
Key Takeaways
- Soggy bottoms happen when filling moisture soaks into the crust faster than heat can set it, so your job is to speed up the heat and slow down the moisture.
- Blind bake single-crust pies for 20-28 minutes total, using ceramic weights, dried beans, or rice over parchment paper.
- Choose a dark metal pan for the crispest bottom, and place your pie in the lower third of the oven, not necessarily the lowest rack.
- Pre-cook and cool fruit and custard fillings before they touch the crust, and use egg wash to seal the bottom before filling.
- Preheat fully (20-30 minutes), start with a high-heat blast, verify your oven temperature with a thermometer, and always cool finished pies on a wire rack instead of in the pan.

I’m Mossaraof, a trained chef and the founder of OvenInsights.com. I spent years cooking at Larrupin’ Cafe and in kitchens across Chicago and Seattle. Now I test kitchen gear for a living. I moved to North Acton, London, and I test every tool I write about. I use real meals and real heat. No brand deals. No shortcuts. I cover 12 kitchen types and hundreds of recipes. I believe this: the right tools matter as much as the recipe.




