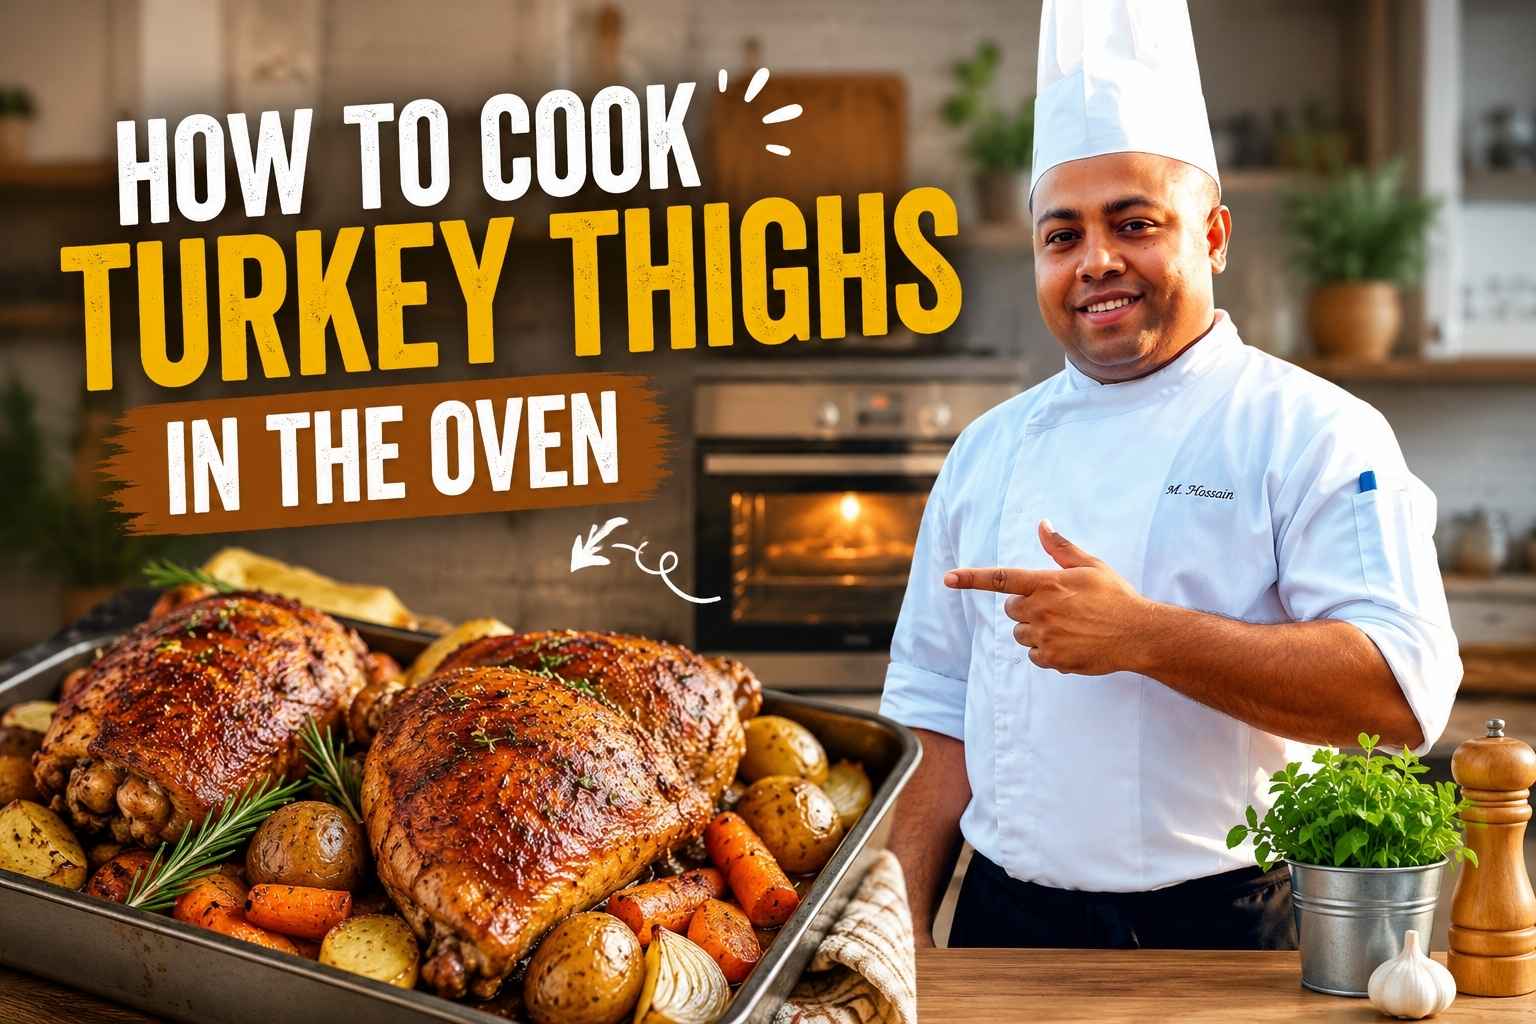
Hey, I’m Mossaraof — a professional cook and food blogger.
There is no faster way to get a perfectly flat, evenly cooked bird with skin that is crispy from edge to edge. I will show you how to roast a spatchcock chicken in the oven so you can cut your cooking time in half while keeping the breast meat incredibly juicy. My years in a busy Chicago kitchen taught me that removing the backbone is the true secret to maximum surface area for a perfect, golden sear. Use my Ultimate Guide to Master Your Oven to ensure your rack is at the right height for that high-heat blast. Let’s grab your kitchen shears and start this show-stopping meal together right now!
Why I Started Spatchcocking My Chicken (And Never Looked Back)
Sometimes a technique sneaks into your kitchen and ends up changing everything.
I still remember the first time I spatchcocked a chicken. It was a Saturday afternoon in late February. Snow was piling up outside my window in Chicago, and I was already in my third pair of socks trying to stay warm in my drafty kitchen. I had a whole chicken thawed and zero desire to wait two hours for it to cook unevenly in my slow electric oven.
I was tired of playing that game — you know, the one where the chicken breast comes out like cotton while the thighs are still clinging to raw.
That’s when I gave the spatchcock method a shot. And let me tell you, it didn’t just speed up dinner. It flipped my whole roasting routine upside down — in the best way.
The Dry Chicken Rut: A Midwest Winter Memory
Before I discovered spatchcocking, I roasted chickens like most folks. Pop it in whole, cross your fingers, and hope it cooks evenly.
But my oven had cold spots — especially near the front. So every time I roasted a bird, I had to babysit it.
There was this one night during a snowstorm — I’d set the oven to 375°F and threw in a 5-pound chicken. Ninety minutes later, the top was golden, but the thighs were pink.
Meanwhile, the heat in my apartment kept cutting out. I was bundled up in a hoodie and holding my phone flashlight over the chicken to check doneness.
That night, dinner ended up being boxed mac and cheese.
My First Spatchcock Attempt
The turning point came from a rerun of a cooking show. The chef casually cut out the backbone of the bird and flattened it like a magazine. It looked… manageable.
So I grabbed the thawed chicken, found my old kitchen shears (the ones I used to open Amazon boxes), and went for it.
At first, it felt a little awkward — I had to press pretty hard to snip through the ribs. But once I flipped it and gave it a solid push with my palms, the whole bird flattened with a satisfying crack. It looked strange. But also kind of perfect.
I seasoned it with olive oil, salt, cracked pepper, and some garlic powder. Threw in some lemon slices and rosemary I’d forgotten in the crisper drawer. Slid it into my preheated 425°F oven on a foil-lined sheet pan.
No fancy tools. Just me, my socks, and a chicken that was finally going to roast properly.
The smell? Unreal.
What Is Spatchcock Chicken? (And Why the Oven Loves It)
If you’ve never heard of “spatchcocking,” don’t worry — I hadn’t either until that cold Saturday.
It simply means removing the chicken’s backbone and flattening it out before roasting. That’s it. But that one move changes the whole game.
Why Spatchcocking Works So Well
By laying the chicken flat:
- It roasts faster
- It cooks more evenly
- You get golden, crispy skin all over
Instead of the heat slowly creeping into the middle of a bulky bird, it hits everything at once. Think of it like putting on sunscreen — more surface area gets coverage. Same goes for oven heat.
I noticed the breast meat stayed juicy, even when I accidentally left it in a few minutes too long. And the thighs? Perfect every time.
Spatchcock vs. Roasting Whole
Here’s how I break it down:
- Spatchcock:
- Cooks in 45–55 minutes at 425°F
- Crispy skin from edge to edge
- Easier to season and monitor
- Whole bird:
- 90+ minutes, often uneven
- Skin underneath stays soggy
- Harder to tell when thighs are done
For someone like me who cooks in an everyday kitchen — not a restaurant — this small change made roasting way less stressful.
Especially if your oven’s like mine: older, electric, and a little temperamental on humid Florida days or dry Arizona evenings.
Tools I Use to Roast a Spatchcock Chicken Like a Pro
This part’s important — and honestly, it’s where I messed up the first couple times. Using the right tools doesn’t mean spending a fortune. It just means working smarter, not harder.
I’ve made this recipe in different kitchens — from a rental in humid Tampa to a dry winter cabin in Colorado — and here’s what worked consistently across the board.
My Go-To Gear (No Fancy Stuff)
You really only need a few basics. I’ve roasted spatchcock chicken using budget tools from Target and more expensive stuff over time, and honestly, the results depend more on technique than price.
Here’s what I actually use:
- Sharp kitchen shears:
- I started with $10 shears that doubled as package cutters
- Upgraded later to a pair from OXO — still not expensive
- The key is: don’t use a dull knife (I tried… it was ugly)
- Rimmed baking sheet:
- I prefer a half-sheet pan — about 18×13 inches
- It gives the chicken enough space to breathe
- Bonus: I line it with foil for easier cleanup
- Wire rack (optional but helpful):
- Lifts the chicken above the juices
- Helps get crispier skin underneath
- I didn’t use one at first, but once I did, I didn’t go back
- Instant-read thermometer:
- Crucial. I’ve overcooked too many chickens by guessing
- I use a simple digital one I got at Walmart
- You’ll want 160°F in the breast and 175°F in the thigh
- Oven mitts that actually grip:
- I burned myself trying to grab a hot pan with a thin towel once
- Learned my lesson — thick silicone mitts are my ride-or-die now
Oven Setup — Why It Matters More Than You Think
Different ovens behave like different people. Some run hot, some lie about their temperature, some barely brown anything unless you move the rack up.
Here’s what I’ve learned in U.S. kitchens from coast to coast:
- In my Arizona kitchen (dry air):
- 425°F works perfectly
- Chicken browns fast, so I check at 40 mins
- In my Florida apartment (humid and sticky):
- Takes a few minutes longer
- Sometimes I have to broil at the end for crisp skin
- In my old Chicago rental (electric oven):
- 400°F worked better
- Anything above that made the fire alarm angry
Pro Tip:
If your oven has convection, use it. The fan circulates heat and helps crisp the skin faster. Just reduce the roasting temp by about 25°F compared to a conventional setting.
How to Prep a Spatchcock Chicken for Roasting
Okay — this is where things get real. Spatchcocking feels intimidating the first time, but once you do it, you’ll realize it’s kind of satisfying. Messy, yes. But weirdly empowering.
Step-by-Step Breakdown (Real-Life Version)
Here’s how I do it — no frills, just the honest mess:
- Take the chicken out of the fridge and pat it dry with paper towels
- Don’t skip this step. Dry skin = crisp skin
- I usually do this in the sink because it gets splashy
- Flip the bird so the backbone faces up
- I lay it on a cutting board that fits in my sink (easier cleanup)
- Cut along both sides of the backbone with your shears
- You’ll hear crunching — it’s normal
- Save the backbone in a freezer bag for broth later
- Flip it over, breast side up
- Press down hard with both hands until you hear a crack
- That’s the breastbone breaking and the chicken flattening
- Tuck the wing tips under so they don’t burn
- I forget sometimes. When I do, I just eat the crispy bits anyway
It takes maybe 5 minutes total. First time? Maybe 10. Still faster than waiting two hours for a dry whole chicken.
Seasoning Like You Mean It
This is where the flavor kicks in. I don’t follow strict rules — I just use what I’ve got and go by feel. But the technique is the same:
- Rub it down with oil:
- I use extra virgin olive oil or avocado oil
- Helps crisp the skin and makes the seasoning stick
- Salt and pepper generously:
- Kosher salt, always
- Fresh cracked black pepper
- Add extra flavor depending on the vibe:
- For cozy Sunday dinners: garlic powder, paprika, thyme
- For fresh spring nights: lemon zest, rosemary, crushed fennel
- For BBQ cravings: smoked paprika, brown sugar, chili powder
I’ll often throw some lemon slices or onion wedges under the bird too — they caramelize in the juices and smell amazing while it roasts.
How Long to Oven Roast a Spatchcock Chicken (Time & Temp Guide)
This part was a game-changer for me. Once I understood how roasting times really work — especially with a spatchcocked chicken — I stopped second-guessing myself every five minutes.
The beauty of the spatchcock method is that it cuts down the roasting time without sacrificing that juicy center or crispy skin.
My Go-To Roasting Temperatures (And Why They Work)
I’ve tested this across different ovens — gas, electric, convection, even a portable roaster I once used during a camping trip (yep). And here’s what I stick to now:
🔥 When I want crispy skin fast (my weeknight go-to):
- 425°F convection oven
- Cooks a 3.5 to 4 lb spatchcock chicken in 45–50 minutes
- Skin turns golden brown, and the thighs stay juicy
🔥 For more control (especially in older electric ovens):
- 400°F in a conventional oven
- Roasts in 50–60 minutes
- Less risk of burning the skin in unpredictable ovens
🔥 Low-and-slow method (when I have time or want super tender meat):
- 325°F in a standard oven
- Roasts in 75–90 minutes
- Great for cold days when I want to warm up the kitchen too
I usually check at the 40-minute mark regardless of temp — just to gauge where it’s at. Every oven lies a little.
What About a Roaster Oven?
Funny story — my wall oven completely died during a Sunday dinner prep once. I pulled out a roaster oven I’d used twice and didn’t expect much.
But to my surprise, it handled the spatchcock chicken beautifully:
- I set it to 375°F
- Roasted for 60–70 minutes
- The enclosed heat kept it moist, and the skin crisped up better than expected
I set it on my porch in Phoenix that day because my kitchen was already blazing hot. Highly recommend for hot summer days in places like Arizona or Texas when you don’t want to heat the whole house.
Internal Temperature Is Everything (Not Just Time)
I’ve made the mistake of trusting the clock. Don’t. Trust the thermometer.
I use a simple digital meat thermometer — no app, no Bluetooth, just the basics. Here’s what I aim for:
- 160°F in the thickest part of the breast
- 175°F in the thigh
- Let it rest for 10–15 minutes (carryover heat finishes it off)
Stick the thermometer in horizontally, not at an angle. I once thought the chicken was done… only to cut it open and find a surprise inside. Not a good night.
Quick Guide: How Long to Oven Roast a Spatchcock Chicken
| Oven Type | Temp | Cook Time | Notes |
|---|---|---|---|
| Convection Oven | 425°F | 45–50 min | Best for crispy skin |
| Conventional Oven | 400°F | 50–60 min | Great for older or basic ovens |
| Roaster Oven | 375°F | 60–70 min | Moist heat, good for summer |
| Low-Temp Roast | 325°F | 75–90 min | Tender results, skin less crispy |
If you’re wondering how to roast chicken at 325 in oven — yes, you absolutely can. Just expect softer skin and a slightly longer cook. It’s cozy though, especially in colder climates.
Roasting Chicken Halves in a Convection Oven?
If you’ve already split the chicken in half (I sometimes do that for quicker serving), you can use the same times — maybe shave off 5–10 minutes depending on size.
I did this once when I had two smaller birds — spatchcocked and halved them, laid all four pieces on a single sheet pan. Cooked in under 40 minutes using convection.
Quick, beautiful, and easy to plate.
Roasting Variations I’ve Tried Over the Years
Some days I follow a basic method. Other days, I experiment — especially when I’ve got leftovers in the fridge or a friend texting me last-minute, asking, “Hey, can I bring a side?”
The cool thing about roasting a spatchcock chicken in the oven is that you can tweak it a bunch of ways and still get fantastic results.
Roasting in a Convection Oven (My Favorite Way)
If your oven has convection mode, use it. I didn’t touch that setting for years because I thought it was for pastry chefs or food bloggers with marble countertops.
Then I tried it once. Now? It’s my default.
- 400–425°F convection
- Roasts in about 45 minutes
- The circulating air crisps the skin faster — no need to crank up the broiler
It works especially well in newer GE or Frigidaire ovens I’ve cooked with at a friend’s place. The fan movement evens out the heat, which means no rotating the pan halfway through.
I usually drop the temp by 25°F if following a regular oven recipe, just to avoid overdoing it.
Using a Roaster Oven When My Wall Oven Quit
The first time I used a countertop roaster oven was out of desperation. My wall oven died the morning of a potluck, and I had already butterflied a 4-pound chicken.
I set the roaster to 375°F, stuck the bird on a rack inside the insert pan, and crossed my fingers.
What I noticed:
- The skin didn’t brown as aggressively, but it was still crisp
- The meat stayed juicy — like, shockingly juicy
- It didn’t heat up my kitchen (big win during a Florida summer)
I’ve used it a few times since, especially when I’m meal prepping and want to keep my main oven open.
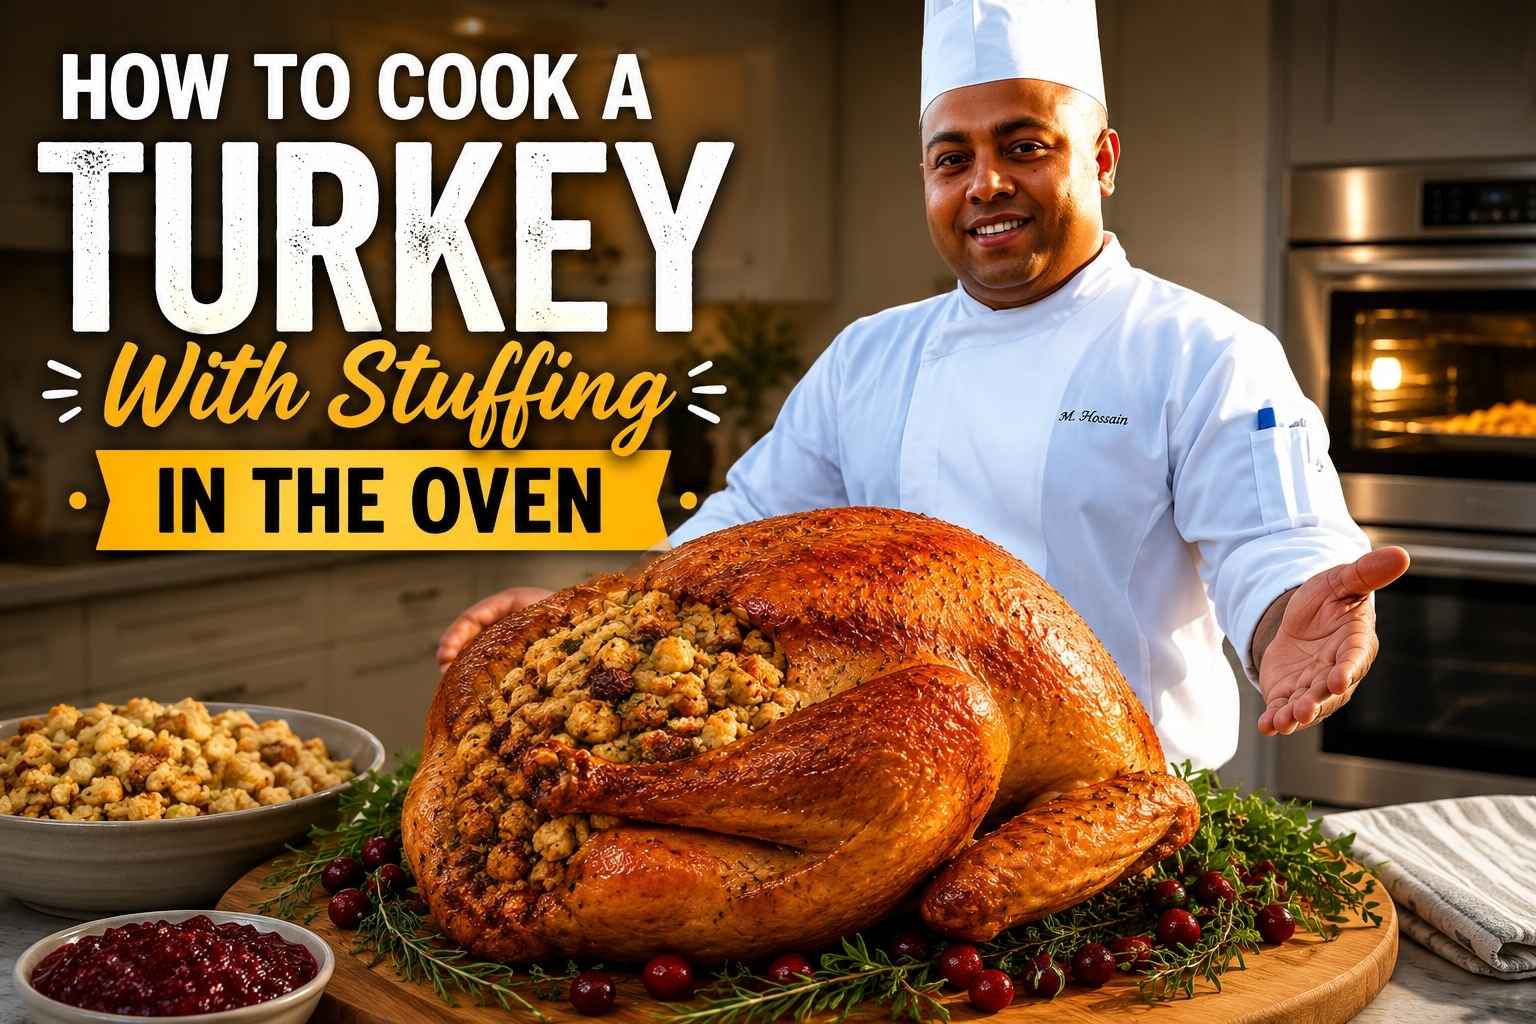
How to Roast a Stuffed Chicken in an Oven Bag (It Works, Seriously)
This one surprised me. I normally wouldn’t roast a spatchcock chicken with stuffing, but I had extra wild rice and mushroom filling one night, and I didn’t want it to go to waste.
So I packed a bit of it under the breast skin and laid the chicken inside an oven bag — spatchcocked, yes, still flat.
Here’s what happened:
- It roasted in about 55 minutes at 375°F
- The skin was softer than usual, but not soggy
- The steam trapped inside made the whole bird incredibly tender
- And the stuffing? Absorbed the garlicky pan juices like a sponge
Important: If you stuff your bird, make sure the stuffing hits 165°F internally. I use my thermometer for both the meat and the filling.
Was it conventional? Nope. Was it delicious? Absolutely.
How to Roast Boneless Chicken Breasts in the Oven Without Drying Them Out
When I don’t feel like dealing with a whole bird, I’ll spatchcock a chicken, roast it, and then save the technique for boneless, skinless chicken breasts on weeknights.
Here’s what I do:
- Preheat oven to 400°F
- Lay breasts on a sheet pan
- Brush with olive oil, season like usual
- Roast uncovered for 20–25 minutes, depending on thickness
- Let them rest, always — they finish cooking outside the oven
You won’t get crispy skin (obviously), but the technique carries over. Flattening them just a little helps them cook more evenly too.
It’s not a spatchcock technically, but it’s part of the same mindset — maximize surface area, minimize overcooking.
Roasting Bone-In Chicken Breasts in a Low Oven
This was something I picked up after visiting a friend’s place in Vermont. They slow-roasted bone-in chicken breasts in a lower oven, and I was skeptical at first.
But I tried it when I got home — 325°F, bone-in, skin-on breasts, roasted for 45–50 minutes.
Here’s what I found:
- The skin got crisp, slowly
- The meat was so tender it pulled apart with a fork
- Worked great on chilly days when I wanted the oven running anyway
This is one of those slower methods that feels right in fall or winter — comforting, relaxed, and super forgiving if you get distracted.
Bonus: Roasting Chicken Halves for Faster Meals
I once spatchcocked a chicken, then cut it in half again before roasting. Why?
Because I was short on time, and my guests were already on the way.
Laying two halves on the sheet pan gave me:
- Faster cook time — done in 35 minutes at 425°F convection
- Easier serving — just grab a half and plate it
- Crispier edges — more exposed surface = better browning
If you’re wondering how to roast chicken halves in a convection oven, this is it.
Side Dishes That Love a Hot Oven Too
When I roast a spatchcock chicken, I treat it like the headliner of a full oven concert. I don’t just roast the bird — I use that preheated oven for everything. If I’m cranking it up to 425°F, you better believe I’m filling that rack.
What I Usually Toss In While the Chicken Roasts
I’ve cooked in small city kitchens and big suburban setups. Regardless of size, my rule is simple: if the oven’s on, it’s showtime for more than just the main dish.
Here’s what I like roasting alongside spatchcock chicken:
- Baby potatoes:
- Halved, tossed in olive oil, garlic, and rosemary
- They crisp up in the chicken drippings if placed under the rack
- Smell like comfort food — every time
- Carrots and parsnips:
- Cut thick, glazed in honey mustard
- Roast on a separate pan so they caramelize, not steam
- Cauliflower florets:
- Dust with smoked paprika and roast until golden
- Crisp outside, soft inside — addicting
- Cornbread (cast iron style):
- I use a Lodge skillet and bake it during the last 20 minutes
- The chicken smell + sweet cornbread aroma = full kitchen hug
I once forgot I had sweet potatoes in the oven with the chicken. They got extra crisp, borderline burnt edges — but somehow, they were perfect. Little imperfections like that make these meals feel homemade.
One-Pan Sheet Meal Options for Lazy Days
There are times — like Tuesday nights after a long workday — when I don’t want a mountain of dishes. That’s when the one-sheet meal trick saves me.
I’ll spatchcock the chicken and place it right in the center of a large sheet pan. Around it, I scatter:
- Halved brussels sprouts
- Thick slices of red onion
- Mini bell peppers
- Broccolini or asparagus (added during the last 10–15 minutes)
A few things I’ve learned the hard way:
- Don’t overload the pan — it’ll steam instead of roast
- Add fast-cooking veggies later so they don’t char
- Line the pan with foil or parchment for way easier cleanup
There’s something satisfying about pulling out one tray and having your whole dinner done. Especially when you’re starving and the kitchen’s already hot.
Regional Twist: What I Cook in Cold vs. Warm States
Cooking habits shift depending on the weather. Here’s how I adapt:
- In the Midwest (Chicago winters):
- Hearty sides like roasted squash, apples with cinnamon, or stuffing cubes
- The oven heat warms up the whole kitchen
- In Florida (humid spring):
- Lighter sides like zucchini, cherry tomatoes, or fennel
- I’ll sometimes serve the chicken over chilled orzo salad instead
- In Arizona (dry heat):
- I often roast chickpeas for crunch and serve with yogurt sauce
- Side dishes stay simple — usually avoid anything that requires simmering on the stove
I like that the spatchcock chicken gives me room to pivot. It’s adaptable. It plays well with almost anything I feel like roasting — or whatever I forgot to use from last week’s grocery haul.
Leftovers? Here’s How I Reheat Spatchcock Chicken Without Drying It Out
If you’re anything like me, you know the real joy sometimes comes the next day. That moment when you open the fridge and realize — yes, there’s leftover spatchcock chicken — is almost better than the first slice.
But here’s the thing: reheating it wrong can ruin all that golden, juicy goodness.
I’ve messed this up more times than I care to admit. Microwave rubbery. Over-broiled dryness. Even one time where I forgot it was in the toaster oven — came out like jerky.
Now? I’ve got it down to a science.
My Oven Reheat Method (When I Want It Juicy)
This is my favorite way to bring spatchcock chicken back to life — especially breast meat, which dries out fast if you’re not careful.
Here’s what I do:
- Preheat the oven to 300°F
- Low and slow is the name of the game
- Place chicken pieces in a baking dish
- I use a small ceramic one or even a foil pan if I’m being lazy
- Add a splash of broth or water
- Just enough to keep the bottom moist — a couple tablespoons
- Sometimes I’ll use leftover pan juices if I saved them
- Cover loosely with foil
- Not tight — I want warmth, not steam overload
- Heat for about 15–20 minutes
- Just until warmed through — no need to overdo it
If I want a little crisp on the skin again, I’ll remove the foil for the last 5 minutes and bump up the heat to 375°F.
It’s not fresh-from-the-oven crispy, but it holds up surprisingly well.
Air Fryer Cheat (When I’m in a Hurry)
Sometimes I’m hungry and just want that chicken hot, fast.
That’s when the air fryer steps in.
- 375°F for 5–6 minutes
- Toss in a couple of breast slices or a thigh
- Crisp on the outside, warm in the middle
The skin gets shockingly crispy again, especially if you don’t crowd the basket.
Bonus: It works great for small portions — like when I just want a quick protein fix for lunch without firing up the big oven.
What Doesn’t Work (In My Experience)
- Microwave:
- Unless you love rubber chicken… skip it
- If I’m desperate, I’ll microwave covered with a wet paper towel, then finish with a quick air fryer blast
- Broiler only:
- Too aggressive
- You’ll scorch the skin before the inside’s warm
- Leaving it on the counter “to warm up a little first”:
- I once forgot about it completely. Big food safety no-no. Not worth the risk.
How I Store It for Best Reheating Later
The way you store your leftovers sets the stage for how well they reheat. Here’s how I do it now:
- I let the chicken cool fully (usually 20–30 mins on a rack)
- Store pieces in airtight glass containers — keeps moisture in
- Add a paper towel at the bottom for skin-on pieces to keep the skin from getting soggy
Sometimes I’ll shred the leftover meat and store it separately — makes it easier to toss into tacos, wraps, or soup the next day.
Common Mistakes When Roasting a Spatchcock Chicken (And How I Fixed Them)
I wish I could say I nailed it from day one. But that’d be a lie — I’ve had my fair share of flops with this method.
Some nights I burned the skin. Other times, the thighs were still raw while the breasts were nearly splitting. Once, I even dropped the whole pan when trying to rotate it mid-roast. That was… a sad dinner.
Here’s what I learned the hard way — and how I made it better.
Mistake #1 – Uneven Cooking
This one’s the most frustrating. You pull the pan out, the breast is hitting 165°F, but the thighs are still sitting around 145°F. Been there.
Why it happens:
- The thighs are thicker and denser
- Most ovens have hot zones — especially in older electric ones
How I fixed it:
- Rotate the pan halfway through roasting
- Start with the thighs positioned toward the back of the oven — they need more heat
- If needed, cover the breast area loosely with foil near the end to prevent overcooking
I even tested this in my brother’s Whirlpool electric oven, which runs hot on the right side. Swapping pan sides halfway totally evened things out.
Mistake #2 – Soggy Skin on the Bottom
Oh, this annoyed me. The top would be perfectly crisp, but the underside? Pale and soft — no crunch, all sadness.
What went wrong:
- Chicken sat directly in its own juices
- Sheet pan was too crowded with veggies
My fix:
- Use a wire rack over the sheet pan — total game-changer
- Or elevate the chicken slightly using onion rings or lemon slices
- Keep the pan around it bare, or roast veggies separately on another pan
That rack was a cheap Amazon buy, and it rescued my roast routine.
Mistake #3 – Not Resting the Chicken
I was always impatient. The smell made me greedy. So I’d carve right into the bird the second it came out.
And guess what? All the juices ran out. Meat went dry. I ruined my own dinner.
What I do now:
- Tent the chicken loosely with foil
- Let it rest for 10–15 minutes
- Use that time to plate sides or sip a drink
The difference is unreal. Juices stay in, and the chicken slices like butter.
Mistake #4 – Forgetting to Check Internal Temp
There was one night I roasted a chicken that looked done. Skin was browned, juices ran clear — all the “signs” were there. Until I cut into a thigh.
Still pink. And I had guests waiting.
Lesson learned:
- Always use a thermometer
- Check in two places: thickest part of the breast and deepest part of the thigh
- Don’t guess — chickens lie
Now I keep my digital thermometer hanging right on the fridge handle. Easy access. No excuses.
Mistake #5 – Not Drying the Chicken First
This one sounds small, but it makes a big difference. I used to roast straight from the package — and ended up with steamed, rubbery skin.
What I changed:
- Always pat the chicken dry with paper towels
- Especially under the wings and along the skin folds
- If I have time, I let it air-dry in the fridge for a couple hours, uncovered
Dry skin = crispy skin. It’s that simple.
Bonus Oops – The Time I Forgot It Was in the Oven
This one’s on me. I started watching a movie and completely lost track. Came back to a spatchcock chicken that was… crispier than it should’ve been.
The kitchen smelled amazing. The chicken? Edible, barely.
Now I set timers on my phone, on the oven, and sometimes even ask my smart speaker to yell at me.
Final Thoughts: Why Oven-Roasting a Spatchcock Chicken Is My Go-To
I’ve roasted chicken in just about every way imaginable — whole, stuffed, bagged, broken down, you name it. But once I started spatchcocking, I never really looked back.
It’s one of those rare kitchen techniques that actually delivers on the promise. Crispy skin. Juicy meat. Even cooking. Faster time. Less stress.
And best of all? It feels like a win — every single time.
Why It Stuck for Me
The first time I tried this method, I was standing barefoot on cold Chicago tile, using $8 kitchen shears and hoping not to butcher the bird completely. But somehow, it came out perfect.
Now it’s my go-to roast when:
- I want something comforting but not complicated
- Friends are coming over and I want to impress without overworking
- I need dinner in under an hour that tastes like it took two
There’s something honest about it. Simple, rustic, unfussy.
It Fits Every Kitchen I’ve Cooked In
I’ve roasted spatchcock chickens in:
- A tiny apartment oven in Miami (electric, uneven heat)
- A rented cabin kitchen in Colorado (old-school gas)
- A modern convection setup in Phoenix
- Even a portable roaster on my patio during a summer blackout
It works everywhere. You just adapt:
- Lower temp in humid climates
- Convection for quicker results
- Rack or lemon slices to keep the bottom crisp
If you’ve ever wondered how to roast a whole chicken in a roaster oven or how to roast chicken halves in a convection oven — this method answers both.
Why It’s Worth Learning
Look, I get it. Cutting the backbone out of a chicken sounds like a lot. But it’s honestly one of the most empowering things you can do as a home cook.
You get:
- Faster dinners
- More consistent results
- Chicken that actually tastes like you know what you’re doing
Plus, there’s something deeply satisfying about hearing that crack as you press the chicken flat. Like saying, “Yeah, I got this.”
And Hey — It’s Just Good Chicken
At the end of the day, that’s what we’re here for, right?
Golden skin that crackles. Meat that’s juicy. A kitchen that smells like home.
When I make spatchcock chicken now, I don’t even need a recipe. It’s just instinct. Pat it dry. Cut it flat. Rub it down. Roast it hot.
And I know — without checking twice — it’s going to turn out great.
FAQs: How to Roast a Spatchcock Chicken in the Oven
Why should I roast a spatchcock chicken in the oven?
It cooks much faster and more evenly. Removing the spine lets the bird lay flat. This makes the skin very crisp and keeps the meat juicy.
What is the best oven temperature for roasting?
Set your oven to 450°F (232°C) for a great roast. This high heat browns the skin quickly. It also locks in the natural juices of the bird.
How long does a spatchcock chicken take to roast?
A four-pound bird usually takes 45 to 50 minutes. Check the thickest part of the thigh. It should reach 165°F to be safe and ready to eat.
Do I need to flip the chicken while it roasts?
No, do not flip it. Keep the skin side up the whole time. This allows the skin to get golden and crunchy while the bottom stays tender.
Can I roast vegetables on the same pan?
Yes, you can put cut veggies under the bird. They soak up the juices as the chicken roasts. It makes a full meal with very little extra work.
I’m Mossaraof, a trained chef and the founder of OvenInsights.com. I spent years cooking at Larrupin’ Cafe and in kitchens across Chicago and Seattle. Now I test kitchen gear for a living. I moved to North Acton, London, and I test every tool I write about. I use real meals and real heat. No brand deals. No shortcuts. I cover 12 kitchen types and hundreds of recipes. I believe this: the right tools matter as much as the recipe.