
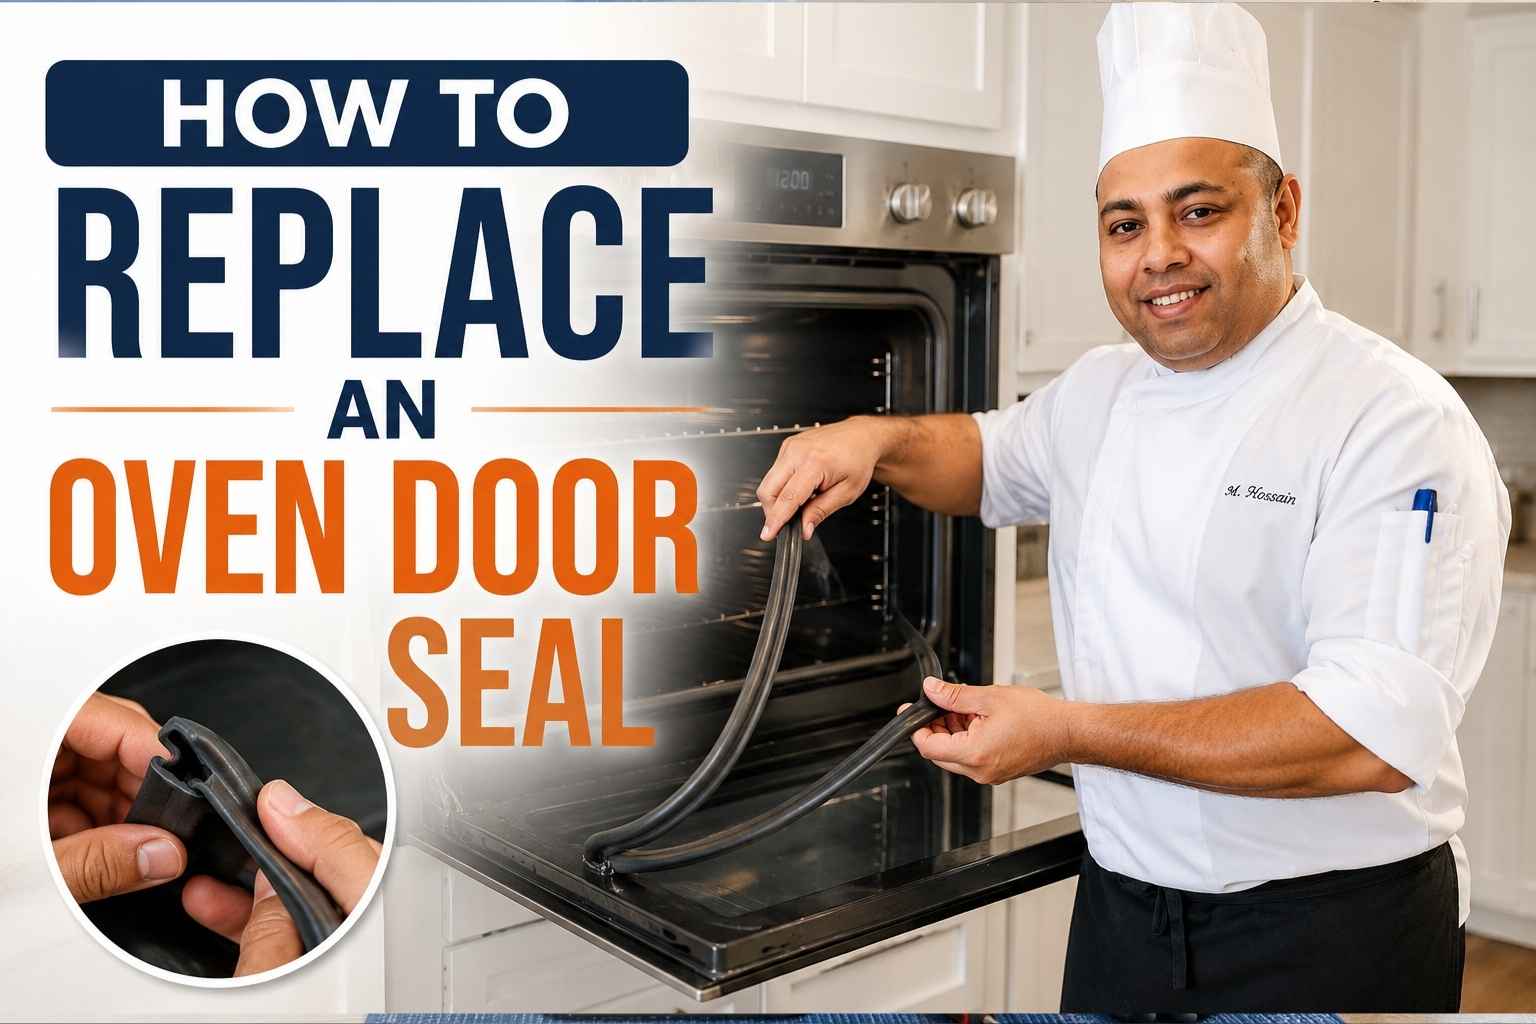
At A Glance
- A worn oven door gasket lets heat escape, which raises your energy bill, slows cooking times, and ruins the consistency of dishes that depend on stable oven temperature.
- You can diagnose a failing gasket in under two minutes using the paper test or a simple hand-heat check — no tools needed.
- There are four gasket types: push-in, screw-mounted, clip-on, and channel-mount — your owner’s manual or the model number on the oven frame will tell you which one you have.
- A replacement gasket costs $10–$45 from RepairClinic, your manufacturer’s parts site, or Amazon — the job takes about 20 minutes once you have the right part.
- If your oven is under warranty, has a broken door hinge, or runs on gas and you smell something unusual, call a technician before you touch anything.
Cold air leaking from your oven door drove me nuts for years. I’d bake a cake, and it just wouldn’t rise right, no matter how careful I was. Turns out, the fix was small and cheap: I learned how to replace an oven door seal myself, and it changed everything. After 15 years testing ovens in real kitchens, I know this simple swap saves you money and stress. Stick with me, and I’ll walk you through it step by step.
Why Your Oven Door Gasket Is the Most Ignored Part of Your Kitchen
The oven door gasket — also called the door seal — is the silicone or woven fiberglass rope that runs around the inside edge of your oven door. Press your finger against it. That soft, slightly springy material is doing a job most home cooks never think about: it creates an airtight barrier between the oven cavity and your kitchen.
When that seal is tight, heat stays where it belongs. Your oven hits 375°F when it says 375°F. Your roast chicken browns evenly on all sides. Your soufflé rises the way it’s supposed to.
When the seal fails, heat leaks from the edges of the door. The oven cycles on more often to compensate, driving up your energy bill. The temperature inside swings instead of staying stable. And the food suffers.
I’ve cooked in professional kitchens where we replaced gaskets on the combi ovens every six months as routine maintenance. I’ve also cooked in home kitchens — my own included — where a gasket was so far gone the door was hot to the touch from the outside. A failing gasket is one of the most common reasons a home cook’s results stop matching the recipe. It’s also one of the cheapest and easiest fixes you can make.
How to Know Your Gasket Is Failing: 5 Signs Every Home Cook Misses
Most gaskets don’t fail overnight. They dry out, crack, or compress gradually over three to seven years of normal use (RepairClinic, 2024). Here are the signs to look for.
Sign 1: The door feels hot on the outside while the oven is running. Run your hand about an inch from the outer surface of the oven door while it’s preheated to 350°F. You should feel mild warmth. If you feel strong heat radiating off the door surface, or actual heat coming from the edges or corners of the door, the seal is leaking.
Sign 2: You see visible cracks, hardening, or flat spots on the gasket. Open the oven door and look at the gasket material all the way around. A healthy gasket is uniform, slightly springy, and intact. A failing one shows cracks, brittleness, flattened sections where it’s been compressed too many times, or actual gaps.
Sign 3: Your oven takes longer to preheat than it used to. If your oven used to hit 400°F in 12 minutes and now it’s taking 20, that’s the oven’s heating element compensating for heat loss at the door edge. It’s not the element that’s failing — it’s the seal.
Sign 4: Food cooks unevenly from front to back. This one took me years to connect to gasket failure. If your cookies are always darker at the back than the front, or your sheet pan vegetables won’t brown near the door, uneven heat distribution from a leaking seal is almost certainly the reason (GE Appliances Support, 2025).
Sign 5: The paper test. Close the oven door on a single sheet of printer paper so half of it sticks out. Pull it out slowly. You should feel light resistance — the seal should grip the paper slightly. If the paper slides out with no resistance at all, the gasket isn’t creating a proper seal at that point. Test this at multiple spots around the door: top, sides, and bottom corners, which wear out fastest.
Gasket Condition Diagnostic Table
| Symptom | Likely Cause | Fix Needed | Urgency Level |
|---|---|---|---|
| Door hot to touch on outside | Gasket compressed or cracked at corners | Replace gasket | High |
| Paper test fails at corners only | Gasket worn at high-stress points | Replace gasket | High |
| Visible cracks in gasket material | Age and heat cycling | Replace gasket | Medium-High |
| Oven preheat time increased 20%+ | Heat loss through door seal | Replace gasket | Medium |
| Food browns unevenly front to back | Heat leak at door, unstable cavity temp | Replace gasket | Medium |
| Gasket is stiff but not cracked | Early hardening from heat | Monitor monthly | Low |
| Small gap at one corner | Possible hinge issue, not just gasket | Inspect hinges first | Medium-High |
| Gasket falls off when door opens | Clip or channel failure | Replace gasket + check mount | High |
Types of Oven Door Gaskets: How to Find Out Which Type You Have
Before you order a replacement, you need to know what you’re replacing. There are four main gasket mounting styles used in residential ovens sold in the US and UK.
Push-In Gaskets
The most common type on modern electric ranges. The gasket has small plastic or rubber pins spaced along its back edge. You push those pins into matching holes in the oven door frame. No tools needed to remove or install.
How to identify it: Open the door and look at where the gasket meets the oven cavity liner. If you see small round nubs or pegs going into the metal, it’s a push-in.
Screw-Mounted Gaskets
Common on older freestanding ranges and some commercial-style home ovens. The gasket is held in place by screws through a metal retaining strip or directly through the gasket material itself.
How to identify it: Look for visible screw heads at regular intervals around the gasket channel. You’ll need a screwdriver to remove it.
Clip-On Gaskets
Found on many Whirlpool, KitchenAid, and Maytag models (Whirlpool Service Manual, 2023). The gasket has metal or plastic clips that lock into a channel in the door frame. You squeeze or pry the clips to release.
How to identify it: The gasket appears to snap into a slot in the frame rather than sitting in a groove or being held by pins.
Channel-Mount Gaskets
Used mainly on wall ovens and some built-in ranges. The gasket is a continuous loop of woven fiberglass or silicone rope that sits in a metal channel and is often held in place with metal corner clips.
How to identify it: The gasket material looks like a braided rope sitting in a recessed channel, usually with small metal clips at the corners.
How to Find the Right Replacement Gasket
Getting the wrong gasket is the single biggest source of frustration in this repair. A gasket that’s 2mm too wide won’t seat properly. One that’s too short will leave a gap. Buy by model number, not by measurements alone.
Step 1: Find your model number. It’s almost always on a label inside the oven door frame — the strip of metal you see when the door is open. Some brands put it on a label on the back of the range or on the storage drawer. Take a photo of the full model and serial number.
Step 2: Choose OEM or universal fit. OEM (Original Equipment Manufacturer) gaskets come from your oven’s brand — GE, Whirlpool, Bosch, Samsung, LG. They’re exact fits and cost $20–$45 (Amazon, 2026). Universal-fit gaskets are cheaper ($8–$18) but require cutting to length and may not match your mount style exactly. For a first-time repair, spend the extra money on OEM.
Step 3: Where to buy.
- RepairClinic.com — Search by model number, excellent parts diagrams, ships fast.
- Manufacturer sites — GEApplianceParts.com, WhirlpoolParts.com, BoschParts.com — full OEM inventory.
- Amazon — Wide selection, but read reviews carefully; many third-party listings have inaccurate compatibility claims.
- Sears PartsDirect — Solid for older models that other sites no longer carry.
Price check your model number across two or three sites before buying. Shipping on a $15 gasket can sometimes double the cost.
Tools You’ll Need
This is not a complicated repair. Most gasket types need one or two of the following.
- Flathead screwdriver — For prying up clip-on gaskets and removing screws on screw-mounted types.
- Phillips-head screwdriver — For screw-mounted gaskets where the retaining strip uses Phillips screws.
- Needle-nose pliers — Helpful for gripping and pulling stiff push-in pegs out of their holes.
- Work gloves — The door frame and old gasket edges can be sharp after years of heat cycling.
- Clean cloth — For wiping the gasket channel before you install the new seal.
- Mild dish soap and warm water — To clean the channel. Do not use abrasive cleaners on the gasket channel.
Step-by-Step Gasket Replacement Walkthrough
Before You Start: Safety First
Let the oven cool completely. This means at least two hours after the last use — not “until it seems cool.” The door frame and cavity liner retain heat longer than you’d think. I’ve burned the back of my hand on an oven frame that felt room temperature on the door surface. Two hours minimum.
Turn off the oven and unplug it from the wall, or switch off the circuit breaker. For gas ovens, you don’t need to shut off the gas supply just to replace the door gasket, but confirm the oven is off and cool before you begin.
Replacing a Push-In Gasket
Step 1: Open the oven door fully.
Step 2: Starting at one of the top corners, grip the gasket with your fingers and pull it away from the door frame. The pegs should pull straight out of their holes. Work around the frame slowly — don’t yank. If a peg is stuck, use needle-nose pliers for grip.
Step 3: Once the old gasket is off, wipe the peg holes and channel area with a damp cloth. Remove any buildup or debris.
Step 4: Take the new gasket and locate the starting corner. Most OEM gaskets are pre-formed to the correct shape. Start at the top center or one of the top corners and push the first peg firmly into its hole.
Step 5: Work around the frame, pressing each peg in as you go. Push firmly — you should feel each peg seat. If any section won’t reach its holes, stop and check that you have the right gasket for your model.
Step 6: Run your finger around the full perimeter after installation to confirm every section is seated flat against the door frame.
Replacing a Screw-Mounted Gasket
Step 1: Open the oven door and locate the screws. There are usually six to twelve, spaced around the perimeter.
Step 2: Remove all screws and set them aside in a small bowl — you’ll reuse them.
Step 3: Lift the retaining strip (if present) and pull the old gasket free. Wipe the channel clean.
Step 4: Position the new gasket in the channel, starting at one corner. Hold it in place as you re-position the retaining strip.
Step 5: Hand-tighten all screws first, then go back and tighten them fully in a crossing pattern — same as you’d tighten lug nuts on a wheel. This keeps the gasket compressed evenly.
Do not overtighten. The screws are going into an oven frame, not structural steel. Snug is enough. Overtightening can crack the gasket material or strip the screw holes.
Replacing a Clip-On Gasket
Step 1: Work around the gasket and squeeze or pry each clip to release it from the channel. A flathead screwdriver helps here — slide it under the clip and lever gently.
Step 2: Pull the old gasket out and clean the channel thoroughly.
Step 3: Position the new gasket and press each clip into place. You should hear or feel a click when each clip locks in.
Step 4: Check that no section of the gasket is twisted or sitting up out of the channel.
Replacing a Channel-Mount (Rope) Gasket
Step 1: Remove any corner clips first using a flathead screwdriver.
Step 2: Pull the rope gasket out of the channel. On older ovens, the gasket may have bonded slightly to the channel from years of heat. Work slowly and pry gently.
Step 3: Clean the channel thoroughly, including the corners. A cotton swab works well for corners.
Step 4: Press the new rope gasket into the channel, starting at one corner. Work around the perimeter, pressing the rope firmly into the channel as you go.
Step 5: Reattach the corner clips.
Gas vs. Electric Ovens: What’s Different
For gasket replacement, the process is nearly identical between gas and electric ovens. The gasket itself is on the door, not near any gas components.
The one difference worth noting: gas ovens often run slightly cooler at the door edges because the heat source is at the bottom of the cavity rather than on elements mounted near the door. This means gas oven gaskets sometimes last longer than electric oven gaskets (Consumer Reports, 2024). However, when a gas oven gasket does fail, you may notice a stronger smell of escaping heat near the door — that faint burning smell can sometimes be confused with a gas issue. If you smell gas, stop and call your utility company. If you smell burning grease or old food residue, that’s typically just the leaking hot air pulling it out of the oven cavity — not a safety issue, but a sign to replace the gasket soon.
Self-Cleaning Ovens: Special Considerations
If your oven has a self-cleaning cycle, your gasket matters even more. The self-cleaning function heats the oven to 900°F or higher to incinerate food residue (This Old House, 2023). At those temperatures, even a small gap in the door seal becomes a serious heat leakage point.
Two things you must know about self-cleaning ovens and gaskets:
First, never run the self-cleaning cycle with a damaged gasket. The heat exposure at the door edge during self-cleaning can damage the surrounding cabinetry and countertop if the seal isn’t doing its job.
Second, do not clean the gasket with any abrasive material, oven cleaner spray, or steel wool. The gasket material on self-cleaning ovens is designed to withstand extreme temperatures — abrasives damage that material and shorten its life significantly. Wipe it gently with a damp cloth only.
Replace the gasket before running any self-cleaning cycle if it shows any sign of wear.
How to Test the New Seal After Installation
Don’t close the oven door and assume the job is done. Run these three checks.
The paper test (again): Close the oven door on a sheet of printer paper at four points — top center, bottom center, and both sides at mid-height. Pull each sheet out. You should feel clear, consistent resistance at all four points. If any sheet slides out freely, the gasket isn’t seated at that spot.
The flashlight test: With the oven off, place a flashlight inside the oven on the bottom rack facing the door. Turn off your kitchen lights. Look at the door edge from outside. You should see no light coming through anywhere. Any visible light is a gap in the seal.
The cook test: Preheat the oven to 375°F and check the preheat time against your baseline. If the oven is hitting temperature faster than it was before, the seal is working. Then run the hand test again — feel around the door edge while the oven is at temperature. You should feel gentle warmth, not heat.
When to DIY vs. Call a Technician
Do it yourself when:
- The gasket is the only issue — you’ve confirmed it with the tests above.
- The door hinges are functioning normally — the door stays open at a 90-degree angle without falling or springing back.
- Your oven isn’t under manufacturer warranty (DIY repairs can void coverage).
Call a technician when:
- The door hinge is bent, stiff, or broken. A bad hinge puts uneven pressure on the gasket and will destroy a new one within months. Hinge replacement on most ovens costs $80–$200 for a technician visit (RepairClinic, 2024), but it’s worth doing properly.
- You smell gas near the oven for any reason.
- The oven door glass is cracked. Don’t operate the oven and don’t DIY a cracked inner door panel.
- You’re not confident identifying your gasket type and the oven is still under warranty.
Common Mistakes to Avoid
Buying the wrong gasket by guessing at measurements. The gasket has to match your model. Two gaskets that look identical can have different peg spacing, different channel widths, or different total lengths. Always search by model number.
Skipping the cool-down period. I know the oven looks cool. Wait the full two hours. The gasket channel on a recently-used oven can still be hot enough to burn, and the door seal material needs to be installed at room temperature to set properly.
Overtightening screw-mounted gaskets. Snug is enough. Overtightening either cracks the gasket immediately or causes premature cracking within weeks as the material is compressed beyond its design tolerance.
Reassembling before testing. Run the paper test and flashlight test before you close the oven door for cooking use. Finding a gap before cooking is a two-minute fix. Finding it three months later means the gasket has been leaking the whole time.
Using oven cleaner on the gasket. It destroys the material. Use only mild dish soap and water for the gasket itself, and only a damp cloth if the gasket is in good shape.
My Personal Gasket Maintenance Routine
Every three months, I do a quick five-minute check on every oven I cook on regularly. I open the door, run my fingers along the full perimeter of the gasket, and look for any spot that feels hard, cracked, or noticeably flatter than the rest. Then I do the paper test at the four corners — corners always wear first because that’s where the door seal takes the most compression stress when you close the door.
Once a year, I wipe the gasket down with a barely-damp cloth and mild dish soap, let it dry fully, and check the peg holes or clip channels to make sure nothing is loosening.
I replace gaskets before they fully fail, not after. A gasket that’s showing early stiffness and passes the paper test by only a small margin gets replaced. The cost of a replacement gasket ($15–$40) is nothing compared to the energy waste, uneven cooking results, and frustration of working with a compromised seal for another year.
If you cook often — five or more times a week — plan to replace the gasket every three to four years regardless of visible condition. High-frequency use compresses the material faster than occasional cooking.
Frequently Asked Questions About Oven Door Gaskets
What is an oven door gasket and what does it do?
An oven door gasket is the seal that runs around the inside edge of your oven door. It creates a barrier between the hot oven cavity and the outside air. A working gasket keeps heat inside the oven, maintains stable cooking temperatures, and prevents the oven from running longer than necessary to hold temperature.
How long do oven door gaskets last?
Most gaskets last three to seven years under normal home-cooking use (RepairClinic, 2024). Heavy use — baking or roasting more than five times a week — shortens that to two to four years. Self-cleaning cycle use also accelerates wear because the extreme temperature cycles stress the material more than normal cooking.
Can I use my oven with a damaged gasket?
Technically yes, but you shouldn’t for extended periods. A damaged gasket raises your energy use, makes cooking temperatures unreliable, and in severe cases can allow enough heat to escape at the door edges to damage surrounding cabinetry. If the gasket is clearly cracked or missing sections, replace it before the next cooking session.
What is the difference between a gasket and a door seal?
Nothing — they’re the same part. “Gasket” and “door seal” are used interchangeably in parts catalogs and repair guides. Some manufacturers also call it an “oven door insulation” or “door liner seal,” but they all refer to the same component.
Does replacing the gasket require a technician?
Not for push-in, clip-on, or channel-mount types — those are straightforward DIY repairs that take 15–30 minutes. Screw-mounted types are slightly more involved but still within reach for most home cooks. You only need a technician if the door hinges are damaged, the oven is under warranty, or you find other issues during the inspection.
Will a new gasket fix my oven’s uneven cooking?
If uneven cooking is caused by heat loss at the door seal, yes — a new gasket will help significantly. However, uneven cooking can also come from a failing heating element, a faulty temperature sensor, or a convection fan issue. Run the paper test and flashlight test first to confirm the door seal is the source before assuming the gasket is the only fix needed.
How do I find my oven’s model number to order the right gasket?
Open the oven door and look at the metal frame around the oven cavity opening — there is almost always a sticker or stamped label on the left or right side of that frame. If it’s not there, check inside the storage drawer at the bottom of the range, or on the back panel of the oven. The model number will start with a letter followed by numbers, and is usually 8–14 characters long.
Is there a difference between a gasket for a gas oven and an electric oven?
Yes and no. The gaskets are made from the same materials and mount in the same ways, but they are not interchangeable by design — the dimensions and mount styles vary by model, and model numbers are different for gas vs. electric versions of the same range line. Always match the gasket to your specific model number, not just the brand.
Key Takeaways
- The oven door gasket controls heat retention, cooking consistency, and energy use. A failing one affects all three.
- Diagnose the gasket before ordering a replacement: use the paper test, the flashlight test, and the hand-heat check around the door edge.
- There are four gasket types — push-in, screw-mounted, clip-on, and channel-mount — and you need to identify yours before buying a replacement.
- Always buy by model number, not by measurement alone. OEM gaskets cost $20–$45 and are worth the price over universal-fit parts for a first-time repair.
- The replacement job takes under 30 minutes for most gasket types and requires no special tools beyond a flathead screwdriver.
- Test the new seal with the paper test and flashlight test before using the oven for cooking.
- Replace the gasket every three to four years under regular use — before it visibly fails, not after.

I’m Mossaraof, a trained chef and the founder of OvenInsights.com. I spent years cooking at Larrupin’ Cafe and in kitchens across Chicago and Seattle. Now I test kitchen gear for a living. I moved to North Acton, London, and I test every tool I write about. I use real meals and real heat. No brand deals. No shortcuts. I cover 12 kitchen types and hundreds of recipes. I believe this: the right tools matter as much as the recipe.




