
At A Glance
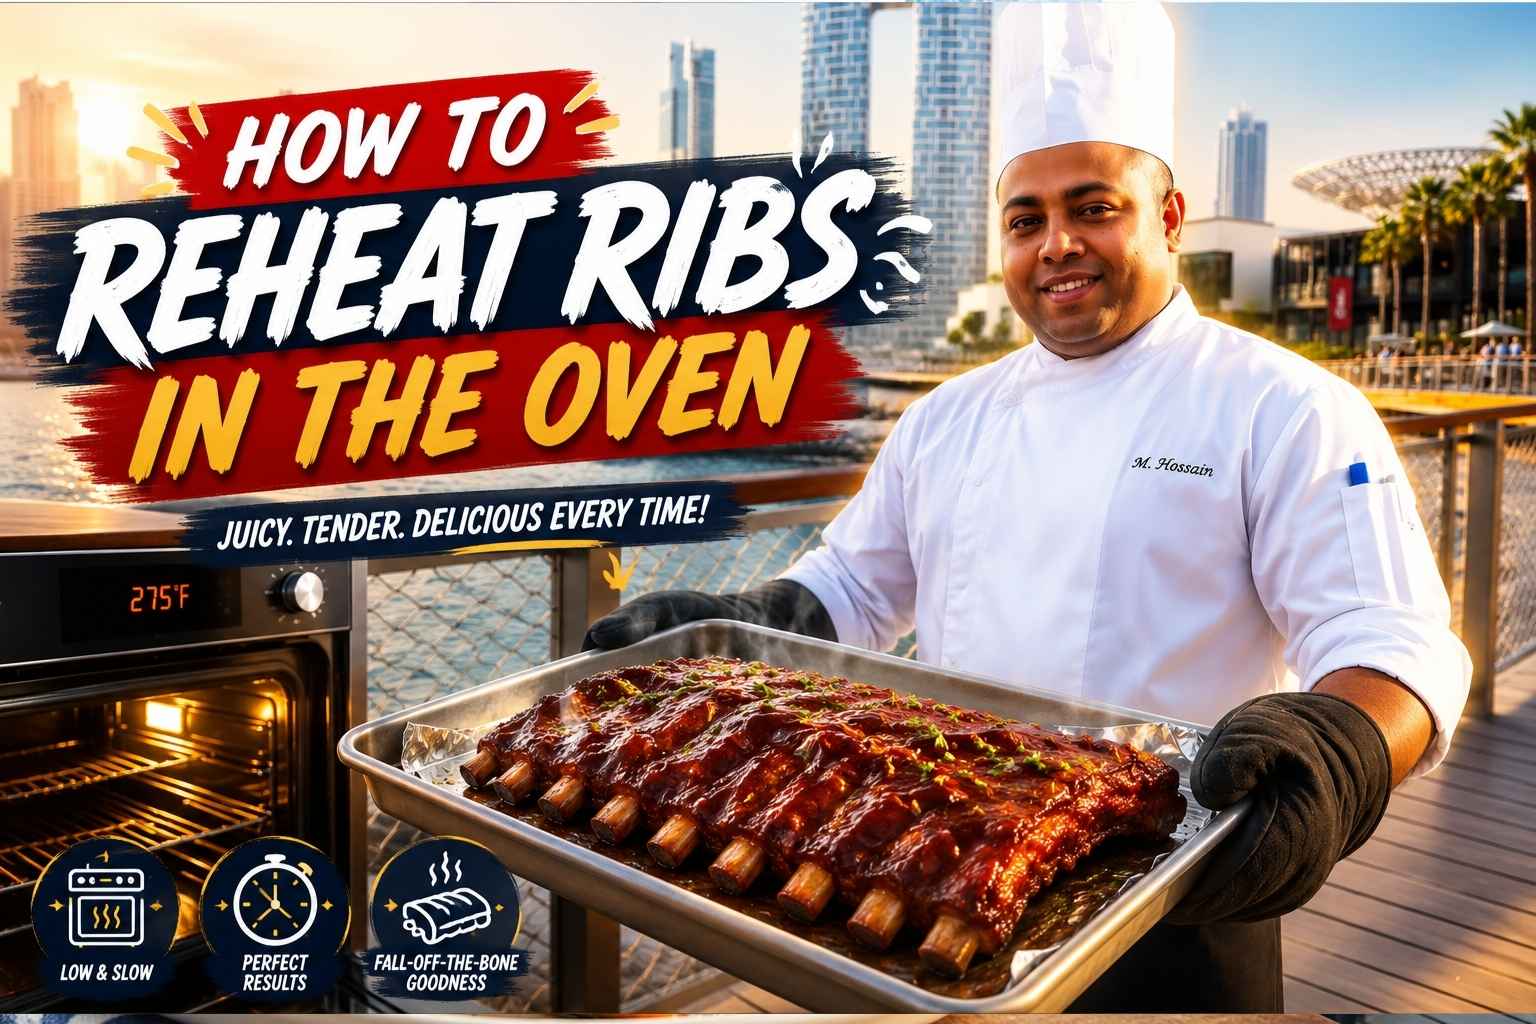
- The best way to reheat ribs is low and slow in the oven at 250°F, wrapped tightly in foil with 2-3 tablespoons of liquid added before sealing.
- Ribs must reach an internal temperature of 165°F before eating – use an instant-read thermometer, not guesswork (USDA Food Safety, 2024).
- Baby back ribs reheat faster than spare ribs or beef ribs – expect 20-25 minutes vs. 30-45 minutes for the larger cuts.
- The microwave destroys bark and dries out the meat – skip it unless you’re genuinely in a hurry and don’t care about texture.
- Leftover ribs keep 3-4 days in the fridge or up to 3 months in the freezer when wrapped airtight (USDA Food Safety, 2024).
Cold ribs the next day just don’t hit the same, right? You pull them out of the fridge and they look sad and stiff. I get it. That’s why I want to show you how to reheat ribs in the oven the right way. I’ve cooked ribs for over 15 years, so I know every trick to bring them back to life. In this guide, I’ll walk you through simple steps for juicy, fall-off-the-bone ribs every time. Grab your baking sheet and let’s get those ribs tasting fresh again!
Why Reheating Ribs in the Oven Is Harder Than It Looks
Reheating ribs is one of the trickiest jobs in the home kitchen, and most people get it wrong. You end up with either dry, chewy meat or soggy, bark-free ribs that taste like they were steamed instead of smoked.
I’ve been cooking professionally for 17 years – in restaurant kitchens, competition BBQ pits, and my own home kitchen. I’ve reheated more racks of ribs than I can count. The problem isn’t the oven. It’s understanding what happened to the meat the first time it was cooked, and what you’re fighting against when you try to bring it back.
Here’s the science. Ribs are loaded with collagen – a tough connective tissue that runs through the meat. During the original cook, that collagen breaks down into gelatin at temperatures around 160-180°F, which is what gives slow-cooked ribs their silky, sticky texture (The Food Lab by J. Kenji López-Alt, 2015). When you refrigerate leftover ribs, that gelatin solidifies again. Your job during reheating is to gently re-liquefy it without squeezing out the moisture the meat still holds.
At the same time, you’re protecting the bark – the dark, caramelized crust on the outside of the rib. Bark is fragile. Steam dissolves it. Dry heat crisps it back up. The trick is balancing steam inside the foil packet with a brief uncovered finish to restore the crust.
Reheating Method Comparison: Oven vs. Every Other Option
Before I walk you through the oven method in detail, here’s how each method stacks up. I’ve used all of them at some point.
| Method | Time | Moisture Retention | Crust/Bark Quality | Ease |
|---|---|---|---|---|
| Oven (foil + liquid) | 25-45 min | Excellent | Good (with finish uncovered) | Medium |
| Microwave | 3-5 min | Poor | Terrible | Easy |
| Air fryer | 8-12 min | Fair | Very good | Easy |
| Grill | 10-15 min | Fair | Excellent | Medium |
| Stovetop (covered pan) | 10-15 min | Good | Poor | Easy |
The oven wins on moisture retention every time. The air fryer is the best alternative if you’re short on time and mainly care about texture. The grill is excellent for bark but you risk drying out the meat if you lose attention for even a few minutes.
The microwave? I’ll explain when to use it later – but for ribs, it’s a last resort.
The Single Best Method: How to Reheat Ribs in the Oven Step by Step
The oven is the best way to reheat ribs. Low heat, trapped steam, and a short uncovered finish gives you meat that’s close to freshly cooked.
Here are the exact steps I use every time.
Step 1: Pull the Ribs Out of the Fridge 30 Minutes Early
Cold ribs straight from the fridge go into the oven unevenly. The outside heats before the inside, which means the exterior dries out before the center gets warm.
Let them sit at room temperature for 30 minutes before you start. This one step alone makes the texture noticeably better.
Step 2: Preheat Your Oven to 250°F
Set your oven to 250°F (121°C) and let it fully preheat. Don’t skip this – putting ribs into a cold oven and then ramping the temperature causes uneven heating.
I’ll cover temperature variations in a later section, but 250°F is the sweet spot for most leftover ribs. It’s hot enough to reach a safe internal temp in a reasonable time, low enough to keep the meat from drying out.
Step 3: Add Liquid Before Sealing the Foil
This is the step most people skip. It’s also the most important one.
Lay the ribs meat-side down on a large piece of heavy-duty foil. Add 2-3 tablespoons of liquid directly onto the foil before you wrap it. Here’s what I use:
- Apple juice or apple cider – works well with pork, adds a light sweetness that doesn’t overpower
- Leftover cooking liquid or drippings – the best option if you have it
- Beef broth – better for beef ribs, adds depth
- Water – neutral, works fine, no flavor impact
- Beer – adds a mild bitterness that I personally like with spareribs
Don’t add more than 3 tablespoons. Too much liquid turns into steam and makes the bark go soft. You want just enough to create a humid environment inside the packet.
Step 4: Wrap the Ribs Tightly in Two Layers of Foil
Wrap the ribs meat-side down, then fold the foil edges over twice on all sides so no steam escapes. Add a second layer of foil over the top for extra insurance. A loose wrap lets steam out and dries the meat.
Step 5: Reheat in the Oven Until 165°F Internal Temp
Place the wrapped ribs on a baking sheet (this catches any drips) and put them in the preheated oven.
Timing by rib type:
- Baby back ribs: 20-25 minutes
- Spare ribs: 30-40 minutes
- Beef short ribs: 35-45 minutes
- Boneless ribs: 15-20 minutes
Use an instant-read thermometer to check. You’re aiming for 165°F (74°C) at the thickest part of the meat (USDA Food Safety, 2024). Don’t trust timing alone – ovens vary, and rib thickness varies.
Step 6: Open the Foil and Finish Uncovered for 5-10 Minutes
Once the ribs hit 165°F, open the foil and fold it back to expose the meat. Turn the oven up to 375°F and put the ribs back in for 5-10 minutes.
This step crisps the bark back up. Watch carefully – it goes from crispy to burnt fast at that temperature.
If you want to add fresh sauce, brush it on in the last 3-4 minutes of this uncovered phase. More on sauce timing later.
Oven Temperature Guide: 225°F vs. 250°F vs. 275°F
The right temperature depends on how much time you have and how the ribs were originally cooked.
225°F – Use this for ribs that were heavily smoked or cooked with a thick bark you want to protect. Lower heat means less risk of bark burning or meat drying. Add 10-15 minutes to the times above.
250°F – My default. Good for almost all leftover ribs. Balances speed and moisture retention well.
275°F – Use this when you’re short on time and the ribs have a lot of sauce or glaze on them (the sauce protects the meat from drying). Reduce timing by about 5 minutes. Watch closely.
Never go above 300°F to reheat ribs. Above that, you’re cooking them again rather than warming them, and the moisture leaves fast (America’s Test Kitchen, 2023).
How to Reheat Different Types of Ribs in the Oven
Different rib cuts have different amounts of fat, connective tissue, and bone-to-meat ratios. They don’t all behave the same in the oven.
Baby Back Ribs
Baby back ribs are leaner than spare ribs and have less fat to protect the meat from drying. They heat up faster and dry out faster.
Keep the oven at 250°F, and don’t go past 25 minutes in the foil. Pull them as soon as they hit 165°F. If you go to 170°F or higher, they’ll start to tighten up.
Spare Ribs (St. Louis Cut Included)
Spare ribs have more fat and more connective tissue. They’re more forgiving during reheating. You can push the foil phase to 35-40 minutes without much risk.
St. Louis-cut ribs are spare ribs with the sternum, cartilage, and rib tips removed – they’re flatter and heat more evenly than full spare ribs. Treat them the same way.
Beef Short Ribs and Beef Back Ribs
Beef ribs have thicker, denser meat than pork. Use beef broth as your added liquid instead of apple juice. Reheat at 250°F for 35-45 minutes.
Beef short ribs, especially braised ones, are the most forgiving of all rib types. The braising liquid already penetrated the meat, so there’s plenty of moisture to work with.
Boneless Ribs
Boneless ribs are usually pork shoulder or loin cut into strips and labeled as “boneless ribs.” They’re leaner and smaller. Reheat at 250°F for 15-20 minutes only. They dry out quickly – check the temp at 15 minutes.
The Role of Moisture: What Liquid to Add and Why It Matters
Adding liquid inside the foil packet is the difference between ribs that taste reheated and ribs that taste fresh. Here’s why it works.
When you seal ribs in foil with added liquid, the liquid heats to a boil at around 212°F and creates steam inside the packet. That steam surrounds the meat, keeping the surface humid. Without it, the dry heat of the oven pulls moisture directly out of the meat fibers (Serious Eats, 2022).
The liquid doesn’t soak into the meat the way a marinade would. It simply prevents the outer layers from losing moisture during the heat-up phase. Think of it as a humidity shield.
How much liquid to add: 2-3 tablespoons for a half rack. No more. Too much and you’re braising, not reheating – the bark dissolves and the texture becomes soft and wet.
What to avoid: Don’t add vinegar-heavy sauces inside the foil. The acid breaks down the bark quickly and can make the meat mushy. If you’re using BBQ sauce, brush it on during the uncovered finish, not inside the foil.
Convection vs. Conventional Oven: What Changes
If you have a convection setting, you can use it – but adjust your approach.
Conventional oven: Uses still heat that builds up around the foil packet evenly. The standard times in this guide apply.
Convection oven: The fan circulates hot air, which speeds up cooking by about 25%. Reduce the temperature by 25°F (so use 225°F instead of 250°F) and check the internal temp 5-7 minutes earlier than the times listed above (America’s Test Kitchen, 2023).
Convection also dries the surface faster. This is an advantage during the uncovered finish – your bark crisps up quicker. But watch it closely. At 375°F convection, the bark can go from crispy to burned in under 3 minutes.
Gas vs. Electric Oven Differences
Gas ovens run moister than electric ovens because combustion produces water vapor. This makes them slightly better for the reheating environment – there’s a little more ambient humidity.
Electric ovens are drier. If you have an electric oven, add 1 extra tablespoon of liquid inside the foil packet to compensate.
Also: gas ovens often run hot. If your oven is gas, check your rack position. Center rack gives the most even heat. Avoid the bottom rack, which gets direct radiant heat from the burner and can scorch the underside of the foil.
Why the Oven Beats Every Other Method (and When It Doesn’t)
The oven is the best option for reheating ribs in almost every situation. The controlled, indirect heat lets collagen re-liquefy slowly without squeezing moisture out of the meat. No other method gives you the same combination of even heating and moisture control.
The one time the oven isn’t the right call: when you have a single rib or two. Heating a full oven for 30-40 minutes to warm two ribs is wasteful. In that case, use the stovetop method – a covered skillet over low heat with a tablespoon of broth – or the air fryer.
The microwave is fine for speed, but it heats unevenly, creates hot spots, and produces steam that makes the bark soft within seconds. If you must use it, put the ribs in a microwave-safe dish with a splash of water, cover loosely with a damp paper towel, and heat on 50% power in 1-minute intervals. Check after each interval.
The grill gives you the best bark of any method – better than the oven – but it’s easy to dry out the meat if you walk away. Use medium-indirect heat and keep the lid closed.
How to Save Dried-Out Ribs That Seem Beyond Saving
I’ve rescued ribs that looked completely done for. Dried-out, leathery, zero moisture left. Here’s how.
If your ribs are already dry (from overcooking or bad initial storage), you need a longer, wetter reheat. Here’s my rescue method:
- Make a quick braising liquid: 1/2 cup apple juice, 1/4 cup BBQ sauce, 2 tablespoons butter. Heat briefly until combined.
- Place the ribs in a baking dish (not just foil) and pour the liquid over them.
- Cover the baking dish tightly with foil.
- Reheat at 225°F for 45-60 minutes until the internal temp hits 165°F.
- The collagen can’t be rebuilt if it’s already gone, but the liquid penetrates the outer layers and adds back some of the fat and moisture that was lost.
This won’t make dry ribs taste like freshly smoked ones. But it makes them edible – and honestly, with enough good sauce, even enjoyable.
When to Add Fresh Sauce (and When It Ruins the Reheat)
Sauce timing matters more than most people realize.
When to add sauce: During the last 3-4 minutes of the uncovered finish at 375°F. The sauce caramelizes slightly without burning, and it bonds to the warm bark instead of just sitting on top of it.
When not to add sauce inside the foil: Sauce added before the foil phase creates steam as it heats, and that steam softens the bark you’re trying to preserve. Also, high-sugar sauces can burn if they drip onto the foil and then contact the pan.
When to skip fresh sauce entirely: If the ribs were originally dry-rubbed without sauce, adding sauce during reheat changes the character of the dish. Let the bark speak for itself. Serve the sauce on the side.
One more thing: if the original cook already had a thick sauce glaze, you may not need any sauce at all. The glaze will re-caramelize nicely in the uncovered finish phase.
Food Safety: Safe Temps, Fridge Life, and Freezer Rules
Ribs are a cooked protein, and like all cooked proteins, they can grow bacteria if stored or reheated incorrectly.
Safe internal reheating temperature: 165°F (74°C), measured at the thickest part of the meat away from the bone (USDA Food Safety, 2024).
How long do leftover ribs last in the fridge? 3-4 days when stored in an airtight container or wrapped tightly in foil (USDA Food Safety, 2024). After 4 days, throw them out.
How long do leftover ribs last in the freezer? Up to 3 months for best quality. They’re safe to eat beyond 3 months but the texture degrades (USDA Food Safety, 2024).
How to thaw frozen ribs before reheating: The safest method is overnight in the fridge. Allow 24 hours for a full rack. Never thaw ribs on the counter at room temperature – bacteria multiply rapidly between 40°F and 140°F.
Can you reheat ribs directly from frozen? Yes, but add 50% more time and verify the internal temp with a thermometer. The meat will be safe but the texture is better if you thaw first.
Common Reheating Mistakes and How to Fix Them
I’ve seen all of these in real kitchens.
Mistake 1 – Reheating at too high a temperature. Going straight to 375°F without foil dries the outside before the center warms up. Fix: Use 250°F with foil, then uncovered at 375°F only for the last 5-10 minutes.
Mistake 2 – Skipping the resting period before reheating. Cold ribs from the fridge heat unevenly. Fix: Let them sit at room temperature for 30 minutes first.
Mistake 3 – Not adding liquid inside the foil. This is the single most common mistake. Dry foil heats the meat but doesn’t protect it from moisture loss. Fix: Add 2-3 tablespoons of apple juice, broth, or water before sealing.
Mistake 4 – Loose foil wrap. Steam escapes through gaps, and you lose the humidity effect entirely. Fix: Double-wrap with heavy-duty foil, folding edges twice.
Mistake 5 – Reheating from frozen without adjusting time. Ribs taken straight from freezer to oven often come out cold in the center even when the surface is hot. Fix: Thaw in the fridge overnight, or add 50% more time and use a thermometer.
Mistake 6 – Adding BBQ sauce before the foil phase. Sauce inside the foil goes soft and dissolves the bark. Fix: Add sauce only during the uncovered finish at 375°F.
Mistake 7 – Trusting timing over temperature. Rib thickness, fridge temperature, and oven calibration all vary. A timer gives you a starting point. An instant-read thermometer gives you the truth. Fix: Always verify 165°F with a thermometer.
My Personal Rib Reheating Routine (What I Actually Do)
I’ll be direct: this is what I do every time, and I’ve done it for 17 years.
I pull the ribs out of the fridge while I’m making coffee. By the time coffee is done, they’ve had their 30 minutes at room temperature. I preheat the oven to 250°F while I tear off a piece of heavy-duty foil.
I lay the ribs meat-side down, splash 2 tablespoons of apple juice over them (I keep a small bottle in the fridge specifically for this), then wrap tightly – two folds on all sides, second layer of foil on top. Baking sheet underneath to catch anything.
In the oven for 25 minutes for baby backs, 35 for spare ribs. I check with a Thermapen at the 20-minute mark regardless of the cut.
When it hits 165°F, I open the foil, crank the oven to 375°F, and give it 6-8 minutes uncovered. If I’m adding sauce, it goes on at the 4-minute mark. Then I rest them on the sheet for 3 minutes before cutting or serving.
Total hands-on time: under 10 minutes. Total elapsed time: 35-55 minutes depending on the cut.
The result is ribs I’d be comfortable serving at a dinner party – not just a midnight leftover snack.
Frequently Asked Questions About Reheating Ribs in the Oven
What temperature should I use to reheat ribs in the oven?
Use 250°F (121°C) as your default for reheating ribs in the oven. Wrap the ribs tightly in foil with 2-3 tablespoons of added liquid first. Finish uncovered at 375°F for 5-10 minutes to restore the bark. Always verify the internal temp reaches 165°F with a thermometer.
How long does it take to reheat ribs in the oven?
It depends on the cut. Baby back ribs take 20-25 minutes in the foil phase at 250°F. Spare ribs and St. Louis-cut ribs take 30-40 minutes. Beef ribs take 35-45 minutes. Boneless ribs take 15-20 minutes. Add the uncovered finish (5-10 minutes) to all of these.
Can I reheat ribs in the oven without drying them out?
Yes – the key is wrapping them tightly in two layers of foil with 2-3 tablespoons of liquid added inside. Apple juice, beef or chicken broth, or plain water all work. The liquid creates steam that keeps the meat moist during the heating phase (Serious Eats, 2022).
Can I reheat frozen ribs directly in the oven?
You can, but the texture is better if you thaw them in the fridge overnight first. If you reheat from frozen, add 50% more time to the foil phase and check the internal temperature with a thermometer to confirm 165°F throughout.
How do I keep the bark on ribs when reheating?
Wrap the ribs meat-side down and keep them sealed in foil until they reach 165°F. Then open the foil and finish at 375°F for 5-10 minutes with the meat exposed. This crisps the bark back up. Adding liquid inside the foil does not dissolve the bark as long as the ribs are meat-side down and not submerged.
Can I reheat ribs in a convection oven?
Yes. Reduce the temperature by 25°F (use 225°F instead of 250°F) and check the internal temp 5-7 minutes earlier than the standard times. The convection fan speeds up cooking by about 25% (America’s Test Kitchen, 2023). The uncovered finish goes faster too – watch the bark closely.
When should I add BBQ sauce during reheating?
Add sauce only during the uncovered finish phase, not inside the foil packet. Brush it on in the last 3-4 minutes of the uncovered time at 375°F. This lets the sauce caramelize without burning. Sauce added inside the foil softens the bark and can turn watery.
How long do leftover ribs last in the fridge or freezer?
Leftover ribs keep 3-4 days in the fridge in an airtight container. In the freezer, they stay at best quality for up to 3 months. Always thaw frozen ribs in the fridge overnight before reheating for the best texture (USDA Food Safety, 2024).
Key Takeaways
- Reheat ribs at 250°F, wrapped tightly in two layers of foil with 2-3 tablespoons of liquid inside.
- Always let cold ribs sit at room temperature for 30 minutes before they go into the oven.
- Use an instant-read thermometer – 165°F is the safe internal temperature, and timing alone isn’t reliable.
- Finish uncovered at 375°F for 5-10 minutes to restore the bark.
- Baby back ribs take 20-25 minutes; spare ribs take 30-40 minutes; beef ribs take 35-45 minutes.
- Convection ovens cook about 25% faster – drop the temp by 25°F and check early.
- Leftover ribs last 3-4 days in the fridge and up to 3 months in the freezer (USDA Food Safety, 2024).
- The microwave is a last resort – it destroys bark and dries out the meat fast.

I’m Mossaraof, a trained chef and the founder of OvenInsights.com. I spent years cooking at Larrupin’ Cafe and in kitchens across Chicago and Seattle. Now I test kitchen gear for a living. I moved to North Acton, London, and I test every tool I write about. I use real meals and real heat. No brand deals. No shortcuts. I cover 12 kitchen types and hundreds of recipes. I believe this: the right tools matter as much as the recipe.




