
At A Glance
- Baked eggs cook best between 325°F and 375°F depending on the style — too high and you get rubbery whites with chalky yolks.
- A water bath (bain-marie) is optional for whole eggs in ramekins but gives noticeably silkier whites when you use it.
- Pull baked eggs from the oven when the whites are just set and the yolks still jiggle — carryover cooking does the rest.
- Butter or oil the dish thoroughly; skipping this step is the single most common reason baked eggs stick and tear.
- Baked egg cups made in muffin tins are fully meal-prep friendly and reheat well for up to four days refrigerated.
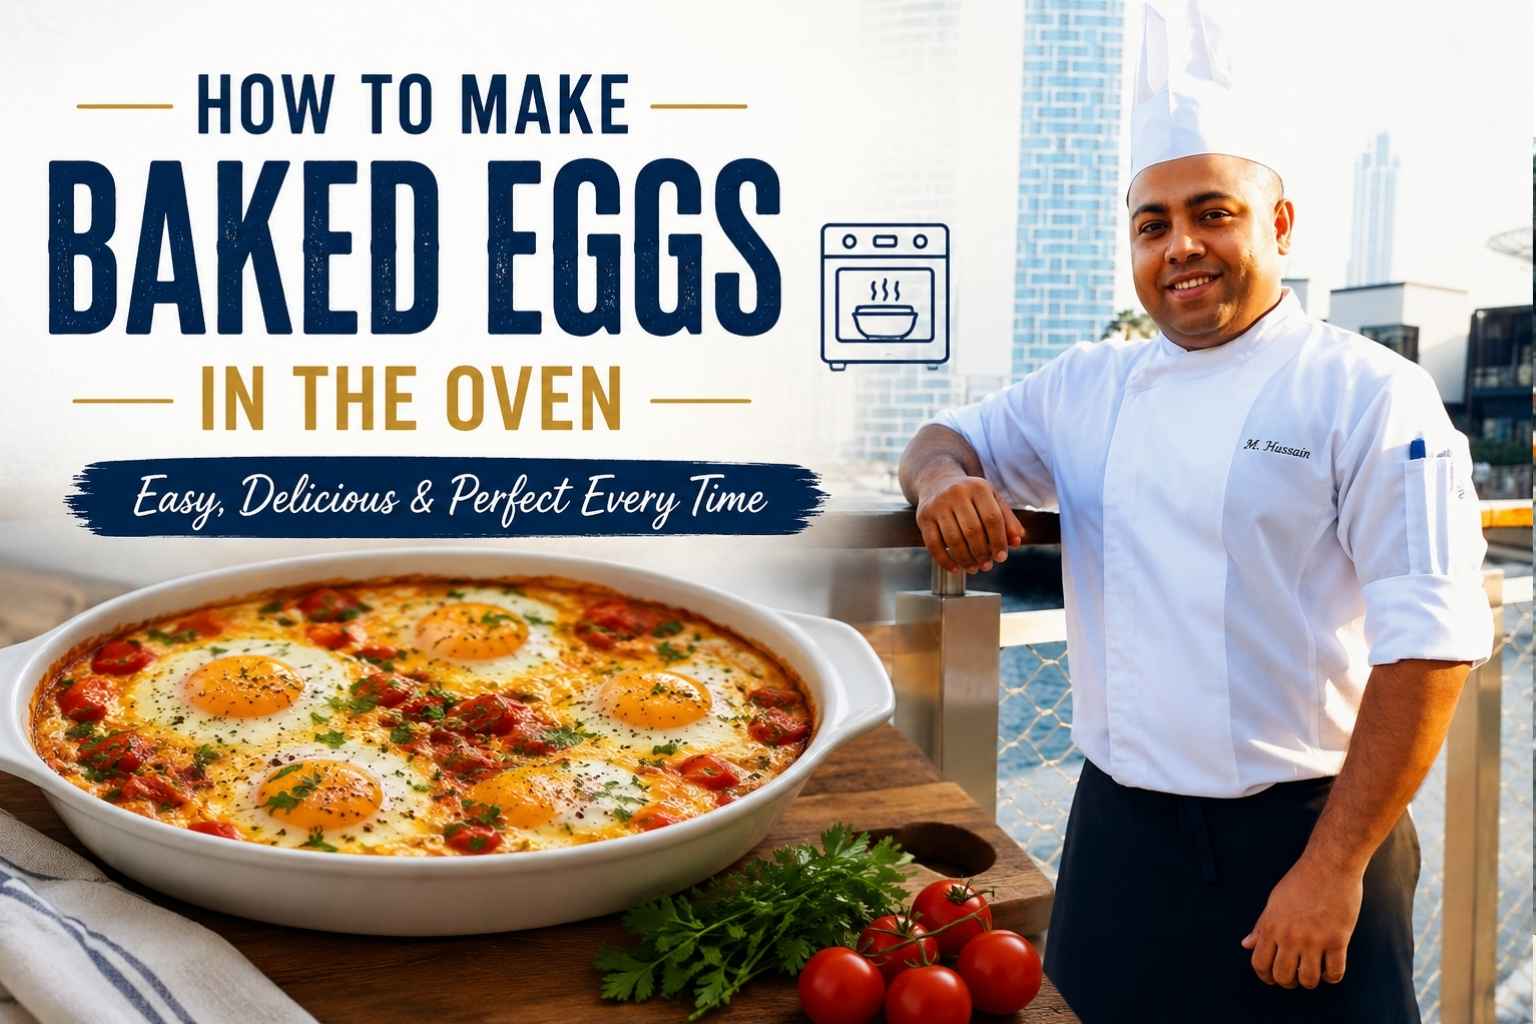
I still remember the morning my stove broke and I panicked over breakfast. That’s the day I learned how to make baked eggs in the oven, and it saved my whole week. I’m Mossaraof, a chef who has cracked more eggs than I can count. Today, I’ll show you my easy, foolproof method, plus a few tricks for perfect texture every time. Grab your favorite dish, and let’s bake something delicious together.
Baked Eggs Quick Reference: Styles, Temperatures, and Times
| Style | Dish | Oven Temp | Bake Time | Texture |
|---|---|---|---|---|
| Shirred eggs (soft) | Buttered ramekin | 325°F (163°C) | 10–13 min | Silky white, runny yolk |
| Shirred eggs (firm) | Buttered ramekin | 350°F (177°C) | 14–17 min | Fully set white, jammy yolk |
| Muffin-tin egg cups | Greased muffin tin | 350°F (177°C) | 12–15 min | Firm white, soft yolk |
| Egg bake / casserole | Greased baking dish | 350–375°F (177–190°C) | 25–35 min | Fully set, sliceable |
| Baked egg in avocado | Avocado half on sheet pan | 375°F (190°C) | 12–15 min | Firm white, soft-set yolk |
| Baked egg in bell pepper | Pepper half on sheet pan | 375°F (190°C) | 20–25 min | Firm white, set yolk |
| Baked egg in tomato | Hollowed tomato, baking dish | 350°F (177°C) | 18–22 min | Soft white, runny yolk |
| Baked egg with water bath | Buttered ramekin in water | 325°F (163°C) | 14–18 min | Very silky, custard-like |
Times assume large eggs straight from the refrigerator. Room-temperature eggs reduce bake time by 2–3 minutes.
Why Baking Eggs Produces a Different Result Than Frying or Scrambling
Baking eggs gives you control that a stovetop never can. Heat in a pan is uneven and fast. Heat in an oven wraps around the egg from every direction at a steady, lower temperature — and that changes what happens to the proteins.
Egg whites are mostly water and protein (albumin). When heat hits albumin too fast, the proteins tighten and squeeze out moisture, giving you that rubbery, weepy texture you get from overcooked scrambled eggs. At oven temperatures between 325°F and 375°F, albumin sets slowly and holds its moisture. The result is a white that’s tender, not bouncy.
Yolks behave differently. They’re dense with fat and emulsifiers, which means they take longer to set than whites. The gap between “just runny” and “fully chalky” is about 5°F in internal temperature — 149°F for soft-set, around 158°F for fully hard (America’s Test Kitchen, 2024). That small window is why pulling the eggs early matters so much. I’ll cover that when we get to carryover cooking.
Choosing the Right Dish for Baked Eggs in the Oven
The dish material changes how the egg bakes. Use the wrong one and you’ll get uneven cooking, stuck eggs, or dry edges.
Ramekins (ceramic or porcelain): These are the standard vessel for shirred eggs. Ceramic conducts heat gently and evenly, which protects the delicate white from overheating on the sides. I use 6-ounce ramekins for a single egg, 8-ounce for two. Pyrex glass ramekins also work well.
Muffin tins (metal): Metal conducts heat faster than ceramic, so egg cups in muffin tins bake quicker. This is actually useful for meal prep — you get 12 cups done in one shot. Use a standard 12-cup tin; mini muffin tins hold too little to be practical for whole eggs.
Cast iron skillets: A well-seasoned cast iron pan holds heat beautifully and browns the bottom of an egg bake or a single large batch of baked eggs. It retains heat after leaving the oven, so carryover cooking is more pronounced — factor in 30 extra seconds off heat compared to ceramic.
Gratin dishes: Wide, shallow dishes are best for egg bakes with lots of add-ins (vegetables, meat, cheese). The wider surface area helps everything cook evenly without the center being underdone while the edges overcook.
Why Greasing the Dish Is Not Optional
Butter the dish — or use oil if you prefer — before adding anything else. This applies even to non-stick muffin tins. Egg whites bond to ungreased surfaces at the molecular level once they set (Serious Eats, 2023). Trying to remove a stuck baked egg from a dry ramekin destroys it every time.
Use softened butter and coat the full interior including the rim. For ramekins, I go up the sides slightly past where the egg will sit. For muffin tins, a thin even coat of neutral oil (spray or brushed) works fine.
Temperature and Timing Breakdown by Baked Egg Style
The right temperature depends on what you’re making. Here’s how I think about it after 15 years of cooking eggs in professional and home kitchens.
Soft-Set Shirred Eggs: 325°F for a Silky White and Runny Yolk
Shirred eggs (also called eggs en cocotte) are single eggs baked in a buttered ramekin, often with a spoonful of cream on top. At 325°F, they take 10–13 minutes for a white that’s barely set with a fully liquid yolk. At 350°F, 14–17 minutes gives you a set white with a jammy, soft yolk.
These are the eggs I serve to anyone who says they don’t like eggs. The texture is completely different from what people expect. Done right, they’re somewhere between a poached egg and a light custard.
Muffin-Tin Egg Cups: 350°F for Firm, Portable Eggs
Egg cups are a higher-heat, higher-practicality format. At 350°F, 12–15 minutes gives you a firm white and a soft-to-medium yolk. These work for meal prep because they hold their shape when cold and reheat without going rubbery (more on that in the meal prep section below).
You can crack a whole egg directly into the greased cup or line the cup with a slice of ham, prosciutto, or a tortilla first. The liner slightly shields the egg from the direct heat of the metal, which softens the white a touch.
Egg Bakes and Casseroles: 350–375°F for a Sliceable Result
An egg bake is a large-format dish: eggs beaten with milk or cream, mixed with vegetables, cheese, and protein, then baked in a greased dish. At 350°F, a standard 9×13 casserole takes 28–35 minutes. At 375°F, 22–28 minutes. Higher heat sets the edges faster, so I prefer 350°F for a more even result across the whole dish.
The eggs are done when the center no longer wobbles when you shake the pan. An instant-read thermometer in the center should read 160°F (Food Network Kitchen, 2025).
Baked Eggs in Vegetables: 375°F for the Vessel and the Egg at Once
Baking eggs inside a pepper, tomato, or avocado means you’re cooking two things simultaneously — the vessel and the egg. At 375°F:
- Bell peppers: 20–25 minutes. Slice the pepper in half lengthwise, remove seeds, crack one egg into each half. The pepper softens and chars slightly at the edges, which is exactly what you want.
- Tomatoes: 18–22 minutes at 350°F. Hollow out a large beefsteak tomato, leaving the walls intact. Crack in one egg. The tomato releases liquid as it bakes, so I place the tomatoes in a shallow baking dish to catch it.
- Avocado: 12–15 minutes at 375°F. Remove the pit and scoop out a bit of flesh to make room for the egg. The avocado softens but doesn’t fully cook through — which is the point. Season with flaky salt and red pepper flakes immediately after pulling from the oven.
The Water Bath Method: When to Use It and Why It Matters
A water bath — placing filled ramekins in a larger pan with hot water halfway up their sides — insulates the eggs from direct oven heat. The water can never exceed 212°F (100°C), which acts as a ceiling on how fast the egg heats up.
The result is a noticeably silkier, more custard-like white compared to dry oven baking. The yolk stays liquid longer too, giving you more control over the final texture.
Use a water bath when:
- You’re making shirred eggs for guests and want the best possible texture.
- You’re baking in a metal ramekin or a dish that conducts heat faster than ceramic.
- You want a very soft-set white without a rubbery ring at the edges.
Skip the water bath when:
- You’re making egg cups in a muffin tin — impractical to water-bath 12 individual cups.
- You want a firmer set, like for an egg bake or casserole.
- You need speed — water bath adds 4–6 minutes to bake time.
To set it up: place filled ramekins in a roasting pan or deep baking dish. Pour boiling (not tap) water into the pan until it reaches halfway up the ramekins. Transfer carefully to the oven. The boiling water keeps the temperature stable from the start rather than waiting for tap water to heat up (The Kitchn, 2024).
How Carryover Cooking Affects Baked Eggs (and How to Use It)
Carryover cooking is what happens after you pull food from the oven. The dish and the egg retain heat and keep cooking for 1–3 minutes after the oven door closes.
For baked eggs, this is the single most important concept to get right. If the whites look fully set and the yolk looks done when you open the oven, the yolk will be overcooked by the time the egg reaches the table.
Pull baked eggs when the white is just set but still trembles slightly around the yolk. The yolk should jiggle visibly when you move the ramekin. It looks underdone. It isn’t. Let it rest on the counter for 90 seconds to 2 minutes and carryover heat finishes the job.
Material matters for carryover:
- Ceramic ramekins: moderate carryover, about 1–1.5 minutes of continued cooking.
- Cast iron: strong carryover, 2–3 minutes. Pull earlier than you think.
- Glass: similar to ceramic, slightly less retention.
I made this mistake constantly in my first two years as a line cook. Every time I waited until the eggs looked “done,” they came out chalky. The moment I started pulling early and trusting carryover, the texture changed completely.
Add-Ins and Toppings: How They Change Bake Time and Texture
What you add to the ramekin or dish affects how the egg bakes. Here’s what I’ve learned works and what causes problems.
Heavy cream (1–2 tablespoons per ramekin): Poured over the egg before baking, cream slows the white from setting and gives it a richer, softer texture. It adds 1–2 minutes to bake time. This is standard for classic shirred eggs.
Cheese: Hard cheeses (Parmesan, aged cheddar) melt and form a skin on top that can trap steam and create a slightly rubbery layer. Add them in the last 3–4 minutes. Soft cheeses (goat cheese, feta crumbled around the egg) are more forgiving — they stay in place and don’t seal off the top.
Fresh herbs: Add after baking. Heat destroys the volatile compounds that give fresh herbs their flavor. Thyme and rosemary can go in early because they’re more durable, but chives, parsley, and basil go on after the ramekin comes out of the oven.
Butter (pat on top): A small pat of butter placed on the yolk before baking bastes the egg as it melts. It adds flavor and slightly slows the yolk from overcooking. I do this on almost every ramekin egg.
Tomato sauce or salsa: Spooned under or around the egg, these add moisture and acid. They can cause the white to steam rather than bake, which gives a softer texture overall. Reduce the sauce before adding it if it’s watery — excess liquid makes the white wet and undercooked-looking even when it’s set.
Egg Size and Quantity Adjustments
Large eggs are the standard in most recipes, and that’s what the bake times in this guide assume.
- Extra-large eggs: Add 1–2 minutes to bake time. The extra white volume takes longer to set.
- Medium eggs: Reduce bake time by 1–2 minutes. Easy to overcook if you’re not watching.
- Two eggs per ramekin: Use an 8-ounce ramekin minimum. Two eggs bake slightly faster than you’d expect because their mass heats the ramekin more thoroughly. Add 2–3 minutes total, not 6.
Room-temperature eggs bake 2–3 minutes faster than cold-from-the-fridge eggs. I don’t bother pulling eggs out early to temper them for a weekday breakfast, but for a dinner party where I want consistent timing across eight ramekins, I’ll take the eggs out 20 minutes before baking.
Meal-Prep and Make-Ahead Tips for Baked Egg Cups
Baked egg cups (muffin-tin style) are one of the best meal-prep formats for eggs because they hold up to refrigeration and reheating better than any other egg style.
To make ahead: Bake the egg cups fully at 350°F for 12–15 minutes, let them cool completely in the tin, then transfer to an airtight container. Refrigerate for up to 4 days (USDA, 2024).
To reheat: Microwave on medium power (50%) for 45–60 seconds. High power makes the white rubbery and can cause the yolk to burst. Alternatively, wrap in foil and warm in a 300°F oven for 8–10 minutes.
Can you freeze baked egg cups? Yes, with conditions. Bake fully, cool completely, wrap each cup individually in plastic wrap, then place in a freezer bag. Freeze for up to 1 month. Reheat from frozen in a 300°F oven for 15–18 minutes or microwave at 50% power for 2–3 minutes. Texture will be slightly less tender than fresh but still completely acceptable.
What doesn’t freeze well: Eggs with runny or soft yolks. The yolk texture changes significantly after freezing and thawing. For meal-prep freezer batches, fully cook the yolks.
Common Mistakes When Baking Eggs in the Oven — and How to Fix Them
These are the mistakes I see most often, both in restaurant prep kitchens and in cooking classes I’ve taught.
Oven temperature too high: Anything above 400°F causes the white edges to cook faster than the center, leaving you with dry, overcooked edges and an undercooked middle. Stick to 325–375°F depending on the style.
Skipping the rest time: Pulling the egg and immediately cutting in or serving it means the yolk is at its hottest. Wait 90 seconds. The yolk will still be warm and the texture will be what you intended.
Overcrowding the pan: Ramekins placed too close together in the oven trap steam between them and slow the bake time unevenly. Leave at least 1 inch between ramekins.
Ungreased or undergreased dish: The white bonds to dry surfaces. Butter generously and coat the full interior. This is not a step you can partially do.
Wrong dish material for the temperature: Using a thin metal ramekin at 375°F is a recipe for overcooked edges. Metal conducts heat aggressively. Drop the temperature by 25°F when switching from ceramic to metal.
Adding cold toppings mid-bake: Dropping cold cream or sauce on a nearly-set egg drops the surface temperature and extends bake time unpredictably. Add anything liquid before the egg goes into the oven, not during.
My Personal Go-To Baked Eggs Routine
I’ve cooked baked eggs for everything from a quiet Tuesday breakfast to a 40-person brunch service. My default method at home is simple and I’ve made it hundreds of times.
Two 6-ounce ceramic ramekins. Soft butter rubbed generously on the interior. One large egg cracked into each. A tablespoon of heavy cream poured over each yolk. A small pat of cold butter directly on the yolk. Flaky sea salt and cracked black pepper.
Into a 325°F oven, on the middle rack, inside a water bath with boiling water halfway up the ramekins. Thirteen minutes. Out when the white is set but the yolk trembles. Two minutes on the counter.
Topped with fresh chives, a few capers, and a small spoonful of crème fraîche — never sour cream, which is too heavy.
Served with grilled sourdough. That’s it. No complicated add-ins, no twelve-ingredient sauce. The egg is the point. Get the temperature right, pull it early, and let it rest. That’s the whole method.
If I want something more substantial, I’ll add a thin slice of prosciutto laid against the ramekin wall before the egg, so it crisps slightly at the edges while the egg bakes. The saltiness of the prosciutto against the soft yolk is one of the best combinations I know.
Frequently Asked Questions About Baked Eggs in the Oven
Can I bake eggs in the oven without a water bath?
Yes. The water bath produces a silkier texture but isn’t required. Without it, bake shirred eggs at 325–350°F in a well-buttered ceramic ramekin and watch the timing closely. The white may set slightly firmer at the edges without the buffering effect of the water, so reduce bake time by 1–2 minutes and rely on carryover cooking for the finish.
How do I know when baked eggs are done?
Look for these signs: the white is fully opaque with no translucent patch near the yolk, the outer edges are set, and the yolk still moves when you gently shake the ramekin. If you want a fully set yolk, wait until it doesn’t move at all — but at that point you’re at roughly 160°F internal temperature and the yolk will be firm throughout (America’s Test Kitchen, 2024).
Why are my baked egg whites rubbery?
Rubbery whites come from too-high heat or too-long bake time. At temperatures above 375°F, or when baked past the point where the white first sets, the albumin proteins tighten and expel moisture. Lower the oven to 325°F and pull the eggs 2 minutes earlier than you have been. Rest them on the counter before serving.
Can I make baked eggs ahead of time for a crowd?
Yes. For a group of 8 or more, set up all ramekins in the water bath before guests arrive, then put the pan in the oven 15 minutes before you want to serve. This is more reliable than doing batches. Alternatively, bake egg cups in muffin tins in large batches — a standard 12-cup tin gives you 12 servings in one go.
What is the difference between shirred eggs and baked eggs?
Shirred eggs and baked eggs are the same thing. “Shirred” is the classical French term (oeufs en cocotte) for eggs baked in individual ramekins, typically with cream. “Baked eggs” is the broader, more common term that covers all formats — ramekins, muffin tins, casseroles, and eggs baked inside vegetables. Both terms are used interchangeably on most cooking sites (Serious Eats, 2023).
Can I freeze baked egg cups from muffin tins?
Yes. Cool fully, wrap each cup in plastic wrap, and freeze for up to 1 month. Reheat from frozen at 300°F for 15–18 minutes, or microwave at 50% power for 2–3 minutes. For best texture after freezing, make sure the yolks are fully set before freezing — soft or runny yolks change texture significantly when frozen and thawed.
What is the best cheese to add to baked eggs?
Gruyère, Parmesan, and aged white cheddar work well in egg bakes and casseroles — they melt smoothly without making the egg greasy. For individual ramekin eggs, I prefer soft cheeses like goat cheese or feta added before baking, or a fine grating of Parmesan added in the last 3–4 minutes of bake time. Avoid pre-shredded cheeses — they contain anti-caking agents that affect how they melt (The Kitchn, 2024).
How long do baked eggs last in the refrigerator?
Fully cooked baked eggs stored in an airtight container last up to 4 days refrigerated (USDA, 2024). Eggs with soft or runny yolks don’t store as well because the yolk continues to firm as it cools. For storage, fully set yolks hold up better in texture after reheating.
Key Takeaways
- Bake eggs at 325–375°F depending on style — lower temperatures produce silkier whites, higher temperatures set faster for casseroles and egg cups.
- Butter or oil the dish before anything else goes in; ungreased surfaces cause whites to bond and tear.
- Use a water bath for ramekin eggs when texture is the priority — it limits heat to 212°F and produces a custard-like white.
- Pull baked eggs from the oven before they look fully done — carryover cooking in the dish finishes the job in 90 seconds to 2 minutes.
- Add cream and butter before baking; add fresh soft herbs and crème fraîche after baking.
- Baked egg cups in muffin tins are meal-prep friendly — refrigerate up to 4 days, freeze up to 1 month, reheat at 50% microwave power to preserve texture.
- The most common mistake is baking at too-high a temperature or skipping the rest period — both lead to rubbery whites and overcooked yolks.

I’m Mossaraof, a trained chef and the founder of OvenInsights.com. I spent years cooking at Larrupin’ Cafe and in kitchens across Chicago and Seattle. Now I test kitchen gear for a living. I moved to North Acton, London, and I test every tool I write about. I use real meals and real heat. No brand deals. No shortcuts. I cover 12 kitchen types and hundreds of recipes. I believe this: the right tools matter as much as the recipe.




