
At A Glance
- A Dutch oven is the single most versatile piece of cookware in any kitchen — it braises, bakes bread, fries, roasts, and simmers, all in one vessel.
- The best Dutch oven size for most home cooks is 5.5 to 6 quarts, which handles a whole chicken, a boule of bread, or a stew for six people.
- Enameled Dutch ovens (Le Creuset, Staub) are easier to maintain; bare cast iron (Lodge) needs seasoning but costs a fraction of the price and handles higher heat.
- Braising works best at 325°F (163°C) with liquid reaching one-third of the way up the meat — not covering it.
- Dutch oven bread produces a bakery crust at home because the lid traps steam during the first 20 minutes, replicating a professional deck oven (J. Kenji López-Alt, Serious Eats, 2020).
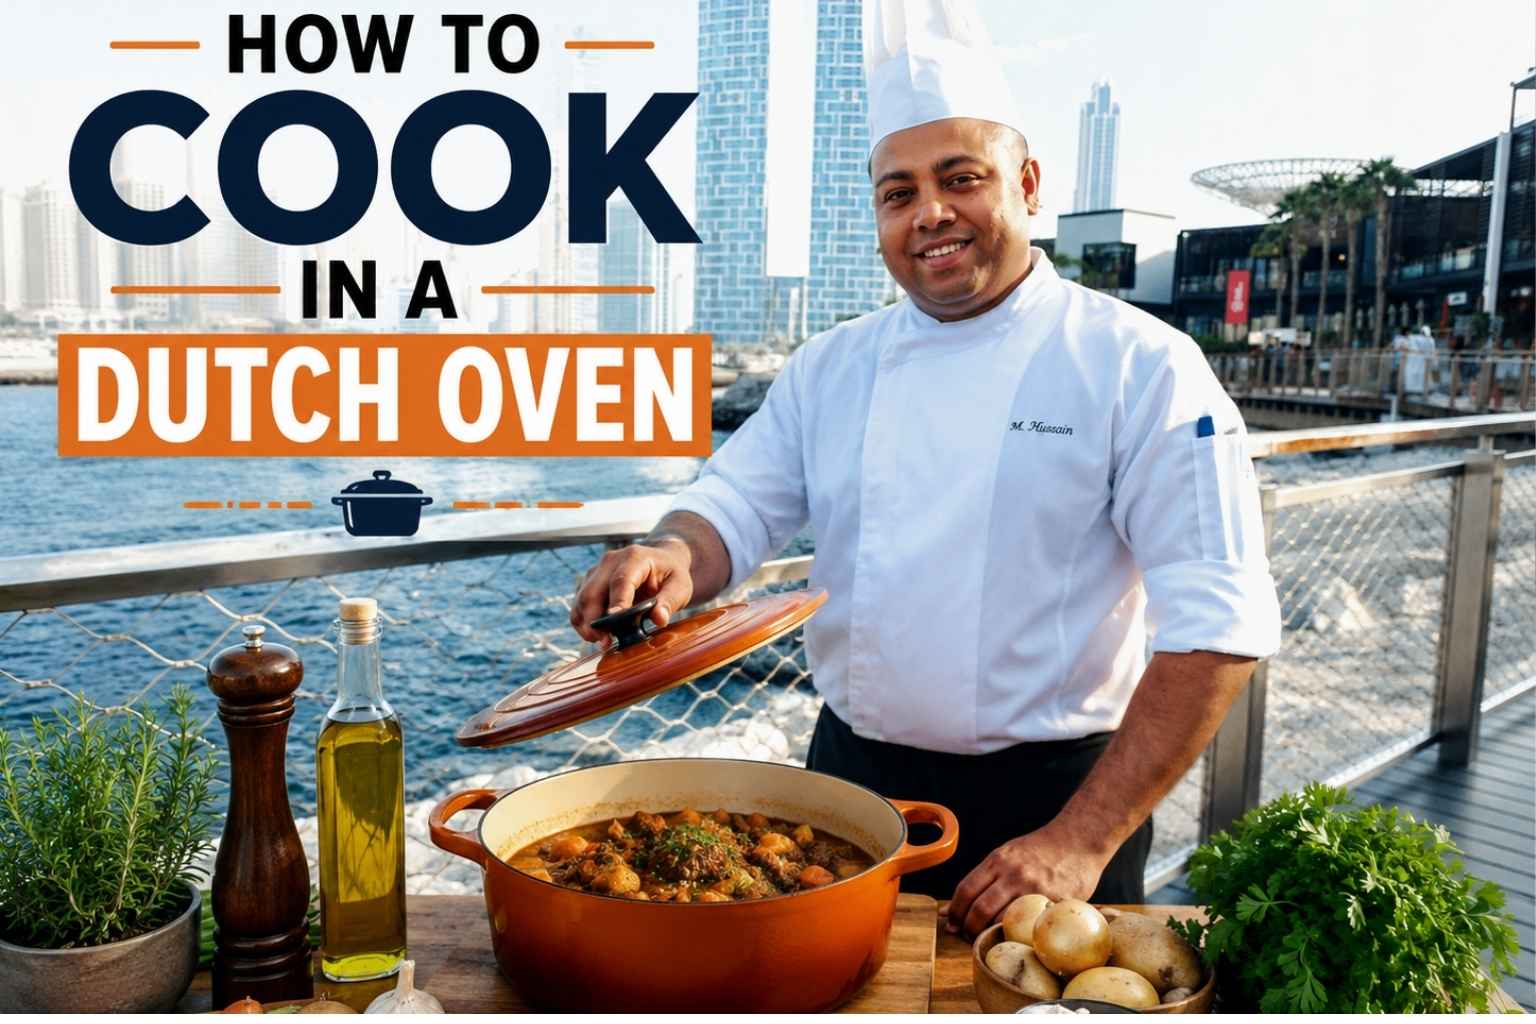
Have you ever smelled a warm meal that made the whole house feel like home? That is why I love learning How to Cook in a Dutch Oven. I still smile when I lift the lid and see a rich stew or fresh bread that came together with just a few simple steps.
Over the years, I have used a Dutch oven for soups, roasts, bread, and one-pot meals. It is one of the most useful pots in my kitchen because it cooks food evenly and keeps it full of flavor. In this guide, I will share easy tips, simple methods, and common mistakes to avoid so you can cook with confidence. Let’s get started and make your next meal one to remember.
What a Dutch Oven Is — and Why the Material Matters
A Dutch oven is a heavy, thick-walled pot with a tight-fitting lid, made from cast iron, enameled cast iron, or occasionally ceramic. That’s the complete definition. The thickness of the walls — typically 3 to 5 mm of cast iron — is what separates it from every other pot in the cabinet.
I’ve cooked in restaurant kitchens for 15 years, and the Dutch oven was in daily rotation in every single one. Not because it’s trendy. Because it holds heat in a way nothing else does. Cast iron has a thermal mass that ordinary stainless or aluminum pots can’t match. Once it’s hot, it stays hot — even when you drop a cold, wet piece of meat into it.
Two primary types exist:
- Enameled cast iron — a cast iron core with a glass-based enamel coating fired onto the surface. Brands like Le Creuset and Staub use this. You can cook acidic foods (tomatoes, wine, citrus) without any reaction, and cleanup is easier. No seasoning required.
- Bare (raw) cast iron — the same material without the coating. Lodge Cast Iron has made these in the U.S. since 1896. They require seasoning, react slightly with acidic foods over long cook times, and cost 80–90% less than premium enameled options.
Size guide:
| Dutch Oven Size | Best For |
|---|---|
| 2–3.5 quarts | Sauces, small batch soups, cooking for 1–2 people |
| 5–5.5 quarts | Most home cooking — ideal all-around size |
| 7–8 quarts | Feeding 6+, whole roasts, big batch chili, bone broth |
| 9–13 quarts | Large-scale cooking, professional or outdoor use |
My personal workhorse is a 5.5-quart enameled Dutch oven. I’ve owned it for nine years. It has gone from a gas range in a commercial prep kitchen to an induction burner in my apartment and has never performed differently.
How Dutch Ovens Distribute Heat Differently From Regular Pots
A Dutch oven doesn’t just conduct heat — it radiates it. This is the key difference most home cooks overlook.
Standard thin-bottomed pots transfer heat through direct conduction: the burner heats the bottom, and that heat travels up. Dutch ovens do that too, but the thick cast iron walls absorb so much heat that they become a secondary heat source. The walls radiate heat inward toward the food, and the heavy lid radiates downward. You’re cooking from all sides simultaneously, not just from below.
This is why a braise in a Dutch oven produces a different result than the same braise in a stainless steel saucepan. The moisture can’t escape as readily. The heat is gentler and more even. The collagen in tough cuts has time to break down properly because the temperature stays consistent — no cold spots, no surges from a thin bottom.
America’s Test Kitchen tested this directly in 2022, comparing a 5.5-quart enameled Dutch oven to a similarly sized stainless pot for braised short ribs. The Dutch oven batch produced 23% more even coloring on the meat’s surface after searing, and the braise sauce reduced more evenly during the oven phase (America’s Test Kitchen, 2022).
Stovetop vs. Oven Use — When to Use Each
The Dutch oven is designed to move between the stovetop and the oven. This is one of its core advantages, and using only one or the other means leaving results on the table.
Use the stovetop for:
- Searing meat before a braise (high heat, direct contact)
- Building a flavor base — sautéing aromatics, deglazing, making a roux
- Bringing liquid to a simmer before transferring to the oven
- Finishing a sauce after the braise is done
Use the oven for:
- The actual braise or low-and-slow portion of a recipe
- Bread baking (lid on for the first 20 minutes, lid off for the last 20)
- Roasting whole chickens or large cuts
- Any recipe requiring even, all-around heat for 45 minutes or longer
The combination method — sear on the stovetop, braise in the oven — is not optional. It’s the correct sequence. Searing on the stovetop gives you the Maillard reaction (the browning of proteins at high heat) that you cannot achieve in an oven. The oven then gives you the consistent low heat that a stovetop burner, with its hot and cold spots, can’t maintain.
One exception: soups and stews where you’re not searing meat can go start to finish on the stovetop over low heat with the lid on.
Braising Fundamentals: The Sear, the Liquid Ratio, and the Low-and-Slow Method
Braising is the Dutch oven’s best use. Get these three things right and the dish will work almost every time.
The Sear
Pat the meat dry before it goes in the pan. This is not optional advice — it’s physics. Wet meat steams instead of browning. Dry meat browns.
Heat the Dutch oven over medium-high until a drop of water evaporates immediately on contact. Add a thin film of oil with a high smoke point — refined avocado oil, grapeseed, or lard. Add the meat in a single layer with space between pieces. Do not crowd. Do not move it for 2–3 minutes. You want a deep brown crust, not gray steaming. Sear all sides, then remove the meat and build the braise in the same pot.
The Liquid Ratio
The most common braising mistake I see is too much liquid. A braise is not a stew. The liquid should reach one-third of the way up the meat, not cover it. The lid keeps everything moist. Too much liquid lowers the cooking temperature and dilutes the final sauce.
Use stock, wine, beer, or a combination. Avoid water — it adds nothing. A standard short rib braise for a 3-pound piece of meat needs roughly 1.5 to 2 cups of liquid (Serious Eats, 2021).
The Low-and-Slow Method
Set the oven to 300–325°F (149–163°C) for most braises. This is non-negotiable. Higher temperatures seize the proteins and toughen the meat before the collagen has time to convert to gelatin.
Cook time depends on the cut:
| Cut | Oven Temp | Cook Time | Done When |
|---|---|---|---|
| Short ribs (bone-in) | 325°F | 3–3.5 hours | Fork-tender, pulls from bone |
| Pork shoulder (2–3 lb) | 300°F | 3–4 hours | Internal temp 195–205°F |
| Chicken thighs | 325°F | 1–1.5 hours | Internal temp 175°F |
| Lamb shank | 325°F | 2.5–3 hours | Fork-tender |
| Beef brisket (flat) | 300°F | 4–5 hours | Bends easily, pulls apart |
After the braise, remove the meat and reduce the braising liquid on the stovetop over medium heat for 10–15 minutes. Skim the fat. This concentrates the sauce. Skipping this step leaves money on the table.
Dutch Oven Bread Baking: Why It Works and How to Do It Right
Baking bread in a Dutch oven is the best method available to home bakers. I say this as someone who has baked in professional deck ovens with steam injection. The Dutch oven method gets you remarkably close.
Here’s why it works: professional bread ovens inject steam during the first phase of baking. Steam keeps the crust soft and extensible so the loaf can expand fully before the crust sets. Without steam, the crust forms too early and the loaf can’t rise properly — you get a dense, thick crust with no oven spring.
A Dutch oven with the lid on traps the steam released by the dough itself. The enclosed environment replicates steam injection. After 20 minutes, you remove the lid, let the crust dry and brown, and finish the bake. The result is a crackling crust with an open, chewy crumb (J. Kenji López-Alt, Serious Eats, 2020).
Step-by-Step Dutch Oven Bread
Preheat the Dutch oven — this step is not skippable. Place the empty Dutch oven (lid on) in the oven at 500°F (260°C) for at least 45 minutes before baking. The pot must be screaming hot when the dough goes in. Cold pot equals flat bread, no question.
Score the dough. Use a sharp knife, razor blade, or bread lame to cut a 1/2-inch-deep slash across the top of the dough just before it goes in. This controls where the bread expands. Without scoring, the crust tears randomly.
Transfer quickly and carefully. Lower the dough into the hot Dutch oven using parchment paper as a sling. Replace the lid. Bake at 500°F for 20 minutes with the lid on.
Remove the lid and finish. Drop the temperature to 450°F (232°C), remove the lid, and bake 20–25 more minutes until deep golden brown. Internal temperature should reach 205–210°F (96–99°C).
Bread baking works best in a 5–6 quart round Dutch oven for a standard 900g (2 lb) loaf.
Soups, Stews, and Chilis: Layering Flavors and Managing Moisture
Dutch oven soups and stews work because of one fundamental advantage: controlled evaporation.
With the lid on, almost no moisture escapes. With the lid off or ajar, the liquid reduces and concentrates. You can manage the final texture of a stew just by adjusting the lid position during the last 30 minutes of cooking.
Building Flavor in Layers
This is the technique that separates flat-tasting soups from ones with depth:
- Sauté aromatics in fat first. Onion, garlic, celery, carrot — cook these in a tablespoon of oil or butter over medium heat for 5–7 minutes until soft and lightly golden. This builds the flavor base.
- Add tomato paste if the dish calls for it. Cook it for 1–2 minutes, stirring constantly, until it darkens slightly. This removes raw tomato flavor and adds a layer of caramelized sweetness.
- Deglaze. Pour wine, beer, or stock into the hot pot and scrape the bottom with a wooden spoon. The browned bits stuck to the bottom (called fond) are concentrated flavor — do not waste them.
- Add liquids and solids in stages. Tough vegetables (carrots, parsnips) go in early. Delicate ones (zucchini, spinach, fresh herbs) go in the last 10–15 minutes.
- Taste and adjust salt at the end. Liquid reduces during cooking, so salt added early concentrates. Final seasoning gives you control.
For chili specifically: blooming dried spices (cumin, chili powder, smoked paprika) in the fat for 60 seconds before adding liquid wakes up their flavor compounds. This one step makes a measurable difference in the final dish.
Roasting Whole Chickens and Meats: Lid-On vs. Lid-Off Strategy
A Dutch oven is one of the better vessels for roasting a whole chicken, and the lid-on/lid-off strategy is the difference between a juicy bird with flabby skin and a juicy bird with crackling skin.
Lid on for the first phase. Start the chicken in a preheated 425°F (218°C) Dutch oven with the lid on for 30 minutes. The trapped moisture keeps the breast meat from drying out during the early stage of cooking.
Lid off for the second phase. Remove the lid for the final 20–30 minutes. The dry heat crisps the skin. You will not get crispy skin with the lid on — the steam prevents it.
The same principle applies to pork shoulder, leg of lamb, and large beef roasts. The lid-on phase protects moisture; the lid-off phase builds crust.
Dutch Oven Cooking Reference Table
| Dish | Temp | Total Time | Lid Strategy | Notes |
|---|---|---|---|---|
| Whole chicken (4 lb) | 425°F | 50–60 min | On 30 min, off 20–30 min | Rest 10 min before carving |
| Braised short ribs | 325°F | 3–3.5 hours | On entire time | Reduce sauce stovetop after |
| No-knead bread | 500°F then 450°F | 40–45 min | On 20 min, off 20–25 min | Preheat pot 45 min first |
| Pork shoulder | 300°F | 4–5 hours | On entire time | Pull at 195–205°F internal |
| Beef stew | 325°F | 2–2.5 hours | On, with 30 min lid-off at end | Thickens as it rests |
| Chili | Stovetop medium-low | 1.5–2 hours | Lid ajar | Stir every 20 min |
| French onion soup | Stovetop low | 1.5 hours for onions | Lid off | Patience is the key variable |
| Bone broth | 200°F oven or stovetop low | 8–12 hours | On entire time | Skim foam in first 30 min |
Enameled vs. Bare Cast Iron: What to Cook in Each
The choice between enameled and bare cast iron is not primarily about performance — it’s about use case and maintenance.
Enameled Dutch Ovens (Le Creuset, Staub)
The enamel coating creates a non-reactive surface. This means you can cook tomato-based sauces, wine braises, and citrus-forward dishes for hours without any metallic flavor transfer. Cleanup is soap and water.
Do not use enameled Dutch ovens for:
- Temperatures above 500°F (260°C) — the enamel can crack
- Empty preheating over high heat (always add oil or liquid before heating on the stovetop)
- Cooking spray — the aerosol propellants damage the enamel surface over time (Le Creuset, 2024)
The enamel is glass. It will chip if dropped or banged against hard surfaces. A chipped enamel pot is not dangerous to cook in, but the exposed cast iron will rust at the chip point.
Bare Cast Iron Dutch Ovens (Lodge, Camp Chef)
Bare cast iron requires a layer of seasoning — polymerized oil baked onto the surface — to prevent rust and provide a natural non-stick quality. Lodge ships its pans pre-seasoned, which means you can use them immediately, but the seasoning improves over time with proper care.
Avoid cooking these foods in bare cast iron:
- Long acidic braises (tomatoes, wine) over 30 minutes — the acid strips seasoning and the iron imparts a metallic taste
- Delicate fish — it sticks easily on less-seasoned pans
Care after use: Rinse while still warm with hot water and a stiff brush. Dry completely on the stove over low heat. Apply a very thin layer of flaxseed or vegetable oil while still warm, wipe off the excess with a paper towel, and store.
Never soak bare cast iron in water. Never put it in the dishwasher. Never let it air dry wet. Rust forms in hours on unprotected cast iron.
Common Dutch Oven Mistakes and How to Fix Them
I’ve watched home cooks make the same Dutch oven mistakes for years. These are the ones that show up most often — and the fixes are straightforward.
Using High Heat on the Stovetop
Cast iron holds heat so well that high heat is almost never necessary on a stovetop burner. Medium heat on a Dutch oven will give you what high heat does on a thin pan. Cranking the burner to high causes hot spots, scorching, and overheating — and it’s harder to recover from than it is to avoid.
Fix: Start every Dutch oven recipe on medium. Adjust from there. If nothing is happening after 3 minutes, go to medium-high. High heat should be rare and brief.
Using the Wrong Size
Too small, and the ingredients are crowded — moisture can’t escape, meat steams instead of sears. Too large, and a small amount of braising liquid spreads too thin and scorches before it can do its job.
Fix: The pot should hold the ingredients with about 2 inches of headroom. For braising a single layer of meat, the pieces should fit without significant overlap.
Skipping the Preheat
A cold Dutch oven dropped into a recipe performs like a cold pan — food sticks, searing doesn’t happen, heat takes too long to build. For bread baking, a cold pot is particularly damaging.
Fix: Preheat the Dutch oven for 5–10 minutes before adding oil or food for stovetop cooking. For oven bread baking, preheat the pot in the oven for at least 45 minutes.
Lifting the Lid Repeatedly During a Braise
Every time you lift the lid, you lose steam, drop the temperature, and extend the cook time. A braise does not need checking more than once every 45 minutes.
Fix: Trust the process. Set a timer and resist. If you need to check internal temperature, do it once near the end of the stated cook time.
Adding Cold Liquid to a Hot Pot
Cold liquid into a screaming-hot cast iron pot causes thermal shock. In enameled Dutch ovens, this can crack the enamel. In bare cast iron, it creates an uneven temperature drop that extends recovery time.
Fix: Warm your braising liquid in a separate saucepan before adding it to the Dutch oven after searing.
My Dutch Oven Routine: How I Actually Use It Week to Week
Every Sunday I do a version of the same thing: I put something in the Dutch oven for the week ahead. Not because it’s the efficient thing to do — though it is — but because the Dutch oven produces food that actually improves after a day or two. A braise on Sunday is better on Tuesday.
My default Sunday braise: bone-in chicken thighs with white wine, garlic, and a full can of San Marzano tomatoes. Into a 325°F oven for 90 minutes. The last 20 minutes, I take the lid off and let the sauce thicken. I pull the chicken off the bone, stir it back into the sauce, and store the whole thing in the same pot in the fridge.
That one cook gives me pasta sauce, a grain bowl base, and a filling for tacos or flatbreads across three days.
On weeknights, my most-used Dutch oven technique is the sauté-and-simmer: sweat aromatics on medium for 5 minutes, add whatever vegetables are in the fridge, add stock or a can of tomatoes, lid on, 25 minutes. It is not a recipe. It is a method. The Dutch oven makes it work every time because the retained heat keeps the simmer gentle even on the lowest burner setting.
Frequently Asked Questions About Dutch Oven Cooking
What is a Dutch oven and what can you cook in it?
A Dutch oven is a thick-walled cast iron pot with a tight-fitting lid. You can use it for braising meats, baking bread, making soups and stews, frying, roasting, and simmering sauces. Its ability to retain and radiate heat evenly from all sides makes it one of the most versatile cooking vessels available.
What size Dutch oven is best for most home cooks?
A 5 to 5.5-quart Dutch oven is the right size for most households. It fits a whole chicken, a standard no-knead bread loaf, a braise for four to six people, or a large pot of soup. If you only buy one, buy a 5.5-quart.
Can you use a Dutch oven on an induction stovetop?
Yes — bare cast iron and most enameled cast iron Dutch ovens are fully induction-compatible. Le Creuset and Lodge both confirm induction compatibility across their standard lines (Lodge Cast Iron, 2024). The heavy base makes contact with the induction burner and heats efficiently.
What is the difference between braising and stewing in a Dutch oven?
Braising uses a small amount of liquid — enough to reach one-third of the way up the meat — and cooks larger, tougher cuts at low heat for a long time. Stewing submerges smaller, bite-sized pieces of meat or vegetables completely in liquid. Both methods suit a Dutch oven, but the liquid ratio and cut size differ.
Can you put a cold Dutch oven directly into a hot oven?
For cooking food, yes — place a room-temperature Dutch oven into a preheated oven without issue. For bread baking, preheat the empty pot in the oven first. Avoid pouring cold liquid into a very hot enameled Dutch oven, as thermal shock can crack the enamel coating.
How do you clean a Dutch oven after a greasy braise?
For enameled Dutch ovens: fill with warm water and a small amount of dish soap, let soak for 15–20 minutes, then clean with a non-abrasive sponge. For stuck-on residue, Le Creuset’s own recommendation is to simmer water in the pot for a few minutes to loosen it (Le Creuset, 2024). For bare cast iron: rinse with hot water while still warm, scrub with a stiff brush, dry on the stovetop over low heat, and apply a thin coat of oil.
Why does my Dutch oven bread come out dense?
Three causes account for most dense Dutch oven bread: under-fermented dough (not enough time for the yeast to develop gas), a cold Dutch oven (the pot must be preheated to 500°F), or too much flour added to correct a sticky dough. A sticky, wet dough is correct for most no-knead recipes — resist adding flour (Serious Eats, 2020).
Is it worth spending money on a Le Creuset vs. a Lodge Dutch oven?
Depends entirely on what you’re cooking. A Lodge bare cast iron Dutch oven at $50–$80 performs as well as a Le Creuset at $350–$400 for bread baking, braising, soups, and stews. The meaningful advantages of the enameled Le Creuset are: easier cleanup, no seasoning required, and the ability to cook acidic dishes without any concern about reactivity. If you cook tomato-heavy braises or wine sauces regularly, enameled is worth the premium. For everything else, Lodge is a fully capable alternative.
Key Takeaways
- A Dutch oven is not just a pot — its thick walls absorb heat and radiate it from all sides, which produces different results than any other cookware.
- The correct braising liquid level is one-third up the meat, not covering it. Too much liquid dilutes the sauce and lowers cooking temperature.
- Bread baking works because the lid traps steam from the dough, replicating the steam injection of a professional deck oven. Preheat the pot for at least 45 minutes.
- The lid-on/lid-off sequence matters for roasting — on for moisture retention in the early phase, off for crust development at the end.
- Enameled cast iron handles acidic foods without flavor transfer; bare cast iron requires seasoning and reacts with long acidic cooks.
- The most common mistakes — too much heat, too much liquid, skipping the preheat, and lifting the lid too often — are all easy to avoid once you understand why they cause problems.
- A 5.5-quart enameled Dutch oven is the single most useful piece of cookware in a home kitchen. If you own one and use it well, you don’t need much else.

I’m Mossaraof, a trained chef and the founder of OvenInsights.com. I spent years cooking at Larrupin’ Cafe and in kitchens across Chicago and Seattle. Now I test kitchen gear for a living. I moved to North Acton, London, and I test every tool I write about. I use real meals and real heat. No brand deals. No shortcuts. I cover 12 kitchen types and hundreds of recipes. I believe this: the right tools matter as much as the recipe.




