
At A Glance
- Spread ground beef in a single layer on a rimmed sheet pan and bake at 375°F for 25-30 minutes, breaking it up twice during cooking.
- Pull the beef when an instant-read thermometer reads 165°F at the thickest point – this is the USDA’s minimum safe internal temperature for ground beef (USDA, 2024).
- 80/20 ground beef is the best all-around choice for oven cooking; leaner blends dry out before they brown.
- Oven cooking is better than stovetop for batch cooking because you get even heat on all sides without standing over a pan.
- Season after draining fat, not before baking – salt draws out moisture and slows browning.
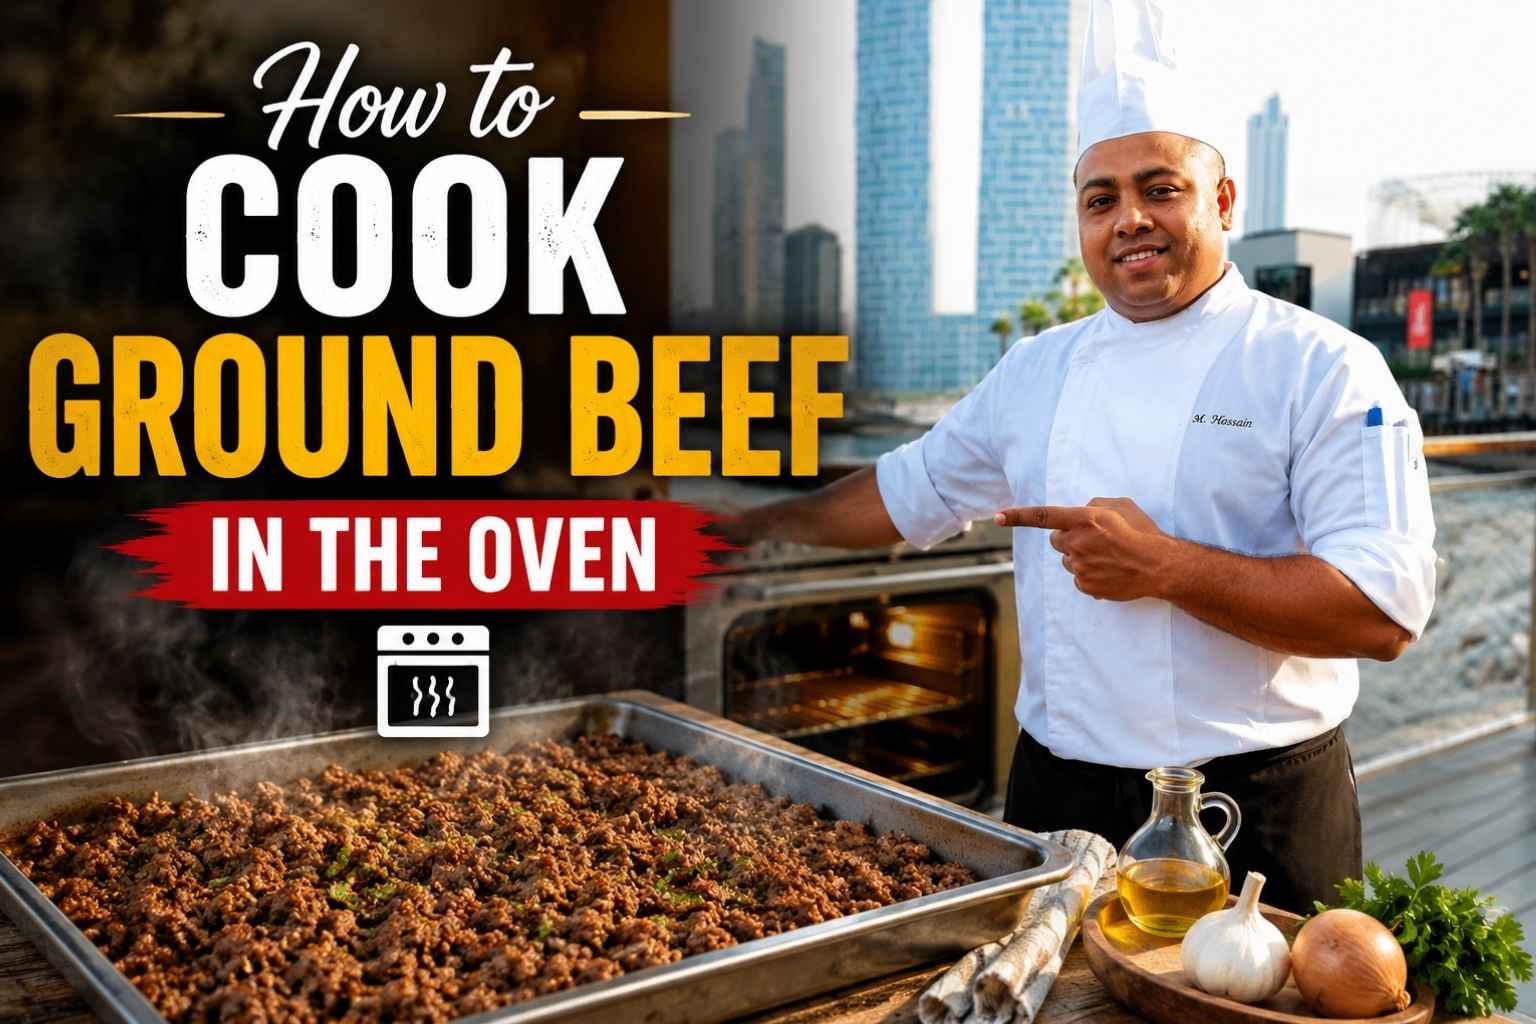
I used to burn ground beef on the stove more times than I want to admit. Then I found out how to cook ground beef in the oven, and it changed everything for busy weeknights. This trick gives you juicy, evenly cooked meat without standing over a hot pan or dealing with grease splatters. I’ve made this dozens of times for meal prep, tacos, and pasta sauce, and it works every single time. Grab a sheet pan, and let’s get your ground beef in the oven right now.
Why I Cook Ground Beef in the Oven More Than on the Stove
I spent my first five years as a line cook at a 200-seat Italian restaurant. We went through 40 to 60 pounds of ground beef every service. Nobody cooked it on the stove.
The oven was faster, more consistent, and freed up every burner for sauces.
Home cooks almost never hear this method. They stand over a skillet, pushing meat around for 15 minutes, dealing with splatter. Meanwhile, the oven does the same job better with zero babysitting.
Here is the core difference: a stovetop skillet applies heat from one direction, the bottom. You get good browning on the contact surface, but the top of the meat steams in its own fat. The oven circulates heat on all sides. The fat renders down and away from the meat. The surface dries out slightly before it browns, which is exactly what you want for crumbled taco meat or meal-prep beef.
For batch cooking – making 3 to 5 pounds at once for the week – the oven has no competition. You cannot fit that much beef in a 12-inch skillet without turning it into a braised mess.
The Science of What Happens Inside the Oven
Ground beef is roughly 15 to 25 percent fat by weight, depending on the blend. When you put it in a hot oven, three things happen in sequence.
Fat rendering starts around 130°F. The fat cells break down and the fat liquefies, pooling at the bottom of the pan. This is normal and good. It means the meat is no longer frying in its own grease, which would cause steaming instead of browning.
Moisture loss follows quickly. Raw ground beef is about 65 percent water by weight (America’s Test Kitchen, 2023). As the internal temperature climbs past 140°F, that water vaporizes. This is why cooked ground beef weighs noticeably less than raw. A pound of 80/20 beef loses around 25 to 30 percent of its weight after cooking.
Browning – technically the Maillard reaction – happens on the surface once moisture evaporates from that surface. This is why you need heat above 300°F and why you should not crowd the pan. If the beef sits too thick, the steam from the inside keeps the surface wet and you get gray meat instead of browned meat. The Maillard reaction requires surface temperatures above 280°F and dry conditions (Serious Eats, 2022).
Oven Temperature and Time Reference Table
Use this table as your starting point. Times assume 1 to 1.5 pounds of 80/20 ground beef spread on a rimmed half-sheet pan.
| Oven Temp | Cook Time | Texture / Result | Best Use |
|---|---|---|---|
| 325°F | 40-50 min | Soft, moist, no crust | Casseroles, lasagna filling, stuffed peppers |
| 350°F | 33-38 min | Tender, lightly browned | Pasta sauce base, shepherd’s pie, chili prep |
| 375°F | 25-30 min | Evenly browned, slight crust | Taco meat, meal prep, general-purpose cooking |
| 400°F | 20-24 min | Crispier crumble, drier texture | Nachos, rice bowls, crumbled topping applications |
| 425°F | 15-20 min | Dark crust, very dry crumble | Crispy taco shells, pizza topping, loaded fries |
Stir once at the halfway point for 325°F to 375°F. Stir twice for 400°F and above – the higher heat browns the edges fast and you need to rotate them away from direct pan contact.
Always verify with a thermometer. 165°F internal temperature is the USDA minimum safe temperature for ground beef (USDA, 2024). Do not skip this step.
Fat Content: 80/20 vs. 90/10 vs. 70/30
The fat-to-lean ratio on the package matters more in the oven than on the stove. Here is why.
On the stove, you drain as you go. In the oven, the beef sits in its own rendered fat for the entire cook time until you drain it at the end. That means a 70/30 blend (30 percent fat) will be swimming in grease by the 20-minute mark, and the meat will be frying rather than roasting.
80/20 ground chuck is the standard for a reason. It has enough fat to stay moist and brown well, but not so much that grease management becomes a problem. America’s Test Kitchen named 80/20 chuck as the best all-purpose ground beef blend for both flavor and texture in stovetop and oven applications (America’s Test Kitchen, 2023).
90/10 lean ground beef dries out before it fully browns in the oven. By the time the surface has any color, the inside is already past 170°F and the texture is chalky. If you only have 90/10, drop your oven temperature to 350°F and pull it as soon as you hit 165°F – do not wait for browning.
70/30 beef works in low-temperature oven applications like meatloaf or casseroles where the fat absorbs into surrounding ingredients. At 375°F or above on a flat pan, you will have a quarter inch of grease on the pan by the time it is done. It is not unsafe – just messy and it produces a greasy final product.
My Step-by-Step Method for Oven-Baked Ground Beef
I have made this with 80/20 chuck hundreds of times. This is the exact method I use.
What You Need
- 1 to 3 pounds 80/20 ground beef
- Rimmed half-sheet pan (18 x 13 inches)
- Parchment paper or foil (optional, but it saves cleanup)
- Instant-read thermometer (ThermoWorks Thermapen or similar)
- Slotted spoon or fish spatula
- Heat-safe bowl for draining
Step 1: Preheat and Prep the Pan
Preheat your oven to 375°F. Line a rimmed half-sheet pan with foil if you want easy cleanup. Do not use parchment above 425°F – it burns.
Do not grease the pan. Ground beef has enough fat to prevent sticking. Adding oil creates a pool of extra grease you do not need.
Step 2: Spread the Beef Thin
Break the cold beef into rough chunks directly on the pan. Spread them out so no piece is thicker than 1 inch. Leave visible space between pieces.
Do not season yet. I will explain why in the next section.
For 1 pound of beef, use a half-sheet pan. For 2 to 3 pounds, use two pans or cook in batches. Crowding kills browning.
Step 3: Set the Rack in the Right Position
Middle rack for 325°F to 375°F. Upper-middle rack for 400°F and above. The higher position gets the surface closer to the broiler element and promotes better browning on the top of the crumbles.
This is the rack tip most home cook guides skip. It makes a real difference at high heat.
Step 4: Bake and Break Up Twice
Set a timer for half the total cook time. When it goes off, open the oven and use a spatula or slotted spoon to break up the meat into smaller pieces. Flip and rotate the chunks.
At three-quarters of the cook time, break it up again into the final crumble size you want. Smaller pieces brown faster. Larger pieces stay juicier. For tacos, I break small. For pasta sauce, I leave it coarser.
Step 5: Check the Temperature
At the end of the cook time, push a few pieces together and insert an instant-read thermometer into the thickest cluster. You need 165°F.
Per ThermoWorks, the most accurate reading comes from inserting the probe horizontally into the side of a meat cluster rather than poking straight down from the top (ThermoWorks, 2023). Straight-down readings often hit the pan and give a false high number.
Step 6: Drain the Fat
Tilt the pan carefully over a heat-safe bowl and spoon or pour the fat off. Do not pour it down the sink – it solidifies and clogs pipes. Let it cool in the bowl, then discard it in the trash.
Step 7: Season Now
Add your salt, garlic powder, cumin, or whatever the recipe calls for after draining. Toss the hot beef directly on the pan. The residual heat blooms the spices and the meat absorbs seasoning better when the fat layer is gone.
Why You Should Season After Baking, Not Before
This one gets pushback, but the food science backs it up.
Salt draws moisture out of meat through osmosis. On a short cook like this, that pulled moisture sits on the surface of the beef. In the oven, that extra surface moisture has to evaporate before browning can start. Translation: you delay the Maillard reaction and get grayer, less browned meat (Cook’s Illustrated, 2022).
The exception is if you salt the beef the night before and let it dry-brine in the fridge uncovered. That 12-plus hour window lets the moisture draw out, get reabsorbed with the salt, and leaves the surface dry by cook time. This actually improves browning. But most people are cooking ground beef the same day they buy it, so the practical advice is: season after.
Cooking Frozen Ground Beef in the Oven
Yes, you can cook ground beef straight from frozen. I do this when I forget to thaw.
Start at 325°F. The lower temperature gives the outside time to thaw and cook before it burns while the center is still frozen. Add 15 to 20 minutes to your total cook time.
At the 20-minute mark, the outside will be thawed and partially cooked. Pull it out, break it up with a spatula to expose the still-frozen center, and raise the oven to 375°F. From that point, treat it like fresh beef and cook until 165°F.
Do not try to cook frozen beef at 400°F or above. The outside chars before the inside reaches a safe temperature.
Draining Fat Safely
Pour off the liquid fat while it is still hot and liquid – it is much easier than waiting for it to cool and solidify on the pan.
Use a spoon to hold back the meat, tilt the pan, and let the fat run into a heat-safe bowl or a large measuring cup. The rendering from 1 pound of 80/20 beef is usually 2 to 4 tablespoons of liquid fat.
Once it cools and solidifies in the bowl, scoop it into the trash. You can also save beef fat (tallow) in a sealed jar in the fridge for up to a month. It is excellent for roasting vegetables or frying eggs – it has a high smoke point of around 400°F (Serious Eats, 2021).
Common Mistakes and How to Fix Them
Overcrowding the pan. This is mistake number one. When beef is piled too thick or packed too close, the steam from the meat has nowhere to go. It creates a humid microenvironment on the pan surface and the beef braises instead of roasts. Fix: use a larger pan or cook in two batches.
Not breaking up the meat. If you put a 1-pound log of ground beef in the oven and just leave it, you will get a large gray patty. Break it into rough 1-inch chunks before it goes in, and break it further at the halfway and three-quarter marks.
Wrong rack position. Cooking on the bottom rack at high heat burns the bottom of the beef while the top stays pale. Move to the middle or upper-middle rack.
Skipping the thermometer. Visual cues alone are not reliable for ground beef. A study by the USDA found that around 25 percent of ground beef patties turn brown before reaching a safe internal temperature (USDA, 2022). Brown outside does not mean safe inside. Use a thermometer every time.
Seasoning before baking. Covered above – salt delays browning. Season after you drain the fat.
Using too lean a blend at high heat. 90/10 beef at 400°F is a recipe for dry, chalky crumbles. Drop the temperature or use a fattier blend.
My Personal Batch-Cooking Method
Every Sunday I cook 3 pounds of 80/20 ground beef using two half-sheet pans at once. Here is my exact routine.
Both pans go into a 375°F oven on the middle and upper-middle racks simultaneously. I swap their positions at the 15-minute mark to account for the hot spot in my oven (every oven has one – usually at the back). I break up the beef at 15 minutes and again at 22 minutes. Both pans are done between 27 and 30 minutes.
I drain into two separate bowls, season with salt, black pepper, and garlic powder, then divide the beef into three containers. Each container holds about 12 to 14 ounces of cooked beef – enough for two meals.
Total active time: about 10 minutes. Hands-off oven time: 27 to 30 minutes.
Three pounds of raw 80/20 beef yields around 2 to 2.2 pounds of cooked, drained beef. Plan around that weight loss when portioning for recipes.
Frequently Asked Questions About Cooking Ground Beef in the Oven
What temperature should I cook ground beef in the oven?
375°F is the best all-purpose temperature. It produces even browning without drying the meat out too fast. Use 325°F to 350°F for casseroles or dishes where you want softer, moister beef. Use 400°F to 425°F when you want a crispier, drier crumble for tacos or nachos.
How long does it take to cook ground beef in the oven?
At 375°F, 1 to 1.5 pounds of 80/20 ground beef spread on a sheet pan takes 25 to 30 minutes. Thinner layers cook faster. Thicker piles take longer. Always confirm with a thermometer – you need 165°F internal temperature regardless of time.
Do I need to flip ground beef in the oven?
You do not flip it like a burger, but you do need to break it up and stir it. Do this at the halfway point and again at three-quarters of the cook time. This exposes all sides to heat and prevents large dense clumps.
Can I cook ground beef in the oven without a rack?
Yes. Directly on a foil- or parchment-lined sheet pan is the standard method. A rack elevates the meat slightly and lets fat drip underneath, which can produce a drier crumble – useful for applications like crispy taco meat. For most uses, the flat pan method is simpler and produces a good result.
Why is my oven-baked ground beef gray instead of brown?
The most common reason is overcrowding. If the beef pieces are too close together, steam from the meat prevents the Maillard reaction from happening. Spread the meat thinner, use a bigger pan, and make sure your oven is fully preheated before the pan goes in.
Is it safe to cook ground beef from frozen in the oven?
Yes. Start at 325°F, add 15 to 20 minutes to the cook time, and break up the meat at the 20-minute mark once the outside thaws. Finish at 375°F until you reach 165°F internal temperature. Do not cook frozen ground beef at 400°F or above.
How do I store and reheat oven-baked ground beef?
Store cooked, cooled ground beef in a sealed container in the fridge for up to 4 days (USDA, 2024). Reheat in a skillet over medium heat with a tablespoon of water to prevent drying, or microwave covered at 50 percent power for 90 seconds per cup. Frozen cooked beef keeps for up to 3 months.
Can I cook ground turkey the same way?
The method is the same, but the safe internal temperatures differ. Ground turkey need to reach 165°F (USDA, 2024). Ground turkey is leaner than most beef blends, so drop to 350°F to avoid drying it out.
Key Takeaways
- Spread beef thin on a rimmed sheet pan, middle to upper-middle rack, at 375°F for 25 to 30 minutes.
- Break up the meat twice during cooking: at the halfway point and at three-quarters of cook time.
- The only reliable doneness check is a thermometer reading 165°F internal temperature.
- 80/20 ground chuck is the right fat ratio for oven cooking – leaner blends dry out, fattier blends create too much grease.
- Season with salt and spices after draining fat, not before baking.
- Batch cooking 2 to 3 pounds at once on two sheet pans is the most efficient use of the oven method.
- Frozen ground beef works fine in the oven – start low at 325°F and finish at 375°F after breaking up the thawed exterior.

I’m Mossaraof, a trained chef and the founder of OvenInsights.com. I spent years cooking at Larrupin’ Cafe and in kitchens across Chicago and Seattle. Now I test kitchen gear for a living. I moved to North Acton, London, and I test every tool I write about. I use real meals and real heat. No brand deals. No shortcuts. I cover 12 kitchen types and hundreds of recipes. I believe this: the right tools matter as much as the recipe.




