
At A Glance
- Cook beef brisket in the oven at 275°F for the best results – plan for 1 hour to 1 hour 15 minutes per pound.
- Pull the brisket off heat when the internal temperature hits 195°F-205°F, not before.
- Always wrap the brisket in foil after the first 3-4 hours to push through the temperature stall.
- Rest the finished brisket for at least 1 hour before slicing – this step matters more than most people think.
- Slice against the grain, and if you’re cooking a whole packer brisket, separate the flat and the point before slicing each one.
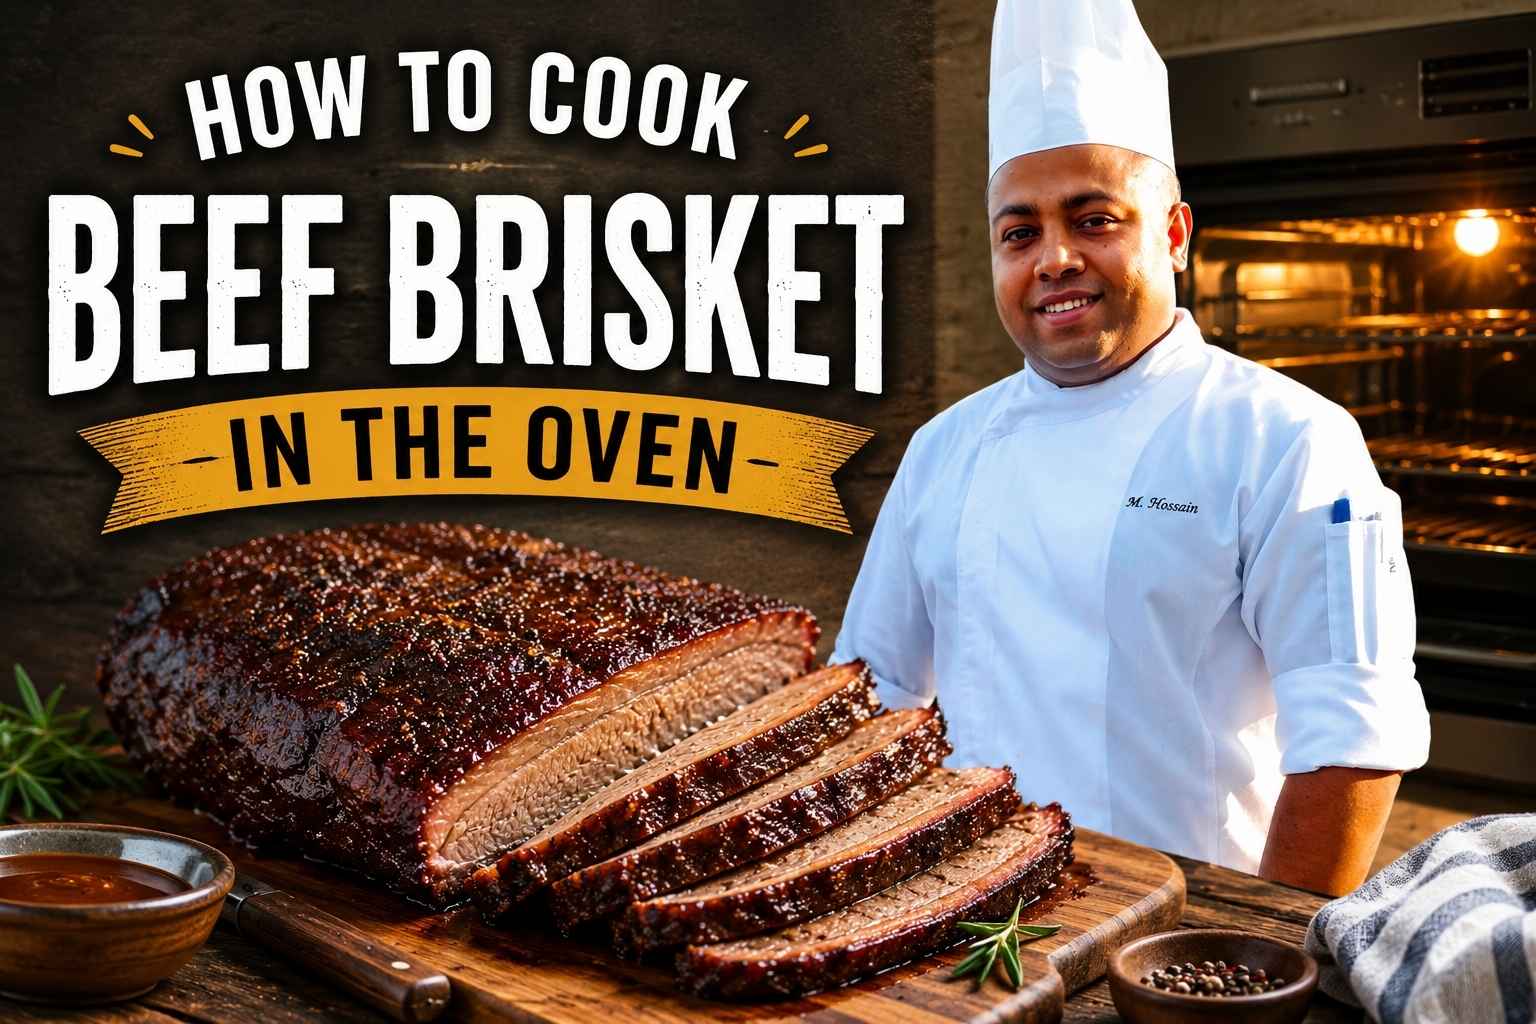
I still remember the first time I tried How to Cook Beef Brisket in the Oven. I worried the meat would turn out dry or tough. But after a few simple changes, I pulled out a brisket that was juicy, tender, and full of rich flavor.
Since then, I have tested different cooking times, temperatures, and seasoning blends to find what works best. In this guide, I will show you each step in a simple way. You will learn how to make oven-baked beef brisket that stays moist, slices easily, and tastes like it cooked all day. Let’s get started and make your best brisket yet.
What Makes Brisket Tough – and How the Oven Fixes It
Brisket is one of the hardest-working muscles on a cow. It supports roughly 60% of the animal’s body weight (Texas A&M AgriLife Extension, 2022), which means it builds up a lot of connective tissue over the animal’s lifetime. That connective tissue is mostly collagen – a protein that, when cooked incorrectly, stays rubbery and chewy. When you cook it correctly, collagen converts into gelatin, which is what gives properly cooked brisket that tender, almost silky texture that pulls apart without a fight.
The conversion from collagen to gelatin happens between 160°F and 180°F internal temperature. But here’s the thing – it doesn’t happen fast. The longer the brisket holds at that temperature range, the more thorough the conversion. That’s why low-and-slow cooking wins every time. High heat tightens muscle fibers before the collagen has time to break down, and you end up with meat that’s simultaneously overcooked and tough.
I’ve cooked brisket at 350°F exactly once in my career, during a rush job for a hotel buffet. I’ll never do it again. The result was a $200 cut of meat that tasted like a dry boot.
How to Choose the Right Brisket
Buy Choice grade or higher. Select grade brisket can work, but the lower fat content means less margin for error. Prime grade is ideal – the extra marbling insulates the meat and adds flavor. (USDA Agricultural Marketing Service, 2024).
A whole packer brisket includes two muscles joined together: the flat (also called the “first cut”) and the point (also called the “second cut” or “deckle”). The flat is lean and uniform. The point is fatty and thicker. For home oven cooking, I usually buy a whole packer brisket between 10 and 14 pounds. That size fits in most home ovens and gives you enough fat to keep the meat moist through the long cook.
If you can only find a flat, buy one that’s at least 4 inches thick at the thicker end. Thin flats dry out before the collagen has time to break down.
How to Trim and Season Brisket Before Cooking
Trim the fat cap – the thick layer of hard fat on one side – down to about 1/4 inch. Not less. That fat cap protects the meat from the oven’s direct heat and renders down during cooking, basting the meat from the outside.
Don’t trim it all off. I see this mistake constantly. People are afraid of fat, so they shave the cap down to almost nothing, then wonder why their brisket is dry.
Dry Rub vs. Marinade
I use a dry rub. Marinades don’t penetrate more than a few millimeters into dense beef muscle (The Food Lab, J. Kenji López-Alt, 2015), so you’re mostly coating the surface anyway. A rub builds better bark – the firm, flavorful crust that forms on the outside of the meat during cooking.
My base rub is simple: equal parts kosher salt and coarse black pepper by weight, plus a small amount of garlic powder. That’s it. You’re not trying to disguise the meat. You’re trying to season it.
Apply the rub, wrap the brisket in plastic wrap, and refrigerate for at least 12 hours, ideally 24. The salt draws out a small amount of surface moisture, then gets reabsorbed, taking the seasoning with it (Serious Eats, 2023). Pull the brisket out of the fridge 1 hour before it goes into the oven so the surface temperature rises a little before cooking begins.
Oven Temperature Guide: Why 275°F Is the Sweet Spot
Cook brisket between 275°F and 300°F. Here’s what happens outside that range:
Below 250°F, the cook time balloons to 14+ hours and the collagen conversion stalls. Above 325°F, the exterior dries out before the interior reaches temperature. 275°F hits the balance point – hot enough to move things along, gentle enough to let the collagen do its job.
Brisket Cook Time by Weight and Temperature
| Brisket Weight | At 275°F | At 300°F | At 325°F | Target Internal Temp |
|---|---|---|---|---|
| 4-5 lbs (flat) | 5-6 hours | 4-5 hours | 3.5-4 hours | 195°F-205°F |
| 6-8 lbs | 7-9 hours | 6-8 hours | 5-6 hours | 195°F-205°F |
| 10-12 lbs | 11-14 hours | 9-12 hours | 8-10 hours | 195°F-205°F |
| 13-15 lbs | 13-16 hours | 11-14 hours | 9-12 hours | 195°F-205°F |
Note: These are estimates. Always cook to temperature, not to time. Every brisket is different.
At 325°F, the brisket cooks faster but you lose some of the texture benefits. Use 325°F only if you’re short on time and you commit to wrapping tightly in foil early.
Step-by-Step Oven Brisket Method
Step 1: Sear the Brisket (Optional but Recommended)
Preheat a large cast iron skillet or roasting pan over high heat with a thin layer of neutral oil. Sear the brisket fat-cap-down for 4-5 minutes until the fat cap is golden brown, then flip and sear the lean side for 3-4 minutes.
This step is optional. America’s Test Kitchen (2021) found searing added detectable flavor in blind tastings but didn’t change texture. I do it because I want the fond (browned bits) in the roasting pan to add flavor to the braising liquid.
Step 2: Set Up the Roasting Pan
Place the brisket fat-cap-up in a heavy roasting pan. Add 1 cup of beef stock or water to the bottom of the pan. Some cooks add onions, garlic, and Worcestershire sauce here. I keep it simple – water works fine at this stage.
Fat-cap-up means the rendered fat runs down through the meat as it cooks. Fat-cap-down means the fat protects the bottom from direct oven heat. Both work. I prefer fat-cap-up.
Step 3: First Phase – Uncovered at 275°F (3-4 Hours)
Cook the brisket uncovered for the first 3-4 hours. This is where the exterior begins to firm up and the rub sets. Don’t open the oven repeatedly – you lose heat and add time every time you do.
Step 4: Wrap in Foil – the Texas Crutch
After 3-4 hours, wrap the brisket tightly in two layers of heavy-duty aluminum foil. Add 1/4 cup of beef stock, apple cider, or beef tallow inside the foil before sealing. This is called the Texas Crutch – it traps steam, speeds up the cook, and pushes the brisket through the temperature stall (more on that below).
Wrap tightly. Any gaps let steam escape and you lose the benefit.
Step 5: Continue Cooking Until 195°F-205°F
Return the wrapped brisket to the oven and continue cooking until the internal temperature hits 195°F-205°F. Use a probe thermometer – an instant-read thermometer works but you’ll need to open the oven repeatedly to check. A leave-in probe with an external display is worth the $30 investment for a cook this long.
Check the temperature in the thickest part of the flat. The point runs slightly hotter. If the flat reads 195°F, the point is probably at 200°F-205°F, which is fine.
Step 6: The Probe Test
Temperature is a guide, but the probe test is the final check. Insert your thermometer probe into the thickest part of the flat. It should slide in with almost no resistance – like pushing into room-temperature butter. If you feel any tension or resistance, the brisket needs more time even if the temperature reads 195°F.
I’ve had briskets that probe-tender at 190°F and others that needed to hit 207°F. Trust the probe, not the number.
The Temperature Stall – What It Is and How to Beat It
Around 150°F-165°F internal temperature, the brisket temperature stops rising – sometimes for 2-4 hours. This is the stall. It happens because surface moisture evaporates and cools the meat at the same rate the oven heats it (Meathead Goldwyn, AmazingRibs.com, 2022).
If you’re not expecting it, the stall is alarming. You check the thermometer after 7 hours and it reads 158°F. You check again an hour later – still 158°F. The brisket is fine. Just wait.
Wrapping in foil (Step 4) eliminates the stall by stopping evaporative cooling. That’s the main reason to use the Texas Crutch. If you want more bark, skip the foil and let the stall work itself out. Your cook will take 2-3 hours longer.
How to Rest Brisket and Why It Matters
Rest the brisket for at least 1 hour before slicing, and up to 3-4 hours if your timing allows. Keep it wrapped in foil and wrap that in a thick towel. Place it in a cooler (no ice). The internal temperature will stay above 150°F for 3-4 hours this way (America’s Test Kitchen, 2021).
During the rest, the muscle fibers relax and reabsorb the juices that moved toward the center during cooking. Slice too early and those juices pour out onto your cutting board instead of staying in the meat.
I once sliced a brisket at a catering event with only a 15-minute rest because the client was impatient. The meat tasted fine but the cutting board looked like a crime scene. Not my proudest moment.
Minimum rest time by brisket size:
- Under 6 lbs: 45 minutes minimum
- 6-10 lbs: 1 hour minimum
- Over 10 lbs: 1.5-2 hours minimum
Gas vs. Electric Oven: What Changes for Brisket
Gas ovens produce more moisture because combustion creates water vapor as a byproduct. They also cycle on and off more aggressively to hold temperature, which creates hot spots. Rotate your pan 180° at the halfway point.
Electric ovens hold more consistent temperatures, which is better for a low-and-slow cook. They’re drier than gas ovens, so add a small pan of water on the lower rack to introduce some humidity.
Convection ovens speed up cooking by about 25% because the fan circulates hot air. Reduce the temperature by 25°F if using convection – so 275°F becomes 250°F. The brisket will cook faster but the timing estimates above still work if you go by temperature.
How to Slice Brisket the Right Way
Always slice against the grain. The grain is the direction the muscle fibers run. Cutting against the grain shortens those fibers, which makes each bite easier to chew. Cutting with the grain gives you long, stringy fibers that are harder to eat even when the collagen is fully converted.
On the flat, the grain runs in a fairly straight line from one end to the other. On the point, the grain changes direction. That’s why I separate the two muscles before slicing.
How to Slice a Whole Packer Brisket
- Let the rested brisket sit fat-cap-up on your cutting board.
- Find where the flat and point meet – there’s a visible fat seam between them.
- Slice through that seam to separate the two muscles.
- Rotate the point 90° so the grain runs perpendicular to your knife.
- Slice both muscles against their respective grains into 1/4-inch slices.
Target slice thickness is 1/4 inch – about the width of a standard pencil. Thinner and the slices fall apart. Thicker and the chew increases.
How to Reheat Brisket Without Drying It Out
The best way to reheat brisket is to add liquid and go low. Place sliced or whole brisket in a baking dish, add 1/4 cup of beef stock or the juices collected during resting, cover tightly with foil, and heat at 275°F until the internal temperature hits 165°F (USDA Food Safety Guidelines, 2023).
For sliced brisket, this takes about 20-30 minutes. For a whole foil-wrapped leftover piece, plan for 45-60 minutes.
Do not microwave brisket unless you have no other option. Microwaves heat unevenly and dry out the surface of the meat.
Leftover brisket also works well cold, sliced thin for sandwiches. Store tightly wrapped in the fridge for up to 4 days, or freeze for up to 3 months.
My Personal Brisket Routine – What I Actually Do
I use a 12-pound whole packer brisket, Choice grade minimum, trimmed to 1/4-inch fat cap. Twenty-four hours before cooking, I apply a 50/50 salt-and-pepper rub by weight – about 1 tablespoon of each per 5 pounds of meat – and refrigerate uncovered for the first 12 hours (to dry the surface), then covered for the last 12.
I pull it from the fridge 1 hour before cooking. Oven at 275°F, fat-cap-up in a heavy roasting pan with 1 cup of water in the bottom.
I don’t sear on weekends when I’m cooking for family. I sear at events where presentation matters.
After 3 hours, I check the color of the exterior. When it’s a deep mahogany with a firm surface, I wrap tightly in two layers of heavy foil with 1/4 cup of beef tallow I keep in the freezer. Back in the oven.
I pull the brisket when the probe slides in with no resistance, usually between 198°F and 202°F. That typically happens 10-12 hours after I started. I wrap in a towel and put it in a cooler for 2 hours minimum, 3 hours if I can manage it.
I’ve cooked brisket at high altitude (Denver, at 5,280 feet) and it takes about 10-15% longer because water boils at a lower temperature and evaporative cooling is more aggressive. If you’re above 5,000 feet, add 1-2 hours to your estimate and go by probe feel, not temperature.
Common Brisket Mistakes and How to Fix Them
Mistake 1: Cooking at too high a temperature. Anything above 325°F shortens cook time by tightening muscle fibers before collagen conversion completes. You get meat that’s done on the outside and tough in the middle. Fix: Drop to 275°F and extend the cook time.
Mistake 2: Skipping the rest. Slicing right out of the oven pours the internal juices onto your cutting board. Fix: Rest for at least 1 hour wrapped in foil, and use a cooler if you need to hold it longer.
Mistake 3: Cutting with the grain. This is the most common slicing error and it ruins otherwise well-cooked brisket. Fix: Always identify the grain direction before the first cut. Look for the visible muscle fiber lines and cut perpendicular to them.
Mistake 4: Buying a thin flat. Thin flats (under 3 inches at their thickest point) dry out before the collagen converts. Fix: Buy a whole packer brisket or a flat that’s at least 4 inches thick.
Mistake 5: Ignoring the stall. Panicking at the stall and cranking the oven to 350°F shortens the stall but ruins the texture. Fix: Wrap in foil to push through it, or wait it out.
Mistake 6: Skipping the altitude adjustment. At elevations above 5,000 feet, evaporative cooling is stronger and cook times run longer. Fix: Add 10-15% to your estimated cook time and rely on the probe test rather than temperature alone.
Mistake 7: Over-trimming the fat cap. A fat cap trimmed to less than 1/8 inch provides almost no protection for the underlying meat. Fix: Leave 1/4 inch of fat cap on the brisket before cooking.
Frequently Asked Questions About Cooking Beef Brisket in the Oven
What is the best oven temperature for beef brisket?
275°F is the best temperature for cooking beef brisket in the oven. At this temperature, the collagen in the meat has time to convert to gelatin while the exterior builds a firm, flavorful crust. Temperatures above 325°F tighten the muscle fibers too quickly, producing tough, dry meat even if the internal temperature reaches the target.
How long does it take to cook brisket in the oven at 275°F?
Plan for 1 hour to 1 hour and 15 minutes per pound at 275°F. A 10-pound brisket takes 10-12 hours. These are estimates – always cook to internal temperature (195°F-205°F) and confirm doneness with the probe test (the thermometer should slide in with no resistance).
What internal temperature should brisket reach?
Pull brisket from the oven when the internal temperature hits 195°F-205°F in the thickest part of the flat. Temperature alone is not enough – also check that the probe slides in with no resistance. Some briskets need to hit 207°F before they probe tender; others are done at 190°F.
Do I need to add liquid when cooking brisket in the oven?
Yes. Add 1 cup of beef stock or water to the bottom of the roasting pan before cooking. When you wrap the brisket in foil halfway through, add another 1/4 cup of liquid inside the foil packet. The liquid prevents scorching and creates steam that helps the collagen convert.
Should I cover brisket with foil the whole time?
No. Cook uncovered for the first 3-4 hours to build the exterior crust (called bark), then wrap tightly in foil for the rest of the cook. Covering from the start prevents bark formation and produces soft, steamed meat without much exterior texture.
What is the difference between brisket flat and brisket point?
The flat (first cut) is a leaner, thinner muscle with a uniform shape. It slices cleanly and is what you typically see in deli-style brisket. The point (second cut or deckle) is a fattier, thicker muscle layered on top of the flat. The point is more forgiving during cooking and is usually used for burnt ends. On a whole packer brisket, both muscles are attached.
How do I know when brisket is done without a thermometer?
Use the fork test: insert a fork into the thickest part of the flat and twist. If the meat resists and doesn’t twist apart easily, it needs more time. If the fork twists through with very little effort, the brisket is done. This is a rough method – a probe thermometer is a better tool for a $150+ cut of meat.
Can I cook brisket in the oven overnight?
Yes, with a few safety measures. Set the oven to 250°F – lower than the recommended 275°F to account for the longer, unsupervised cook. Use a leave-in probe thermometer with an alarm set to 200°F so the brisket doesn’t overcook while you sleep. Make sure the roasting pan has enough liquid in it before you go to bed, and wrap tightly in foil. Overnight cooking works well for large whole packer briskets (12+ pounds) that need 12-14 hours at 275°F anyway.
Key Takeaways
- Cook brisket at 275°F for the most reliable results – it’s the balance point between cook speed and collagen conversion.
- Plan for 1 to 1.25 hours per pound, but always cook to temperature and use the probe test to confirm doneness.
- Wrap in heavy-duty foil after 3-4 hours to push through the temperature stall and retain moisture.
- Pull the brisket between 195°F and 205°F, confirm with the probe test, then rest for at least 1 hour before slicing.
- Always slice against the grain – on a whole packer brisket, separate the flat and point first since their grain directions differ.
- Fat cap thickness matters: trim to 1/4 inch, not less, to protect the meat during the long cook.
- At elevations above 5,000 feet, add 10-15% to your estimated cook time and rely on the probe test over temperature.

I’m Mossaraof, a trained chef and the founder of OvenInsights.com. I spent years cooking at Larrupin’ Cafe and in kitchens across Chicago and Seattle. Now I test kitchen gear for a living. I moved to North Acton, London, and I test every tool I write about. I use real meals and real heat. No brand deals. No shortcuts. I cover 12 kitchen types and hundreds of recipes. I believe this: the right tools matter as much as the recipe.




