
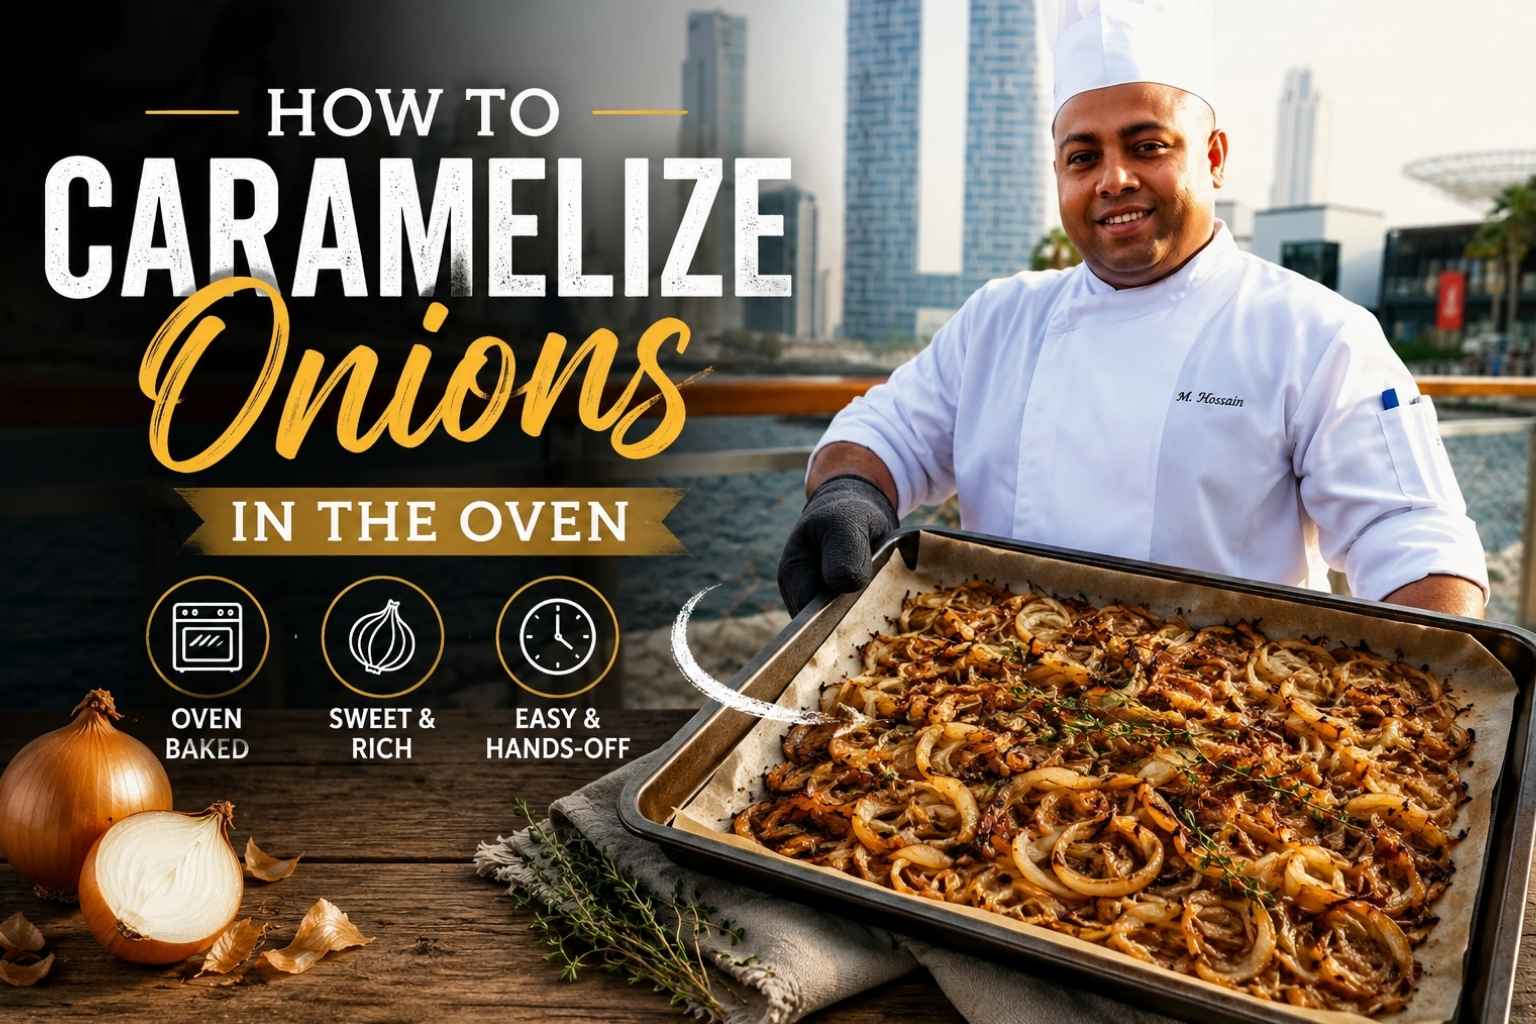
At A Glance
- The oven caramelizes onions more evenly than the stovetop because heat surrounds the pan from all sides – no hot spots, no babysitting.
- 325°F-350°F for 60-90 minutes is the sweet spot for deep color and jammy texture without burning.
- Yellow onions are the best all-purpose choice; sweet onions (Vidalia) go faster due to higher sugar content.
- Use a wide, heavy-bottomed pan with a lid for the first 30 minutes, then uncover to drive off moisture and build color.
- Finished caramelized onions keep in the fridge for 7 days and in the freezer for 3 months.
Stovetop onions used to beat me every time. I’d walk away for one minute, and they’d go from raw to burnt with nothing sweet in between. That’s when I found how to caramelize onions in the oven — and it felt like a cheat code. No babysitting. No burnt bits. Just soft, golden, deeply sweet onions every single time. Stick with me, and I’ll show you exactly how I do it.
What Caramelization Actually Is – The Science Behind the Color
Caramelization is the thermal breakdown of sugars. When onion temperature hits around 320°F (160°C), sucrose molecules begin splitting into glucose and fructose, then recombining into hundreds of new flavor compounds. The result is that deep amber color and complex, sweet-savory taste.
But caramelization is not the Maillard reaction – and this distinction matters in the kitchen. The Maillard reaction involves proteins and sugars reacting together, producing browned, savory flavors (think seared steak or toasted bread). Both reactions happen when you caramelize onions. The sugars brown first, then the amino acids in the onion join the party. That’s why properly done caramelized onions taste both sweet and deeply savory at the same time. (The Food Lab, J. Kenji López-Alt, 2015)
The stovetop method fights you because heat comes from one direction – up through the pan bottom. One side of each onion gets more heat than the other. You spend 45 minutes stirring every 3-4 minutes or watching bits scorch on the bottom while the top stays pale.
The oven fixes this. Ambient heat surrounds the pan, the temperature stays controlled, and you can walk away. I’ve been doing it this way for large restaurant batches since 2014, and I’ll never go back to stovetop for anything over two pounds of onions.
The Best Onion Varieties for Caramelizing
Yellow onions are the right choice for most cooks. They have a balanced sugar-to-sulfur ratio that produces complex, savory-sweet flavor when cooked down. They’re also cheap and widely available. I use yellow onions for 90% of my caramelized onion work.
Sweet onions (Vidalia, Walla Walla, Maui) caramelize faster because they already have higher sugar content and less sulfur. They’re great in a time crunch but produce a slightly one-dimensional sweetness without as much depth. If you want the full savory complexity, yellow onions win.
Red onions caramelize well but lose their color – the purple turns brownish and can look muddy. I use them when I want a slightly more acidic finish or when the purplish color matters (like a flatbread topping pulled out before full caramelization).
White onions have lower sugar content and don’t produce much color or depth. They work but require longer cooking and produce a less interesting result. Skip them if you have a choice.
Avoid sweet pearl onions for this method – their shape doesn’t break down the same way, and you’ll end up with something closer to braised onions than the jammy, spreadable result you want.
Quick-Reference Temperature Guide
| Oven Temp | Time | Expected Result | Best For |
|---|---|---|---|
| 300°F (149°C) | 90-120 min | Very deep amber, extra-jammy | Stocks, dips, maximum depth of flavor |
| 325°F (163°C) | 75-90 min | Deep amber, classic caramelized texture | French onion soup, pizza, pasta |
| 350°F (177°C) | 60-75 min | Medium amber, slightly more body | Burgers, sandwiches, general use |
| 375°F (191°C) | 45-60 min | Light-medium amber, some texture remains | Quick batches, mix-ins |
| 400-425°F (204-218°C) | 30-45 min | Patchy color, higher risk of burning | Only with constant monitoring |
My default: 325°F for 80 minutes. It hits the sweet spot between depth of flavor and time investment.
Step-by-Step Oven Method
What You Need Before You Start
- 3-4 pounds of yellow onions (they shrink by 75%, so start with more than you think)
- A wide, heavy-bottomed oven-safe pan – a 12-inch cast iron skillet or a 3-quart braiser works best
- 2 tablespoons unsalted butter plus 1 tablespoon olive oil
- 1 teaspoon kosher salt
- Optional: 1 teaspoon balsamic vinegar or a splash of dry sherry, added in the last 10 minutes
Step 1: Slice the Onions
Peel and halve your onions from root to stem. Then slice them into half-moons about ¼ inch thick – not paper thin, not thick. Too thin and they disintegrate before they color. Too thick and the texture stays chunky.
I slice with the grain (root to stem) rather than against it. Slicing with the grain keeps longer strands intact so the onions hold some structure through the cook. America’s Test Kitchen recommends this approach specifically for caramelizing, noting it produces a more even final texture (America’s Test Kitchen, 2023).
Step 2: Choose Your Fat
Use a combination of butter and olive oil. Butter alone burns at oven temperatures above 300°F unless you’re careful – the milk solids scorch. Olive oil alone works but lacks the richness that butter adds. Together, the oil raises the smoke point and the butter adds flavor.
For a richer, restaurant-style result, use clarified butter or ghee. No milk solids means no burning risk, and the flavor is cleaner and deeper.
Step 3: Start on the Stovetop
Here’s the one step that separates good oven caramelized onions from great ones: start the pan on the stovetop over medium heat.
Add your fat to the pan, then add all the sliced onions. Yes, they’ll pile up and look impossible. Toss with your salt. Cook on medium for about 8-10 minutes, stirring occasionally, until the onions have wilted by about half and released most of their water.
This jump-start does two things. It drives off the initial water content fast, and it gets the onions hot so the oven work starts immediately rather than spending 20 minutes just getting things warm.
Step 4: Cover and Into the Oven
Transfer the pan to a 325°F oven – preheated and confirmed with an oven thermometer (more on why in a moment). Cover the pan with a lid or tight foil.
The covered phase is critical. Steam from the onion moisture creates a humid environment that softens the onions evenly without burning. This is the “sweat” phase – the onions are cooking through, not browning yet.
Leave them covered for 30 minutes.
Step 5: Uncover and Build Color
After 30 minutes, remove the lid. The onions will look pale, soft, and slightly wet. This is exactly right.
Leave the pan uncovered and let the oven work. Check and stir every 15-20 minutes. You’re looking for moisture to evaporate, the onions to start sticking slightly to the pan, and color to build from the bottom up.
At the 60-minute mark (from when you put them in the oven), you should see golden color. At 80 minutes, deep amber. At 90+, very dark amber with a jam-like consistency.
Do not rush this phase. Adding heat above 375°F at this point will burn the pan drippings before the onions color evenly.
Step 6: Finish and Deglaze (Optional)
Once the onions hit your target color, pull them from the oven. If the pan has brown fond on the bottom, add a splash of water, dry sherry, or balsamic vinegar and stir it in on the stovetop over low heat. This lifts all that concentrated flavor back into the onions.
Taste and adjust salt. That’s it.
How Oven Type Changes Your Results
Gas vs. Electric
Gas ovens run slightly moister because combustion produces water vapor. This is a small effect but worth knowing – your onions may take 5-10 minutes longer to dry out and color.
Electric ovens run drier and hotter at the element level. They tend to produce more even results for this method.
Convection vs. Conventional
Convection (fan-on) circulates hot air, which accelerates moisture evaporation. For the uncovered phase, convection can cut your time by 15-20%. Use it. But during the covered phase, it makes no difference.
If using convection, reduce your oven temperature by 25°F. So 325°F conventional becomes 300°F convection.
Conventional ovens have hotter top and bottom elements and cooler centers. Place your pan on the middle rack to stay away from the bottom element, which can scorch the pan base faster than the rest of the oven catches up.
Common Mistakes and How to Fix Them
Burning instead of browning: Your oven is too hot or you skipped the covered phase. Burnt onions have a bitter edge that you can’t fix. Start over. Next time, use an oven thermometer – most residential ovens run 25-50°F hotter than the dial says (Serious Eats, 2022).
Steaming instead of browning: The pan is overcrowded, or you didn’t uncover the pan long enough. After uncovering, the onions need open-air time to lose moisture. If they’re swimming in liquid after 20 minutes uncovered, raise the oven temp by 25°F and give them more time.
Uneven coloring: You’re not stirring often enough during the uncovered phase, or your pan has thin walls with hot spots. A cast iron skillet or enameled Dutch oven distributes heat far better than a thin stainless pan.
Mushy, structureless result: The onions were sliced too thin (under 3mm), or you overcooked them. For the best texture, aim for ¼-inch slices minimum.
Taking too long: You skipped the stovetop step. Starting cold onions in a cold pan in the oven adds 20-30 minutes to the process. Always wilt them on the stovetop first.
How to Know When They’re Truly Done
Color, texture, smell, and taste – use all four.
Color is your first cue. You want deep amber, the color of a dark ale. Not golden (undercooked), not black (burnt). The onions should be uniformly colored, not patchy.
Texture should be completely soft, almost spreadable, with a slightly sticky, jammy quality. Hold a strand up – it should drape, not break.
Smell shifts from sharp and sulfurous to sweet and savory as the reaction progresses. Truly done caramelized onions smell like onion-flavored caramel – rich, complex, faintly sweet. If they still smell like raw onion in the steam, they need more time.
Taste is the final check. They should be sweet up front and savory on the finish, with no sharp or astringent bite. If there’s still a raw edge, cook another 10 minutes.
A common mistake is pulling them too early. Professional kitchens aim for onions that have reduced to about 25% of their original volume. Home cooks often stop at 40-50%, thinking they’re done. They’re not.
Storage, Freezing, and How to Use Them
Storage
Caramelized onions keep well in the fridge in a sealed container for 7 days. They actually improve on day 2 and 3 as the flavors deepen further.
For longer storage, freeze them. Spread flat in a zip-lock bag or use an ice cube tray to freeze in tablespoon-sized portions. They keep for 3 months and thaw in minutes in a warm pan. I always have a bag in the freezer. (Bon Appétit, 2024)
Uses
- French onion soup – the single best use; the recipe is only as good as your onions
- Pizza and flatbread – pair with goat cheese, arugula, or prosciutto
- Burgers and sandwiches – a tablespoon does more than any condiment
- Pasta – stir into bucatini with anchovies, capers, and Parmesan
- Tarts and quiches – the sweet-savory contrast works perfectly with eggs and cheese
- Dips – blend into cream cheese or sour cream for an instant French onion dip
- Grain bowls and salads – add depth to anything that needs a savory backbone
My Go-To Oven Caramelization Routine
Here’s exactly how I do it, every time, at home and at work:
I use a 12-inch cast iron skillet and 3.5 pounds of yellow onions, sliced ¼ inch with the grain. I melt 1.5 tablespoons of unsalted butter with 1 tablespoon of olive oil in the skillet over medium heat on the stovetop. In go the onions with 1 teaspoon of kosher salt. I stir occasionally for 10 minutes until they’re wilted.
I cover the skillet tightly with foil (cast iron lids tend to be heavy and trap too much steam), slide it into a 325°F oven, and leave it for 30 minutes. Then off comes the foil, back in, uncovered.
I check at 45 minutes, 60 minutes, and 75 minutes, giving a stir each time. At 80 minutes, they’re usually done – deep amber, spreadable, barely holding their shape. I pull the pan, add a splash of dry sherry off the heat, stir until absorbed, and taste for salt.
That’s it. No restaurant tricks, no special equipment beyond the cast iron. Just patience and the right temperature.
Frequently Asked Questions About Oven Caramelized Onions
What temperature is best for caramelizing onions in the oven?
325°F (163°C) is the best temperature for most home cooks. It produces deep, even color in 75-90 minutes without the risk of burning. Lower temperatures (300°F) give a more intense, jammy result but take up to 2 hours. Higher temperatures (400°F+) speed things up but require constant monitoring and increase the risk of burning.
How long does it take to caramelize onions in the oven?
Expect 60-90 minutes at 325°F-350°F, plus a 10-minute stovetop start. The total hands-on time is about 15 minutes – the oven does the rest. The exact time depends on onion variety, moisture content, pan material, and oven calibration. Check by color and texture rather than by the clock.
Can I caramelize onions in the oven without a lid?
Yes, but the result changes. Starting uncovered means the onions release moisture and dry out before they soften fully, which can produce uneven texture. Covering for the first 30 minutes creates a gentle steam environment that softens everything evenly before the browning phase begins. If you don’t have a lid, tight foil works just as well.
Why are my oven caramelized onions burning before they brown?
The most common cause is an oven that runs hot. Residential ovens can be 25-50°F hotter than the dial reading (Serious Eats, 2022). Buy a $10 oven thermometer and calibrate your temperature. Also check that you’re using the covered phase – exposed onions at the wrong temperature burn at the edges before the centers cook.
What is the best pan for caramelizing onions in the oven?
A 12-inch cast iron skillet or an enameled cast iron braiser is the best choice. Both distribute heat evenly, move from stovetop to oven without issue, and develop excellent fond (the brown, flavor-packed bits on the bottom). Thin stainless pans have hot spots that cause uneven coloring. Nonstick pans work but don’t develop fond.
Can I speed up oven caramelized onions?
Yes – two ways. First, use a convection setting if your oven has one; it cuts the uncovered phase by 15-20%. Second, use sweet onions (Vidalia or Walla Walla), which have more sugar and caramelize faster. Raising oven temperature above 375°F also speeds things up but requires more attention to avoid burning.
How do I stop caramelized onions from tasting too sweet?
Balance is the fix. Add a splash of dry sherry or balsamic vinegar in the last 10 minutes to introduce acidity. A small amount of fresh thyme or a strip of parmesan rind added during cooking also adds savory depth that offsets sweetness. Using yellow onions rather than sweet onions gives you more savory complexity from the start.
How many onions do I need for 1 cup of caramelized onions?
You need approximately 2 pounds of raw onions to yield 1 cup (about 8 ounces) of caramelized onions. Onions lose roughly 75% of their weight as moisture during caramelization. For a standard batch, I start with 3-4 pounds and end up with about 1.5 cups – enough for 4-6 servings.
Key Takeaways
- Caramelization is sugar breakdown; the Maillard reaction adds savory depth – both happen when you make this right.
- Start onions on the stovetop for 10 minutes to wilt them before the oven phase. This cuts total oven time by 20-30 minutes.
- Cover the pan for the first 30 minutes of oven time. Uncover and build color for the remaining 45-60 minutes.
- 325°F is the best all-purpose temperature – deep color, even cooking, low risk of burning.
- Finished onions should be deep amber, spreadable, and jammy. If they look golden, they need more time.
- Yellow onions produce the most complex flavor. Sweet onions are faster but less savory.
- Use an oven thermometer. Most residential ovens are off by 25-50°F.
- Store in the fridge for 7 days or freeze in tablespoon portions for up to 3 months.

I’m Mossaraof, a trained chef and the founder of OvenInsights.com. I spent years cooking at Larrupin’ Cafe and in kitchens across Chicago and Seattle. Now I test kitchen gear for a living. I moved to North Acton, London, and I test every tool I write about. I use real meals and real heat. No brand deals. No shortcuts. I cover 12 kitchen types and hundreds of recipes. I believe this: the right tools matter as much as the recipe.




