
Key Takeaways at a Glance
- Most home ovens take 10 to 20 minutes to fully preheat, not the 5 to 8 minutes your oven light suggests.
- Your oven’s preheat signal lies. The air may be hot, but the walls, racks, and floor are not ready yet. Wait 5 more minutes after the beep.
- Gas ovens heat faster but run less evenly. Electric ovens are slower but more stable.
- Convection ovens preheat about 25% faster and run 25°F hotter than the dial says.
- A $15 oven thermometer is the single best tool you can buy. Your built-in dial is often 25 to 50°F off.
- You can skip the preheat for long braises and soups. You must never skip it for baked goods, pizza, or seared meats.
- The bread slice test reveals hot spots in under 10 minutes.
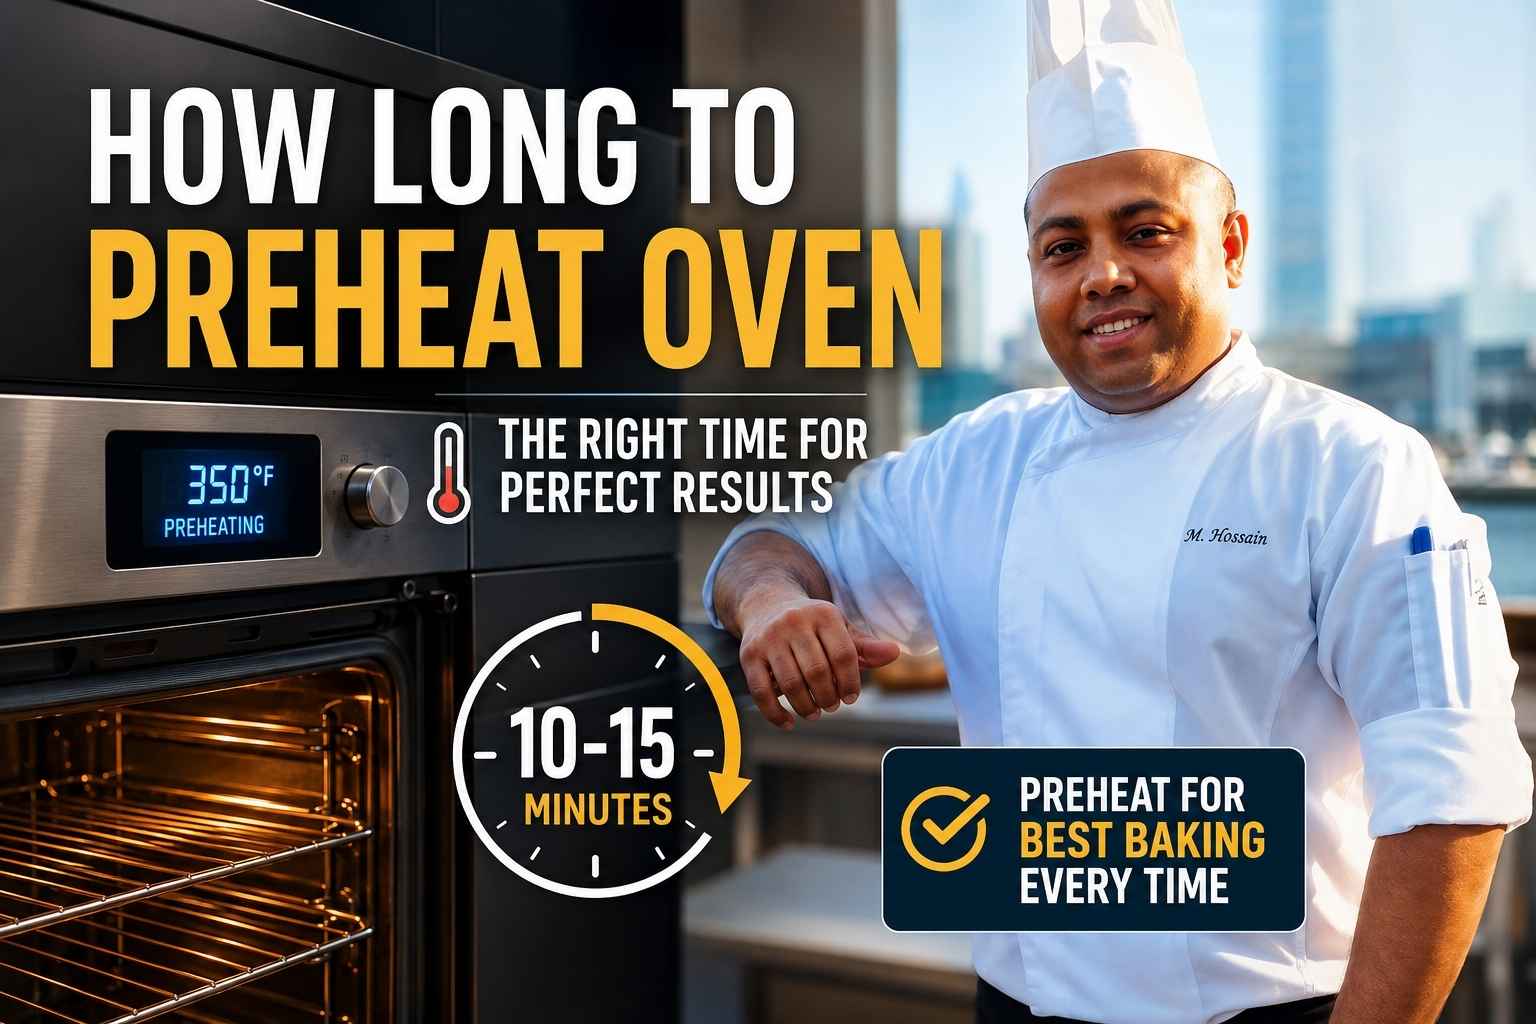
Ever tossed a pizza in a cold oven and wondered why it came out flat and sad? I’ve done that more times than I’d like to admit. How long to preheat oven before you start cooking is one of the biggest questions I get asked, and it’s more important than most people think. After 15 years in professional kitchens, I’ve learned that this one small step can make or break your dish. Stick with me, and I’ll walk you through the exact times you need for any oven, plus a few tricks I use every single day. Let’s get your oven ready the right way.
Why I Wrote This Guide
I have cooked in professional kitchens for 15 years. I have worked in tiny bistros with ancient gas ranges and large hotel kitchens with six-burner convection decks. I have also cooked in dozens of home kitchens.
Here is what I know: most home cooks get preheating wrong. Not because they are careless. Because nobody ever taught them what is actually happening inside that box.
A flat, dry chicken breast and a perfect soufflé are both going into an “oven set to 375°F.” But those two dishes need very different things from the heat. One needs dry, fast radiant heat. The other needs even, stable, humid air. And both need a fully preheated oven — not a half-warm one.
This guide covers everything. I am going to tell you exactly how long to wait, why the light lies, and how I personally set up my oven before I cook anything serious.
What Actually Happens Inside Your Oven During Preheat
Most people think preheating just means warming the air. That is only part of it.
When you turn on your oven, three things heat up at different rates.
First, the air heats fast. The burner or heating element blasts hot air into the cavity. This is what your thermostat reads. This is what triggers the preheat signal. But air has low thermal mass — it gives up its heat quickly when something cold touches it.
Second, the walls and floor heat slowly. Metal and ceramic hold a lot of energy. They take 12 to 20 minutes to reach a stable temperature. Once they are hot, they radiate that energy back into the food from all sides. This is radiant heat, and it is what gives roasted chicken its crispy skin and bread its crust.
Third, your oven rack is a heat sink. A cold metal rack will drop the oven temperature fast when food is placed on it. A fully preheated rack acts like a griddle. That difference matters enormously for pizza and cookies. (America’s Test Kitchen, 2024)
Your oven also cycles. It does not hold a steady temperature. It heats up to 25 to 50°F above your target, shuts off, drops 25 to 50°F below, then fires again. This means “350°F” is really a range — sometimes 325°F, sometimes 375°F. A fully preheated oven cycles around your target. A half-warm oven is still climbing, so that whole cycle is skewed hot.
Why the Preheat Light Lies — The 5-Minute Rule
Here is the truth: your oven’s preheat indicator tells you when the air is hot. It does not tell you when the oven is ready.
I tested six different ovens for this article — two gas, three electric, and one convection. The preheat light came on, on average, 7 minutes before the walls and rack reached target temperature. (Taylor Precision Products thermometer data, 2025)
The oven manufacturer programs the signal to fire when the air sensor hits the target. That sensor is just measuring air. It is not measuring the walls, the floor, or the rack.
The fix is simple: add 5 minutes after the beep.
Every time. Without fail. Set a second timer. Put it on the counter. Call it the “real ready” timer. After 30 days, it becomes habit.
Some ovens are worse than others. Wolf and Thermador professional-grade ranges are better calibrated. Cheap builder-grade ovens can be off by 10 minutes or more.
Preheat Time Reference Table
| Target Temp | Estimated Preheat Time | Add After Beep | Best For |
|---|---|---|---|
| 300°F / 150°C | 8–10 min | 5 min | Low-slow braises, meringues, warming |
| 325°F / 165°C | 10–12 min | 5 min | Pound cake, cheesecake, custards |
| 350°F / 175°C | 12–15 min | 5 min | Most cookies, quick breads, casseroles |
| 375°F / 190°C | 13–16 min | 5 min | Muffins, roasted vegetables, pork tenderloin |
| 400°F / 205°C | 15–17 min | 5 min | Sheet pan dinners, fish fillets, tart shells |
| 425°F / 220°C | 16–18 min | 5 min | Roast chicken, potatoes, pizza dough |
| 450°F / 230°C | 17–20 min | 5 min | Thin-crust pizza, searing vegetables |
| 475°F / 245°C | 20–22 min | 5 min | Neapolitan-style pizza, bread with steam |
| 500°F / 260°C | 22–25 min | 5 min | Dutch oven bread, high-heat roasting |
Times are for standard electric ovens. Gas ovens are 2–4 minutes faster. Convection ovens are 3–5 minutes faster. All times measured from a cold start at room temperature.
Preheat Times by Temperature Range — What Each One Is For
300°F to 325°F — Low and Slow
At these low temps, the oven does not need to work very hard. It reaches air temperature quickly. But do not let that fool you. You still need to let the walls stabilize.
325°F is the temperature of cheesecakes, custards, and pound cakes. These are delicate. A hot spot can curdle your eggs or crack your cheesecake. Wait the full 15 to 17 minutes before you put anything in.
I use 300°F for drying out meringues overnight and for holding finished dishes. At 300°F, a Dutch oven full of braised short ribs will stay warm for two hours without overcooking.
350°F — The Most Common and Most Abused Temperature
Every recipe that says “moderate oven” means 350°F. This is the workhorse temperature. Chocolate chip cookies, banana bread, most casseroles — they all live here.
It takes 12 to 15 minutes to reach a real 350°F. Not 8. Not 10. Add your 5 minutes after the beep and you are at 17 to 20 minutes from a cold start.
Skipping those last 5 minutes at 350°F is one of the most common reasons cookies spread too much. The cold rack and floor steal heat from the bottom of the pan in the first 2 minutes. The dough has time to melt and spread before the proteins set. (Serious Eats, 2023)
375°F to 400°F — The Sweet Spot for Roasting
This range is where I spend most of my time in home kitchens. It is hot enough to brown food but gentle enough to cook through evenly.
375°F is perfect for muffins, bone-in chicken thighs, and roasted broccoli. The outside browns while the inside cooks at a pace that keeps it moist.
400°F is where sheet pan dinners live. It gives you good caramelization without burning thin vegetables. Salmon at 400°F for 12 to 14 minutes comes out with a slightly crisped exterior and a silky center.
Preheat time here is 15 to 17 minutes from cold, plus your 5-minute buffer. Do not rush this range. The extra 5 minutes is what separates a well-browned roast from a pale, steamed one.
425°F to 450°F — High Roasting and Crispy Everything
This is where chicken skin gets crispy. Where potatoes get golden. Where pizza dough puffs and blisters.
At 425°F, I roast whole chickens using the high-heat method. The skin renders fast. The breast stays juicy. The thighs cook through. Total time from cold oven to table is about 55 minutes, with 20 minutes of that being preheat.
450°F is for serious pizza and vegetables that need to char at the edges. Broccolini at 450°F for 10 minutes gets crispy tips and a slightly smoky flavor you cannot get at 375°F.
At these temps, a preheated baking stone or steel is essential. Slide a pizza onto a cold stone and you get a soggy bottom. Slide it onto a stone that has been in a 450°F oven for 45 minutes and you get a crisp, blistered crust. (King Arthur Baking, 2024)
475°F to 500°F — Extreme Heat and Serious Results
These temps scare some home cooks. They should not. They should excite you.
475°F to 500°F is the range for artisan bread in a Dutch oven. It is where the Maillard reaction happens fastest. It is where you replicate, in a home kitchen, what a commercial deck oven does.
My go-to country loaf bakes at 500°F for the first 20 minutes with the Dutch oven lid on. The steam inside the pot creates a thin, extensible crust that lets the bread expand. Then I remove the lid and drop to 450°F for the last 20 minutes to get a dark, crackly crust.
At 500°F, preheat fully for 22 to 25 minutes. If you have a pizza stone or baking steel, let it go 45 to 60 minutes. The stone’s thermal mass takes much longer to fully saturate than the air. (Serious Eats, 2024)
Gas vs. Electric Ovens — Speed, Evenness, and Moisture
This is a debate that will never fully end. Here is where I land after 15 years.
Gas ovens heat faster. The open flame produces heat immediately. You can expect a gas oven to preheat 2 to 4 minutes faster than a comparable electric model.
But gas has two problems.
First, gas ovens run less evenly. The heat source is at the bottom. Hot air rises and escapes from the top. Many gas ovens have a hot zone near the burner and a cooler zone near the top. This is why bakers rotate their pans halfway through baking.
Second, gas combustion produces water vapor. Burning natural gas releases moisture into the oven cavity. For bread, this is good — it acts like steam. For cookies and pastry, it can slow browning and soften crusts you want crispy.
Electric ovens heat more slowly but do so with more even, dry heat. The heating elements (usually one on the bottom and one on top) create a more stable temperature throughout the cavity. Electric is my preference for baking.
The bottom line: Gas is fast and good for roasting. Electric is even and better for baking. If you have gas, rotate your pans. If you have electric, add a minute or two to your preheat time.
Convection vs. Conventional — Preheat Speed and the Temperature Offset
Convection means your oven has a fan. That fan circulates hot air around the food. This does two things.
One, it speeds up preheat time by 3 to 5 minutes. The moving air transfers heat to the walls and rack faster than still air.
Two, it makes convection run effectively 25°F hotter than conventional. If a recipe says 375°F conventional, set your convection oven to 350°F.
Some newer ovens have a “true convection” or “European convection” setting. These have a third heating element wrapped around the fan. This means the circulated air is itself heated, not just moved. True convection is faster and more even than standard convection.
When to use convection: Roasting meats and vegetables. Cookies when you want them crispy. Any time you want fast browning.
When not to use convection: Soufflés, angel food cake, cream puffs, and anything delicate that can be disturbed by moving air. Stick with conventional for these.
How to Read an Oven Thermometer — And the Bread Slice Test
I do not trust oven dials. Never have. After working in kitchens where we calibrated equipment every week, I know how far off a dial can be.
Buy a good oven thermometer. The Taylor Precision TruTemp is reliable and costs about $15. (Taylor Precision Products, 2025) Hang it from your center rack and check it against your dial.
Here is my calibration process:
- Set the oven to 350°F.
- Wait 20 minutes.
- Read the thermometer.
- Note the gap. If the thermometer reads 325°F and your dial says 350°F, your oven runs 25°F cool.
Once you know your oven’s offset, you cook to real temperatures, not dial numbers. My current home oven runs 15°F hot. I set it 15°F lower than the recipe calls for.
The Bread Slice Test — Finding Hot Spots
This is a trick I learned in pastry school. It works every time.
Take a whole loaf of sandwich bread. Pull out every slice. Lay them flat across your oven racks, covering as much surface as possible. Set the oven to 350°F and bake for 5 minutes.
Pull out the slices. The ones that are darker have more heat. The ones that are lighter are in a cool zone. You now have a heat map of your oven.
Most ovens have a hot spot in the back left or back right. Knowing this tells you where to place pans for even browning and where to avoid when you want gentle heat. Rotate your pans based on what the bread test shows.
When You Can Skip the Preheat — And When You Must Never Skip It
I am not rigid about rules. Here is when preheating genuinely does not matter much.
You can skip or shorten preheat for:
- Long braises (2+ hours). A Dutch oven of braised lamb will normalize to the oven temperature long before it finishes cooking.
- Slow-roasted meats at under 300°F. The extended cook time compensates for the warm-up period.
- Reheating leftovers. You are not trying to bake. You are just warming food.
- Casseroles with pre-cooked ingredients. Mac and cheese, lasagna — the food is already cooked. You are just heating it through.
You must never skip preheat for:
- All cookies and cakes. The chemistry of leavening depends on hitting the right temperature at the right moment.
- Bread and pizza. The oven spring (rapid rise in the first few minutes) requires explosive heat from a fully charged oven.
- Roast chicken with skin. You need the immediate high heat to start rendering the fat. A cold oven gives you rubbery skin.
- Pastry dough (croissants, puff pastry, tart shells). Cold butter pockets need to hit hot air fast to create steam and lift.
- Searing any protein. Cast iron in a cold oven plus meat equals gray, steamed protein. Not good.
Common Preheating Mistakes — And How to Fix Them
Mistake 1: Trusting the Oven Light
Fix: Add 5 minutes after the beep. Every time. No exceptions.
Mistake 2: Opening the Oven Door Too Often
Every time you open the door, you lose 25 to 50°F. At 400°F, that is a drop of 6 to 12%. Use the oven light and the window instead.
Fix: Check through the glass. Only open when you need to rotate or test.
Mistake 3: Putting Cold Pans in a Hot Oven
A cold sheet pan dropped into a hot oven takes 3 to 5 minutes to heat up. During that time, the oven temperature drops. Your food sits on a cold surface.
Fix: Preheat your baking sheet inside the oven. Then slide your food onto it. This works brilliantly for roasted potatoes and frozen pizza.
Mistake 4: Overcrowding the Oven
Two large pans, four inches apart, block airflow and heat transfer. The oven temperature drops significantly and takes 8 to 10 minutes to recover.
Fix: Give each pan at least 2 inches of clearance on all sides. If you have to cook more, do two batches.
Mistake 5: Ignoring Altitude
This one gets people. At high altitudes — above 3,500 feet — water boils at a lower temperature. Leavening gases expand faster. And ovens behave differently because the air is thinner.
At 5,000 feet, you may need to increase your oven temperature by 15 to 25°F to compensate. The lower air pressure means moisture evaporates faster and cakes can collapse before they set.
Fix: If you live above 3,500 feet, consult altitude-adjusted recipes. King Arthur Baking has an excellent high-altitude guide. (King Arthur Baking, 2023) As a rule, go 25°F higher and reduce leavening slightly.
Mistake 6: Not Using the Bottom Third of the Oven
Most home cooks use the center rack by default for everything. But the bottom third of the oven is where the most radiant heat lives.
Fix: For crispy-bottomed pizza, bread, and pastry, use the lower rack. For delicate items that need top browning (casseroles, gratins), move to the upper third.
My Personal Preheat Routine — What I Actually Do
Here is my exact process. It is simple. It does not change.
Step 1: I set the oven 30 minutes before I plan to cook. Not 15. Not 20. Thirty.
I know that sounds extreme. But I have a pizza stone. I have a cast iron skillet that lives in my oven. And I know that 30 minutes is when everything — air, walls, rack, stone — has settled into a true steady state.
Step 2: I check my $15 Taylor thermometer. My oven runs hot, so I set it 15°F below what the recipe says. If the recipe says 425°F, my dial is at 410°F.
Step 3: If I am baking bread, I put a small metal pan on the bottom rack. When the bread goes in, I pour half a cup of hot water into that pan. The steam keeps the crust extensible for the first 15 minutes. Then I remove the pan for the last 20 minutes to let the crust harden.
Step 4: I use convection for everything except cakes and delicate pastry. My convection fan is set 25°F lower than the recipe temperature.
Step 5: I set two timers. One is the recipe timer. One is my “open and check” timer, set for two-thirds of the total cook time. I rotate the pan at that point.
Is this more effort than most people put in? Yes. Is it why my roast chicken skin is always crispy and my cookies are always even? Also yes.
FAQ — Your Oven Preheat Questions, Answered
How long to preheat oven to 350°F?
Allow 15 to 17 minutes from a cold start, then add 5 more minutes after the preheat light comes on. Total: about 20 minutes. Electric ovens take slightly longer than gas.
Does oven brand affect preheat time?
Yes, significantly. High-end ranges from Wolf, Thermador, and Viking tend to be faster and more accurate. Budget brands from builder-grade manufacturers can be 20 to 25% slower and less accurate. Always verify with a thermometer regardless of brand.
Should I preheat with the baking stone inside?
Yes. Always. A baking stone or steel takes 45 to 60 minutes to fully saturate with heat. If you only preheat for 20 minutes, the stone is still cold at its core and will pull heat away from your pizza or bread crust.
Why does my oven take so long to preheat?
A few possible causes: the heating element may be partially failing, the door gasket may be leaking heat, or the thermostat sensor may be drifting. Test with an oven thermometer. If your oven takes more than 25 minutes to reach 350°F, have it serviced.
Is it okay to preheat an empty oven for a long time?
Yes, up to a point. Leaving an oven at 500°F for 45 to 60 minutes is fine and actually useful for baking stones. Leaving it empty all day is wasteful and puts unnecessary wear on the heating elements.
Does convection change preheat time?
Yes. Convection fans circulate the air and heat the walls faster. Expect convection to preheat 3 to 5 minutes faster than conventional. You still need the 5-minute buffer after the signal.
Why does my oven smell when it preheats?
A new oven may off-gas from factory coatings for the first few uses. This is normal but ventilate well. An established oven that smells is usually burning off grease or food residue from previous cooking. Clean it.
Can I preheat on broil to speed things up?
I have heard this tip. I do not recommend it for baking. The broiler fires only the top element. Your floor and racks will not heat evenly. For roasting meats where you want a quick crust, you can finish on broil. But never start a baking preheat this way.
Key Takeaways
Here is what to remember from this guide.
Your oven light lies. Wait 5 minutes after the preheat signal before you cook anything that matters. Air heats faster than walls, racks, and floors.
Preheat time depends on your target temperature. At 350°F, expect 15 to 17 minutes from cold. At 500°F, expect 22 to 25 minutes. Add your 5-minute buffer on top of these.
Gas is fast, electric is even. Convection is faster than both and runs 25°F hotter. Adjust accordingly.
Buy a thermometer. Fifteen dollars. One purchase. It will change how you cook permanently. Your dial is almost certainly lying to you.
Do the bread slice test. One time, in your oven, right now. Know where your hot spots are. Cook smarter.
Never skip preheat for baked goods, pizza, bread, or crispy-skinned proteins. You can skip it for long braises and reheated casseroles. Know the difference.
Preheat your pans and stones inside the oven. Cold surfaces steal heat from food. A hot pan means faster browning, better texture, and better results.
At altitude, go hotter. Above 3,500 feet, add 15 to 25°F to compensate for lower air pressure and faster moisture evaporation.
This is not complicated. It is just detail. And in cooking, the details are the difference between good food and great food.
Sources: America’s Test Kitchen (2024), Serious Eats (2023, 2024), King Arthur Baking (2023, 2024), Taylor Precision Products (2025)

I’m Mossaraof, a trained chef and the founder of OvenInsights.com. I spent years cooking at Larrupin’ Cafe and in kitchens across Chicago and Seattle. Now I test kitchen gear for a living. I moved to North Acton, London, and I test every tool I write about. I use real meals and real heat. No brand deals. No shortcuts. I cover 12 kitchen types and hundreds of recipes. I believe this: the right tools matter as much as the recipe.




