
At A Glance
- The oven is the safest, most forgiving cooking tool in your kitchen – it does the work while you walk away.
- Before you cook anything, buy an oven thermometer. Most home ovens run 25-50°F off from their dial (America’s Test Kitchen, 2024).
- The 8-10 beginner recipes in this guide cover sheet pan meals, baked proteins, easy sides, and one simple dessert – all with temperatures, cook times, and common mistakes to avoid.
- “Golden brown,” “resting,” and “internal temperature” are not vague suggestions – they are precise finish lines. This guide explains each one in plain terms.
- Confidence in the kitchen comes from repetition, not talent. Cook the same recipe three times and it stops being scary.
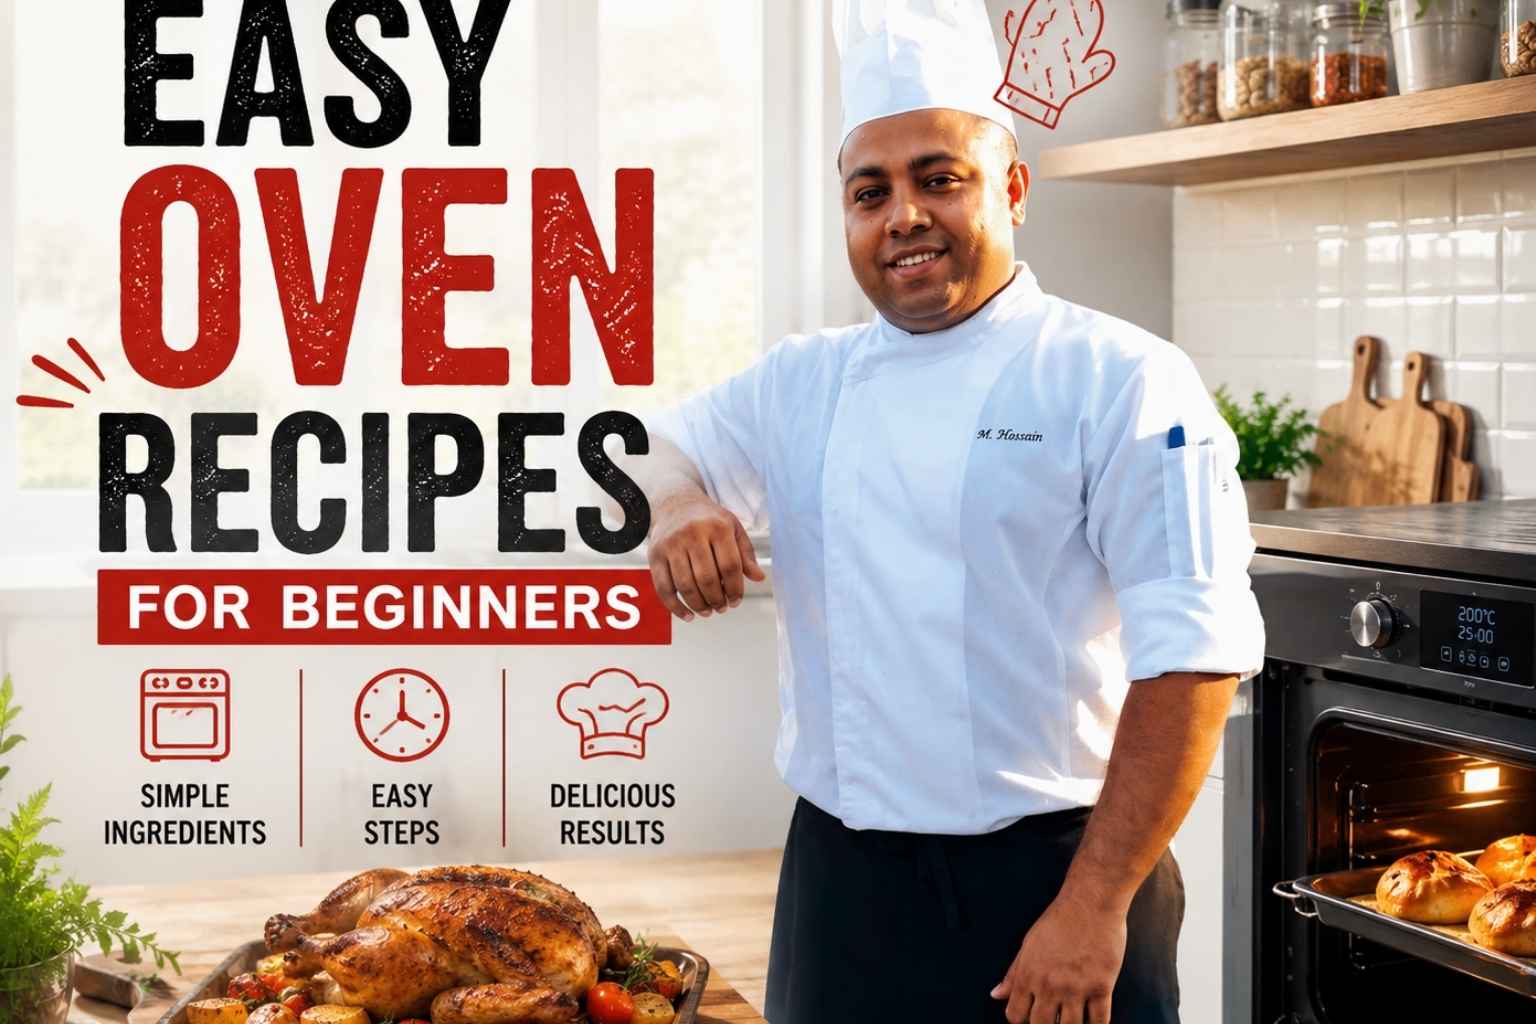
I burned my first oven dish so bad the smoke alarm woke the neighbors. That’s how I learned to cook, one small mess at a time. Now, as a chef, I love sharing easy oven recipes for beginners with friends like you. These dishes use simple steps and basic tools, so you can’t go too wrong. Grab a pan, and let’s bake something good together.
Why the Oven Is the Best Place to Start Cooking
The oven is the most beginner-friendly cooking tool in any kitchen. It holds a steady temperature, it does not require constant attention, and it is nearly impossible to burn yourself by accidentally touching something. Unlike stovetop cooking – where a pan can go from warm to scorched in 60 seconds – the oven works slowly and predictably.
Most beginners fear the oven because recipes treat it like a black box. They say “bake at 375°F for 25 minutes” without explaining why, or what to look for when the timer goes off. That gap between the instruction and the understanding is where confidence gets lost.
I have been cooking professionally for 15 years. I have worked in restaurant kitchens, catering operations, and culinary education. The single biggest difference between beginners who stick with cooking and those who quit is not talent – it is knowing what is actually happening inside that box. Once you understand the oven, it becomes the easiest tool you own.
5 Things Every Beginner Must Know Before Turning the Oven On
1. Preheat – and Mean It
“Preheat to 375°F” means the oven should be fully at 375°F before the food goes in. Most ovens take 15-20 minutes to reach temperature. The little beep that signals “ready” often goes off early – the oven has hit the set temperature at the element, but the air inside has not fully stabilized yet.
Give it 5 extra minutes after the beep. Your food will cook more evenly.
2. Rack Position Changes Everything
The rack position in your oven determines how heat hits your food. Heat rises, so the top rack runs hotter than the bottom.
- Middle rack: Default for almost everything. Even heat from top and bottom.
- Top rack: Use for browning the top of a dish in the final minutes (like cheese on a casserole).
- Bottom rack: Use for pizza, pie crusts, or anything that needs a crispy bottom.
If a recipe does not specify a rack position, use the middle.
3. Pan Choice Affects Cook Time
A dark metal pan absorbs more heat and cooks food faster than a light or shiny pan. A glass pan holds heat longer and can cause uneven browning on the sides.
For most beginner recipes, a light-colored aluminum or stainless steel half-sheet pan (18×13 inches) is the right tool. It is what professional kitchens use for a reason (Serious Eats, 2023).
4. Read the Full Recipe Before You Start
Read the complete recipe before touching a single ingredient. Recipes assume you know what comes next. Some steps – like marinating overnight or resting meat for 10 minutes before slicing – cannot be done at the last second.
Reading the whole recipe first takes 3 minutes. Not reading it first has cost many beginners a ruined dinner.
5. Buy an Oven Thermometer
This is the single best $10 you will spend on cooking. Hang it from your oven rack and check it against your dial before every cook.
America’s Test Kitchen tested 42 home ovens and found that the majority ran at least 25°F off from the dial – with some off by 75°F (America’s Test Kitchen, 2024). A recipe written at 400°F but cooked at 425°F does not cook 6% faster. It burns.
Beginner Recipe Quick-Reference Table
| Recipe | Temp | Cook Time | Difficulty | Chef’s Tip |
|---|---|---|---|---|
| Sheet Pan Chicken Thighs | 425°F | 35-40 min | Easy | Pat skin completely dry for crispiness |
| Roasted Salmon | 400°F | 12-15 min | Easy | Pull at 125°F internal – it carries over to 130°F |
| Sheet Pan Sausage & Veggies | 400°F | 25-30 min | Easy | Cut vegetables the same size so they cook evenly |
| Baked Meatballs | 400°F | 18-22 min | Easy | Do not crowd the pan or they will steam, not brown |
| Roasted Broccoli | 425°F | 18-22 min | Very Easy | Use more oil than you think – dry broccoli turns bitter |
| Baked Potatoes | 400°F | 55-65 min | Very Easy | Pierce with a fork and rub with oil before baking |
| One-Pan Pasta Bake | 375°F | 30-35 min | Easy | Cover with foil for first 20 min, uncover to brown |
| Roasted Cherry Tomatoes | 375°F | 25-30 min | Very Easy | Best thing you will ever add to pasta or toast |
| Baked Chicken Breasts | 400°F | 22-26 min | Easy | Brine in salted water 30 min before to prevent dryness |
| Brownies from Scratch | 350°F | 22-25 min | Moderate | Pull them out when the center looks slightly underdone |
Sheet Pan Meals: The Beginner’s Best Friend
Sheet pan meals are where beginners should start. Everything goes on one pan. Everything cooks at the same time. Cleanup is one pan and a spatula.
The core rule of sheet pan cooking: do not crowd the pan. When food is packed together, it steams instead of roasts. Steam makes vegetables soggy and chicken skin rubbery. Give every piece of food space to breathe.
Sheet Pan Chicken Thighs with Vegetables
This is the first recipe I give every student I have ever taught. Bone-in, skin-on chicken thighs are nearly impossible to dry out – unlike chicken breasts, they have enough fat to stay juicy even if you go a few minutes over.
Season thighs with salt, pepper, garlic powder, and smoked paprika. Toss your choice of vegetables (broccoli, bell peppers, zucchini) in olive oil with salt and pepper. Arrange everything on a sheet pan with space between pieces. Roast at 425°F for 35-40 minutes.
Common mistake: Using chicken breasts instead of thighs. Breasts dry out fast. Stick with thighs until you are confident with timing.
Done when: Skin is deeply golden and crisp. Internal temperature reads 165°F at the thickest part without touching bone.
Sheet Pan Sausage and Roasted Vegetables
This is a 30-minute weeknight dinner that requires almost no knife work. Cut Italian sausages into 1-inch rounds. Add bell peppers, red onion, and zucchini cut into similar-sized pieces. Toss with olive oil, Italian seasoning, salt, and pepper.
Roast at 400°F for 25-30 minutes, turning once at the halfway point.
Common mistake: Cutting vegetables too large. Big chunks stay raw in the center while the sausage finishes. Keep everything roughly 1-inch pieces.
Baked Proteins: Getting Comfortable with Meat and Fish
Roasted Salmon
Salmon is the fastest protein you can cook in the oven. It goes from raw to done in 12-15 minutes at 400°F. This makes it unforgiving on the overcooked side – but it gives you very little time to mess it up on the undercooked side.
Season a salmon fillet with salt, pepper, and a thin layer of Dijon mustard. Roast skin-side down at 400°F.
Done when: The flesh is opaque on the outside but still slightly translucent in the very center. Internal temperature reads 125-130°F (Food Network Kitchen, 2024). Salmon continues cooking after it leaves the oven – pull it early.
Common mistake: Cooking to 145°F (the FDA safe temperature). This is correct for food safety, but at 145°F salmon is dry and chalky. For people who are not pregnant or immunocompromised, 125-130°F gives you moist, silky salmon.
Baked Chicken Breasts (Without Drying Them Out)
Chicken breasts have a reputation for being dry. That reputation is earned – but it is earned through overcooking, not through any fault of the chicken.
The fix is a simple brine. Dissolve 1 tablespoon of salt in 2 cups of cold water. Submerge the chicken breasts for 30 minutes before cooking. This forces moisture into the meat. Rinse, pat dry, season, and roast at 400°F for 22-26 minutes depending on thickness.
Done when: Internal temperature reads 160°F. Remove from the oven and let it rest 5 minutes – temperature will carry to 165°F.
Baked Meatballs
Baking meatballs instead of pan-frying them is less dramatic but more consistent. Line a sheet pan with parchment paper. Space meatballs 1 inch apart. Bake at 400°F for 18-22 minutes.
They will brown on the bottom from the pan and stay moist inside. No babysitting. No splatter. No burning.
Common mistake: Overworking the meat mixture. Mix just until combined – overworked meatballs are dense and tough (King Arthur Baking, 2023).
Easy Oven Side Dishes That Make Everything Better
Roasted Broccoli
Roasted broccoli tastes nothing like steamed broccoli. At high heat, the edges char slightly and the florets turn sweet and slightly crisp. It is the version of broccoli that converts people who think they hate broccoli.
The key: use more oil than you think you need. Each floret should be lightly coated. Dry broccoli turns bitter in the oven. Toss with olive oil, salt, and pepper. Spread on a sheet pan. Roast at 425°F for 18-22 minutes without stirring – let one side develop color before you move anything.
Baked Potatoes
A properly baked potato is one of the best things a home oven can produce. Pierce each potato 8-10 times with a fork (this lets steam escape – an unpierced potato can burst). Rub with oil and coat with coarse salt. Bake directly on the oven rack at 400°F for 55-65 minutes.
Done when: The skin is dry and crisp. You can squeeze it gently with a folded kitchen towel and it yields with no resistance.
Common mistake: Wrapping in foil. Foil traps steam and makes the skin soft. Skip it.
Roasted Cherry Tomatoes
This is the most underrated oven recipe I know. Spread cherry tomatoes in a single layer on a sheet pan. Add a few smashed garlic cloves, a drizzle of olive oil, salt, and pepper. Roast at 375°F for 25-30 minutes until they collapse and the juices concentrate.
Use them on pasta, toast, eggs, or eat them straight from the pan. They store in the fridge for 5 days and improve everything they touch.
A Simple Oven Dessert: Brownies from Scratch
Brownies are the right beginner dessert because the margin for error is actually wider than most people think. They can be slightly over or slightly under and still taste good – in different ways.
Melt 1 stick of butter with 4 oz of dark chocolate in a saucepan over low heat. Stir in 1 cup of sugar, 2 eggs, 1 teaspoon of vanilla, and a pinch of salt. Fold in ½ cup of flour. Pour into a buttered 8×8 pan.
Bake at 350°F for 22-25 minutes.
Done when: The edges are set but the center jiggles slightly when you shake the pan. A toothpick inserted 1 inch from the edge should come out clean – a toothpick in the center should come out with moist crumbs, not wet batter.
Common mistake: Waiting for the center to look fully set in the oven. By the time the center is done in the oven, the edges are already overcooked. Pull early.
How to Read a Recipe Like a Chef
What “Golden Brown” Actually Means
“Golden brown” is a color and a sound. The color is the amber tone of toasted bread, not pale yellow and not dark brown. The sound – when you tap a roasted potato or a piece of chicken – is a hollow, slightly firm response rather than a soft one.
More practically: golden brown means the Maillard reaction has happened. This is the chemical process where heat transforms proteins and sugars into the compounds that give roasted food its flavor. Pale food has not developed full flavor. Golden brown food has.
What “Internal Temperature” Means
Internal temperature is the temperature at the thickest part of the food, measured with an instant-read thermometer. It tells you whether the inside of the food is cooked, regardless of what the outside looks like.
The outside of a chicken thigh can look golden and done while the inside is still raw. An instant-read thermometer is not optional – it is the only reliable way to know. A good one costs $15-30 and lasts years (ThermoWorks, 2025).
Key internal temperatures for beginners:
- Chicken (all cuts): 165°F
- Pork (chops, tenderloin): 145°F
- Ground beef: 160°F
- Salmon: 125-130°F for moist results; 145°F per FDA guidelines
- Beef steak: 130°F medium-rare, 145°F medium, 160°F well
What “Resting” Means – and Why It Is Not Optional
Resting means leaving cooked meat untouched for 5-15 minutes after it comes out of the oven before you cut it.
During cooking, heat pushes the juices in the meat toward the center. When you cut into meat right out of the oven, those juices run out onto the cutting board. You lose them. If you wait 5-10 minutes, the juices redistribute back through the meat and stay there when you cut.
A chicken breast cut immediately after baking loses significantly more moisture than one rested for 5 minutes (Serious Eats, 2024). Rest your meat. Every time.
Essential Beginner Equipment: 4 Tools That Make the Difference
You do not need a stocked professional kitchen. You need four things.
1. Half-Sheet Pan (18×13 inches, aluminum): This is the workhorse of home oven cooking. Use it for sheet pan meals, roasting vegetables, baking cookies, and cooking proteins. Buy two.
2. Instant-Read Thermometer: A ThermoWorks Thermapen or a budget alternative like the ThermoPop ($35) tells you exactly when food is done. No guessing. No cutting into chicken to check the color.
3. Oven Thermometer: Hang it inside your oven. Know what your oven actually runs. Adjust your dial accordingly.
4. Rimmed Sheet Pan Rack: A wire rack that fits inside the sheet pan. When you elevate protein on a rack, air circulates underneath. You get crispiness on the bottom without flipping anything (America’s Test Kitchen, 2024).
Gas vs. Electric Oven: What Beginners Need to Know
Most home kitchens have one or the other and never get to choose. Here is what the difference actually means for your cooking.
Gas ovens heat with a flame at the bottom. They cycle on and off to maintain temperature, which creates temperature fluctuations. The bottom of the oven runs hotter than the top. Gas ovens also introduce moisture into the air as the gas burns, which can make it harder to get crispy results.
Electric ovens heat with elements at the top and bottom. They hold temperature more steadily than gas. Many electric ovens have a convection setting, which adds a fan to circulate the air.
Convection heat (when your oven has it): reduces cook time by about 25% and improves browning. If a recipe is written for a conventional oven and you use convection, reduce the temperature by 25°F or the time by 25% – not both.
If your oven runs hot on the bottom (common in gas ovens), move your rack to the middle or add a second sheet pan on the lower rack to buffer the heat.
How to Tell When Food Is Actually Done
Visual cues, temperature, and touch are three separate tools. Use all three.
Visual cues by food type:
- Chicken: juices run clear (not pink) when pierced; skin is golden
- Fish: flesh turns from translucent to opaque at the edges; center may still be translucent
- Baked goods: edges pull away from the pan; toothpick test (moist crumbs, not wet batter)
- Vegetables: edges are slightly charred; a fork slides in without resistance
The touch test (for experienced cooks, not beginners): A raw protein feels soft and gives easily under your finger. A cooked protein feels firmer. This skill takes time to develop. Start with a thermometer. Add the touch test later.
When in doubt, check early, not late. You can always put food back in the oven. You cannot un-overcook something.
When Things Go Wrong: Common Beginner Oven Mistakes and the Exact Fix
| Mistake | Why It Happens | Exact Fix |
|---|---|---|
| Chicken skin is pale and soft | Oven not hot enough or pan overcrowded | Roast at 425°F minimum; give each piece 2 inches of space |
| Vegetables are soggy | Too much moisture; pan too crowded | Pat vegetables dry; spread wider; use a second pan if needed |
| Food is burned on the outside but raw inside | Oven running too hot | Buy an oven thermometer; adjust dial 25°F down |
| Baked goods sink in the middle | Opened oven door too early | Do not open the oven in the first 75% of bake time |
| Chicken breast is dry | Cooked past 165°F or no brine | Brine before cooking; pull at 160°F and rest |
| Meatballs are dense | Overmixed the meat | Mix only until ingredients are just combined |
| Brownies are cakey instead of fudgy | Too much flour or oven too hot | Measure flour by spooning into the cup (not scooping); lower temp 10°F |
| Food sticks to the pan | No parchment or enough oil | Line sheet pans with parchment paper; it costs pennies per sheet |
How I Built My Own Confidence in the Kitchen – and How You Will Too
When I started cooking professionally, I burned things. I undercooked things. I made chicken that embarrassed me in front of a full kitchen of cooks. The difference between where I was at month one and month three was not some sudden talent that appeared. It was repetition.
Here is the specific advice I give every beginner who tells me they are afraid to cook:
Pick three recipes and cook each one three times. Do not bounce between 20 different recipes. Cook sheet pan chicken thighs three times. On the first cook, you are figuring out the recipe. On the second, you are fixing what went wrong. On the third, it is starting to feel natural.
Write notes directly on the recipe. Print it out or pull it up on your phone and add notes: “Added 5 extra minutes,” “Next time more salt,” “Used convection – reduce time by 5 min.” You are building your own cookbook, personalized to your oven.
Stop being afraid of salt. Under-salted food is the single most common home cooking problem. Season your food before it goes in the oven, not just after. Salt draws out moisture and forms the crust on roasted food. If your oven food tastes bland, salt is almost always the first fix.
Let the oven do the work. The whole point of oven cooking is that it does not need you once the door closes. Set a timer and step away. Coming back to check constantly drops the oven temperature every time you open the door.
Frequently Asked Questions About Easy Oven Recipes for Beginners
What is the easiest thing to cook in the oven for a beginner?
Sheet pan chicken thighs are the best starting point. They are nearly impossible to dry out, they cook at a single temperature (425°F), they pair with any vegetable, and the visual cue (golden brown, crispy skin) is easy to read. If you can nail this one recipe, you have the core skills for everything else on this list.
How do I know if my oven temperature is accurate?
Buy an oven thermometer – available at any kitchen store or online for under $15. Set your oven to 350°F, let it preheat for 20 minutes, and check the thermometer reading. If it reads 325°F, your oven runs 25°F cold and you need to compensate by setting the dial 25°F higher than the recipe calls for (America’s Test Kitchen, 2024).
Do I need to preheat the oven every time?
Yes. Always preheat. The temperature the food enters the oven at affects the texture of the final dish. A chicken thigh placed in a cold oven and a chicken thigh placed in a fully preheated oven at 425°F will not cook the same way. Cold oven entry means more time in the low-temperature range – which affects browning and texture.
Why does my food always come out soggy instead of roasted and crispy?
Soggy food is almost always caused by one of two things: too much moisture on the surface of the food before it went in, or too much food on the pan. Pat proteins and vegetables dry with paper towels before seasoning. Use a sheet pan large enough that nothing is touching. If you have a lot of food, split it across two pans.
Can I cook multiple things at different temperatures at the same time?
In most cases, no – not well. If one dish needs 375°F and another needs 425°F, one of them will be cooked at the wrong temperature. The exception is when the difference is small (25°F or less) – you can meet in the middle and adjust cooking times. When learning, cook one thing at a time until you know your oven well.
What does “bake” vs. “roast” actually mean?
Bake and roast both mean cooking in a dry oven. The informal distinction is temperature and food type. Baking typically refers to lower temperatures (325-375°F) for foods like breads, cakes, casseroles, and fish. Roasting typically refers to higher temperatures (400-450°F) for meats and vegetables. Many recipes use the terms interchangeably and it rarely affects the outcome.
How do I stop burning the bottom of things in the oven?
Move your rack higher – away from the bottom element. If you have a gas oven with a powerful bottom flame, placing an extra empty sheet pan on the lowest rack can buffer the direct heat. For baked goods specifically, using light-colored aluminum pans instead of dark ones will reduce the amount of bottom heat absorbed.
Is it safe to use the oven without watching it constantly?
Yes, as long as you follow basic safety rules: do not leave the house while the oven is on, keep flammable materials (paper towels, dish cloths) away from the oven door, and do not overfill pans with fat or oil that could drip and smoke. Within those guardrails, stepping away and doing other things while food is in the oven is exactly what the oven is designed for.
Key Takeaways
- Buy an oven thermometer before anything else – most home ovens are at least 25°F off from the dial.
- Start with bone-in, skin-on chicken thighs. They are the most forgiving beginner protein in the oven.
- Do not crowd the pan. Give food space and it will roast. Pack it tight and it will steam.
- “Golden brown” is a flavor, not just a color. Food that looks pale also tastes pale.
- Rest your meat after cooking. Five minutes is the difference between juicy and dry.
- Pick three recipes. Cook each one three times. That is how confidence is built – not by reading about cooking, but by doing it.
- The oven is on your side. It holds temperature, it does not require constant attention, and it tells you what it needs through visual cues you can learn to read. Trust it.

I’m Mossaraof, a trained chef and the founder of OvenInsights.com. I spent years cooking at Larrupin’ Cafe and in kitchens across Chicago and Seattle. Now I test kitchen gear for a living. I moved to North Acton, London, and I test every tool I write about. I use real meals and real heat. No brand deals. No shortcuts. I cover 12 kitchen types and hundreds of recipes. I believe this: the right tools matter as much as the recipe.




