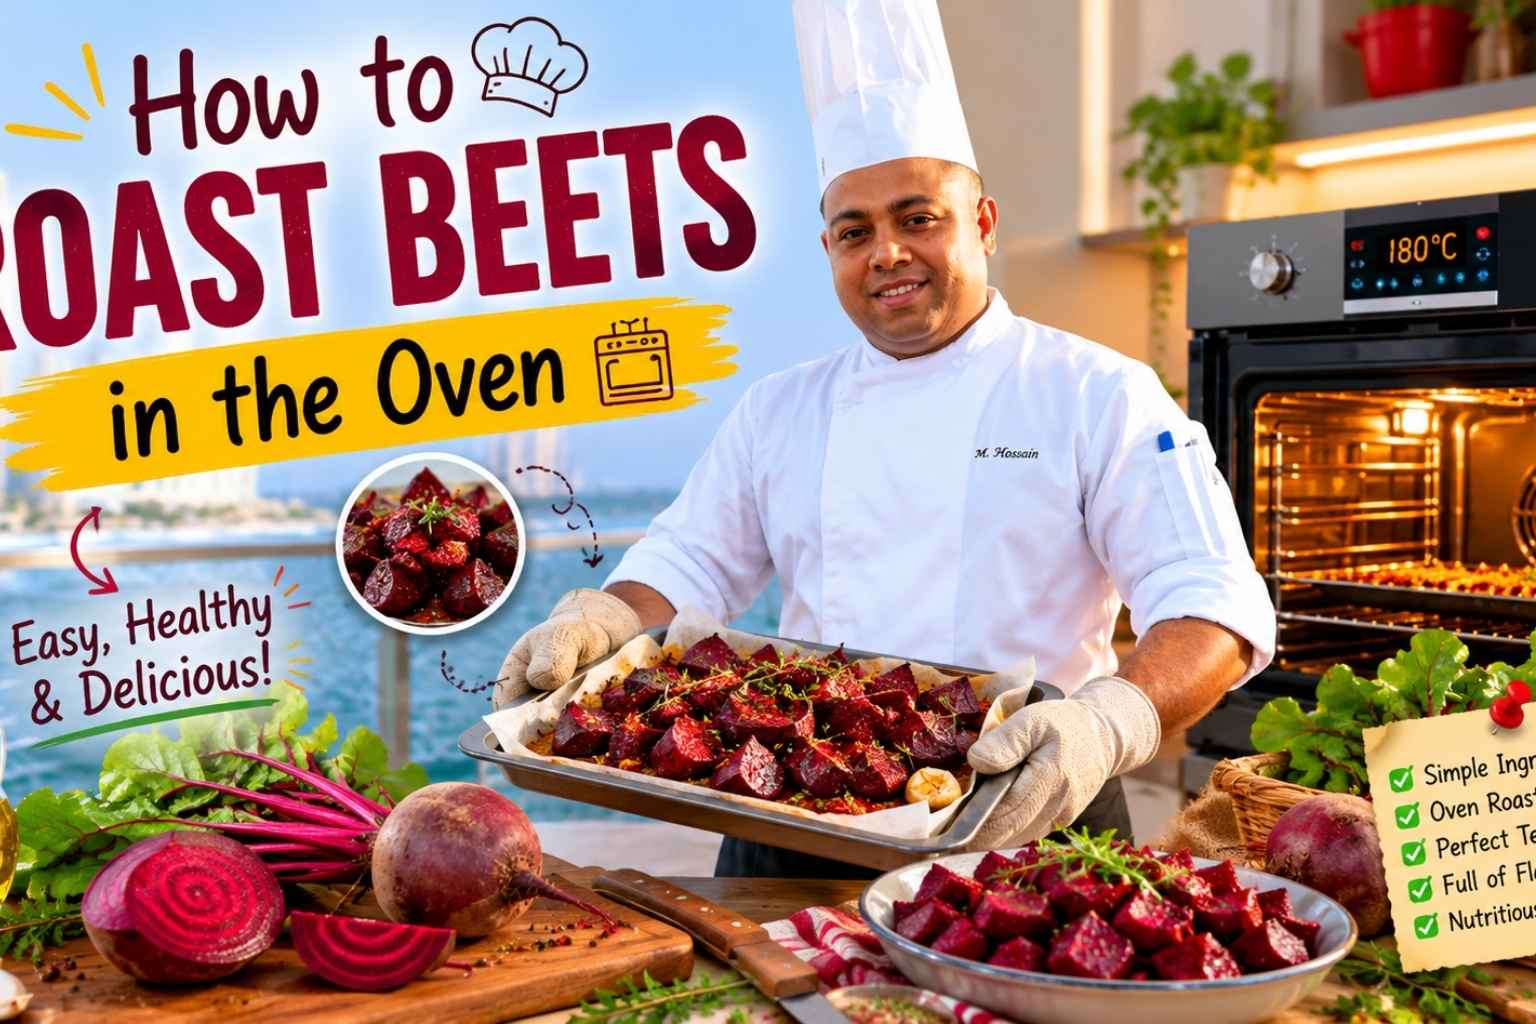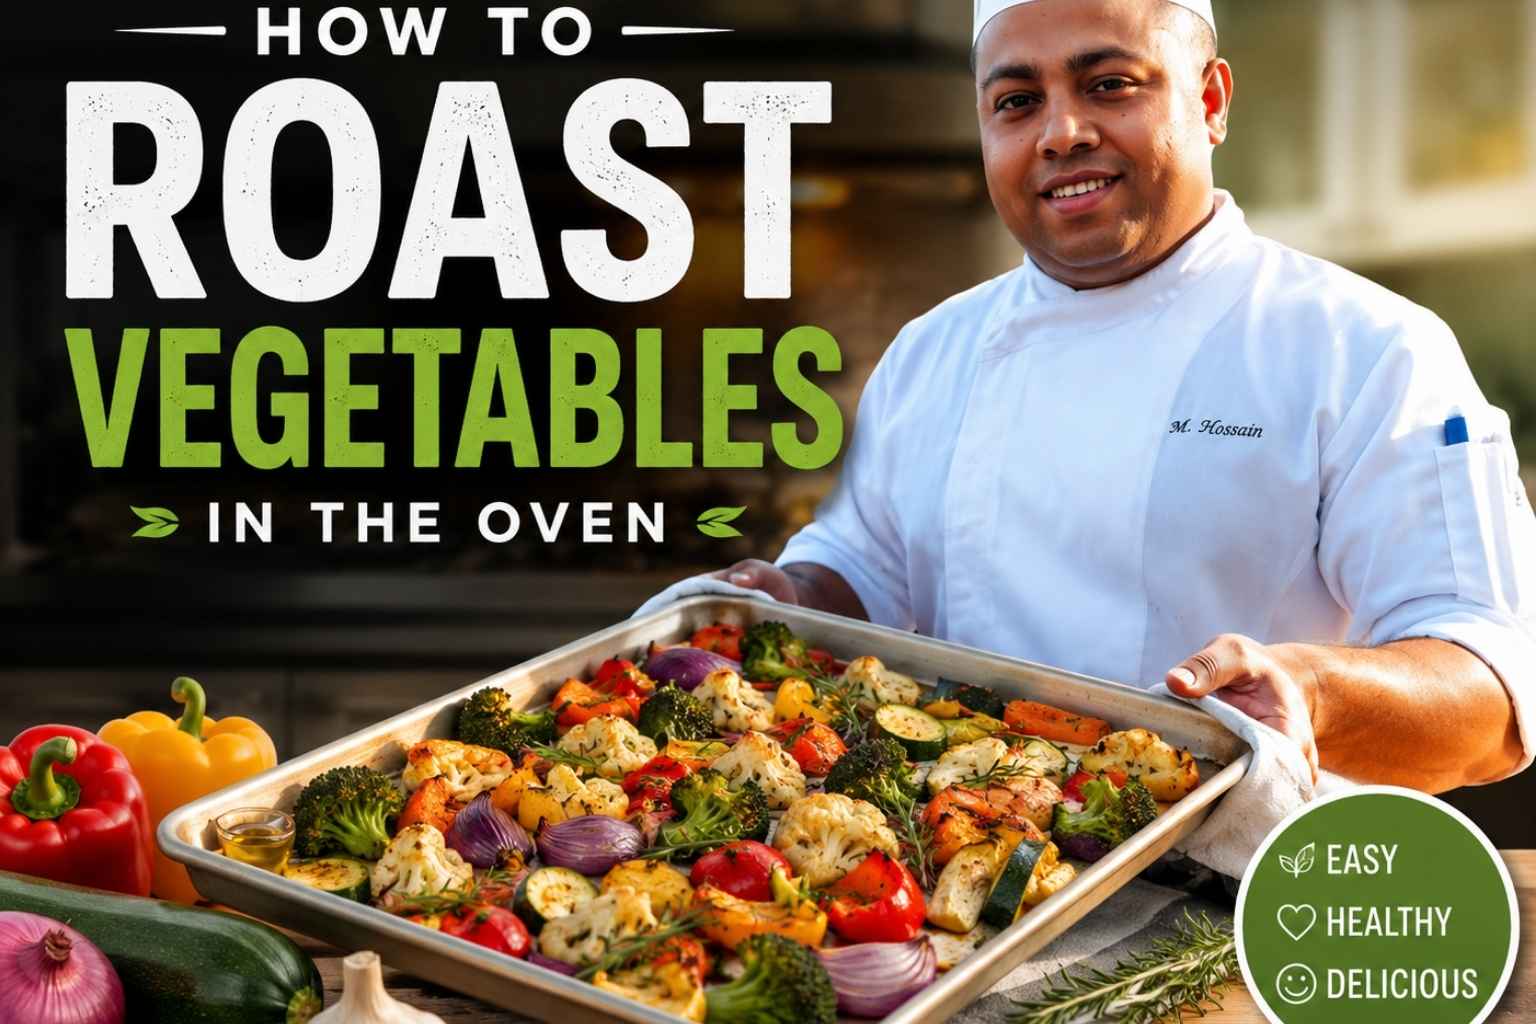
I used to burn my veggies every single time. Sad, mushy, or both. Then I learned how to roast vegetables in the oven the right way, and my whole kitchen changed.
It’s not hard. You just need a few key tricks most people skip. I’ve tested this method for years, on busy weeknights and big holiday dinners too.
In this guide, I’ll show you my simple steps for crisp edges and bold flavor every time. We’ll cover the best veggies, the right oven heat, and easy tips that work. Grab a pan, and let’s get cooking!
At A Glance
- Roast most vegetables at 400-425°F on a bare metal sheet pan – no parchment, no crowding, no exceptions.
- Overcrowding is the single biggest mistake home cooks make. Steam is the enemy of browning.
- Dry your vegetables completely before they hit the pan. Wet vegetables steam instead of roast.
- Cut everything the same size. Uniform pieces = even cooking = no burned ends and raw middles.
- Fat-soluble herbs like rosemary and thyme go in at the start. Fresh herbs like parsley go on at the end.
What Is Roasting and Why It Produces Better Vegetables
Roasting means cooking food uncovered in dry oven heat, typically above 375°F. It is the best method for vegetables because it does three things that no other cooking method does as well: it caramelizes natural sugars, triggers the Maillard reaction, and drives off excess moisture.
Those three processes are worth understanding. Caramelization starts at around 320°F for most sugars. Carrots, sweet potatoes, and onions are loaded with them. When those sugars hit high heat, they break down into hundreds of new flavor compounds – the reason a roasted carrot tastes ten times more interesting than a steamed one (America’s Test Kitchen, 2023).
The Maillard reaction is different. It is a chemical reaction between amino acids and reducing sugars that creates brown color and deep, savory flavor. It starts around 280-330°F but works fast above 350°F. This is why browned vegetables taste complex and why pale, steamed ones taste flat. The Maillard reaction is also why your pan needs to be hot before the vegetables go in.
Moisture evaporation is the third factor – and the one most cooks ignore. Every vegetable is mostly water. When that water escapes as steam, the surface dries out and browning can happen. When the water can’t escape – because your pan is crowded or your oven is too cool – you get braised vegetables, not roasted ones.
Vegetable Roasting Reference Table
Use this as your go-to cheat sheet. Times assume a single layer on a preheated sheet pan in a calibrated oven.
| Vegetable | Temp (°F) | Cut Size | Time (min) | Notes |
|---|---|---|---|---|
| Potatoes (Yukon Gold) | 425 | 1-inch cubes | 30-40 | Parboil 5 min for crispier results |
| Sweet potatoes | 400 | 3/4-inch cubes | 25-35 | High sugar – watch for burning after 25 min |
| Carrots | 425 | 1/2-inch coins or batons | 25-30 | Halve lengthwise if thin |
| Broccoli | 425 | 2-inch florets | 18-22 | Flat cut on florets = more browning surface |
| Brussels sprouts | 425 | Halved | 22-28 | Cut-side down for max caramelization |
| Bell peppers | 400 | 1-inch strips | 20-25 | Skins blister and sweeten at 400°F |
| Zucchini | 425 | 1/2-inch half-moons | 15-20 | Needs space – high water content |
| Cauliflower | 425 | 1.5-inch florets | 22-28 | Toss with a little more oil than you think |
| Asparagus | 400 | Whole spears | 10-15 | Thinner spears need 10 min max |
| Onions | 400 | 1/2-inch wedges | 30-40 | Low and slow for sweetness; high heat for char |
The Science of Browning: Why High Heat Is Non-Negotiable
High heat is not optional. It is the mechanism.
Below 375°F, most vegetables will cook through before their surfaces brown properly. The water inside escapes slowly, the surface stays damp too long, and you end up with soft, pale, slightly sad vegetables. They taste fine. They do not taste great.
At 400-425°F, the surface water evaporates fast. The outer cells dry out quickly. The Maillard reaction kicks in. Sugars caramelize. You get color, you get flavor, you get texture – the three things that make people actually want to eat vegetables (Serious Eats, 2022).
There are exceptions. Delicate vegetables – asparagus, cherry tomatoes, thin green beans – do fine at 375-400°F because they cook through so fast that high heat would burn their exteriors before the interior is done. Dense, starchy vegetables – potatoes, sweet potatoes, beets – benefit from the full 425°F because they need time to cook through, and high heat ensures the exterior gets work done while the inside softens.
The #1 Mistake: Overcrowding the Pan and How Steam Ruins Everything
If your roasted vegetables come out soft and pale every time, this is why.
When vegetables crowd together, they trap steam. Every vegetable releases moisture as it cooks. In a crowded pan, that steam has nowhere to go. It sits in the pan, raising the humidity around your vegetables, and effectively turns your oven into a steamer. The vegetables cook through, but they never brown. They never caramelize. They come out looking like they belong in a hospital cafeteria.
The rule is simple: every piece of vegetable needs space around it. Not touching. Not almost touching. Space. Use two sheet pans if you have a lot of vegetables. I do this constantly in professional kitchens – it is not a sign of weakness, it is just how roasting works.
Serious Eats found in testing that even a 20% increase in pan crowding measurably reduced surface browning, especially in high-moisture vegetables like zucchini (Serious Eats, 2022). If you only take one thing from this guide, take that.
Best Oven Temperatures by Vegetable Type
Temperature is not one-size-fits-all. Here is how I break it down after 15+ years of cooking in professional and home kitchens.
350-375°F: Delicate Vegetables and Slow Caramelization
Use this range for asparagus, cherry tomatoes, and thin green beans. These vegetables cook through in under 15 minutes, and high heat would char them before they’re done. Onions also do well in this range when you want deep, sweet, jammy results – you are essentially slow-roasting them to pull out maximum sugar.
400°F: The All-Purpose Sweet Spot
Bell peppers, broccoli, cauliflower, and carrots all perform well at 400°F. It is hot enough to drive browning without burning the edges before the centers cook. If you are roasting a mix of vegetables with different textures, 400°F is your safest default – add the denser ones first and the quicker-cooking ones later.
425-450°F: High-Heat Caramelization
Potatoes, sweet potatoes, Brussels sprouts, and beets belong here. These are dense vegetables that need time to cook through, so you can afford high surface heat – it gets the browning going while the interior slowly softens. Brussels sprouts in particular need 425°F to get those charred outer leaves that make them irresistible. At anything lower, they just go limp.
I rarely go above 425°F at home. At 450°F, the window between “perfectly charred” and “burned” gets very small, very fast.
Oil, Fat, and Seasoning: Getting This Right
You need more oil than you think you do. That is the honest truth.
For most vegetables, 2 tablespoons of oil per pound is the right starting point. For drier, crispier vegetables like broccoli and cauliflower, I go slightly heavier. The oil does two things: it conducts heat to the surface of the vegetable, and it prevents sticking. Undershooting on oil means dry, sticky vegetables with uneven browning.
What kind of oil to use: Extra-virgin olive oil works well at roasting temperatures for most vegetables. Its smoke point (around 375-405°F depending on quality) is fine for the 400-425°F range. For higher-heat work or neutral flavor, avocado oil or refined sunflower oil are good choices. Butter burns – save it for finishing.
When to season: Salt before roasting, not after. Salt draws out surface moisture and seasons the vegetables all the way through. Add it right before the pan goes in the oven. If you salt too early – say, 20 minutes before roasting – you will draw out so much moisture that you are fighting yourself when it comes to browning.
Herb timing matters more than most guides admit. Woody, fat-soluble herbs – rosemary, thyme, sage – go in at the start. They can handle oven heat and they infuse the oil around the vegetables as everything cooks. Fresh, delicate herbs – parsley, cilantro, dill, basil – go on at the very end, after the pan comes out. Heat destroys their volatile aromatics almost instantly. Bon Appétit ran a side-by-side test on this and found that fresh herbs added at the start lost nearly all their flavor by the time the vegetables were done (Bon Appétit, 2023).
Cut Size and Shape: Why Uniformity Is Not Just Perfectionism
Uniformity is about even cooking, not aesthetics.
If you cut one potato into 1-inch cubes and another into 2-inch chunks, the small pieces will be done – and starting to burn – while the large pieces are still raw in the middle. You either pull the pan too early or leave it in until everything is done and overcook the small pieces. Neither is ideal.
The rule: all pieces of the same vegetable should be the same size. Within about a quarter inch is close enough.
Shape matters too. Flat surfaces brown better than round ones. That is why I cut Brussels sprouts in half – the flat cut-side down on the hot pan gets direct contact heat and caramelizes beautifully. Broccoli florets should be cut with a flat base for the same reason. Carrots cut into coins have two flat surfaces. Batons have four. More flat surfaces = more browning potential.
Sheet Pan Choice and Prep: Material and Surface Matter
Use a heavy, rimmed metal sheet pan. That is it. That is the recommendation.
Thin, flimsy pans warp in high heat and create hot spots that burn some vegetables while others stay pale. Heavy-gauge aluminum or stainless steel stays flat, distributes heat evenly, and gets screaming hot – which is what you want.
Parchment vs. foil vs. bare metal:
Bare metal gives the best browning. The direct contact between hot metal and oiled vegetable is what creates the crust and char you are after. This is what I use for potatoes, Brussels sprouts, broccoli – anything where I want crispy results.
Parchment is a compromise. It prevents sticking and makes cleanup easy, but it insulates the bottom of the pan slightly and reduces direct heat contact. For vegetables where browning the bottom matters – and it almost always does – parchment costs you something. America’s Test Kitchen found that bare metal pans consistently produced more evenly browned results compared to parchment-lined pans, especially for starchy vegetables (America’s Test Kitchen, 2024).
Foil holds moisture underneath the vegetables, which works against browning. Use foil if you are worried about cleanup and browning is not a priority – but understand the trade-off.
Preheat the pan. Put it in the oven while the oven heats up. A hot pan means the vegetables start searing the moment they hit the metal. A cold pan means five or more minutes of slow, damp cooking before anything interesting happens.
Flipping and Tossing: When to Do It and What Happens If You Skip It
Flip once, at the halfway point. That is the standard answer.
The reality is slightly more nuanced. You flip because the surface in contact with the hot pan is where most of the browning happens. Flipping exposes a second surface to direct heat. For most vegetables, one flip at the halfway mark is enough.
For vegetables with a clear flat side – Brussels sprouts, halved onions, thick carrot coins – do not toss them. Place them cut-side down and leave them alone until they are deeply browned on that side. Then flip once. Disturbing them too early breaks the contact that builds the sear.
For smaller or irregularly shaped pieces – broccoli florets, zucchini half-moons, potato cubes – a quick toss or flip at halfway is fine. Shake the pan or use a spatula.
What happens if you skip flipping entirely: The bottom surface overcooks and the top stays pale and slightly raw-looking. The vegetable is technically done, but texturally uneven. For most vegetables, it is worth the extra step.
Roasting Frozen vs. Fresh Vegetables: Timing and Texture Differences
Frozen vegetables can be roasted. I want to be clear about that because many recipes act like fresh is the only option, and that is not the reality most weeknight cooks are working with.
The key difference with frozen vegetables: do not thaw them first. Go frozen straight into the oven on a hot, preheated pan. Thawed frozen vegetables are waterlogged and will steam instead of roast.
Frozen broccoli, cauliflower, and Brussels sprouts all roast well. Add 5-10 minutes to your fresh cooking times. The outer texture will not be quite as crisp, but the caramelization and flavor can be very good. Frozen zucchini and peppers do not roast as well – their high water content becomes a problem in the freezing-thawing cycle and the texture turns mushy.
The one non-negotiable: give frozen vegetables more space than fresh. They release a lot of water in the oven as they thaw. Crowding is even more of a problem than with fresh produce.
Common Roasting Mistakes and How to Fix Them
| Mistake | What Goes Wrong | The Fix |
|---|---|---|
| Wet vegetables | Steam instead of browning | Dry completely with a towel before oiling |
| Cold pan | Slow start, no sear | Preheat pan in the oven for at least 10 minutes |
| Crowded pan | Steam trap, pale results | Use two pans; single layer only |
| Too little oil | Uneven browning, sticking | 2 tbsp per pound minimum |
| Low temperature | Soft, pale, overcooked interior | Stay at 400°F minimum for most vegetables |
| Uneven cuts | Some pieces burned, some raw | Cut to uniform size before roasting |
| Adding fresh herbs at the start | Herbs burn, no flavor | Add delicate fresh herbs after the pan comes out |
| Skipping the flip | Pale top, overdone bottom | Flip once at the halfway point |
The Wet Vegetable Problem
This one deserves extra space because it trips up even experienced cooks.
If you wash your vegetables and go straight to the pan, you are adding water to a process that depends on driving water off. Dry your vegetables. Use a salad spinner for anything you wash in a bowl. Pat everything else dry with a clean kitchen towel. This is especially important for broccoli, cauliflower, and mushrooms, which hold water in their crevices.
My Personal Roasting Routine: What I Actually Do in the Kitchen
I have strong opinions about this, and fifteen years of cooking have only made them stronger.
I preheat my oven to 425°F with the sheet pan inside. While the oven heats, I cut and dry my vegetables. I use heavy-gauge aluminum half-sheet pans – the ones restaurant kitchens use – because cheap pans warp and ruin everything.
I toss cut vegetables directly on the pan with a generous pour of olive oil, a solid pinch of kosher salt, and black pepper. I spread them out until nothing touches. If they are touching, I get the second pan out. I add rosemary or thyme at this stage if I want them.
At the halfway mark, I flip everything with a thin metal spatula. I check the color. If the pan looks too dry, I add a small drizzle of oil.
When the vegetables come out, I taste one immediately for seasoning. This is when I add fresh herbs, a squeeze of lemon if the dish needs brightness, or a drizzle of good olive oil for richness.
The most important thing I do is resist the urge to pull the pan too early. Most home cooks pull roasted vegetables five minutes before they should. You want real color. You want the edges slightly charred. That is where the flavor is.
Frequently Asked Questions About Roasting Vegetables
What temperature should I roast vegetables at?
Most vegetables roast best at 400-425°F. Dense, starchy vegetables like potatoes and sweet potatoes do best at 425°F. Delicate vegetables like asparagus and cherry tomatoes do well at 375-400°F. The goal is high enough heat to drive browning before the inside turns to mush.
Why are my roasted vegetables soggy instead of crispy?
The most likely cause is a crowded pan. When vegetables are packed too tightly, they trap steam and braise instead of roast. Give every piece room to breathe on the pan. A second likely cause is wet vegetables – always dry them completely before roasting.
Do I need to flip roasted vegetables?
Yes, for best results. Flip once at the halfway point of your cooking time. Vegetables with flat cut sides – Brussels sprouts, halved onions – benefit most from flipping to expose both surfaces to the hot pan.
Can you roast different vegetables together on the same pan?
You can, with some planning. Group vegetables by cooking time or cut denser vegetables smaller so everything finishes at the same time. Start carrots and potatoes first, then add broccoli or zucchini for the last 15-20 minutes. Alternatively, roast different vegetables on separate pans at the same temperature.
Should I use parchment paper when roasting vegetables?
Parchment reduces browning on the bottom surface but makes cleanup easier. For the best crust and caramelization – especially with potatoes and Brussels sprouts – use a bare, preheated pan. Use parchment when convenience matters more than maximum crispness.
How much oil should I use for roasting vegetables?
Start with 2 tablespoons of oil per pound of vegetables. Dry, dense vegetables like cauliflower and broccoli benefit from a bit more. The oil should lightly coat every surface of every piece – not drown them, but enough that nothing looks dry before going in.
How do I know when roasted vegetables are done?
Look for real color – deep golden brown to slightly charred edges. Probe with a fork or the tip of a knife; there should be no resistance in the center of the thickest piece. The outside should feel firm and slightly crisped, not soft and yielding. If it looks pale and smells like steam, it needs more time.
Can I roast vegetables ahead of time?
Yes. Roasted vegetables reheat reasonably well in a 400°F oven for 8-10 minutes. Spread them on a sheet pan and let the oven do the work – avoid the microwave, which makes them soft. They lose some crispness when stored, but the flavor holds well for 3-4 days in the refrigerator.
Key Takeaways
- Temperature drives results. 400-425°F is the right range for most vegetables. Lower temperatures produce pale, soft results.
- Space is non-negotiable. Every piece needs clear space around it. Use two pans rather than crowd one.
- Dry vegetables before they hit the pan. Wet vegetables steam. Dry vegetables roast.
- Preheat your pan. A hot pan creates an immediate sear. A cold pan wastes the first five minutes of cook time.
- Uniform cuts = even cooking. Size consistency matters more than the specific size.
- More oil than you think. 2 tablespoons per pound is your baseline.
- Flip once at the halfway point. Two browned surfaces are better than one.
- Add fresh herbs after roasting. Heat destroys them in minutes.
- Pull the pan when there is real color. Pale is undercooked. Char on the edges is the goal.
I’m Mossaraof, a trained chef and the founder of OvenInsights.com. I spent years cooking at Larrupin’ Cafe and in kitchens across Chicago and Seattle. Now I test kitchen gear for a living. I moved to North Acton, London, and I test every tool I write about. I use real meals and real heat. No brand deals. No shortcuts. I cover 12 kitchen types and hundreds of recipes. I believe this: the right tools matter as much as the recipe.