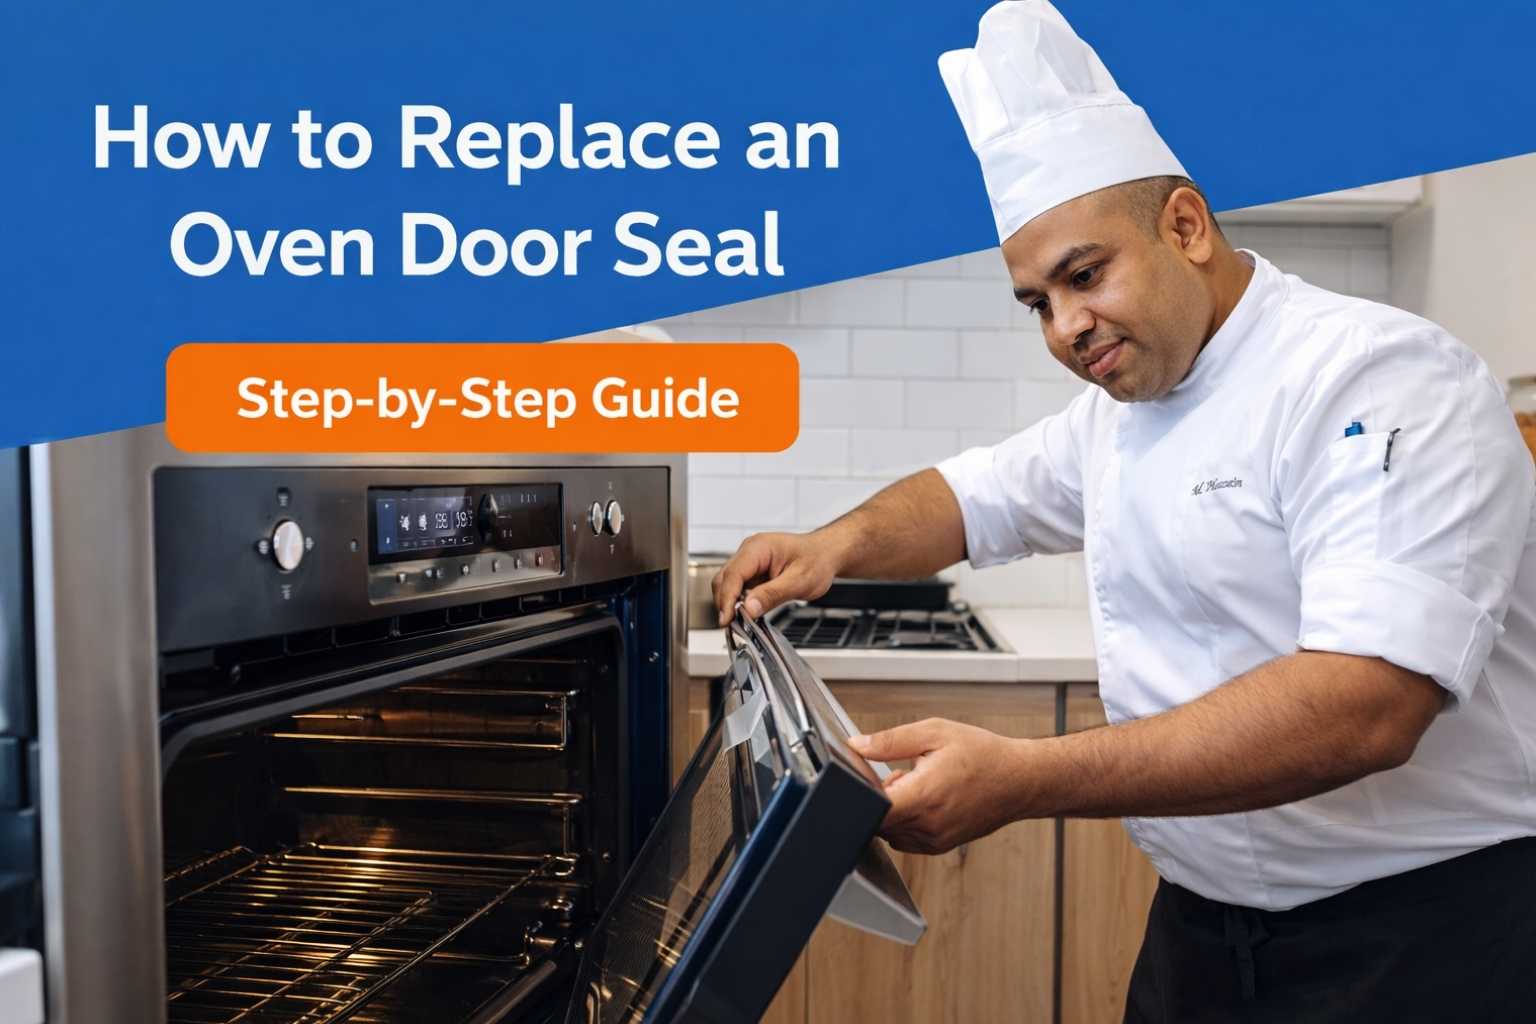
One evening, I noticed heat leaking from the sides of my oven—and I could actually feel it warming my knees. That’s when I realized I needed to figure out how to replace an oven door seal before it messed with my cooking times again.
As a professional cook and food blogger, I’ve dealt with worn-out gaskets in everything from rental ovens to high-end brands. In this article, I’ll walk you through the exact steps I’ve used to fix the seal myself—no fuss, no technician needed. If you’re still learning the oven basics, The Complete Guide to Using an Oven at Home is a great place to start, especially if you’ve never looked at a door seal before.
Let’s get your oven sealing tight again—so your heat stays where it belongs.
Table of Contents
ToggleWhy a Door Seal Actually Matters More Than You Think
If you’re like me, you probably didn’t give your oven gasket much thought—until it failed you.
Oven Gaskets Are the Unsung Heroes of Even Cooking
That soft, heat-resistant rubber strip (or sometimes braided rope) creates a tight seal between the oven and the door.
- It keeps heat trapped inside
- Maintains consistent baking temperature
- Prevents uneven cooking or energy loss
When it fails, your oven leaks heat like a cracked window in January. And in some U.S. homes—especially older apartments or rentals—it happens more often than you think.
Signs You Might Need a New Oven Door Seal
Here’s how I realized something was wrong—and what I look for now:
- You feel warm air leaking out around the oven door
- Food takes longer to cook or comes out uneven
- The seal looks frayed, cracked, or doesn’t sit flat
- The oven door doesn’t close snugly
For me, it was that telltale soft hiss of escaping heat and my lasagna bubbling on one side and staying cold on the other.
The Tools I Used (Nothing Fancy, I Promise)
I’m not a professional appliance repair guy—I’m a chef who hates cold centers and burnt edges. So everything I used to replace my seal came straight from my kitchen drawer or toolbox.
Here’s What I Used in My U.S. Kitchen
- A flathead screwdriver
- Needle-nose pliers
- Flashlight (super handy for deep corners)
- A small rag and dish soap
- And of course—the replacement oven door seal
How I Found the Right Replacement Seal
This part tripped me up the first time. I thought “rubber’s rubber,” right?
Nope. Turns out, oven seals are model-specific.
- I found my oven’s model number on a metal tag behind the door
- Searched for the part using that number
- I ordered mine from an appliance parts site, but you can also try:
- Lowe’s
- Home Depot
- Amazon
- Or call the brand directly (Whirlpool, GE, Frigidaire, etc.)
In the U.S., most brands make it easy to track down compatible parts. But don’t guess the size. I made that mistake once. Too short, and it’ll leave gaps. Too long, and it won’t sit right.
Step-by-Step: How to Replace an Oven Door Seal
This isn’t a difficult job—but there are a few ways to mess it up. I’ll show you how I did it right (after a little trial and error).
Step 1: Let the Oven Cool Completely
Sounds obvious, but… yeah. I once singed my forearm trying to do this too soon. Give it a good 2 hours after use. Touch the inside of the door—it should be stone cold.
Step 2: Locate the Seal Anchors
Some ovens use hooks, clips, or grooves to hold the gasket in place. Mine had little metal tabs that pinched the seal corners.
- Open the oven door fully
- Look at the inside frame—you’ll see the seal lining the perimeter
- Feel for clips or screws at each corner
Use a flashlight if your kitchen lighting is like mine—moody and dim in the evening.
Step 3: Remove the Old Seal (Gently)
Mine was dry and crusty. I pulled at one corner and it broke off like stale bread. Use:
- Pliers to grip stubborn sections
- A flathead screwdriver to nudge it out of tight grooves
Try not to damage the metal track underneath. You’ll need that channel to seat the new seal.
Step 4: Clean the Area
This is the step most folks skip—and regret later.
- I used dish soap, warm water, and a microfiber rag
- Scrubbed away grease, crumbs, and carbon buildup
- Let it dry completely before installing anything new
I once skipped this step, and the seal wouldn’t sit flat—turned into a wonky install and I had to redo it a week later.
Step 5: Install the New Seal
Here comes the fun part. It’s a little like installing weatherstripping on a doorframe—only with tighter curves.
- Start at one corner
- Press the seal firmly into each clip or groove
- Work your way around slowly
- Don’t stretch it too tightly—you want a natural fit
Most U.S. oven brands (like GE, Whirlpool, Maytag) use a seal that’s shaped to fit snugly around the edges. If it feels too long, it might need adjusting into the corners more carefully.
Step 6: Close the Door and Check the Fit
Once everything’s in:
- Close the oven door
- Look for gaps or areas where the seal doesn’t compress
- Press gently along the edges—you should feel resistance
- Use a flashlight inside the oven in a dark room—look for light leaks
Mine passed the “paper test.” I stuck a dollar bill in the door and closed it. It didn’t slide out easily. If it does? Something’s off.
Brand-Specific Gasket Tips I’ve Learned the Hard Way
Each oven behaves a little differently. After doing this in four different kitchens (don’t ask), here’s what I’ve learned.
GE Ovens
- Their seals usually clip into 4 metal prongs—start in the corners
- They sometimes look too short—but stretching slightly helps
- The first few uses might feel “tight” but it loosens with heat
Whirlpool & Maytag
- Classic U.S. brand designs
- Seals may be glued in older models
- Newer ones use push-in rubber gaskets—very beginner-friendly
- Just be careful not to twist the gasket as you push it in
Frigidaire
- Often uses braided fiberglass seals
- They look weird, but perform well at high temps
- Ends may need high-temp adhesive (don’t use superglue!)
Samsung / LG (Modern U.S. Models)
- Sometimes include dual-door seals
- One wraps around the interior glass, the other around the door frame
- Take a photo of the original placement before removal—trust me
Mistakes I Made So You Don’t Have To
I’ve replaced a few seals now. And I’ve messed up most of them at least once.
1. Ordering a Random Gasket Without the Model Number
Never again. I once tried a “universal” seal. It didn’t fit. Then I tried trimming it. Ruined it completely.
Tip: Get your exact model number—it’s usually on a sticker inside the oven door or frame.
2. Skipping the Cleaning Step
I figured the new seal would push the gunk out of the way. Nope.
- It wouldn’t sit flush
- It fell off the next week
- The seal melted where grease had built up
Now I wipe the area thoroughly. It takes 5 minutes and makes a huge difference.
3. Forgetting to Test the Fit
I once replaced a seal at night, didn’t test it, and baked cinnamon rolls the next morning. The edges burned, center stayed raw. Turned out one corner of the gasket hadn’t seated right.
Always test:
- Close the door
- Check with a flashlight
- Do the paper strip test
How to Know It’s Fixed (And Working Right)
It’s not just about closing the door—it’s about cooking results.
Visual Cues
- Seal sits flat
- Corners aren’t bunched or sticking out
- No light visible from inside when the door’s shut
The Dollar Bill Test
- Close the oven door on a dollar
- Try pulling it out slowly
- If it slides out too easily, the seal isn’t snug
Test all four sides—top, bottom, left, right.
Cooking Test
After my last seal replacement, I baked a sheet of chocolate chip cookies. They came out evenly golden. No burnt bottoms. No raw centers.
I knew right then—worth every minute of the fix.
How to Maintain Your Oven Door Seal (and Make It Last)
Once you’ve replaced it, here’s how to avoid doing it again too soon.
Wipe It Down Every Few Weeks
- Mild dish soap + warm water
- Avoid abrasive pads
- Gently wipe along the full seal
Build-up shortens lifespan. Grease and crumbs get crusty fast, especially in humid climates like Florida or coastal areas.
Don’t Slam the Door
I’m guilty of this when I’m rushing. But constant slamming:
- Bends the door frame
- Compresses or dislodges the gasket
- Weakens the corners over time
Now I treat my oven door like I treat cast iron—firm but gentle.
Avoid Excessive High-Heat Baking
Every once in a while is fine. But constant 500°F broiling or self-cleaning cycles will wear your seal down faster.
I noticed mine hardened and cracked after a few self-clean cycles in Arizona summer heat. Now I wipe it clean instead and skip that oven-nuking mode unless I absolutely have to.
FAQs: How to Replace an Oven Door Seal
How do I replace an oven door seal?
To replace an oven door seal, turn off the oven and let it cool. Remove the old gasket from the clips or hooks. Fit the new seal into place and press it in firmly around the oven door frame.
When should you replace an oven door seal?
Replace an oven door seal when you see cracks, gaps, or loose parts. Heat may leak from the door. A new seal helps keep the oven hot and improves cooking results.
Can I replace an oven door seal myself?
Yes, you can replace an oven door seal at home. Most seals attach with clips or hooks. Follow the oven manual and fit the new gasket along the door frame.
How long does it take to replace an oven door seal?
Replacing an oven door seal is quick. In most cases, it takes about 10–15 minutes. Remove the old gasket, attach the new seal, and check that it sits tight around the oven door.
What tools are needed to replace an oven door seal?
Most oven door seal replacements need no tools. Some ovens may need a small screwdriver to remove clips. Check your oven guide before you start the seal replacement.