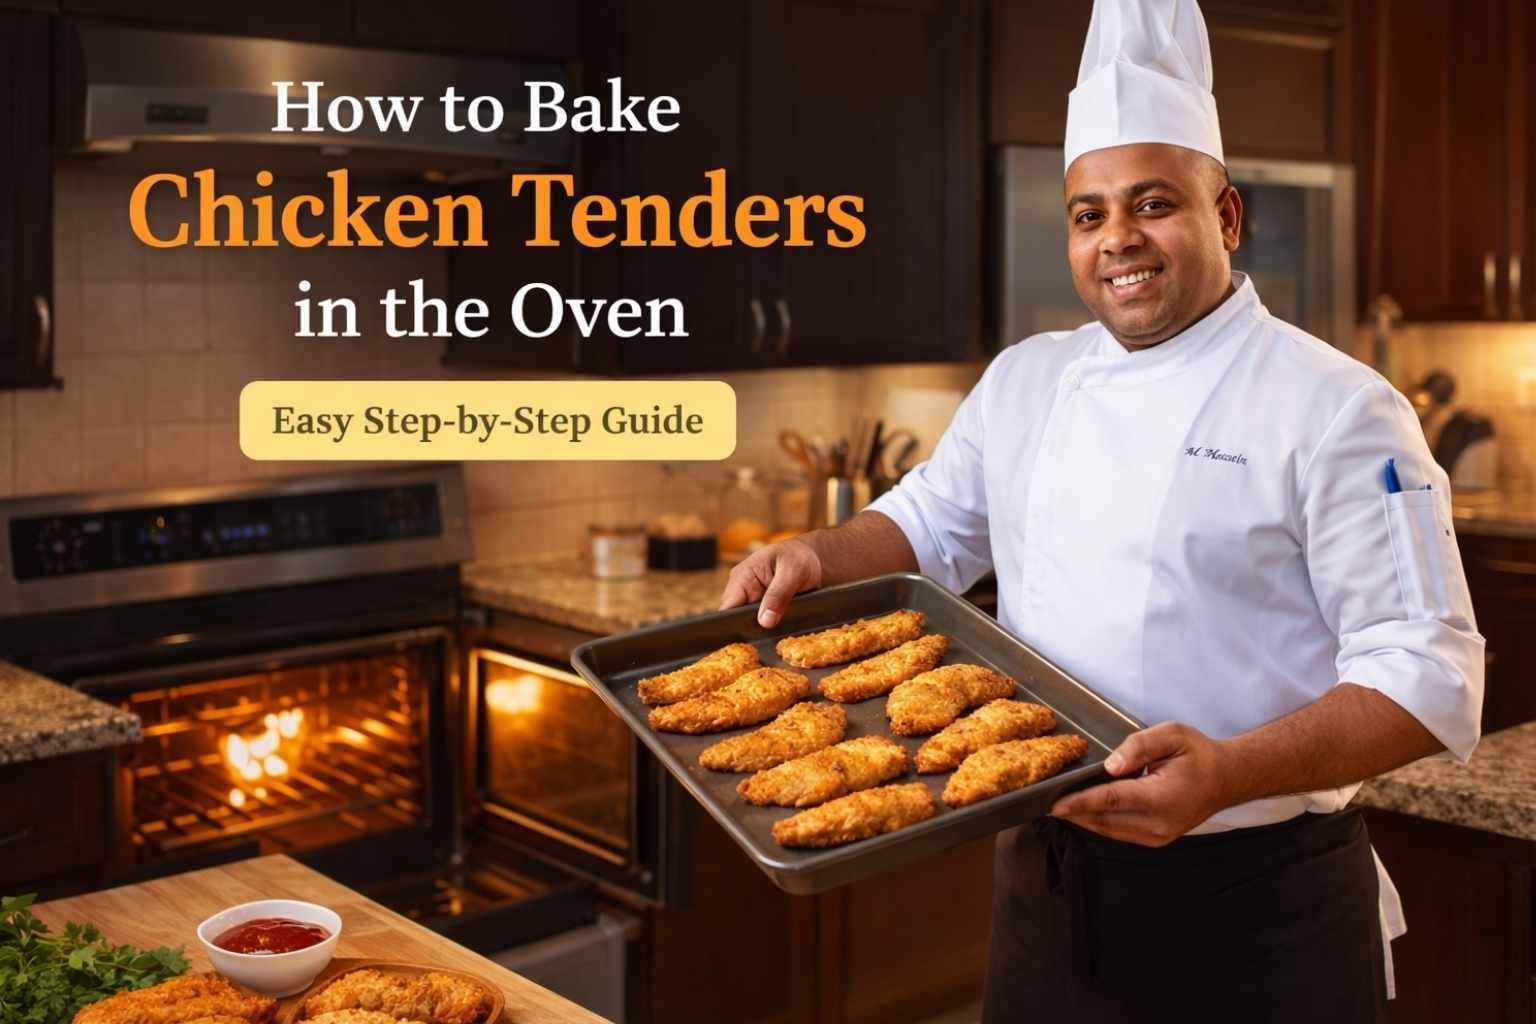
Hey, I’m Mossaraof — a professional cook and food blogger. I still love the simple joy of warm chicken tenders fresh from the oven. Today I will show you How to Bake Chicken Tenders in the Oven so they turn crisp outside and juicy inside. It is one of the easiest meals I make for quick dinners.
I have cooked this dish many times, and the oven always brings out great flavor with very little effort. With the right heat and a few small tips, chicken tenders bake fast and taste amazing. If you want to learn more oven basics, read The Complete Guide to Using an Oven at Home. Now let’s walk through How to Bake Chicken Tenders in the Oven step by step.
Table of Contents
ToggleThey’re Easy, Affordable, and Family-Approved
No one wants to cook a 10-step dinner at 6:45 PM.
That’s why I love baking chicken tenders in the oven. You only need:
- Boneless chicken breast or pre-cut tenders
- Eggs, flour, and breadcrumbs (Panko if you want crunch)
- Some spices — I usually grab paprika, salt, pepper, garlic powder
- A baking tray and some cooking spray
Even better? My picky eater actually asked for seconds. That almost never happens unless it’s mac and cheese.
You don’t need fancy ingredients or professional tools to make them taste great. Just a working oven, 30 minutes, and a little patience.
Less Mess Than Frying, More Control Than Air Fryers
I’ve deep-fried chicken in a commercial kitchen, and let me tell you — the cleanup at home? Not worth it.
When I bake chicken tenders in the oven:
- There’s no grease splatter on the counter
- My apartment doesn’t smell like a diner
- I don’t have to babysit hot oil
Sure, air fryers are trendy. But they cook unevenly if you crowd them. Plus, I’ve found they dry out the chicken faster if you’re not careful.
My oven lets me spread everything out, flip once, and walk away.
Healthier, But Still Crispy (With the Right Tricks)
Look, I’m not going to tell you oven-baked chicken tenders taste exactly like fried. But they come close — really close — if you do it right.
I’ve learned a few crisp-enhancing tricks:
- Use a rack so air circulates under the chicken
- Spray oil on both sides for that golden crust
- Don’t over-bread — too thick and it gets soggy, not crunchy
And hey, my jeans fit better when I skip the fryer. That’s a win in my book.
Ingredients & Tools I Trust After Many Batches
Intro: I’ve tried everything from budget pans to high-end racks. Here’s what actually works in real ovens — not TV sets.
I’ve made baked chicken tenders in so many kitchens — Florida humidity, Arizona dryness, Midwest snowstorms. Some days I was cooking for five people, other nights it was just me and a Netflix rerun.
What I’ve learned? The ingredients and tools seriously affect how things turn out. These are the ones I keep going back to.
Essential Ingredients for Baked Chicken Tenders
You don’t need anything fancy. But don’t skimp on freshness.
Here’s my go-to list:
- Chicken: Boneless skinless chicken breast or pre-sliced tenders. I slice them myself if needed — thinner cooks faster and crisps better.
- Breadcrumbs: Panko is my favorite. Crunchy and light. I sometimes mix in regular breadcrumbs too if I’m low.
- Eggs: Helps everything stick. I beat two in a wide bowl.
- Flour: Just plain all-purpose. Optional, but I use it for a nice base coat.
- Seasonings: I always reach for garlic powder, paprika, sea salt, black pepper. Sometimes a little cayenne if I’m feeling bold.
- Parmesan (optional): Adds flavor and helps browning. Freshly grated if you can swing it.
- Spray oil: I keep avocado oil spray on hand. Olive oil spray works great too.
And let me say this — don’t use wet chicken. Pat it dry with paper towels or you’ll end up steaming, not baking.
Oven Tools That Actually Make a Difference
There are tools that collect dust in my drawer… and then there are tools I use weekly.
These? These are my ride-or-die baking gear:
- Baking sheet: Light-colored aluminum pans brown more evenly. I use Nordic Ware or the plain silver ones from Target — no fancy coating.
- Wire rack: Total game changer. Elevates the tenders so heat can circulate. I use a USA Pan rack that fits perfectly in my half sheet tray.
- Meat thermometer: You need one. I use a ThermoPro — quick, digital, and no guesswork.
- Tongs: Silicone-tipped. Metal scratches pans and can rip off your coating.
- Mixing bowls: I use three shallow bowls for flour, eggs, and breadcrumbs. Glass or stainless — doesn’t matter, just roomy.
And if you’re using a toaster oven like I did in my old Chicago apartment — make sure your tray has some clearance. I once forgot and the top of my breadcrumb crust burned black before the chicken even cooked.
How to Bake Chicken Tenders in the Oven — Step-by-Step
I’ve lost count of how many times I’ve made chicken tenders in the oven. Sometimes it’s for a party tray. Other times it’s just a solo dinner when I don’t want to deal with real pants or restaurant prices.
What I love? You don’t need a culinary degree to get this right. Just a decent oven, some space on the counter, and a game plan.
Here’s mine — the real-life version.
Step 1 — Prep Your Station
Before anything touches the chicken, I set up my little “assembly line.” It saves my sanity later.
- Preheat your oven to 425°F. (I go 400°F if I’m using convection mode.)
- Grab a rimmed baking sheet and line it with foil or parchment. Easier cleanup = happier me.
- Place a wire rack on the sheet if you want that even crisp. Highly recommend it.
- Set up three bowls:
- Bowl 1: Flour + a pinch of salt and pepper
- Bowl 2: Beaten eggs
- Bowl 3: Breadcrumbs + seasonings (I toss in garlic powder, paprika, and Parmesan)
Sometimes I’ll turn on some jazz or ’90s hip hop while I do this part. Helps me stay in rhythm.
Step 2 — Season and Coat
This is where the texture magic happens.
- First, pat the chicken dry. If it’s wet, the breading slides right off. I’ve learned that the hard way.
- Dredge the chicken:
- Light coat of seasoned flour
- Dip into egg — fully, but don’t let it drip everywhere
- Press into breadcrumb mix (use your fingers to really press it in)
I work in small batches, maybe 2–3 strips at a time. Less mess. More control.
Once they’re coated, I lay them gently on the wire rack.
Then, I spray the tops with avocado oil spray. Just a quick mist — it helps them brown evenly without soaking them.
Step 3 — Bake Until Golden and Done
Here’s where the oven does the heavy lifting.
- I slide the tray into the middle rack.
- Set a timer for 18 minutes, but I start checking at 16 minutes.
- If you’re using a thermometer (you should), they’re done at 165°F internal temp.
If they’re looking pale at the 18-minute mark? I’ll broil for 1–2 minutes to finish them off. But watch carefully — broilers go from golden to charcoal in 10 seconds flat.
What I Learned From Overcooking Them
Confession: I used to overbake them.
Not on purpose — I just didn’t trust they were fully cooked unless they were deep brown.
But that often left me with dry tenders. Chewy. Boring.
Once I got a good thermometer and started pulling them out right at 165°F, it changed everything. Juicy. Perfectly cooked. No guesswork.
Also, one tip: if your tenders are thick or uneven, pound them gently with a mallet or heavy pan before breading. It helps them cook evenly — and they look more uniform on the plate, too.
How Long to Cook Chicken Tenders in the Oven — Fresh vs Frozen
I used to think frozen chicken tenders were a lost cause — either rubbery or burnt. But after a few experiments (and, okay, one smoky kitchen moment), I figured out how to bake them properly.
Whether you’re starting from scratch or tossing in a frozen bag from Costco, the timing and temperature make all the difference.
Let’s break it down.
Fresh Chicken Tenders (Raw, Not Frozen)
When I’m working with raw chicken strips — either store-bought or hand-cut — this is my go-to method.
- Temp: 425°F (standard oven) or 400°F (convection)
- Time: 18 to 22 minutes
- Finish: Internal temp of 165°F + golden crust = done
I start checking around minute 16, especially if I’ve cut them thinner than usual. Some days I’m impatient and slice them slim to cook faster — guilty.
If the tops aren’t crisp enough, I’ll broil for the last 1–2 minutes.
👉 Pro tip: Always use a rack. Without it, the bottoms steam and turn soggy — especially in high-humidity kitchens like mine in Florida.
Frozen Raw Chicken Tenders (Homemade or Store-Bought)
Sometimes I prep a big batch and freeze the extra uncooked. Or I buy raw frozen tenders from a local butcher that come vacuum-sealed.
Here’s what works for me:
- Temp: 400°F
- Time: 25 to 30 minutes
- Tip: Start with foil covering the tray for the first 10 minutes, then uncover to crisp up
Why cover them at first? Because the outer layer can burn before the inside thaws. I’ve had breadcrumb crusts go brown while the center still feels like a popsicle. Not fun.
👉 Use a thermometer here too. These can be unpredictable depending on size and freezer density.
Pre-Cooked Frozen Chicken Tenders (From the Store)
You know the kind — Tyson, Perdue, or store brands. They’re already cooked, so you’re just reheating and crisping.
- Temp: 400°F
- Time: 12 to 15 minutes
- Rack or tray: Either works, but rack gives better crunch
- Flip halfway to avoid soggy bottoms
I usually do these when I’m pressed for time — like on late work nights when even cracking an egg feels like a chore.
👉 Warning: They cook fast. I’ve forgotten them before and ended up with chicken jerky.
Quick Reference Table
Here’s the cheat sheet I keep on my fridge:
| Type | Temp | Time | Notes |
|---|---|---|---|
| Fresh raw tenders | 425°F | 18–22 min | Use rack, oil spray, flip once |
| Frozen raw tenders | 400°F | 25–30 min | Start covered, then crisp |
| Pre-cooked frozen tenders | 400°F | 12–15 min | Flip halfway, don’t overbake |
Next, I’ll walk you through how to get that crispy texture everyone wants — without using a deep fryer. That golden crunch? It’s totally doable in your oven.
How to Make Crispy Chicken Tenders in the Oven (Without Deep Frying)
There’s something so satisfying about that crunch when you bite into a chicken tender. But I’ll be honest — I’m not pulling out a deep fryer on a weeknight. Or ever, really.
So, I figured out how to get oven-baked tenders crispy enough to compete — without dealing with a pot of oil or a smoky kitchen.
These are the tricks I use every time.
Panko + Parmesan + High Heat = Crunch
I used to use regular breadcrumbs… and my tenders always came out soft. Then I discovered Panko.
- Panko breadcrumbs: They’re bigger and lighter. Perfect texture.
- Grated Parmesan: Adds flavor and helps brown the crust. I mix in ¼ cup for every cup of Panko.
- Spices: Garlic powder, paprika, onion powder — they don’t just flavor, they toast up in the oven.
It’s not magic. It’s chemistry. The cheese crisps, the Panko toasts, and the high heat finishes the job.
Use a Rack, Not Just a Sheet Pan
If you’ve ever pulled tenders out of the oven and they were golden on top but soggy underneath, here’s why — no rack.
I learned this the messy way.
Using a wire rack:
- Lifts the chicken up
- Lets heat and air hit every side
- Prevents the breading from steaming underneath
Even if you don’t have a fancy rack, elevate them with metal cookie cutters or rolled-up foil rings. I’ve improvised. It works.
Spray Oil — But Not Too Much
Don’t drown your tenders in oil. I did that once and ended up with soggy bottoms and grease-stained parchment.
Instead:
- Use avocado or olive oil spray
- Lightly mist the tops after breading
- Flip halfway and mist again if needed
This helps with that golden finish and crisp without adding too much fat. It also gives that fried look — minus the fried regret.
Flip Only Once
I used to flip mine too much. Trying to be a pro.
Turns out, the more you flip, the more chance you’ll knock off that perfect coating.
So now I:
- Bake for 10–12 minutes
- Flip gently with silicone-tipped tongs
- Bake another 8–10 minutes
No fidgeting. No panicking. Just let the oven work its magic.
When to Broil — and When Not To
I’ll use broil to finish them off, but only under the right conditions.
Broil for 1–2 minutes at the end if:
- The tenders look pale
- You want an extra crispy edge
- You didn’t over-oil them earlier
Avoid broiling if:
- You used sweet sauces (like BBQ — it’ll burn)
- Your rack is too close to the element
- You’ve already got dark crust forming
One time I broiled too long while scrolling on my phone… and let’s just say it turned into a “smoky flavor” kind of night.
How to Cook Chicken Tenders in a Toaster Oven (Yes, It Works)
Back when I lived in a small Chicago walk-up with one outlet and barely enough counter space for a cutting board, I relied on a toaster oven for everything.
I wasn’t sure if chicken tenders would even bake right in it — but surprise, they actually came out crispy and juicy.
You just have to make a few small adjustments.
Adjust Temp and Position
Toaster ovens run hotter than you think. And faster. I learned this the hard way when the tops of my tenders browned in 7 minutes — but the insides were still raw.
Here’s what I do now:
- Set the oven to 400°F, not 425°F.
- Preheat fully — give it 5 solid minutes even if it says it’s ready.
- Place the rack in the middle or lower third, not too close to the top.
This helps avoid over-browning the tops while the center cooks through. Trust me, it makes a difference.
Watch the Size
Most toaster ovens have a tiny footprint. You can’t cram in 10 tenders like in a regular oven.
So I go small-batch:
- Cook 4–6 tenders max at a time
- Leave space between each one — no touching
- Use a quarter sheet tray or broiler pan if your oven came with one
If I crowd them, they steam instead of crisp. Not ideal.
Also — don’t stack layers. I tried that once using foil as a divider. It was… not a win.
Keep an Eye Out — They Cook Faster
The biggest challenge? They cook fast.
Like, way faster than you expect.
- I bake them for 15–17 minutes at 400°F
- Flip at 8 minutes
- Check temp with a thermometer — again, 165°F is your target
Sometimes I’ll even lower the temp to 375°F if my toaster oven runs hot. Every model is different — Breville, Panasonic, Hamilton Beach — they all have their quirks.
Broil Mode Caution
Toaster ovens usually have a “broil” setting. It sounds tempting… but it’s aggressive.
Only broil in a toaster oven if:
- You’re standing right there
- You want just a quick 30–60 seconds of browning
- You haven’t already used spray oil (which can burn fast)
I’ve literally had breadcrumbs catch fire in under a minute. My smoke alarm still hates me for that one.
Common Mistakes When Baking Chicken Tenders in the Oven
You know those nights when your brain’s running on fumes and you just want dinner to make itself?
Yeah… those are the nights I usually mess up something with chicken tenders. From soggy bottoms to burnt breadcrumbs, I’ve been there more times than I’d like to admit.
Let’s walk through the most common mistakes — so you don’t repeat them like I did.
Soggy Bottoms
It’s the worst feeling — you lift a perfectly golden tender and the underside is pale and mushy.
The usual culprits?
- No wire rack: Game over. Without airflow underneath, moisture builds and ruins that crisp.
- Crowding the pan: If they’re touching, they steam instead of baking. Always give each tender some breathing room.
- Too much egg: If it’s dripping when you coat it, it’ll turn gooey underneath.
👉 Fix: Use a rack, space them out, and let excess egg drip off before breading.
Bland Flavor
I once made a batch so flavorless, I had to drown them in ranch just to finish dinner.
Here’s what I forgot:
- Season every layer — not just the meat. The flour and the breadcrumbs need salt and spice too.
- Use flavorful crumbs: Panko is great, but adding Parmesan or herbs levels things up.
- Don’t rely on sauces to save you. If the chicken itself is bland, no dip can fully fix it.
👉 Fix: Taste-test your breadcrumb mix before coating. You’ll know if it needs more punch.
Undercooked Center
Nothing kills the vibe like cutting open a tender and seeing raw pink in the middle.
I used to just guess by the outside color. Bad idea.
Common reasons:
- Chicken strips were too thick or uneven
- I didn’t flip them
- My oven temp was inaccurate (my old apartment oven ran 15°F cooler than it said)
👉 Fix:
- Pound chicken to even thickness
- Always use a thermometer (I use mine constantly)
- Flip halfway so both sides cook evenly
Burned Outside, Raw Inside
This one’s extra frustrating — the tenders look perfect on the outside but are cold in the center.
Usually happens when:
- Oven is too hot (especially with convection or toaster ovens)
- Frozen tenders weren’t adjusted for time
- You used sugar-based marinades or glazes (those brown way faster)
👉 Fix:
- Lower oven temp if using convection
- Start frozen tenders covered with foil
- Save sweet sauces for the end — not before baking
Breadcrumbs Falling Off
You spend time getting that perfect coating… and then it flakes off in the oven.
I hate when that happens.
The reasons?
- Wet chicken
- Didn’t press the coating firmly
- Overhandled with tongs or flipped too soon
👉 Fix:
- Pat the chicken dry
- Press breadcrumbs in with your hands
- Let them bake undisturbed for the first 10–12 minutes
Oven Brands and Tools I Trust in U.S. Kitchens
I’ve cooked in a lot of different kitchens — rental units, family homes, my own chaotic apartment setups. Some had top-tier ovens, others… well, I had to light the pilot with a prayer.
Through all that, I’ve learned which brands and tools actually help me make great chicken tenders — and which ones make me want to scream into a dish towel.
Oven Brands I’ve Used (And How They Performed)
Not all ovens bake the same. Here’s what I’ve tested firsthand:
- GE: Super reliable. Held temperature well. I used one in Florida that never gave me burnt edges or hot spots. Great convection option too.
- Whirlpool: Solid all-around. The Whirlpool in my Arizona kitchen baked evenly and the broil mode didn’t scorch my tenders like others did.
- Frigidaire: Decent, but sometimes slow to preheat. Not a dealbreaker — just plan ahead.
- Breville Smart Oven (Toaster): Lifesaver in my tiny Chicago apartment. Perfect for small batches. Fast, crisp, compact.
If you’re in a U.S. apartment or rental, chances are you’ve used one of these. Each has its quirks, but all can work if you adjust for heat zones and preheat long enough.
Best Sheet Pans and Racks I Swear By
Not all baking sheets are equal. I’ve had some warp mid-bake with a terrifying clang.
My personal go-to’s:
- Nordic Ware aluminum half sheet pans
- Even heating
- Doesn’t warp at high temps
- Cleans up easily (even after cheesy messes)
- USA Pan nonstick rack
- Fits inside standard pans
- Oven-safe coating that actually lasts
- Dishwasher safe (but I usually hand wash mine to keep it nice)
If you want crispy tenders with no soggy bottoms, that rack is your MVP.
Thermometers That Saved Me from Overcooking
I never bake meat without a thermometer anymore. I used to wing it — big mistake.
These are my favorites:
- ThermoPro TP19
- Instant-read, fold-out probe
- Accurate and fast
- Affordable (under $20 last I checked)
- OXO Good Grips digital
- Simple, solid, no fuss
- I keep one in my drawer just in case
Forget fancy smart thermometers — these little guys do the job without draining your wallet or requiring an app download.
How to Serve and Store Baked Chicken Tenders
The first time I made oven-baked chicken tenders, I served them straight from the rack to the plate. No frills. Just me, my dinner, and some dipping sauce.
Then came the leftovers — and I quickly had to figure out how to store and reheat them without turning them into chewy sadness.
Here’s what’s worked for me (and what hasn’t).
Best Ways to Serve
Whether I’m cooking for guests or just need a quick solo dinner, I’ve used these combos more times than I can count.
- Classic dipping lineup: Ranch, honey mustard, BBQ, and a spicy sriracha mayo I make with whatever’s in the fridge
- Salad topper: I toss chopped tenders over mixed greens, cherry tomatoes, and avocado — drizzle with vinaigrette and it feels fancy
- Wraps: Slice the tenders and tuck them into tortillas with lettuce, cheese, and whatever sauce I’m feeling
- Kid-friendly plate: Tenders + apple slices + some sweet potato fries = clean plate every time
I’ve even brought a cold tender wrap on a picnic. Still held up.
Storing Leftovers
I used to just toss the extras in a baggie and hope for the best. That led to soft, sad tenders.
Now I do this:
- Let them cool completely before storing — no trapping steam
- Store in an airtight container lined with a paper towel
- Keep in the fridge for up to 4 days (though they rarely last that long)
Stacking’s fine, but I separate them with parchment if I’m meal prepping a big batch.
Reheating Tips
Microwaving? Nope. Tried that once — the breading turned limp and the inside dried out.
Here’s how I keep the crunch:
- Toaster oven or oven at 375°F
- 8 to 10 minutes
- Place directly on the rack or a tray with a wire rack
- Flip halfway if needed
If I’m short on time, I’ll even throw them in my air fryer for a few minutes at 360°F — but only if I’m okay with the edges getting a little extra browned.
👉 Bonus tip: spritz with a little oil before reheating for extra crisp.
U.S. Kitchen Climate Tips (Arizona Dryness to Florida Humidity)
I used to think baking was all about time and temperature — turns out, climate plays a sneaky role.
After cooking tenders in everything from sticky Gulf Coast heat to icy Midwest winters, I’ve learned to adjust my method depending on where I am. Sometimes it’s about moisture. Other times it’s about how fast things brown.
Here’s what I’ve figured out over the years.
In Humid Climates (Florida, Gulf States, Southeast)
I spent a few years cooking in a small Florida kitchen, and wow — the humidity made everything weird.
- Breadcrumbs clump fast: I learned to store mine in a tightly sealed jar with a dry rice packet inside
- Breading goes soggy quicker: If the air’s thick, I bake a bit longer and broil near the end
- Ovens take longer to preheat: I now give mine a full 15 minutes, even when it says it’s ready
Also, running the A/C or a dehumidifier while baking actually helped. Otherwise, the air would trap steam and mess up my crunch.
In Dry Regions (Arizona, Nevada, Inland West)
Dry air brings the opposite problem. In Arizona, my tenders baked faster… but dried out way too easily.
- Chicken loses moisture quickly: I cut back bake time by 2–3 minutes
- Breadcrumbs toast fast: I lower the temp to 400°F or even 390°F to avoid burnt edges
- Storage matters: I double-wrap leftovers or they turn to chicken jerky overnight
One tip: I started brushing a tiny bit of mayo on the chicken before breading — helps seal in moisture without changing the taste.
Cold Winters (Midwest, Northeast, Mountain States)
I cooked through two Chicago winters, and let me tell you — baking tenders with frozen fingers is its own kind of challenge.
- Cold kitchens cool the oven faster: I learned to preheat longer and avoid opening the door too much
- Chicken straight from fridge? It drags down oven temp. Let it sit out 10–15 minutes first
- Older ovens struggle in winter: I used an oven thermometer to make sure 425°F was actually 425°F
Also, baked chicken tenders are great comfort food when it’s snowing out. I pair them with mashed potatoes and green beans — or just eat them in a hoodie on the couch.
Final Thoughts from a Tired but Happy Chef
You know what I love about oven-baked chicken tenders?
They don’t ask for perfection.
You can mess up the breading a little, forget to flip halfway, or use the wrong rack — and they’ll still come out pretty darn good.
I’ve made them:
- After long workdays when I barely had the energy to cook
- For picky eaters who “don’t like chicken” (they liked these)
- While snow was falling outside or when the AC could barely keep up
Sometimes they come out extra golden. Sometimes a little uneven. But they always taste like something I made with care — even if it was thrown together with one eye on the oven and the other on the dog knocking over a laundry basket.
It’s Not Fancy, But It Works
There’s a lot of pressure out there to cook like a professional chef every night. But the truth is, you don’t need restaurant gear or viral recipes to feed yourself well.
You need:
- A solid oven
- A rack or pan that doesn’t fight you
- Chicken, seasoning, and a little patience
Some nights, that’s all I can give — and that’s okay.
When in Doubt, Use the Thermometer
This little tool changed how I cook everything, but especially chicken.
I’ve saved so many meals just by pulling out a tender two minutes earlier than I used to — thanks to that instant-read thermometer.
You’d be surprised how much juicier things get when you stop guessing.
FAQs: How to Bake Chicken Tenders in the Oven
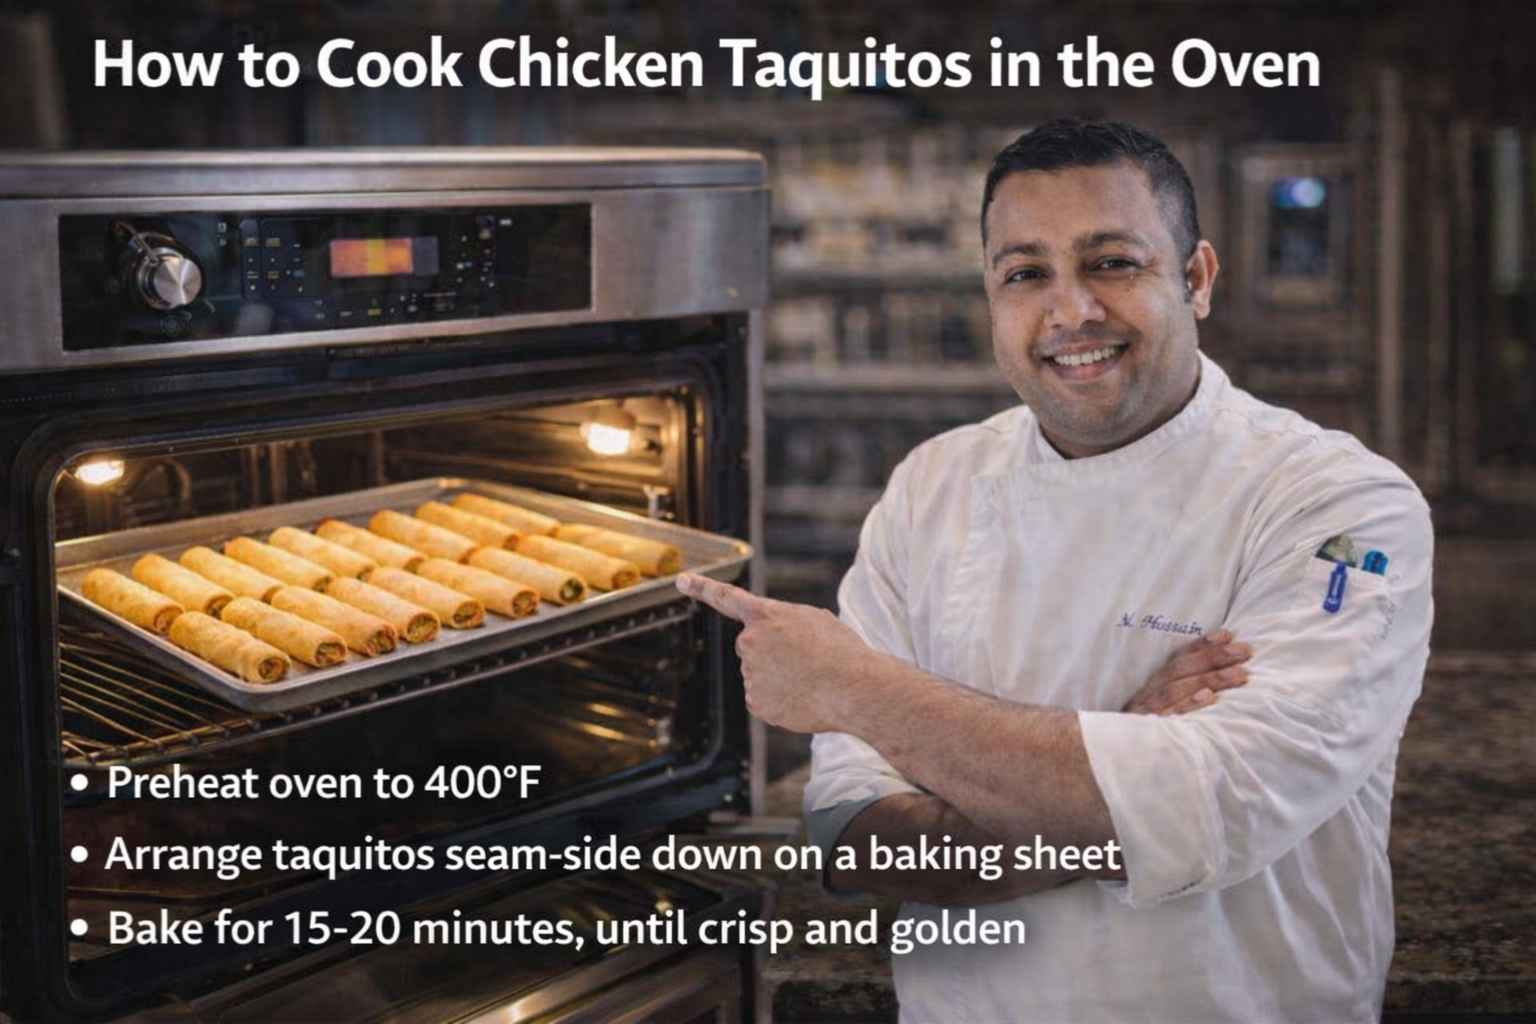
How long does it take to bake chicken tenders in the oven?
It takes 15 to 20 minutes at 400°F. Turn them halfway through the time. This helps both sides get a nice crunch while the meat stays tender.
What is the best oven temperature for chicken tenders?
Set your oven to 400°F (204°C). This high heat makes the breading very crisp. It also cooks the small strips of meat quickly so they stay moist.
Do I need to flip the tenders while they bake?
Yes, you should flip them once. This ensures the bottom does not get soggy. Flipping helps you bake chicken tenders that are golden brown on every side.
How do I keep the meat from sticking to the pan?
Use a piece of parchment paper or a silicone mat. You can also spray the pan with oil. This makes it easy to flip the meat without losing any crust.
Can I bake frozen chicken tenders using this method?
Yes, you can. Just add about 5 to 10 minutes to the cook time. Always check that the inside is hot and the outside is firm before serving.