Hi, I’m Mossaraof — a pro cook and food blogger who loves simple oven meals. One dish my friends ask for all the time is How to Bake Chicken Flautas in the Oven. I first tried it on a busy weeknight, and the crispy rolls won my heart fast. If you want an easy, crunchy dinner without deep frying, you’re in the right place.
In this guide on How to Bake Chicken Flautas in the Oven, I’ll share the tips I use in my own kitchen. I’ll also link a helpful resource, The Complete Guide to Using an Oven at Home, so you can master oven cooking with ease. Stick with me, and I’ll show you how to make golden, crispy flautas that taste just like your favorite taqueria. Let’s get started! 🍗🔥
Table of Contents
ToggleWhy I Stopped Frying and Started Baking Flautas
It didn’t happen overnight. It took a lot of splattered oil, soggy bottoms, and one burnt towel to finally win me over to baking.
The Fried Flauta Struggles Were Real
I live in a smaller home now—open kitchen, low ceilings. When I used to fry, the oil smell didn’t just stick around—it moved in. One time after making flautas on a Friday night, my winter coat smelled like canola oil for two full days. And yes, I’d hung it by the front door, not in the kitchen.
Then there was the cleanup. The counter would be speckled with grease. I’d wipe it down, then find more the next day. Cooking chicken flautas in the oven started to sound a lot more appealing.
What Pushed Me to Try Baking
It was a Sunday in late spring. My sister called last minute and said she was swinging by with the kids. I had leftover rotisserie chicken, tortillas, and some shredded cheese. I thought, Why not roll and bake them?
No mess. No stress. I just brushed them lightly with oil, popped them in the oven, and let the heat do its thing while I cleaned up.
They came out golden and crisp on the edges, with melty cheese peeking out from the seams. The kids devoured them. So did my sister. And me? I was shocked.
From that moment, I started tweaking the method—trying different bake times, tortillas, fillings—to nail how to make crispy chicken flautas in the oven every single time.
Why Oven-Baking Works So Well for Me Now
- Less oil = less mess = less stress
- My oven does the work while I prep toppings
- The flautas still get golden and crunchy (especially on a wire rack)
- It’s safer, especially when I’m multitasking with kids around
And here’s the thing: these aren’t sad, soggy imitations. If you brush the tortillas right, place them seam-side down, and bake at the right temp, they get so satisfying.
Some even say they prefer the baked ones—especially when they’re not in the mood for that heavy, fried feeling after dinner.
The Oven Setup That Works Best for Flautas
I’ve tested these flautas in everything from a tiny toaster oven in my Chicago apartment to a full-size Whirlpool convection oven—and each setup taught me something new.
Regular Oven vs. Convection: Which One Wins?
Let me be honest—my first few tries baking flautas were in a regular oven. No fans. No bells. Just a simple GE electric model that came with my rental. And you know what? It worked just fine.
But once I moved and got a convection oven? Game changer.
The fan circulates hot air, which helps the flautas crisp up more evenly—especially the bottoms. In my old oven, sometimes the tops browned while the undersides stayed soft unless I flipped them.
In a convection oven:
- Bake time is a bit shorter (about 16–18 minutes at 400°F)
- Browning is more even—less rotating trays mid-bake
- You get that airy, puffed crispness that’s hard to get with still heat
That said, if you’ve got a regular oven, don’t worry. Just bake a little longer (more on that below), and you’ll still get delicious results.
Cooking Chicken Flautas in a Toaster Oven
Yes, I’ve done it. More than once.
Back when I lived in a small studio in Florida with no full oven, I relied heavily on my Breville toaster oven. It preheated fast, didn’t overheat the kitchen, and surprisingly… it made killer flautas.
A few toaster oven tips that saved me:
- Use the bake or convection bake setting, not toast or broil
- Place flautas directly on a small wire rack set inside the tray
- Don’t overcrowd—it’s a small space, so I’d do two flautas max at a time
- Watch the browning closely around the 12-minute mark (things crisp faster in small ovens)
If you’re wondering how long to bake chicken flautas in a toaster oven:
400°F for 14–17 minutes usually did the trick for me—just enough to get golden edges without drying out the chicken.
My Ideal Oven Temperature for Baked Flautas
After dozens of rounds (and a few charred tortillas), I landed on my go-to:
400°F — not too hot, not too mild. Just right.
It gives you:
- Crisp edges without burning the tortilla
- Melted cheese that stays gooey, not rubbery
- Just the right crunch when you bite in
I’ve tried 375°F (they came out softer, kind of chewy), and 425°F (burnt ends, underdone middles). So 400°F is my goldilocks zone.
In a convection oven: I sometimes drop it to 390°F if I’m using thin tortillas or extra cheese.
In a regular oven: I stick with 400°F and bake for 20–22 minutes, checking at the 18-minute mark.
And if you’re reheating? 375°F for 10–12 minutes does wonders. I’ll share more on that later.
What You Need to Make Chicken Flautas at Home
I don’t use fancy gadgets or chef-level gear for these. Just a few trusty tools and ingredients that work well in a real-life kitchen.
It doesn’t matter if I’m cooking for friends or meal-prepping lunch—I always go back to the basics when making chicken flautas in the oven. Here’s my real go-to list, after trying it every which way.
Tools I Actually Use (Nothing Fancy)
I’ve tried overthinking this. Air fry baskets, specialty pans, complicated setups. But you don’t need all that.
Here’s what’s actually on my counter:
- Rimmed baking sheet – It keeps oil from dripping and helps hold heat evenly. I’ve used both Nordic Ware and USA Pan—both solid.
- Wire rack (optional) – If I want all-over crisp, especially on humid days, I’ll set the flautas on a rack inside the sheet pan.
- Silicone brush – I use it to brush the tops with a bit of oil. I used to use cooking spray, but a brush gives more control.
- Foil or parchment – Foil gives crispier bottoms, parchment keeps them a little softer. Depends on your texture mood.
- Tongs or thin spatula – For flipping halfway (if needed). Though honestly, I often skip flipping now that I know how to place them seam-side down.
You don’t need anything high-end, but a reliable baking tray makes a difference—especially if you’re making a full batch.
Ingredients That Never Let Me Down
There are so many ways to fill chicken flautas, but I usually keep it simple and flavorful.
Here’s what I reach for:
- Shredded chicken – Rotisserie from Costco saves me every time. But when I have extra oven-baked chicken thighs, I shred those instead.
- Flour tortillas – Soft taco size (about 8 inches) rolls best. I’ve tried corn tortillas too, but they’re fussier and tend to crack unless warmed just right.
- Shredded cheese – Colby jack or Mexican blend. I don’t go overboard with it, just a sprinkle for creaminess.
- Seasonings – Chili powder, cumin, garlic powder, smoked paprika, and a pinch of salt. Sometimes I add a splash of lime juice to the chicken if it feels too plain.
- Optional add-ins – Salsa, chopped onions, jalapeños, or refried beans. Depends on the day.
I’m not chasing restaurant-style flautas here. I’m after that homemade comfort—crispy outside, warm and cheesy inside, with just the right amount of kick.
Brands I Keep Coming Back To (U.S. Favorites)
These aren’t endorsements. Just real stuff I pick up again and again:
- Mission tortillas – Easy to roll, don’t tear. They brown nicely too.
- Kirkland rotisserie chicken – Super affordable, already seasoned, and shreds like a dream.
- Tillamook cheese – Richer flavor than most shredded packs.
- Staub baking dish – When I want to serve straight from the oven. Holds heat beautifully and looks fancy on the table (even when dinner’s low-effort).
- Reynolds foil – I don’t mess with store-brand foil anymore. Learned the hard way when one batch stuck completely.
On a rushed weeknight, I’ve pulled this all together in under 10 minutes. And on slower days, I’ll sauté the chicken with onions and peppers, or roast the tortillas with a little garlic oil.
Either way, the base ingredients stay the same. Nothing complicated. Nothing hard to find.
Step-by-Step: How to Make Chicken Flautas in the Oven
This is the exact method I used on a rainy Tuesday night when I had leftover chicken and no energy to cook a full meal.
Sometimes I wing it. Other times I follow my flauta routine like clockwork. This version is my go-to. It’s quick, easy to repeat, and delivers that perfect crispy roll every single time.
Step 1: Shred and Season the Chicken
I usually start with already-cooked chicken. Leftover baked thighs, rotisserie, or even frozen grilled strips—whatever I’ve got.
I warm the chicken slightly in a skillet (or microwave, if I’m lazy), then toss in seasoning.
My quick mix:
- ½ tsp chili powder
- ½ tsp cumin
- ¼ tsp garlic powder
- Pinch of salt
- Optional: splash of lime juice for brightness
Sometimes I’ll add a spoonful of salsa or green chilies. If I’m in a spicy mood, I toss in chopped jalapeños. But most days, I keep it mellow and simple.
Step 2: Warm the Tortillas (Don’t Skip This!)
Cold tortillas crack. Especially if you’re trying to roll them tightly.
So I wrap a stack of 4–5 flour tortillas in a damp paper towel and microwave them for 30 seconds. Just enough to soften without steaming them into mush.
Corn tortillas need more care. I’ve learned to warm those one at a time on a dry skillet—otherwise, they fall apart mid-roll.
If I’m making a big batch, I keep the tortillas warm in a clean towel while I work.
Step 3: Assemble the Flautas
This part goes fast once you’ve got everything laid out:
- Lay a tortilla flat
- Add about 2 tablespoons of the chicken mixture in a line off-center
- Sprinkle a bit of cheese on top
- Roll it up tightly from the filling side
- Place seam-side down on a foil-lined or parchment-lined baking sheet
I don’t use toothpicks anymore. They’re not necessary if you roll tightly and place the seam down.
A little cheese might ooze out while baking. I call that flauta gold.
Step 4: Brush and Prep for the Oven
Here’s the trick to making them crispy without frying:
- Lightly brush the tops with oil (olive, canola, or avocado)
- Make sure the ends get a little oil too—those tips are what crisp up so well
- Don’t drown them—just a thin layer is enough
- Optional: sprinkle with a pinch of salt or chili powder for extra flavor
If I’m using a wire rack, I set it inside the baking sheet and place the flautas on that. It helps air circulate underneath and gets them extra crisp all around.
But when I’m tired? Straight on the foil-lined tray works just fine.
Step 5: Bake to Crispy, Golden Perfection
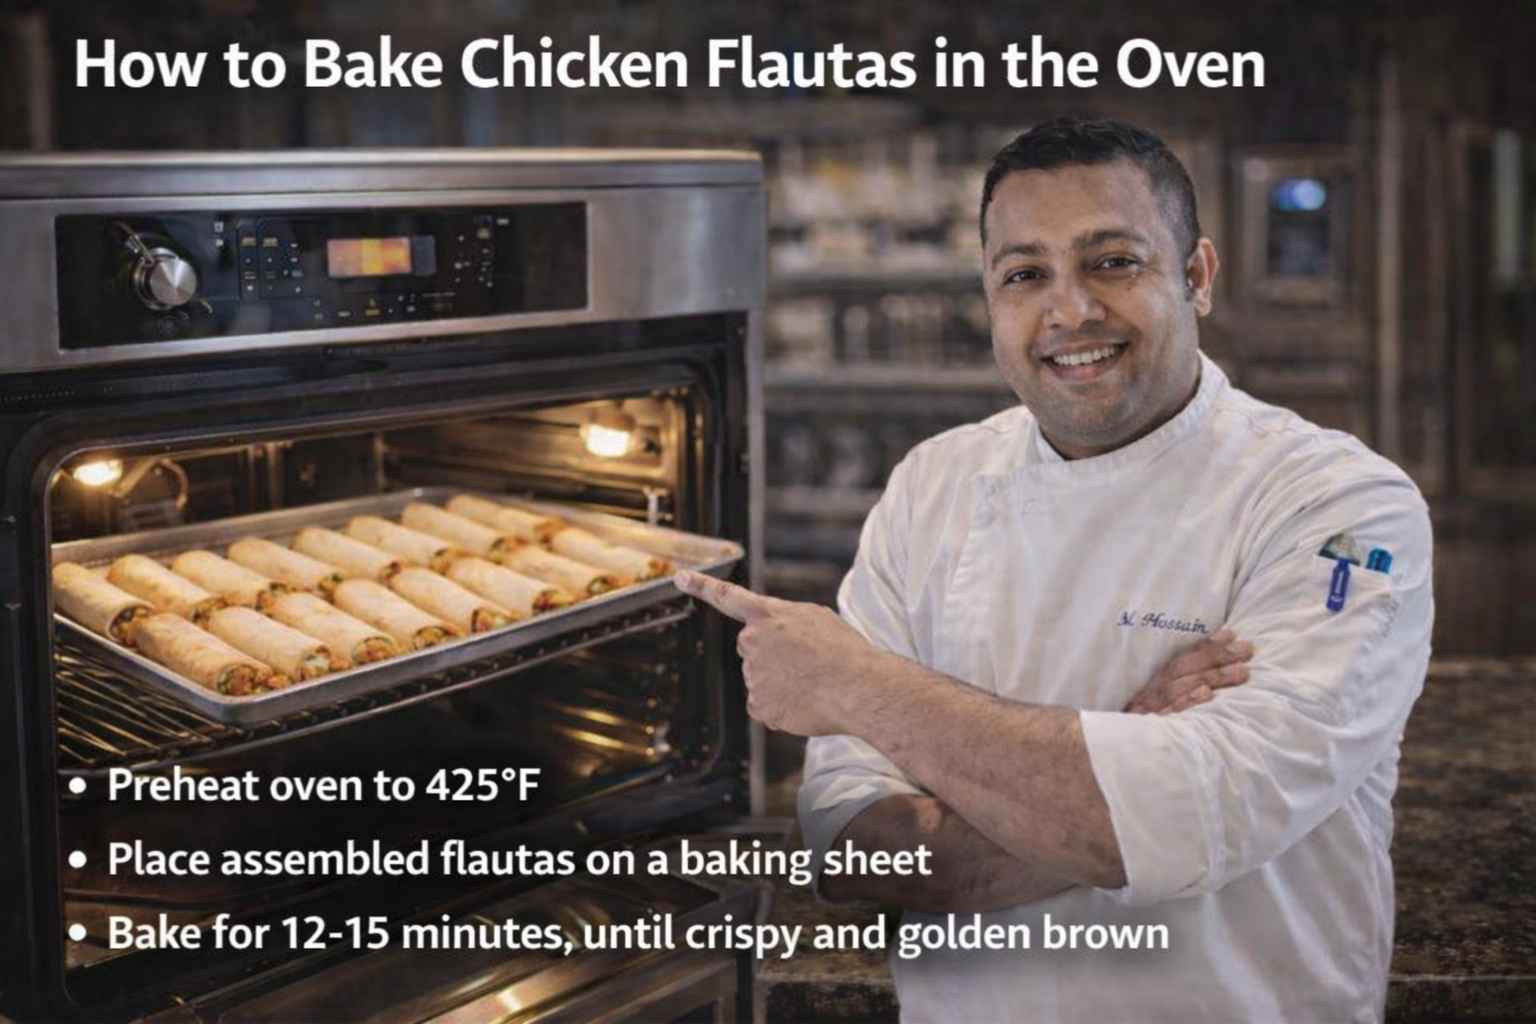
I preheat the oven to 400°F—no shortcuts. It needs to be hot when they go in.
Then I bake for 18–22 minutes, depending on:
- How full they are
- The thickness of the tortillas
- Whether I’m using a convection oven (closer to 16–18 mins)
I watch for golden edges and bubbling cheese. Around the 10-minute mark, I’ll peek and rotate the tray if needed.
And sometimes—when I want them extra crispy—I broil them for the last 1–2 minutes. Just a quick blast to blister the edges.
Don’t walk away during broil. I learned that lesson when I burned four perfect flautas because I went to answer a text.
Step 6: Cool Just a Little (Then Devour)
As tempting as it is to grab one straight off the tray—wait 2 minutes.
They’re hot. Like molten cheese and steam hot.
Once they’ve cooled slightly, they’re perfect. Crisp on the outside, cheesy and juicy inside.
How to Make Crispy Chicken Flautas in Oven Every Time
There’s a difference between “baked” and “crispy.” I learned that the hard way after one too many soggy flautas.
I wanted my oven-baked flautas to snap when I bit into them. Not flop. Not feel like a tortilla-wrapped quesadilla. So I started paying attention to the details—and honestly, the little things made a huge difference.
Here’s what worked for me.
Use the Right Rack Position
I used to toss the tray in the middle and call it a day. But the more I baked flautas, the more I noticed that the rack placement matters.
- Middle rack gives a balanced bake—my default for regular ovens
- Upper-middle rack crisps faster on top, especially with convection
- Lower rack tends to leave soft bottoms unless you’re using a wire rack
If I want the crunchiest flautas, I place the tray just above center. That puts the tops closer to heat but still gives room for circulation.
In my older oven, which ran cooler in the back, I also had to rotate the tray halfway. That alone helped avoid under-baked spots.
Light Brushing > Heavy Spraying
This part shocked me. I thought more oil = more crunch. But when I doused them in spray oil once? They got greasy instead of crisp.
So now I do this:
- Pour 1–2 tablespoons of avocado oil or light olive oil into a small bowl
- Dip a silicone brush and lightly coat each flauta
- Focus on the top and the edges—don’t forget the seam
If I’m really tired, I’ll still use spray oil—but I keep the can about 12 inches away for a light mist, not a drench.
Pro tip: If you use corn tortillas, brushing is even more important. They dry out faster and need that oil to stay tender and crunchy.
Let the Edges Breathe
This might sound silly, but spacing matters. If the flautas are too close together, the steam gets trapped. And steam = soft spots.
I give each flauta about ½ inch of breathing room on the tray. That way, hot air can circulate around and toast every edge.
When I skip this? The ones in the middle always come out a bit limp. It’s like oven physics or something.
Don’t Overfill
I know, it’s tempting. You’ve got this delicious chicken and cheese mix, and you just want to stuff that tortilla.
But overfilling leads to:
- Flautas that won’t stay rolled
- Bursting seams mid-bake
- Filling that leaks out and burns (which smells awful)
I limit myself to 2–3 tablespoons of filling, even when I want more. Tight rolls bake better and stay crisp.
And honestly? Those crispy outer layers are the best part anyway.
Bonus Crisp Trick: Broil at the End
If I’m serving guests—or just want restaurant-level crunch—I broil the flautas for 1–2 minutes at the very end.
- I turn the broiler on high
- Watch them like a hawk (seriously, do not walk away)
- Once the tops are golden brown and bubbly, I pull them fast
I’ve burnt more than one batch by looking at my phone mid-broil. Now I just stand there, oven mitt in hand, like I’m guarding treasure.
And that first bite? Crunch. Totally worth the hover.
How Long to Bake Chicken Flautas in Oven (And What Affects It)
I used to just “bake until golden,” but that’s how I ended up with crunchy outsides and cold insides. Timing really matters.
There’s no single magic number because it depends on what you’re working with. But I’ve baked enough flautas to know what usually works—and where things can go sideways.
The Gold Standard: 400°F for 18–22 Minutes
That’s the sweet spot I land on 90% of the time.
- At 400°F in a regular oven: 20–22 minutes
- At 400°F in a convection oven: 16–18 minutes
- At 375°F: 25–28 minutes (I only go this low if I’m using corn tortillas or want a slightly softer roll)
If I’m cooking chicken flautas in a toaster oven, I drop the time even more—closer to 14–17 minutes at 400°F. That smaller space heats up fast and crisps quicker.
Tortilla Type Makes a Difference
Flour tortillas brown faster. Corn tortillas bake slower—and can dry out if you don’t oil them enough.
Here’s how I adjust:
- Flour: Crisps up fast, so I start checking at minute 16
- Corn: Needs more time (usually 22–25 mins), and I always keep an eye to make sure they don’t dry out or split
Also, thickness matters. Some store-bought tortillas are thicker than others. I had a batch from Trader Joe’s once that took an extra 5 minutes compared to my usual Mission tortillas.
Filling Amount Affects Timing Too
I learned this the messy way. Overstuffed flautas take longer to heat through—and if you leave them in longer, the outer shell burns while the center still feels cold.
Now I go for that 2–3 tablespoon rule, max.
If I’m adding beans or rice to the filling (which I sometimes do), I spread it thin and roll tightly. Thick fillings = longer bake = higher chance of bursting.
Frozen vs. Fresh-Baked
Baking from frozen? Totally doable. Just add more time.
- Fresh-rolled flautas: 18–22 mins at 400°F
- Frozen, unbaked flautas: 25–28 mins at 400°F
- Pre-cooked, frozen flautas (like José Olé): 20–24 mins, but I check for crispness, not just time
When baking frozen, don’t thaw first. Just brush with oil, space them out on the tray, and let the oven do its thing.
How I Know They’re Done
I don’t just go by the clock. I look and listen.
Here’s what I watch for:
- The edges start to brown and curl slightly
- I hear a faint sizzle when I open the oven
- A little cheese bubbling out of the seam (and getting crispy on the tray—that’s my favorite part)
- When I gently tap the top, it sounds crisp—not soft
If they look golden but still feel soft, I give them 2 more minutes and check again. Don’t trust just the color.
Can You Bake Frozen Chicken Flautas in Oven?
Absolutely. I’ve done it with both homemade and store-bought, especially on nights when I’m exhausted and just want dinner to handle itself.
Frozen flautas have become my weeknight secret weapon. I make a big batch on Sundays, freeze half, and bake them later when I can’t even think straight. It’s one of the few “prep ahead” moves I actually stick with.
Freezing Homemade Flautas (It’s Easy)
Here’s how I do it when I’ve got extras:
- Roll your flautas like normal (uncooked)
- Place them on a parchment-lined baking sheet
- Freeze for 1–2 hours until solid
- Transfer to a freezer bag or airtight container
That flash-freezing step keeps them from sticking together. Trust me—skipping it once resulted in a frozen tortilla blob that I had to chisel apart with a butter knife.
How to Bake Frozen Chicken Flautas in the Oven
No need to thaw. That’s the beauty of it.
- Preheat oven to 400°F
- Line your tray with foil or parchment
- Brush flautas with oil just like fresh ones
- Bake for 25–28 minutes until golden and crisp
Sometimes I broil them for the last minute or two if they’re not quite brown enough. Just depends on your oven.
One note: frozen flautas tend to leak a little more filling, especially cheese. I don’t mind—it makes those crispy little cheese puddles that I fight over with my spouse.
Reheating Pre-Cooked Frozen Flautas (Store-Bought Ones)
I’ve tried a few from the freezer section—José Olé, El Monterey, even some local brands. They’re hit or miss, but baking helps them feel a little less “microwave dinner.”
Here’s what I do:
- Preheat to 400°F
- Place flautas on a wire rack over a tray (this really helps crisp the bottom)
- Bake for 20–24 minutes, flipping halfway if needed
- Don’t overbake—some have thinner tortillas that go from crispy to cardboard fast
Bonus tip: store-bought frozen flautas benefit a lot from homemade toppings. Even just some guac and sour cream can make them feel less sad.
When I Don’t Bake Frozen Flautas
If I’m starving and in a huge rush, I’ll use the toaster oven. It’s not quite as crispy as the full oven, but for 1–2 flautas, it’s totally fine.
- 400°F for about 18–20 minutes
- Keep a close eye—small ovens brown fast
But honestly? The full oven’s always worth it if I have the patience. The texture’s just better.
What to Serve with Oven Baked Chicken Flautas
When the flautas are hot and crispy, you want something cool, creamy, or fresh on the side to round it all out.
I’ve served these flautas a dozen different ways—movie nights, birthday dinners, late Sunday lunches—and the right sides can really pull everything together. Or at least make it look like you planned more than you did (which, let’s be honest, is my goal half the time).
Dips and Sauces That Bring It All Together
Let’s start with the basics. A good dip turns flautas from snacky finger food into something that feels like a meal.
Here are my regulars:
- Sour cream – Plain or mixed with lime zest and garlic powder
- Salsa verde – That tangy tomatillo kick balances the richness
- Guacamole – I mash avocado with lime, salt, and garlic—no need to get fancy
- Chipotle mayo – Quick mix of mayo, adobo sauce, and a dash of hot sauce
- Queso blanco – If I’ve got time, I’ll melt some with milk and jalapeños on the stovetop
Sometimes I’ll just throw all the dips in little ramekins and let people dunk as they please. Makes it feel like a flauta party.
My Favorite Sides (Fast + Flavorful)
These sides come together quickly and always pair well:
- Black beans – Seasoned with cumin, garlic, and lime juice
- Mexican rice – Store-bought or leftover, sometimes even the boxed kind
- Roasted corn – I toss frozen corn in the oven with butter, lime, and cotija
- Simple slaw – Shredded cabbage, lime juice, salt, and a drizzle of olive oil
- Tomato and avocado salad – With cilantro and red onion, if I’m feeling bright
None of these take more than 10–15 minutes. I’ll usually make one or two max—depends how hungry I am and how many dishes I feel like washing.
How I Serve Flautas When Guests Show Up
If friends pop by (which happens more than I expect), I’ll lay it out buffet-style:
- Big tray of hot flautas on a wooden board
- Small bowls of dips and toppings
- Lime wedges, cilantro, and pickled onions for extra color
I don’t go full restaurant presentation, but the little touches—like parchment under the flautas or serving them on a cast iron pan—make them look extra special.
And when it’s just me and my spouse on the couch?
- Flautas
- Salsa
- Napkins
That’s it. Still hits the spot.
How to Reheat Chicken Flautas in the Oven
Because cold flautas are a crime—and microwaved flautas turn into sad, soggy tubes.
Leftovers aren’t always exciting, but when it comes to flautas? I look forward to them. I’ve even hidden the last two behind the ketchup bottle just to make sure they’re still there the next day.
But reheating them right matters. Do it wrong, and they go limp. Do it right, and you’d swear they were freshly baked.
Oven Reheat = Best Reheat
This is what I do every time, even if it’s just one or two flautas:
- Preheat oven to 375°F
- Place flautas on a baking sheet (foil or parchment is fine)
- Cover lightly with foil for the first 5 minutes (to heat the inside)
- Uncover and bake 5–7 more minutes to re-crisp the outside
I’ve learned not to skip that first foil step—going straight to dry heat dries them out. But keeping them covered too long? Steam city.
After about 10–12 minutes total, they’re hot, crispy, and ready to dip. I usually slice one open to check before pulling the rest.
Toaster Oven Works Too (Surprisingly Well)
When I don’t want to fire up the big oven, I use the toaster oven. Especially during summer in Arizona when the main oven turns the kitchen into a sauna.
Same method:
- 375°F
- Cover for 3–4 minutes
- Uncover for 4–5 minutes until crisp
I place them on the small wire rack tray for airflow underneath. That’s how I avoid the dreaded soggy bottom.
Don’t Reheat in the Microwave (Please)
Unless you like mushy tortillas and uneven filling heat, I’d skip the microwave altogether. I’ve tried wrapping them in a paper towel, using low power, reheating in bursts—and still ended up disappointed.
The only time I use the microwave?
When I’m reheating just the filling before assembling fresh ones. Never for whole baked flautas.
Quick Crisp Boost: The Skillet Trick
If I’m feeling ambitious (or already have a pan out), I’ll reheat flautas in a dry nonstick skillet over medium heat.
- Cook 3–4 minutes, rotating gently
- No oil needed—they’ll crisp on their own
- Perfect for just one or two
The skillet method works best when I’m out of foil or avoiding the oven. Bonus: it gives the edges a little charred flavor that’s so good with creamy dips.
Final Thoughts from My Oven (and My Kitchen Counter)
Some recipes become regulars by accident. For me, baked chicken flautas started as a shortcut—and now they’re a go-to comfort food.
I never thought I’d give up frying them. There’s something about the sizzle, the crisp, the aroma—it felt nostalgic. But then life got busy. The cleanup got old. And the oven started looking more and more like the smarter choice.
And then one day, the oven-flauta just… won.
The texture? Still crunchy. The filling? Juicy, warm, flavorful. The mess? Almost non-existent.
I still mess up sometimes. Like that batch I overstuffed and ended up scraping cheese off the bottom of the tray with a spatula. Or the time I forgot to preheat and waited 15 minutes wondering why nothing was browning.
But those hiccups make it mine. They’re part of the story.
Now I bake chicken flautas when:
- I’ve got leftover rotisserie
- Friends show up unannounced
- I want something crunchy, cheesy, and homemade—but not fussy
- I just need a win on a rough day
I know every oven’s a little different. Maybe yours runs hot, or maybe you’ve got a toaster oven on the counter and that’s it. Doesn’t matter. You can make these flautas work.
Just roll, brush, bake—and don’t forget to sneak the first one before anyone else sees the tray.
Because nothing beats that first, crispy, still-steaming bite.
FAQs: How to Bake Chicken Flautas in the Oven
How to Bake Chicken Flautas in the Oven so they turn crispy?
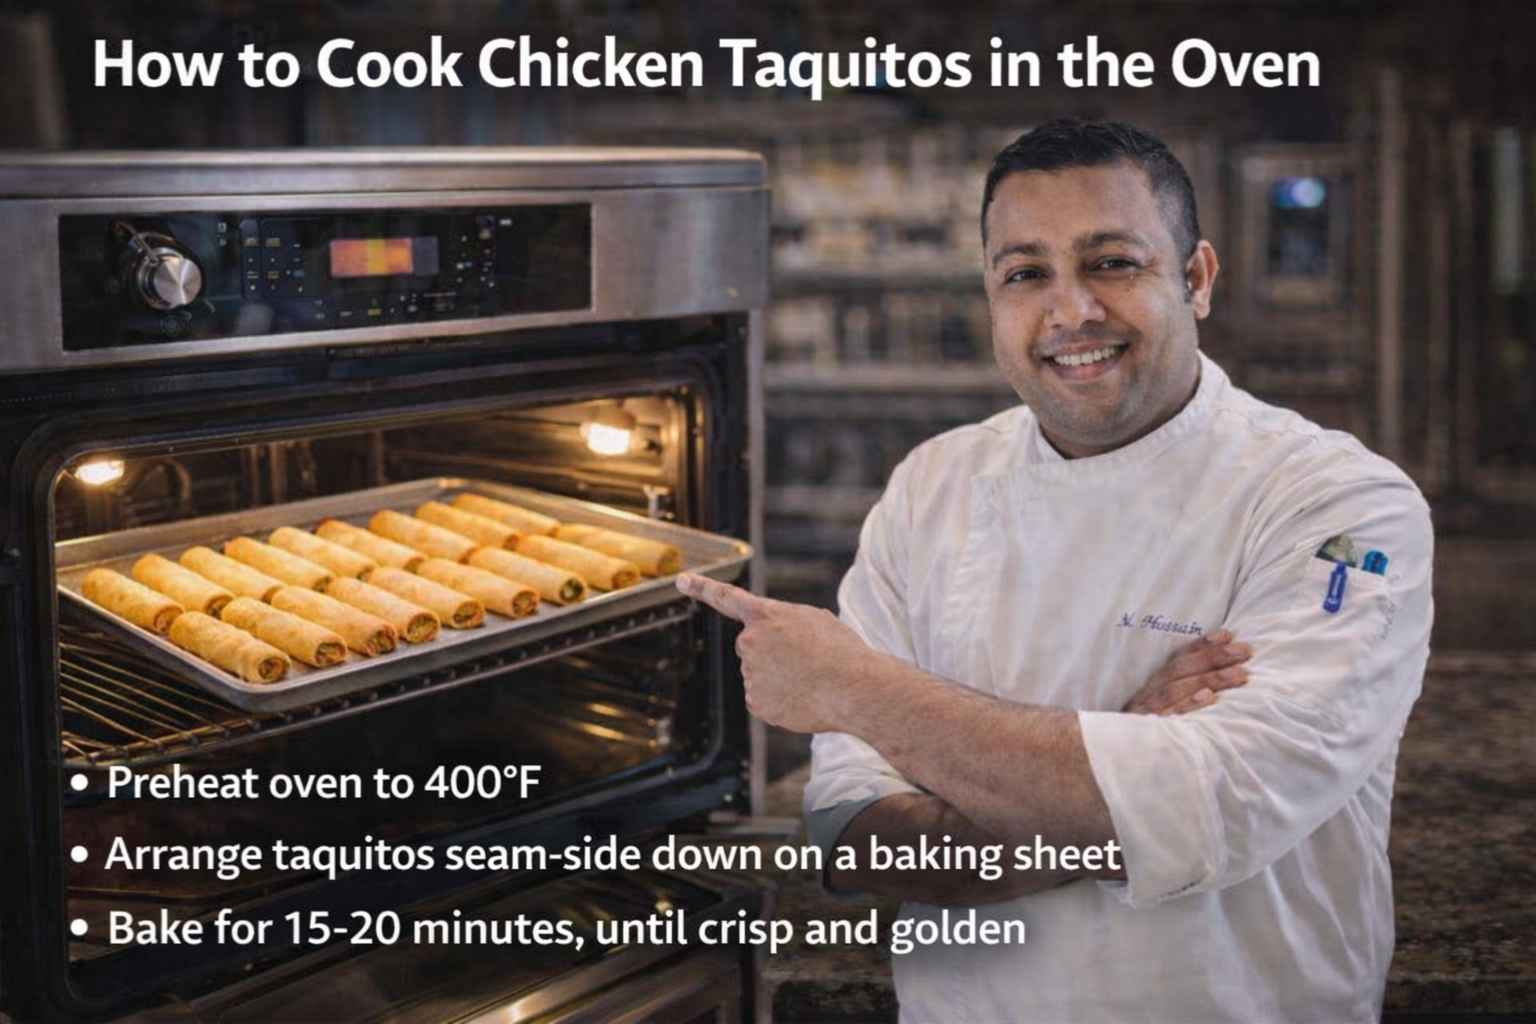
Brush the flautas with a little oil and bake at 400°F. Place them seam-side down on a baking sheet. This helps the tortillas crisp up well without deep frying.
What temperature works best for How to Bake Chicken Flautas in the Oven?
A hot oven works best. Bake chicken flautas at about 400°F for 15–20 minutes. The high heat makes the tortillas crisp while the chicken stays warm and juicy.
Can I use corn tortillas when learning How to Bake Chicken Flautas in the Oven?
Yes, corn tortillas are the classic choice. Warm them first so they roll with ease. This small step helps prevent cracks while baking chicken flautas in the oven.
How do I keep flautas from opening while baking in the oven?
Place each flauta seam-side down on the pan. You can also use a toothpick if needed. This simple trick keeps chicken flautas tight while they bake and crisp.
How long does it take when learning How to Bake Chicken Flautas in the Oven?
Most chicken flautas bake in about 15–20 minutes at 400°F. Turn them once for even color. The tortillas should look golden and crisp when ready.